
Every year, I watch friends wrestle with the same holiday dilemma: they want their tree to look fresh and exciting, but they end up pulling out the same tired ornaments and garlands, feeling a little disappointed with the result. If that’s you, you’re not alone. But the good news? Modern Christmas tree decor doesn’t have to be complicated or expensive. I can confidently say that small, deliberate changes make the biggest impact.
By the end of this article, you’ll have a menu of 11 solid, tested ideas that will help you make your tree look polished, current, and memorable—without breaking the bank or spending days on Pinterest. I’ll walk you through each approach, share what I’ve learned the hard way, and give you real-world timelines and real-world budgets. Whether you’re just starting out or looking to shake up your usual routine, you’ll find something here that feels right for your home—and your style.
1. Curate a Tight Color Palette
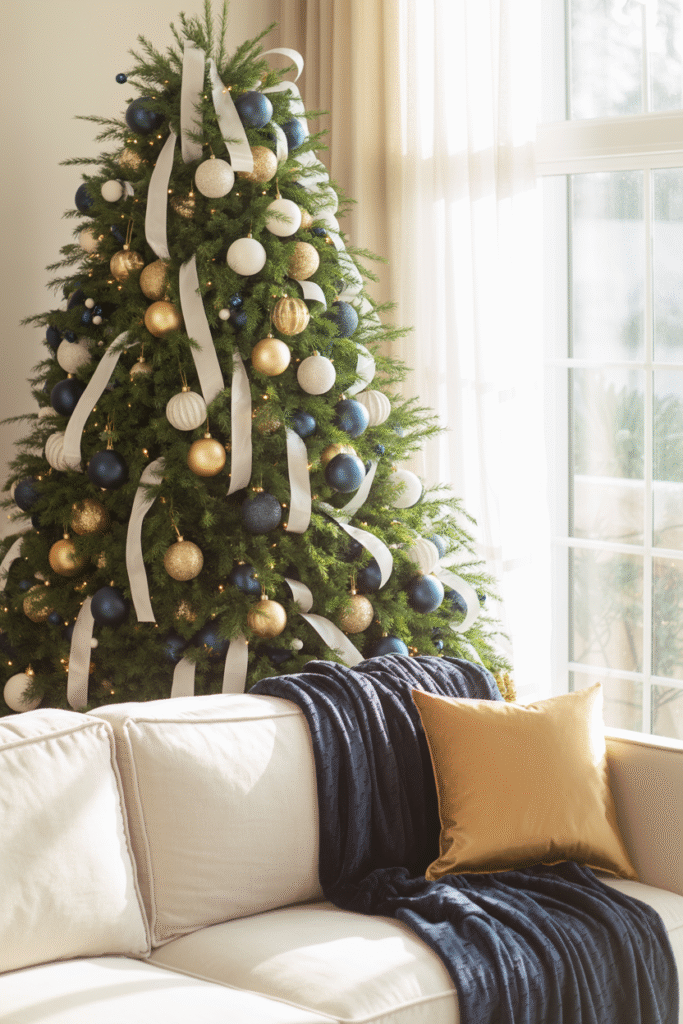
In my experience, the fastest route to a modern tree is to limit your color choices. Forget the rainbow explosion of ornaments from your childhood. Pick two to three colors that feel right for your room. I often lean into navy and gold for a rich, punchy look, or soft blush and brushed gold for a gentler vibe. To echo the palette through the room, tuck in a few throw pillows or a blanket in the same scheme.
Pro tip: Sometimes, the best way to choose is to walk around your living room with a paint swatch book. Hold up colors near your rug, sofa, or artwork. When you find a combo that sings, that’s your tree’s new signature.
Materials You’ll Need
- 2–3 colors of ornaments (about 36–48 total for a 180 cm/6 ft tree)
- Coordinating ribbon or garland (about 6–7 m/20–23 ft)
- Scissors
- Optional: spray paint to refresh old ornaments in your new palette
Time required: 1–2 hours
Cost: $20–$50 for new ornaments; less if upcycling
Difficulty: Beginner
Avoid this: Don’t mix finishes unless you mean to—matte and glossy don’t always play well together. Stick to one or the other.
2. Use Textured Greenery Beyond the Tree
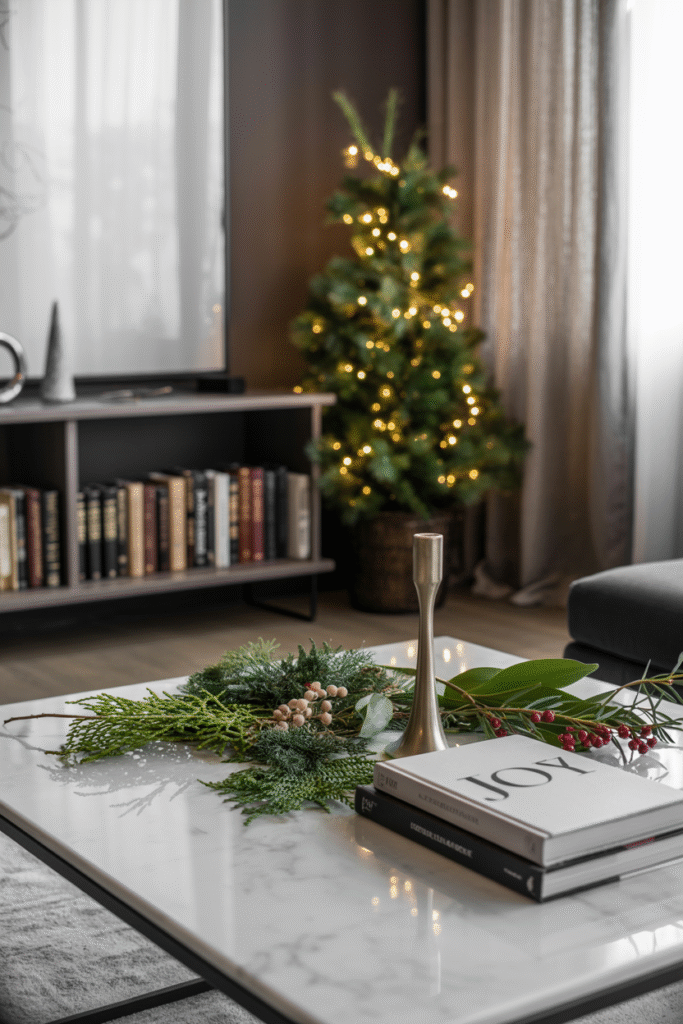
A simple trick I’ve found that instantly modernizes a space: scatter small clusters of cedar, pine, or eucalyptus around the house. Tuck a sprig into a napkin ring, loop it around a curtain rod, or coil it into a glass bowl with baubles. This ties your tree to the rest of the room in a subtle, textural way.
What works best: Go local. Fresh greenery from your garden or a nearby market costs less and actually smells like Christmas. If you’re sensitive to needles, try dried eucalyptus—it holds up and looks amazing.
Step-by-Step
- Collect or buy a bundle of fresh greenery (about 30 cm/12 in long sprigs)
- Trim into small pieces (8–10 cm/3–4 in)
- Add to napkin rings, bookshelves, or trays as accents
Time required: 20–30 minutes
Cost: $5–$15, or free from your yard
Difficulty: Beginner
Pro tip: Spray pine needles with a little water every few days to keep them looking fresh.
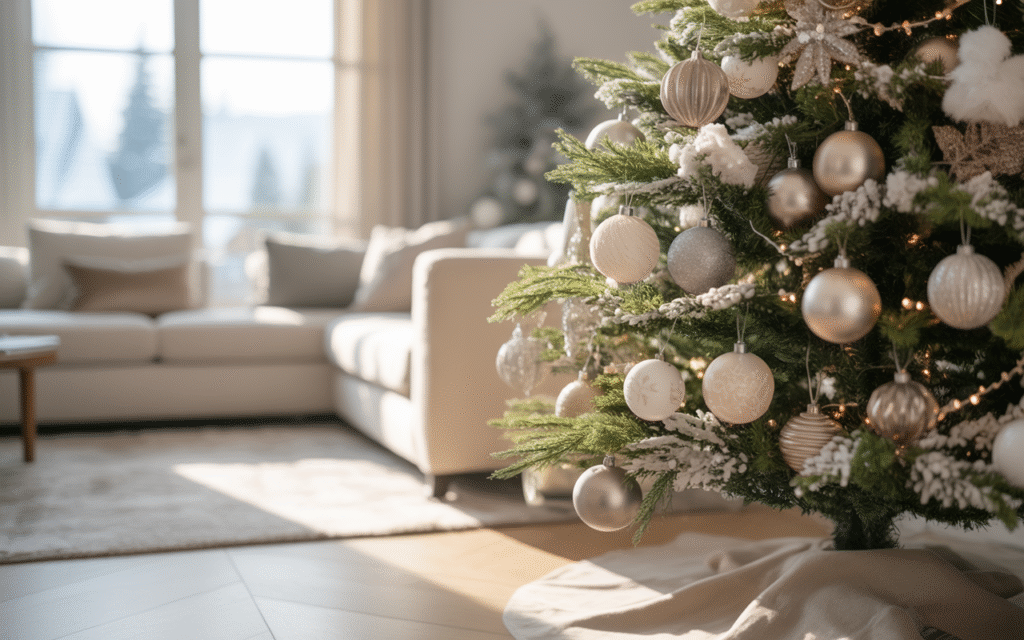
3. Go Big With Oversized Baubles
I love a tree with personality, and oversized ornaments deliver. Just a few—say, six to eight—will make your tree feel fresh. I use 15–20 cm (6–8 in) balls in a mix of matte and glossy finishes, hanging them toward the center of the tree for depth.
In my experience, this works especially well on slim trees, where ornaments can get lost. Oversized baubles add instant drama without clutter.
Materials
- 6–8 oversize ornaments (15–20 cm/6–8 in)
- Sturdy ornament hooks
Time required: 10–15 minutes
Cost: $15–$40 for a set
Difficulty: Beginner
Avoid this: Don’t pair with tiny ornaments—the scale clash will look messy. Stick with medium and large sizes for balance.
4. Play With Minimalist Wood Accents

A minimalist look doesn’t have to feel cold. I’ve had great results with natural wood ornaments—think thin slices, geometric shapes, or tiny houses. These add warmth and texture, especially on trees with a light color palette.
What works best: Cluster three wood ornaments at different heights for visual interest. I often hang them just above eye level so they catch the light.
Step-by-Step
- Select 6–12 wooden ornaments
- Hang in groups of three at varying heights
- Mix with simple white or cream baubles for contrast
Time required: 15–25 minutes
Cost: $10–$30 for a set
Difficulty: Beginner
Pro tip: You can make your own by drilling a small hole in slices of birch or pine—these last for years and look great with fairy lights.
5. Layer in a Statement Ribbon or Belt
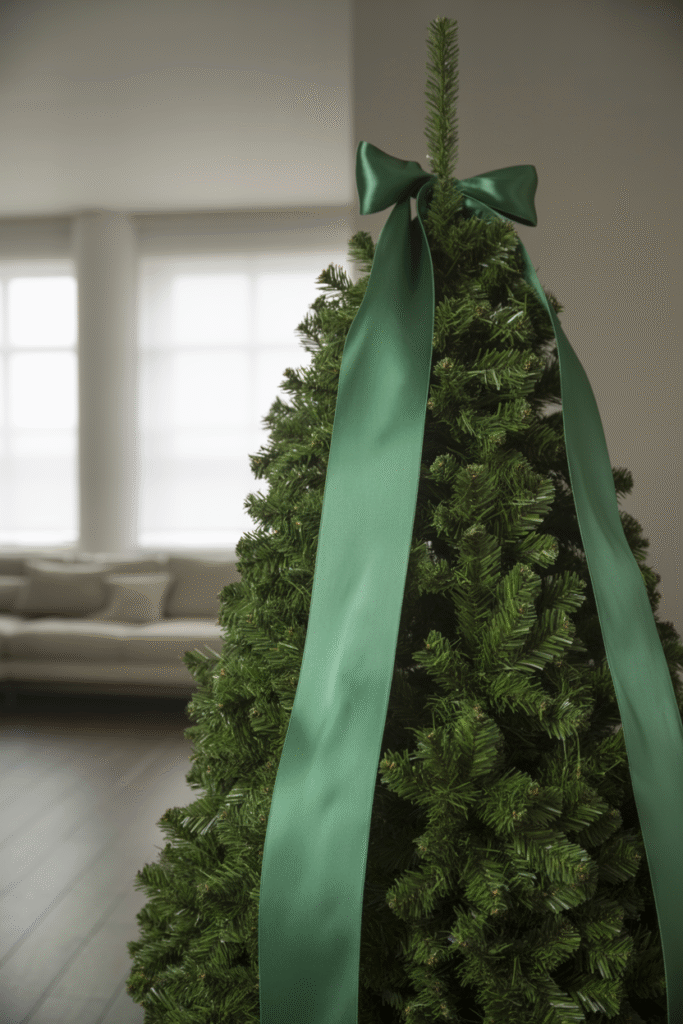
One year, frustrated with messy garlands, I tried wrapping a wide satin ribbon around the tree like a big belt. It instantly looked polished—and took a fraction of the time. I use a ribbon at least 15 cm (6 in) wide, tucked between branches and secured with a discreet knot in back.
In my experience, this is much easier than trying to spiral a garland evenly. It adds a chic, tailored look with minimal effort.
Materials
- 1 roll of wide ribbon (at least 15 cm/6 in wide, 3–4 m/10–13 ft long)
- Scissors
Time required: 10–15 minutes
Cost: $10–$20 for a quality ribbon
Difficulty: Beginner
Avoid this: Don’t use wired ribbon—it’s too stiff for this look. Go for soft, flowing satin or velvet.
6. Add Unexpected Shine With Acrylic or Glass Picks
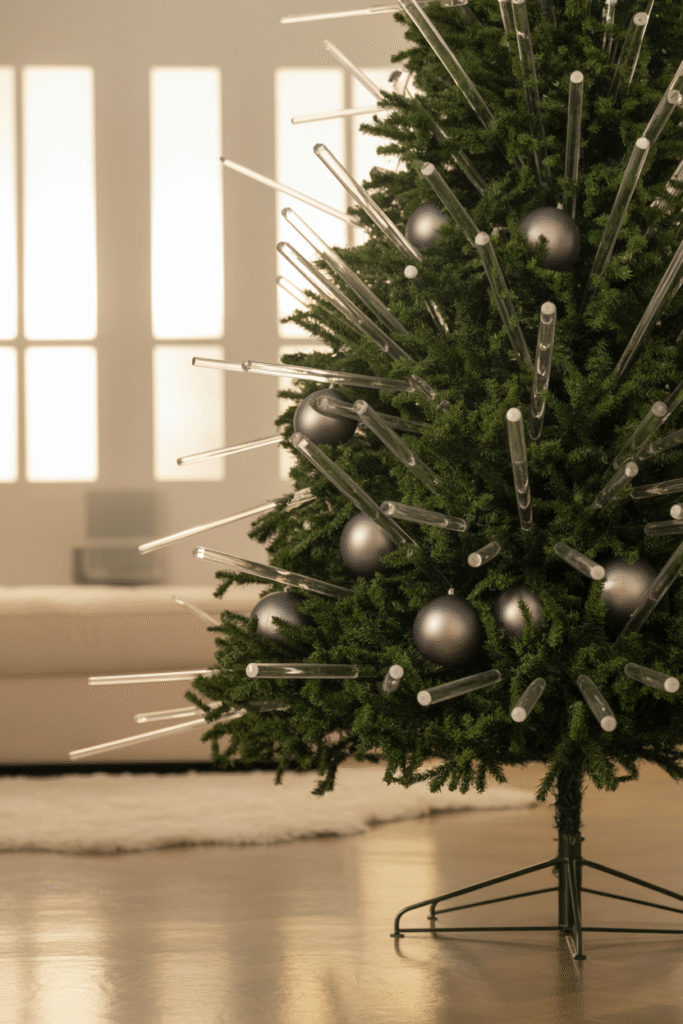
Most modern trees need a little sparkle, but I avoid the “glitter bomb” effect. Instead, I tuck in a few acrylic or glass picks—these catch the light without overwhelming the tree. I scatter them throughout, focusing on areas that look a bit flat.
What works best: Use about six to eight picks for a 180 cm (6 ft) tree. Make sure they’re evenly distributed so the tree glows from all angles.
Time required: 15 minutes
Cost: $10–$25 for a set
Difficulty: Beginner
Pro tip: Don’t cluster all the picks at the top—spread them around for balance.
7. Try Asymmetric Ornament Clusters
Symmetry is safe, but asymmetry feels modern. I like to group three or five ornaments together in odd numbers, then hang them off-center or at different heights. This trick adds energy and movement to your tree—no two angles look the same.
In my experience, mixing round baubles with long, teardrop-shaped ornaments in the same color family works especially well.
Materials
- 3–5 coordinating ornaments per cluster
- Ornament hooks
Time required: 20–30 minutes
Cost: Use ornaments you already own
Difficulty: Beginner
Avoid this: Don’t place clusters too close together, or the effect will look cluttered.
8. Use LED Spotlights for Drama
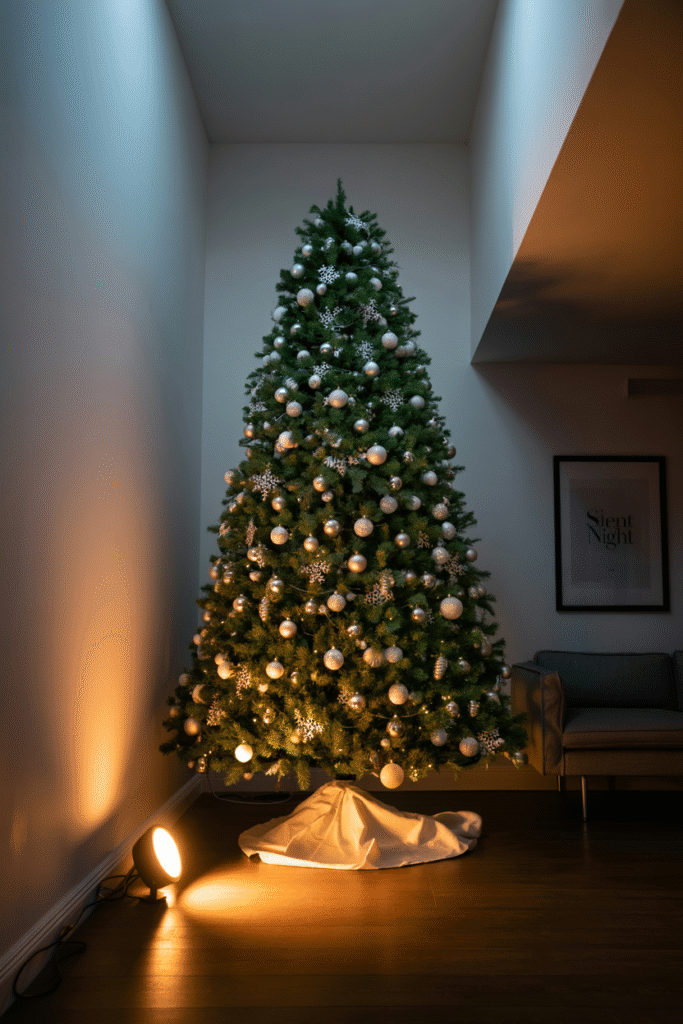
Overhead string lights are fine, but I often add a small LED spotlight at the base of the tree, angled up. This creates a “moonlight” effect, highlighting the ornaments and giving your tree a gallery-worthy glow. I use a warm white bulb, not cool-toned.
What works best: Place the light about 60 cm (2 ft) from the trunk, pointing up through the branches. If you have hardwood floors, use a felt pad under the light to protect the surface.
Time required: 5 minutes
Cost: $15–$30 for a quality spotlight
Difficulty: Beginner
9. Create a Backdrop with a Large Wreath
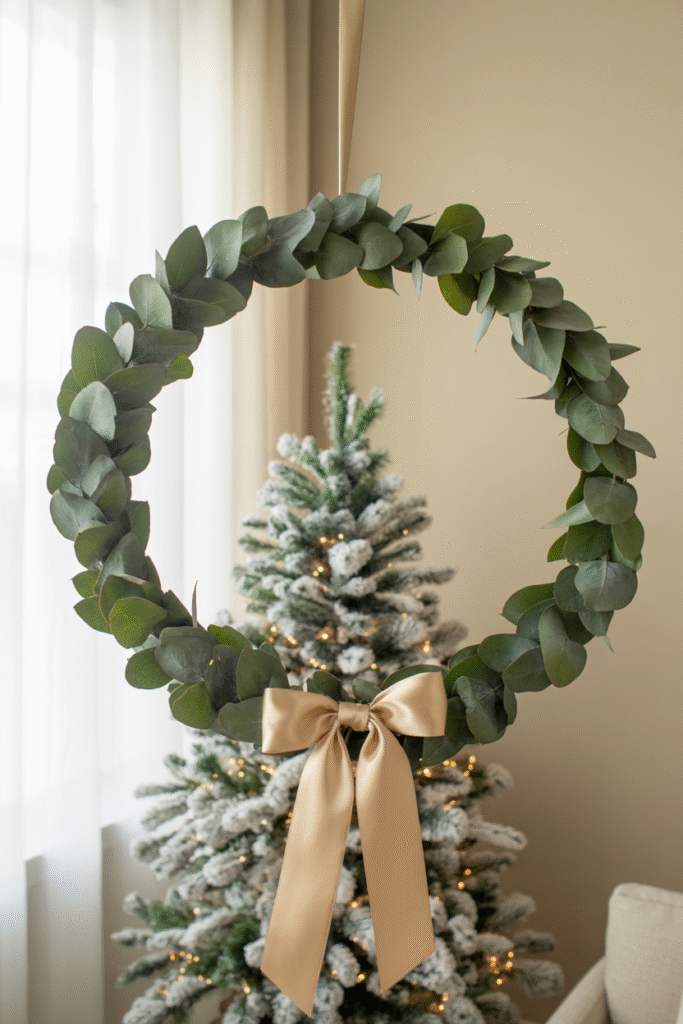
I love placing a big statement wreath—100–120 cm (40–47 in) wide—on the wall behind the tree. It acts like a giant picture frame and makes the whole setup look intentional. For a modern feel, I use a simple eucalyptus or pine wreath, sometimes with just a satin bow.
In my experience, this is especially helpful in small spaces, where the tree can blend into the background. The wreath makes it the star of the room.
Time required: 10–15 minutes to hang
Cost: $30–$60 for a large wreath
Difficulty: Beginner
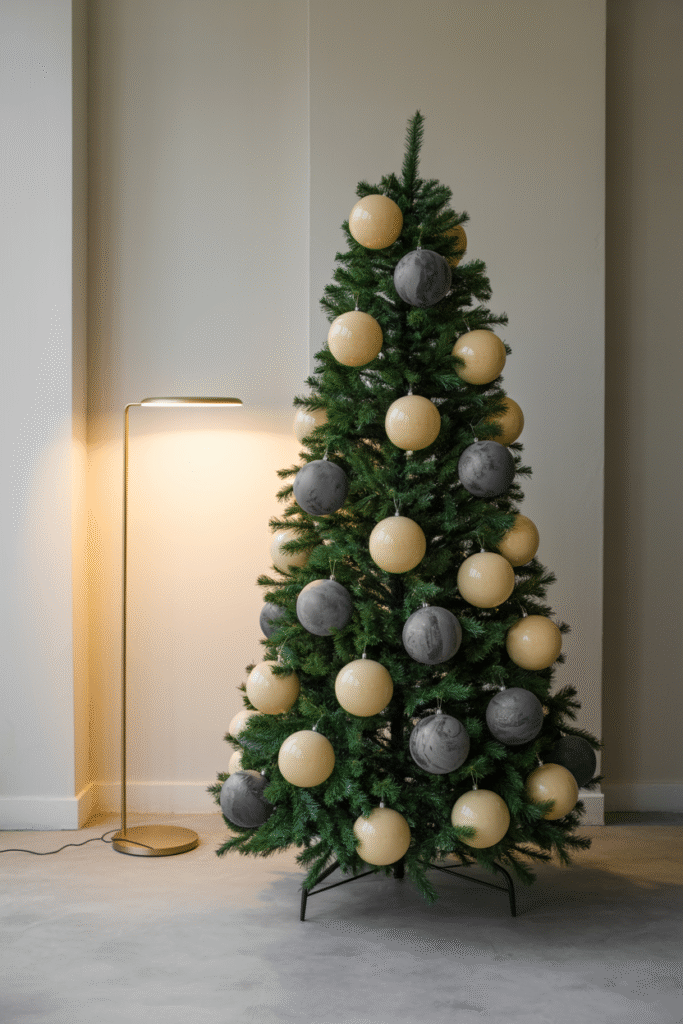
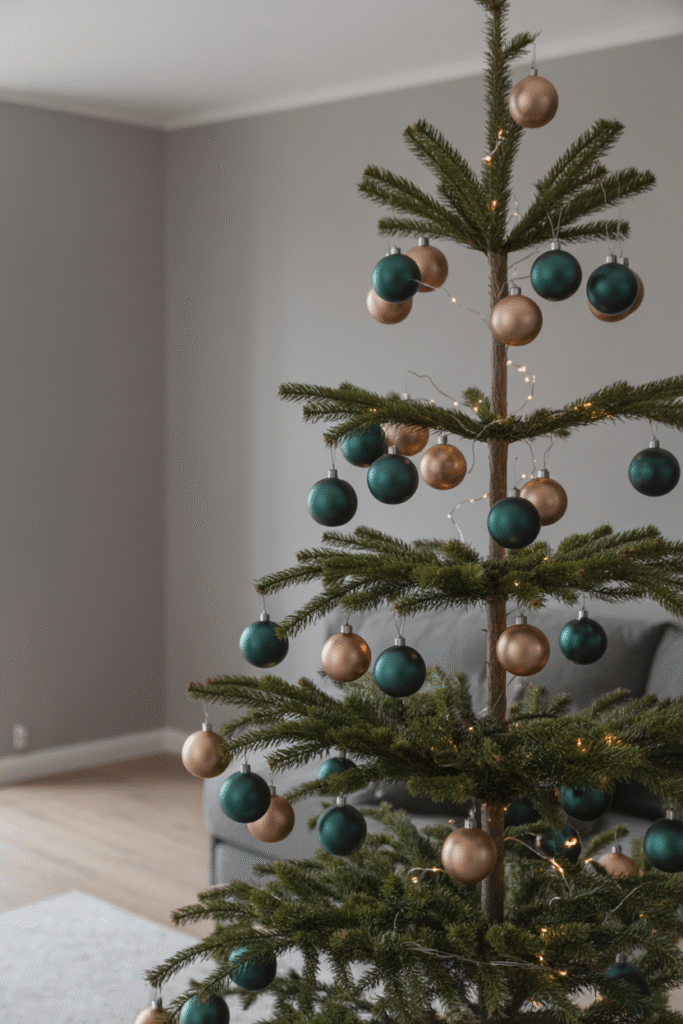
10. Mix Metallics for Depth
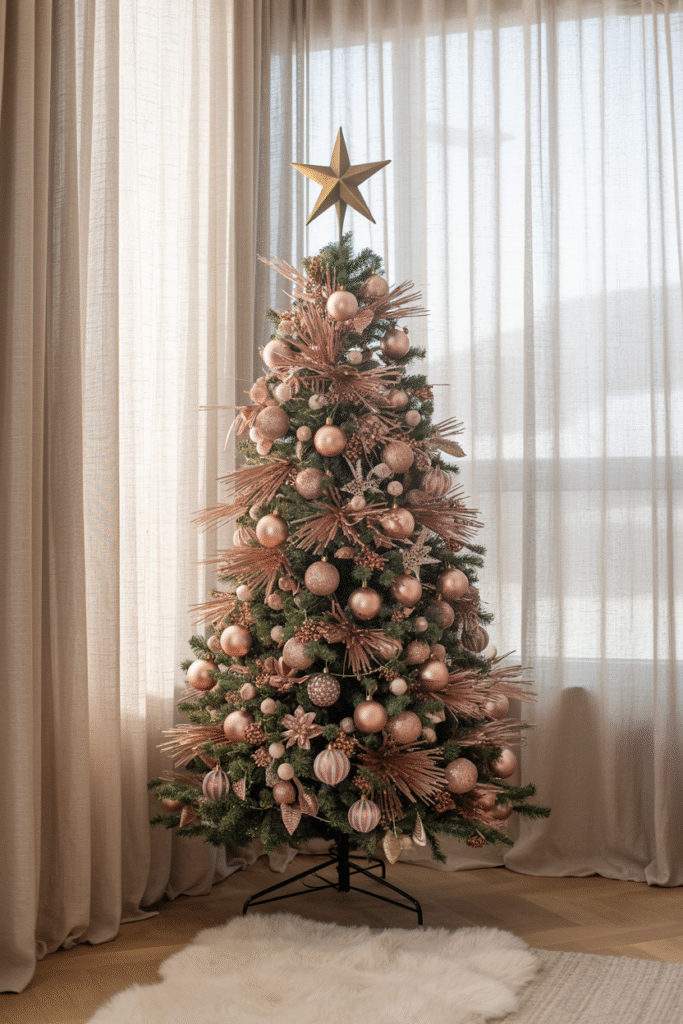
Don’t be afraid to play with multiple metals—rose gold, brass, silver. To keep it from looking chaotic, pick one dominant finish (say, brushed brass) and add a few accents in another (like polished silver). I usually keep the ratio about 70/30.
Pro tip: Matte finishes look more modern than super-shiny ones.
Time required: 20–30 minutes
Cost: Use existing ornaments
Difficulty: Beginner
11. Finish With a Sculptural Tree Skirt
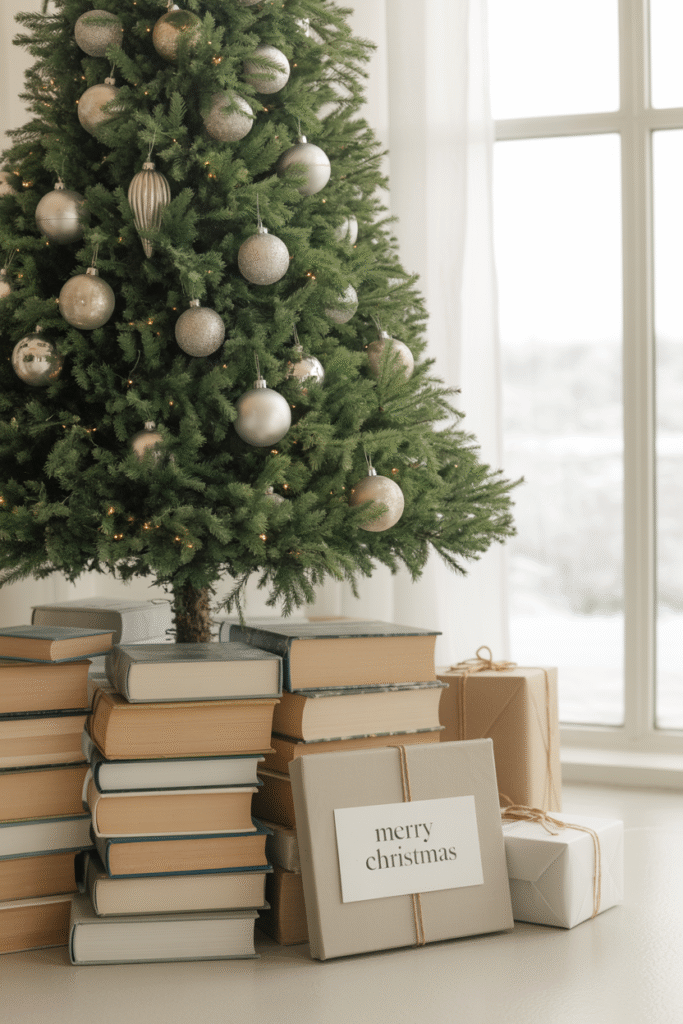
Skip the fussy fabric skirts. Instead, I use a large basket, a round ottoman, or even a stack of coffee table books under the tree. This adds texture and height, and guests always ask where I found such a cool idea.
What works best: Make sure the base is sturdy and level so the tree doesn’t wobble.
Time required: 5 minutes
Cost: Free (use what you have) or $20–$60 for a new basket
Difficulty: Beginner
Common Christmas Tree Decor Mistakes (and How to Avoid Them)
- Overcrowding the tree: Less really is more. You want to see the branches and texture, not just a wall of ornaments.
- Ignoring scale: If your ornaments are all the same size, the tree looks flat. Mix large, medium, and small pieces.
- Forgetting safety: Check lights for frayed wires, and keep real candles far from the tree.
- Neglecting weight distribution: Hang heavier ornaments closer to the trunk and on sturdier branches.
- Rushing the lights: Take your time, step back, and check for gaps before adding ornaments.
FAQs Section
Q: How many ornaments should I use?
A: For a 180 cm (6 ft) tree, start with about 60–80 ornaments of mixed sizes. You can always add more, but start sparingly and build up.
Q: Can I mix real and artificial greenery?
A: Absolutely. I often use a fresh garland on the mantle and an artificial tree—no one will notice.
Q: How do I make my tree look fuller?
A: Fluff your branches well before decorating. If gaps remain, tuck in extra garland or picks to fill.
Q: What’s the best way to hang heavy ornaments?
A: Use floral wire to secure them to the branch, or hang them closer to the trunk where branches are strongest.
Q: Can I reuse last year’s decorations?
A: Of course. Just edit ruthlessly—sometimes, a fresh coat of paint or a new ribbon is all you need.
Q: How do I store delicate ornaments?
A: Wrap individually in tissue paper or bubble wrap, and store in a sturdy box with dividers.
I hope these ideas help you tackle your tree with confidence this year. Remember, the best decor feels personal—so don’t stress about trends. If it makes you smile when you walk into the room, you’re doing it right.