
Have you ever walked into someone’s home and thought, wow, this place just feels expensive—even though you know they didn’t blow their savings on designer furniture? I’ve been there, both as a guest admiring those quietly luxurious details and as a homeowner hustling to create the same feeling without stretching the budget. The good news is, making your home feel high-end has less to do with what you spend, and more to do with how you style, layer, and edit your space.
In my experience, there are a handful of design tricks—some simple, some more effort-intensive—that instantly make a room look elevated. From thoughtfully choosing paint colours to swapping out stock lighting, these changes create an atmosphere that feels more polished and intentional. And you can start implementing them this weekend.
Let’s go room by room and detail the specific steps that can transform your home from ordinary to effortlessly expensive.
Start With a Clean, Edited Base
Clutter is the single fastest way to make a home feel cheap. Even the most luxurious furniture loses its charm if it’s surrounded by stacks of papers or cords everywhere.
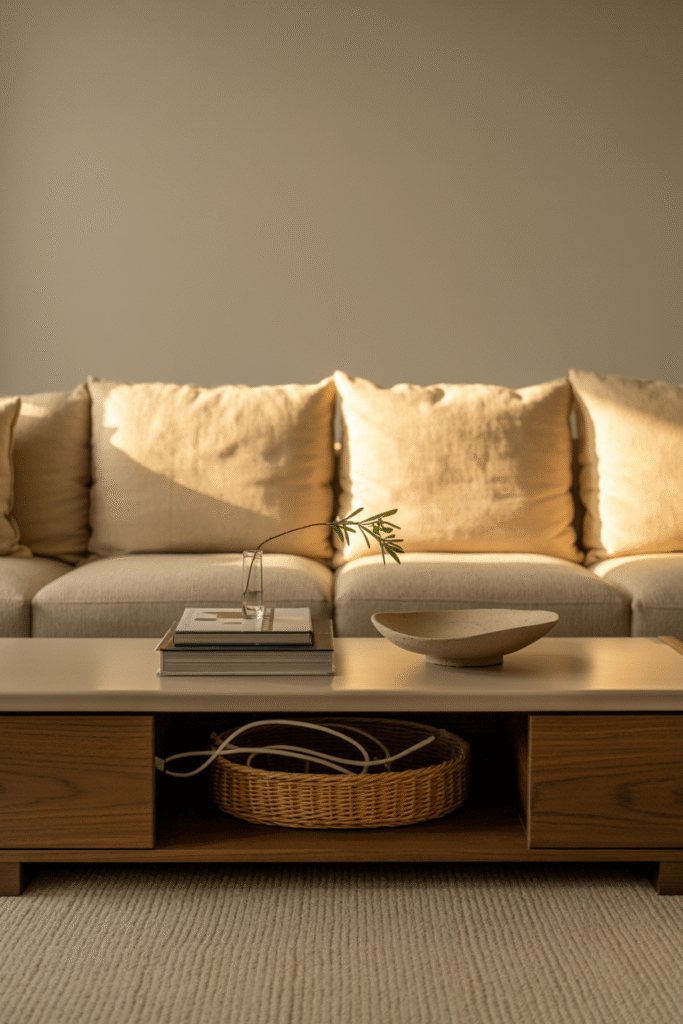
I’ve found that one afternoon of ruthless decluttering can transform a home more than a shopping trip. When I helped a friend prepare her living room, we spent four hours removing extra side tables, relocating kids’ toys, and hiding tech cables inside a woven basket. By the end, the room felt two times larger and almost “hotel-done.”
Actionable steps:
- Schedule 2–3 hours to declutter one main space (living or dining first).
- Use woven baskets or fabric bins to contain items you need but don’t want to see.
- Limit surfaces like coffee tables to three styled objects max (e.g., one book stack, a candle, a vase).
Cost: Minimal (around €20–40 / $20–45 for baskets and organizers)
Effort: Medium (time/decision heavy)
Impact: Immediate visual upgrade
Paint: The Cheapest Luxury
If your walls are scuffed, yellowing, or just builder beige, you’re fighting an uphill battle. A crisp coat of the right paint can do more than any decor purchase.
For that expensive look, I swear by muted tones with depth—think soft taupe, greige, or warm stone grey. In smaller areas (like powder rooms), you can go bold with a dark navy or deep forest green for drama. Just avoid high-sheen paints unless it’s trim; matte or eggshell finishes always read more refined.
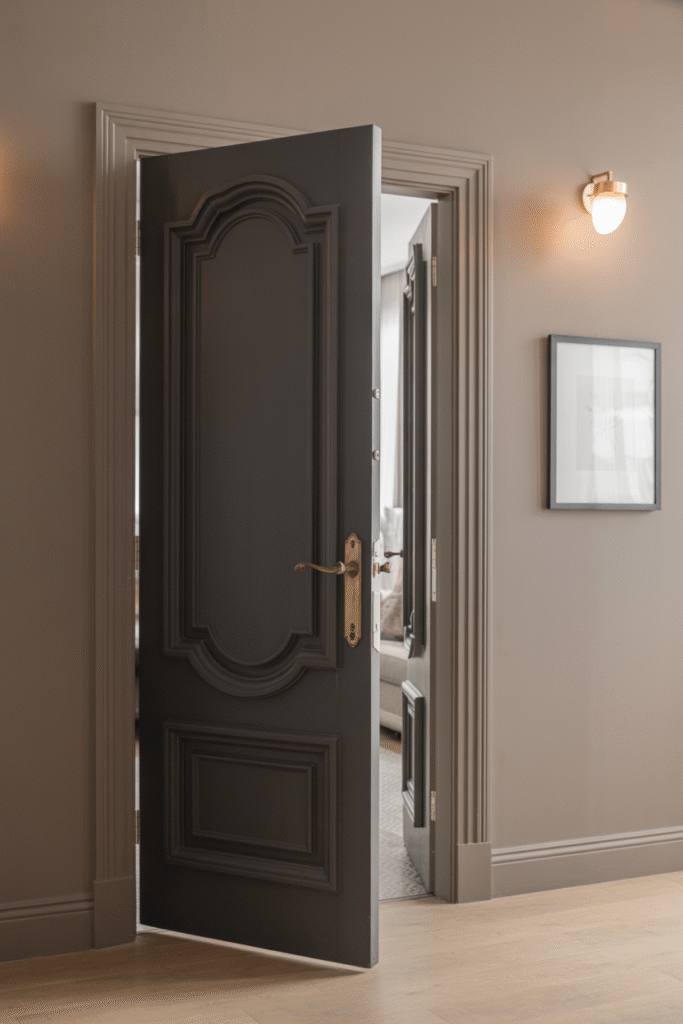
Pro tip: Always paint your interior doors the same colour as your walls or in a darker tone. I painted a pair of plain white doors in a dark charcoal, and suddenly they looked custom and architectural.
Cost: €50–70 / $60–80 per room (paint + supplies)
Timeframe: 1 full day per medium-sized room
Difficulty: Beginner-friendly with patience
Upgrade Your Lighting Fixtures
Nothing says “rental” or “cheap” faster than the stock dome light fixtures builders install. One of the quickest and most impactful changes I’ve made in many projects is lighting.
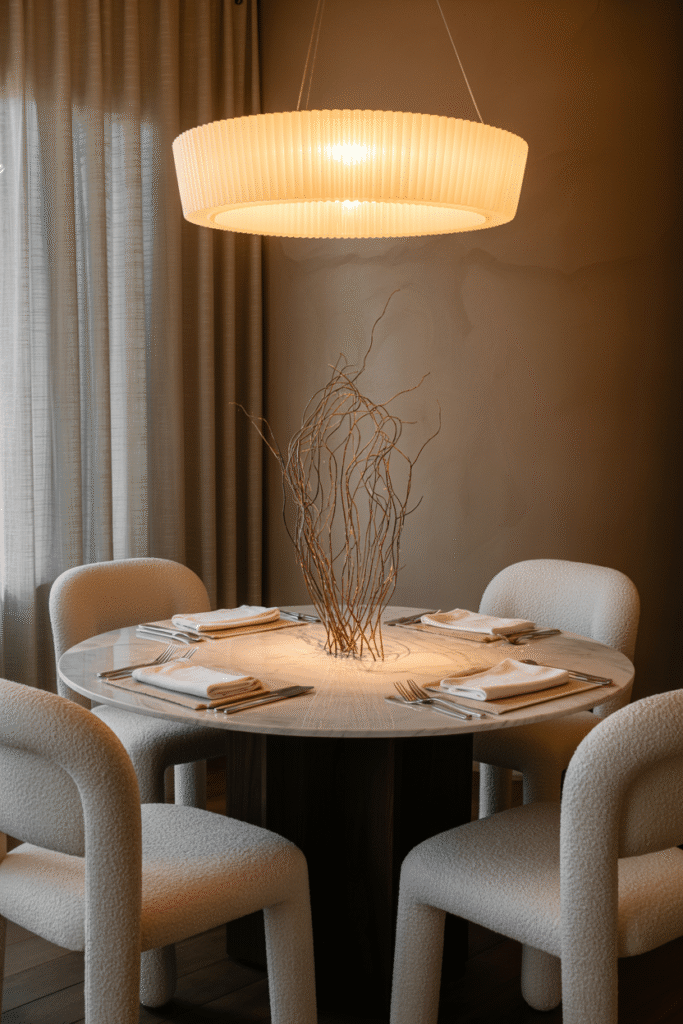
In my kitchen update last year, replacing the overhead fluorescent with two hanging pendants instantly made the space feel bespoke. What works best is mixing types of lighting: overhead + floor lamp + accent. This layering creates dimension and warmth.
What to do:
- Replace at least one main stock ceiling fixture with a statement light.
- Prioritize warm white bulbs (2700–3000K) for cozy tones.
- Add dimmers wherever possible; it’s an instant luxury touch.
Budget: €80–200 / $90–220 for a statement fixture
Effort: Medium (call an electrician if unsure)
Impact: Room-changing
Swap Hardware for Style
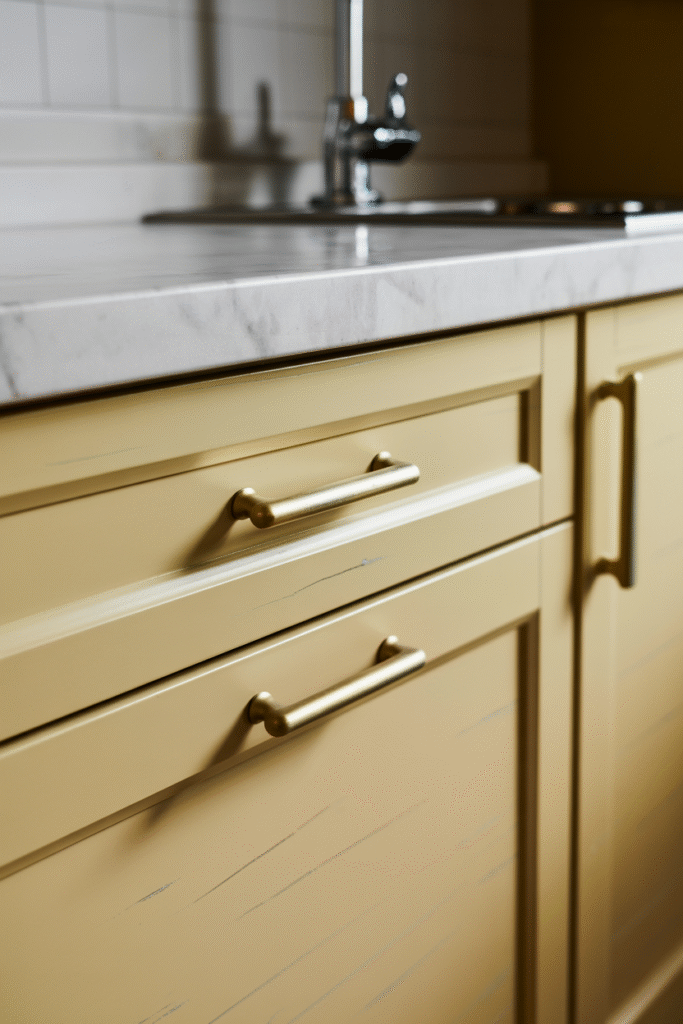
Cabinet pulls, door handles, and even switch plates are small details, but they can make a world of difference. I’ve replaced dozens of dated brass or plasticky knobs with matte black or brushed brass, and suddenly cabinets look designer.
Avoid this mistake: don’t choose hardware that’s too tiny. Go for pulls at least 12 cm (5 in) wide on larger drawers; small buttons often cheapen the look.
Options I recommend:
- Matte black handles (modern and versatile)
- Brushed brass knobs for chic, warm interiors
- Leather tab pulls (great for Scandinavian-inspired rooms)
Cost: €3–8 / $4–9 per piece
Total project: €60–150 / $70–160 for a medium kitchen or full set of interior doors
Use Textiles Like a Designer
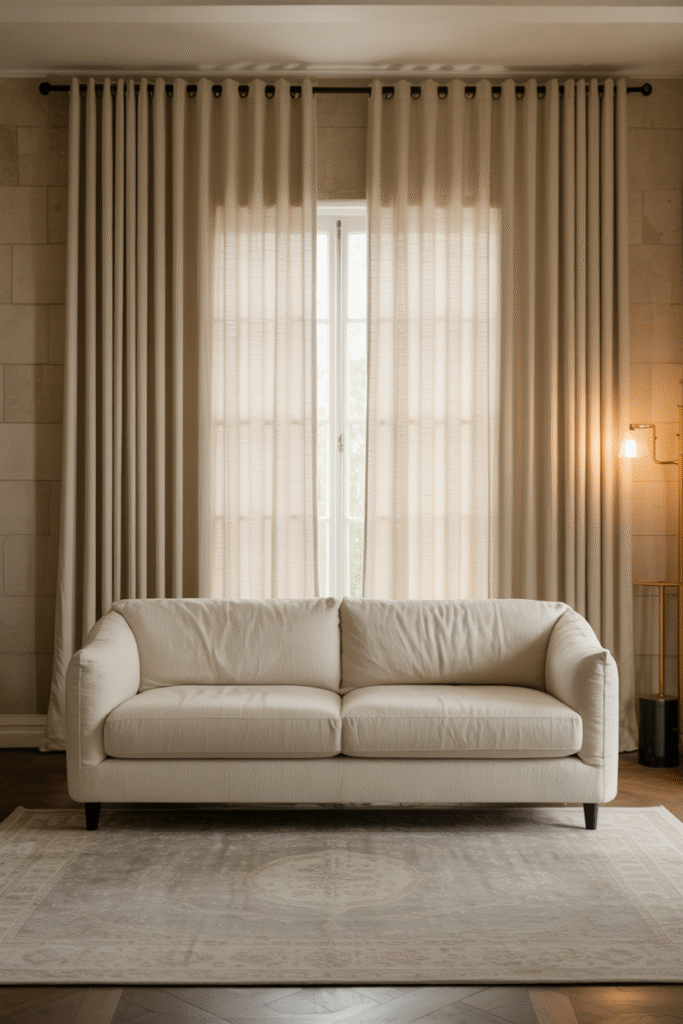
I’ve noticed that cheap-feeling homes almost always have thin, skimpy curtains or the wrong sized rugs. Here’s where textiles transform everything.
Curtains:
- Always hang them 15–20 cm (6–8 in) above the window frame, and at least 10 cm (4 in) beyond each side. This tricks the eye into seeing taller ceilings.
- Choose thicker fabrics—linen blends, cotton canvas, or velvet—even from affordable shops like IKEA.
Rugs:
Your rug should touch at least the front legs of all your main pieces of furniture. Too small, and the whole room shrinks. For a standard living room, that usually means at least 200 x 300 cm (8 x 10 ft).
Budget: €60–250 / $70–280 depending on size and fabric
Timeframe: Immediate visual effect once placed
Add Architectural Details Gradually
This is my favorite part—adding layers that look “built-in.” Even in newer homes with flat drywall, you can make things feel custom.
- Install simple trim or picture frame molding: I added wall trim to a plain office wall using MDF strips (€25 / $28 in materials). Painted the same colour as the wall, it looked like Parisian-inspired paneling.
- Crown molding: Even a simple plaster option makes a room feel taller and finished.
- Built-in bookcases: If true custom isn’t possible, flank a flat-pack bookshelf with trim and paint everything to match walls. I did this in a friend’s study, and visitors thought it was a carpenter’s work.
Difficulty: Intermediate DIYers
Tools needed: miter saw, level, construction adhesive
Cost: €30–300 / $35–350 per room depending on project scale
Focus on Natural Materials
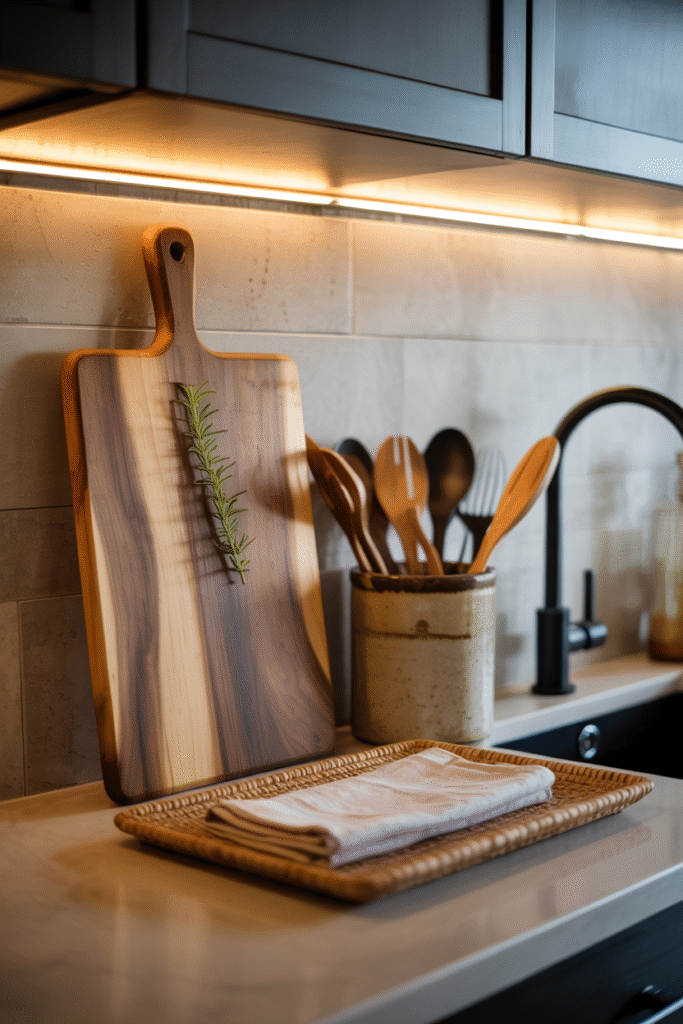
Plastic and shiny laminates often drag down a space. When possible, I choose finishes that age beautifully: wood, stone, linen. Even if it’s just a wood cutting board propped by the backsplash or linen throw on the couch, these touches signal timeless quality.
In my dining nook, swapping out synthetic placemats for woven seagrass chargers (€25 / $28 for set of 4) instantly felt more earthy and relaxed, like a boutique guesthouse.
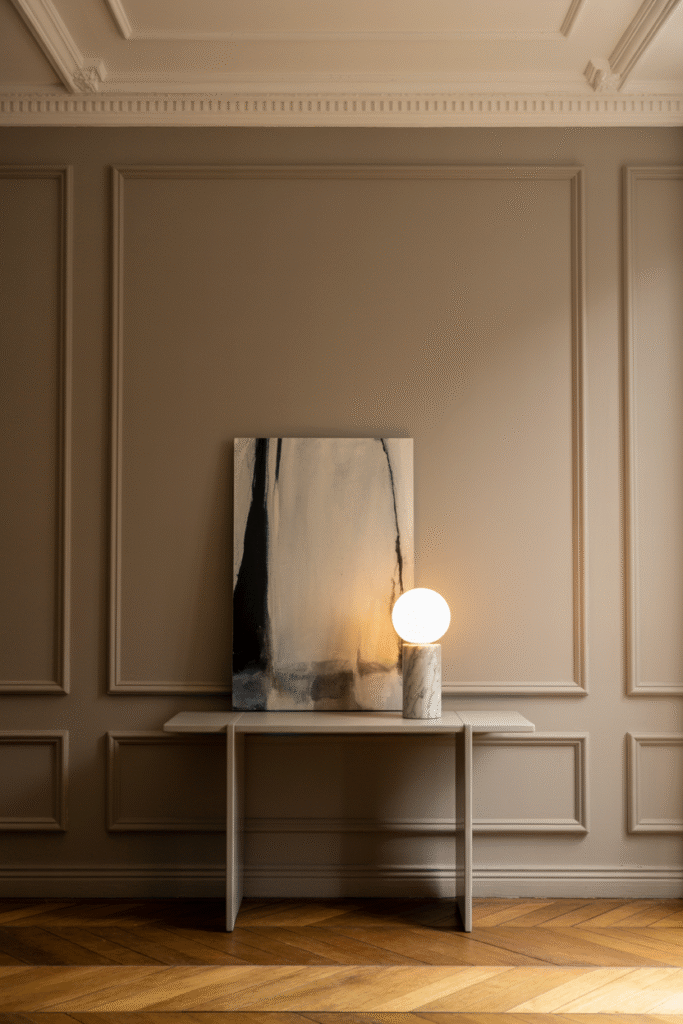
Style Thoughtfully, Don’t Overfill
What I see most often: too many small decor items spread across every surface. Luxe homes have breathing room.
Here’s what works:
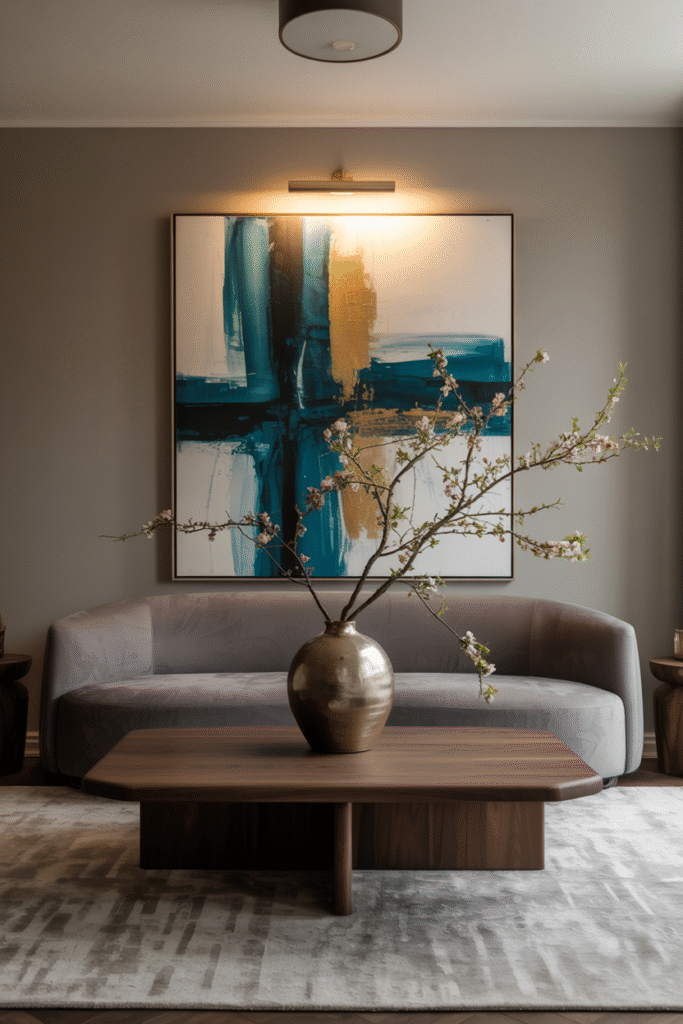
- One oversized vase with fresh greenery creates more presence than six tiny trinkets.
- Oversized art (70×100 cm / 28×40 in) looks rich, even if it’s a DIY canvas you paint yourself.
- Group decorative objects in odd numbers (3 or 5).
Avoid common mistake: buying lots of themed decor (e.g., dozens of pumpkins in autumn). It reads more like a store display than a home.
Common Mistakes to Avoid
- Buying everything new: Layering older, unique pieces gives depth.
- Skimping on rug size: Bigger is almost always better.
- Overusing trends: Stick to 1–2 trendy pieces mixed with timeless anchors.
- Neglecting lighting: The cheapest furniture looks expensive under warm layered lights; the reverse is true under harsh bulbs.
FAQs
Q: Do I need to buy expensive furniture to get this look?
A: Not at all. Mid-range furniture styled with the right paint, hardware, textural elements, and lighting can look high-end.
Q: What’s the first place to start?
A: Start with declutter + paint. These alone can shift the feel dramatically before you touch new furniture.
Q: Is it okay to mix metals in hardware and lighting?
A: Yes—brushed brass with matte black works beautifully. Just keep it to two finishes max per room.
Q: How do I make a small home feel expensive?
A: Use larger scale pieces (art, rugs, curtains) rather than lots of tiny furniture. It creates a bold, intentional look instead of clutter.
Q: Won’t darker paint make my room look smaller?
A: If paired with the right lighting and larger-scale mirrors, dark walls add drama without shrinking a space. I painted a 2×2 m (6.5×6.5 ft) powder room charcoal, and it felt intimate and sophisticated, not small.