

Every year I watch people fuss over perfect trees, then breathe out when the house goes quiet and the real moments begin—the lopsided star, the cinnamon smell, the little felt gingerbread with a wonky smile that someone stitched after dinner. That’s the good stuff. That’s the bit guests notice and say, “Wait—did you make this?” because it feels like a story, not a purchase.
In my experience, homemade ornaments aren’t about saving money (though they often do). They’re about creating a tree that tells who lives here—what we’ve tried, what we learned, and the tiny traditions that creep in without planning. What works best is mixing a few easy wins with one or two “keeper” projects you’ll pull out for years and remember exactly when you made them.
So here’s the promise: 15 DIY ornament ideas that are simple to start, hard to mess up, and look intentionally handmade—in the best way. You’ll get clear materials, measurements, realistic time frames, and the small tricks I use to make them last from one December to the next. Pour something warm, grab the glue gun, and let’s make a tree that actually feels like home.
Salt Dough Keepsakes That Outlast the Season
Salt dough is the most forgiving medium for beginner ornament makers. It uses just three ingredients: 250g plain flour (2 cups), 125g salt (1 cup), and 120ml water (½ cup).
Handprint Stars

Materials:
- Salt dough (see recipe above)
- Star-shaped cookie cutter
- Straw for creating a hole
- Acrylic paints + clear varnish
Steps:
- Roll dough to about 0.5cm (¼ inch) thick.
- Cut out star shapes and press a child’s handprint gently into each shape.
- Use a straw to make a small hole for hanging.
- Bake at 100°C (200°F) for 2-3 hours until solid.
- Paint and seal with clear varnish.
Pro tip: Write the child’s name and year on the back before varnishing—it becomes a family time capsule.
Difficulty: Beginner
Time: 3-4 hours (mostly baking/drying)
Cost: Under ₹200 ($2)
Cinnamon Stick Bundles That Smell Like Christmas

This one doubles as both ornament and air freshener.
Materials:
- 3 cinnamon sticks (about 10cm/4in each)
- Hot glue gun
- Ribbon or jute twine
- Optional: dried orange slices, cranberries, or star anise
Steps:
- Bundle 3 sticks together and secure with a drop of hot glue.
- Wrap twine around the center snugly, tying in a bow at the front.
- Add a dried orange slice or a star anise pod with hot glue for extra charm.
Difficulty: Beginner
Time: 15 minutes
Cost: Around ₹300 ($3-4), depending on spices
Personal tip: I made a dozen of these once, and weeks later my living room still smelled of cinnamon every time I walked in.
Rustic Pinecone “Snow Drops”

If you’ve got pinecones in your garden or nearby park, you’ve already got half the ornament ready.
Steps:
- Collect pinecones and dry them thoroughly (low oven at 80°C/175°F for 30 minutes).
- Brush the tips with white acrylic paint or dab with school glue and sprinkle with Epsom salt for a frosted look.
- Tie a ribbon loop at the top.
Pro tip: If you want them to shimmer under lights, mix a little silver glitter into the paint.
Difficulty: Beginner
Time: About 30 minutes (plus drying)
Cost: Virtually free if you’ve got pinecones
Sweater Sleeve Baubles
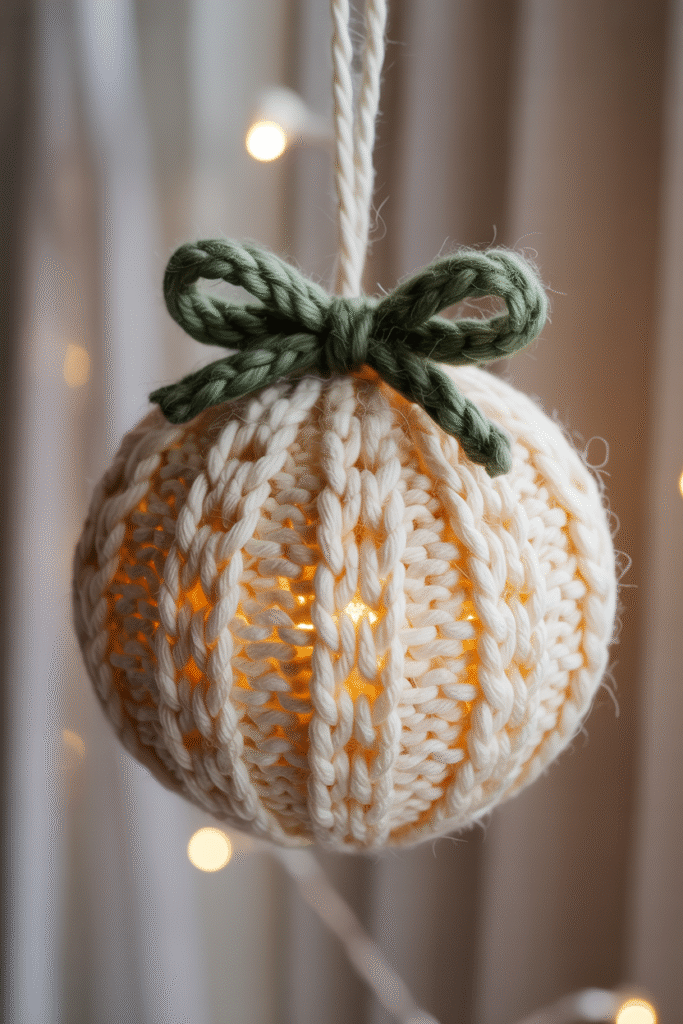
This works if you’ve got an old jumper (sweater) that’s too shabby to wear.
Materials:
- Old knitted sweater
- Clear plastic or foam baubles
- Hot glue gun
Steps:
- Cut sweater sleeve into small panels.
- Wrap each bauble snugly with fabric, trimming as you go.
- Secure with hot glue.
- Add ribbon at top.
These come out looking cozy, warm, and unique—perfect if your tree decor leans rustic.
Difficulty: Intermediate
Time: 25-30 minutes each
Cost: Minimal if reusing old clothes
Sheet Music Scrolls

Perfect for music lovers.
Materials:
- Old sheet music or printable vintage-style sheets
- Wooden skewers or cinnamon sticks
- Wax twine for tying
Steps:
- Cut sheet music into strips (about 5 x 10cm / 2 x 4in).
- Roll around skewer to form a scroll.
- Tie with twine and hang.
Add a cluster of three or four for extra charm.
Glass Jar Lid Frames
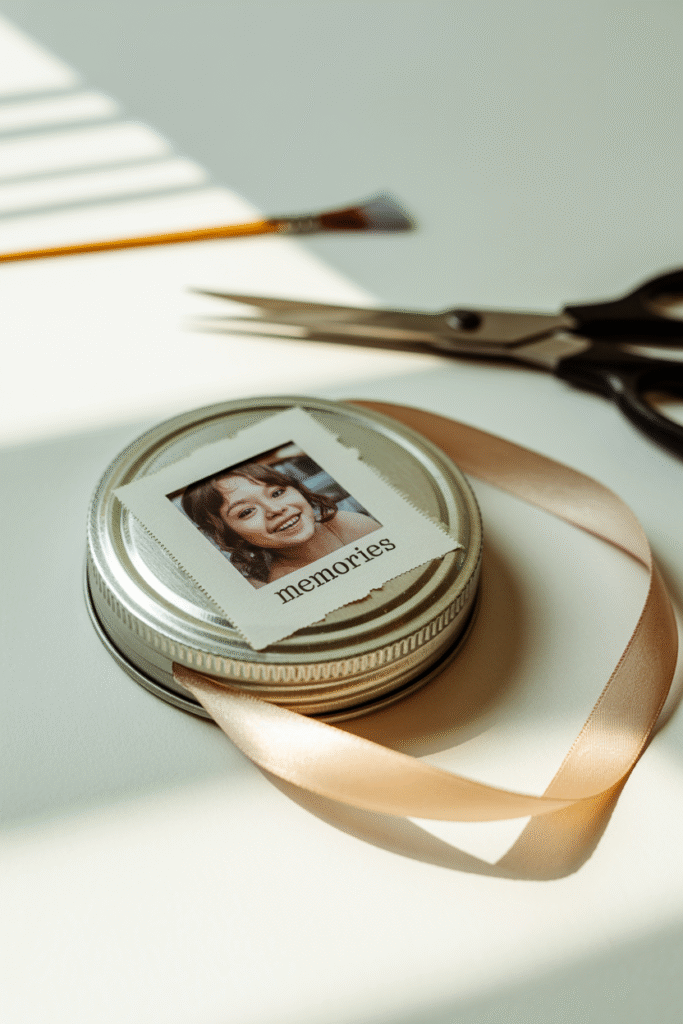
If you’ve ever bought pickle jars, you’ve unknowingly hoarded prime ornament material.
Steps:
- Save jar lids, clean and dry thoroughly.
- Print small family photos or seasonal prints.
- Cut to fit the lid interior, glue in place.
- Attach ribbon to back with hot glue.
Now your tree doubles as a family photo wall.
Yarn Wrapped Stars
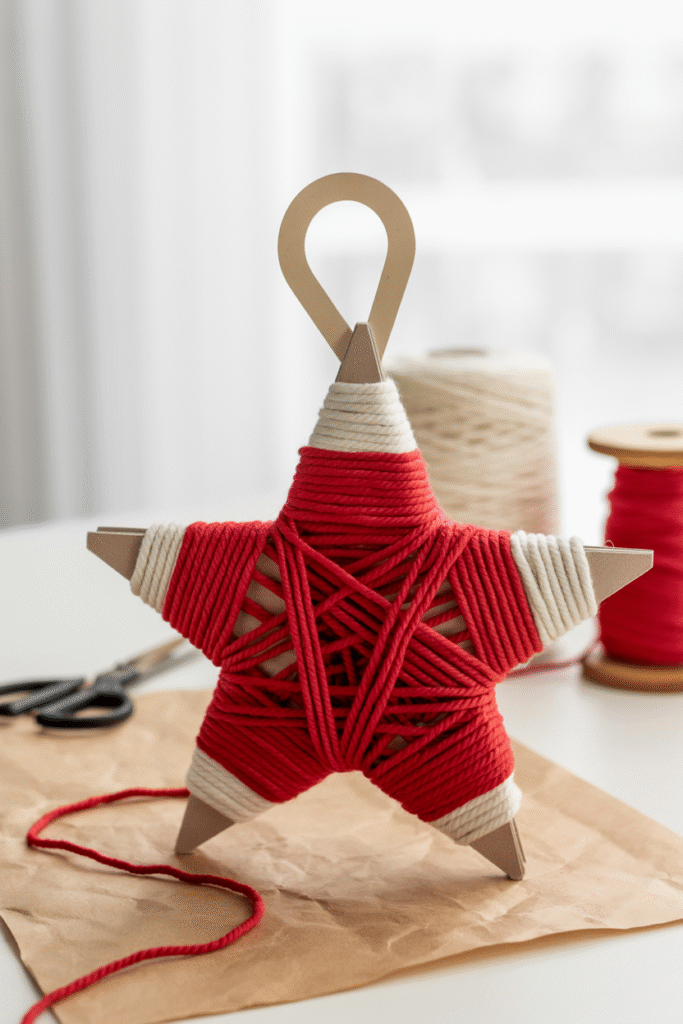
Great for kids and adults alike.
Materials:
- Cardboard cut into star shapes (about 8-10cm / 3-4in across)
- Yarn or string in Christmas colors
Steps:
- Cut a star base from sturdy cardboard.
- Wrap yarn around until fully covered.
- Knot at back and add a hanging loop.
These are lightweight, so they’re good fillers for bare tree spots higher up.
Felt Gingerbread Friends
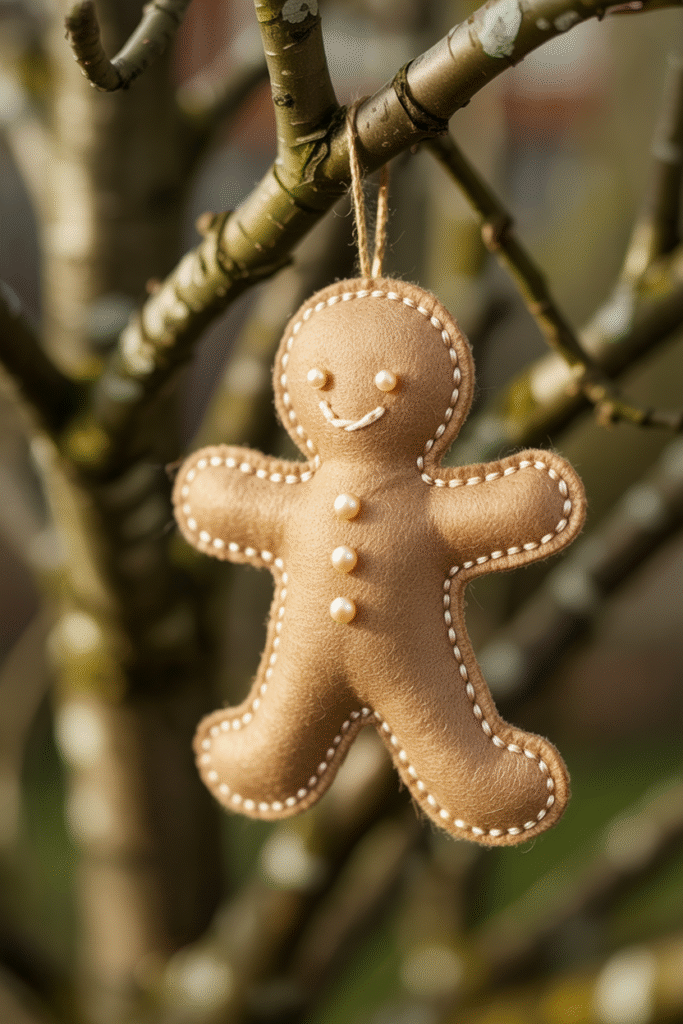
If you can sew a simple line, you can make these.
Materials:
- Brown felt, scissors
- White embroidery thread
- Small beads/buttons
- Cotton for stuffing
Steps:
- Cut two gingerbread man shapes.
- Sew together with blanket stitch, leaving a small gap.
- Lightly stuff with cotton before sealing.
- Stitch on beads or embroidery for details.
Button Wreaths
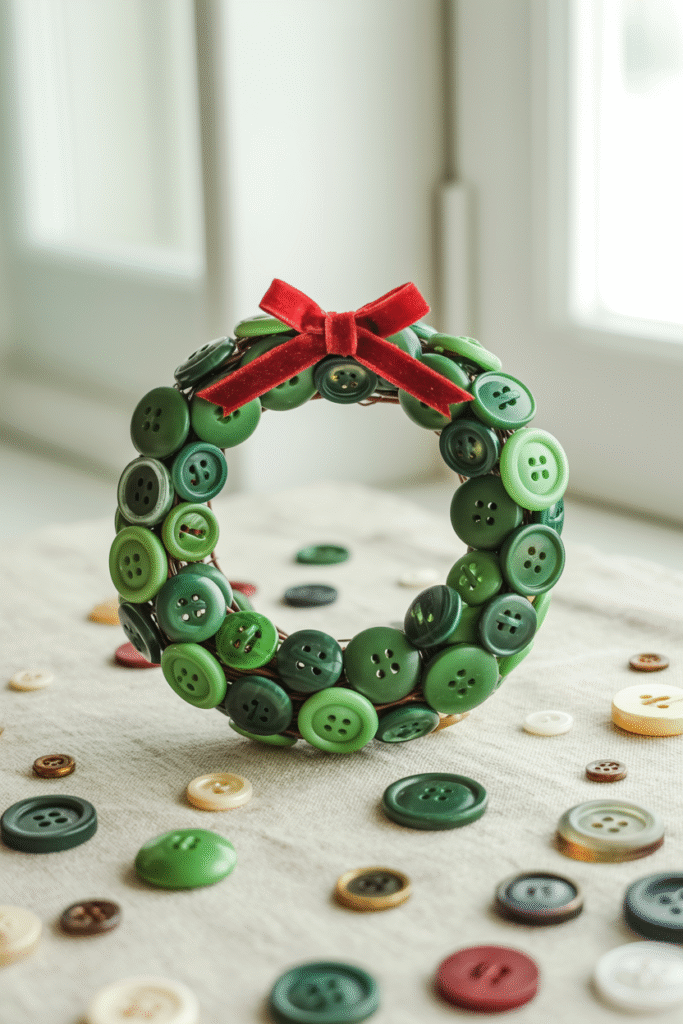
A great way to use up a jar of old buttons.
Steps:
- Use thick floral wire, about 20cm (8in).
- Thread green, red, and gold buttons alternately.
- Twist ends into a loop and tie ribbon bow.
Each one takes only 10 minutes, and the variations are endless.
Dried Orange Slice Ornaments
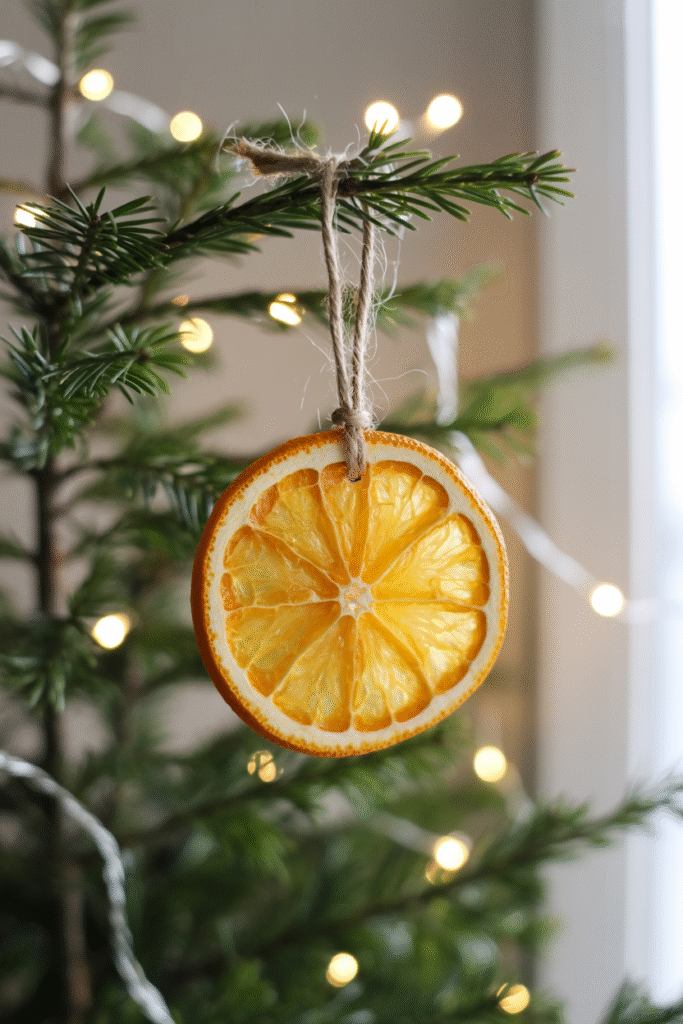
Classic and practically free.
Steps:
- Slice oranges into 5mm (¼ in) slices.
- Place on baking tray lined with parchment.
- Bake at 100°C (200°F) for 2-3 hours, flipping halfway.
- Once dry and leathery, tie with twine.
Mistake to avoid: Don’t bake at higher temps or they’ll burn instead of dry.
Popsicle Stick Snowflakes

Easy for crafting with kids.
Steps:
- Arrange 4-5 sticks into a snowflake shape.
- Glue at the intersection points.
- Paint white or silver, sprinkle lightly with glitter.
Mini Wreaths from Bottle Caps
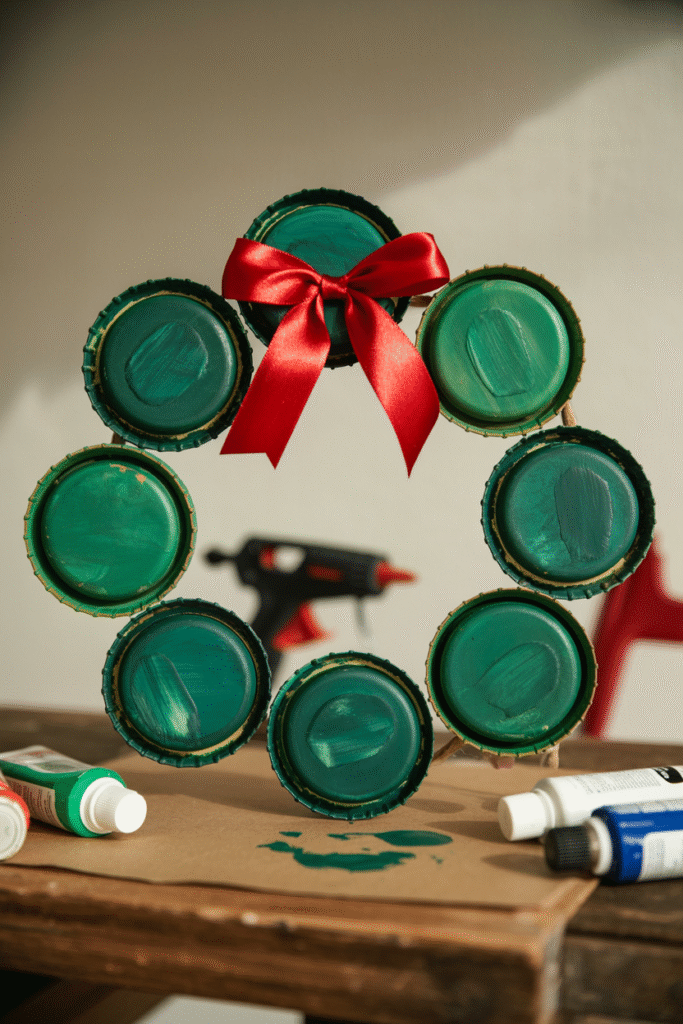
Another upcycling trick.
Steps:
- Save metal bottle caps.
- Paint exterior green.
- Glue into a circular arrangement of 7 caps.
- Add tiny bow on top.
Twine-Wrapped Balls

Instead of buying rustic ornaments, make them.
Materials:
- Small styrofoam balls
- Jute twine
- Hot glue
Steps:
- Dab hot glue at one point and start wrapping twine tightly.
- Continue until ball is fully covered.
- Add a sprig of faux greenery before tying the loop.
Beaded Icicles

Elegant but straightforward.
Steps:
- Use thin jewelry wire (about 20cm/8in).
- Thread clear and silver beads in gradient sizes.
- Twist end into loop.
These catch Christmas lights beautifully.
Hand-Painted Wood Slices
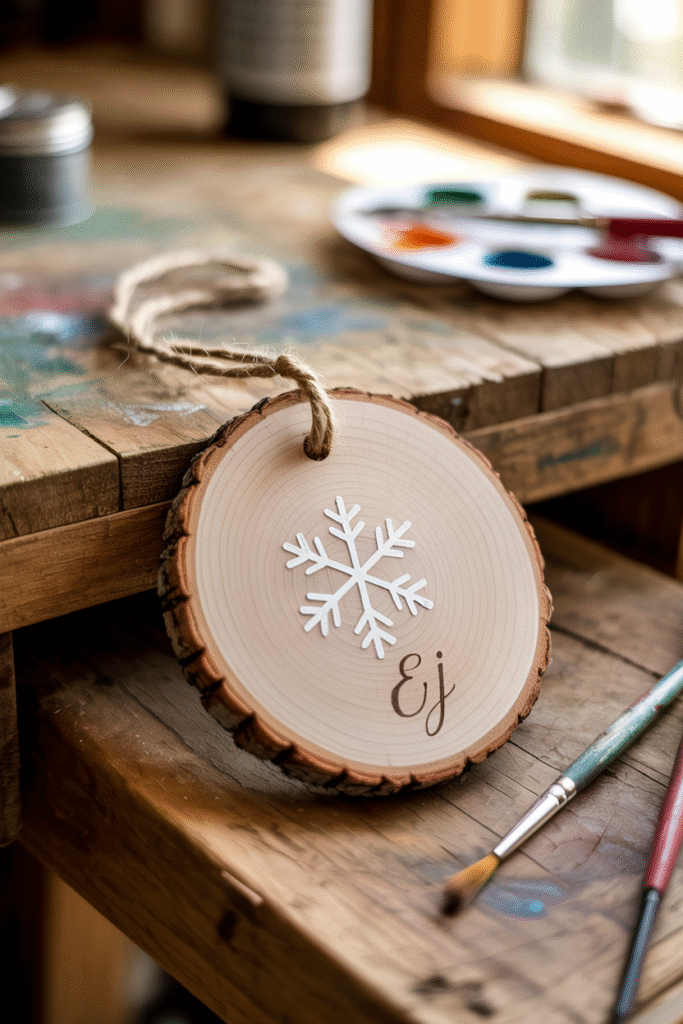
If you’ve got a saw and access to logs or fallen branches.
Steps:
- Slice wood into discs about 1cm (½in) thick.
- Sand smooth and drill a small hanging hole.
- Paint seasonal patterns (snowflakes, trees, initials).
Pro tip: Seal with clear varnish so they last for years.
FAQs
1. How do I make DIY ornaments child-safe?
Avoid using glass, sharp edges, or unsecured small parts that could be choking hazards. Felt, yarn, and popsicle sticks are safer choices for kids’ crafts.
2. Can I use air-dry clay instead of salt dough?
Yes—air-dry clay works beautifully and gives a smoother result, but it’s slightly more expensive.
3. How should I store homemade ornaments?
Wrap each one in tissue paper and store in a sturdy box. Avoid damp spaces, especially for salt dough or dried fruit ornaments.
4. What’s the cheapest DIY ornament option?
Paper-based ones (sheet music, cardboard stars, paper snowflakes) are cheapest—you can make dozens for under ₹150 ($2).
5. How do I stop cinnamon or dried orange ornaments from molding?
Bake them fully until completely dehydrated and store with silica gel packets to absorb moisture.
Wrap Up: Make a Tree That Feels Lived-In
If there’s one thing I’ve learned after years of making ornaments at the kitchen table, it’s this: the ones that stick around aren’t the “perfect” ones—they’re the ones with a tiny story attached. The salt dough star with the year scratched in. The pinecone that shed a little glitter for a week. The cinnamon bundle that smelled like December every time the heater kicked on. That’s the charm.
What works best is setting a simple plan so the crafting actually happens. Pick 3–5 projects from the list, gather everything in one tray or caddy, and block one evening per project. Keep it easy: one bake project (salt dough or oranges), one “no tools” craft (button wreaths, yarn stars), and one “keeper” build (wood slices or beaded icicles). That combo gives fast wins, a great-looking tree, and a couple of heirloom pieces you’ll pull out every year.