
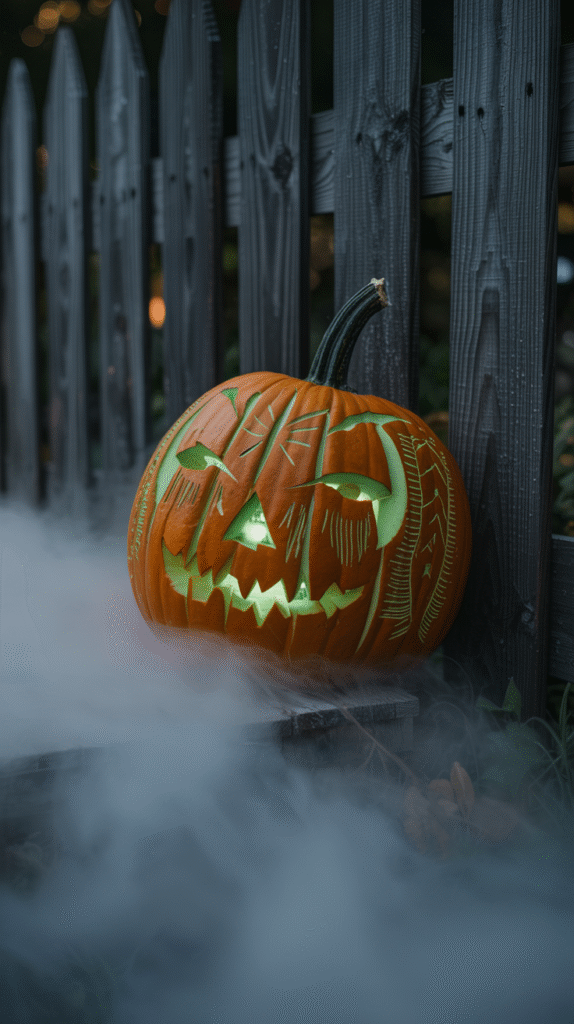
Let’s be honest: pumpkin carving is one of those things that seems easy until you’re standing in your kitchen with a pile of seeds and a knife, wondering why your masterpiece looks more like a potato than a ghost. Last year, I spent two hours carefully tracing a design onto my pumpkin only to accidentally cut right through its cheek, turning my spooky smile into a gaping yawn. Sound familiar? If you’ve ever been frustrated with wobbly lines, faces that collapse overnight, or designs that are impossible to trace, you’re not alone. But here’s the good news: pumpkin carving doesn’t have to be a guessing game. With a few years of trial and error (and some help from a few crafty friends), I’ve figured out the tricks that actually work.
By the end of this guide, you’ll have a toolkit of ideas and techniques that turn you from a nervous beginner into the neighbor who gets compliments every Halloween. You’ll discover how to keep your designs crisp, your pumpkins glowing, and your sanity intact. I’ll walk you through the best patterns for every skill level, share shortcuts for long-lasting pumpkins, and warn you about the little mistakes that can ruin even the prettiest jack-o’-lantern. Whether you’re carving with kids, getting competitive on Instagram, or just want a friendly-looking pumpkin on your porch, let’s roll up our sleeves and get messy together.
What to Look for in a Good Carving Pumpkin
Before you even pick up the knife, you need the right canvas. I’ve found that the biggest, shiniest pumpkin isn’t always the best—sometimes, those are just hollow displays of disappointment hidden under glossy skin. Here’s what I look for when I hit the patch (or the grocery aisle):
- Heft: A good pumpkin should feel heavy for its size. If it’s light, it’s probably thin-walled or starting to dry out.
- Flat bottom: If you want your pumpkin to sit straight, skip the ones that roll around like a toddler’s bowling ball.
- Even shape: Lumpy pumpkins are cute, but they’re harder to carve unless you’re going for a wonky design.
- Healthy stem: The stem isn’t just for looks—it helps keep moisture in and rot at bay.
A solid pumpkin can last for days, even with intricate cuts. I once carved a pumpkin so well that it was still smiling on my porch on November 1, much to my husband’s confusion.
Prep Before You Cut
- Wash your pumpkin thoroughly with soapy water, then dry it. I’ve found this simple step helps keep mold at bay and your design crisp.
- Cut the lid or base—either works, but I prefer cutting the base if I’m using deep designs. Make the opening wide enough for your hand to fit comfortably.
- Scoop out all the pulp and seeds—don’t skimp here. The thinner the walls, the easier it is to carve. For really detailed work, aim for about 1.5–2 cm (about 0.6–0.8 inch) thick walls.
- Sketch your design on the pumpkin with a marker before you start cutting. You can always adjust as you go.
13 Pumpkin Carving Ideas You’ll Actually Want to Try
1. The Chandelier Pumpkin
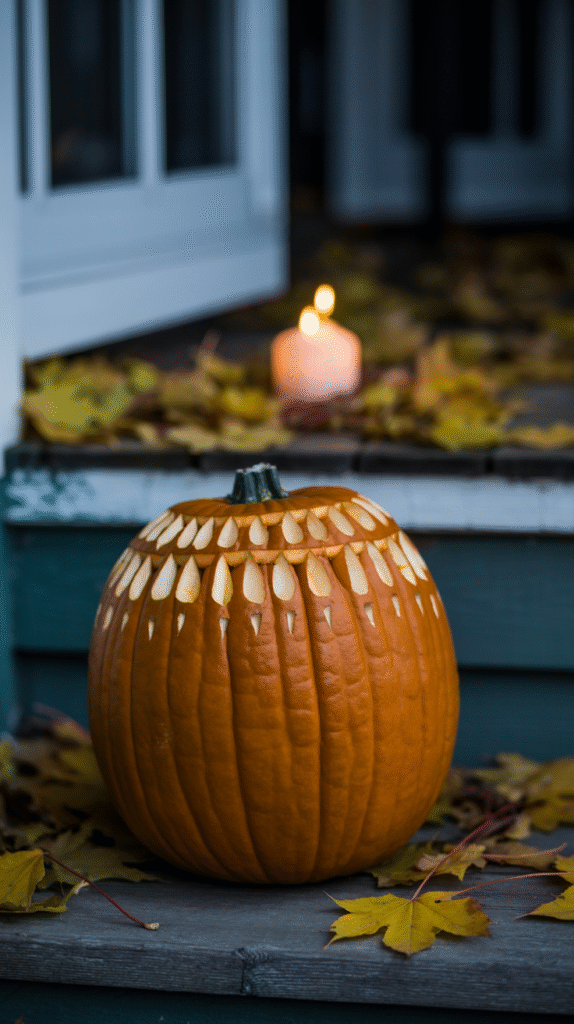
Instead of face features, carve a ring of dangling “crystals” around the top edge. Use a drill or small carving tool to create evenly spaced holes, then connect them with thin, shallow cuts to form teardrop shapes. When lit, it looks like a rustic chandelier. Time: 45–60 minutes. Skill: Intermediate.
Pro tip: Start with a larger pumpkin—more surface area means a more dramatic effect.
2. Lace Pattern Pumpkin
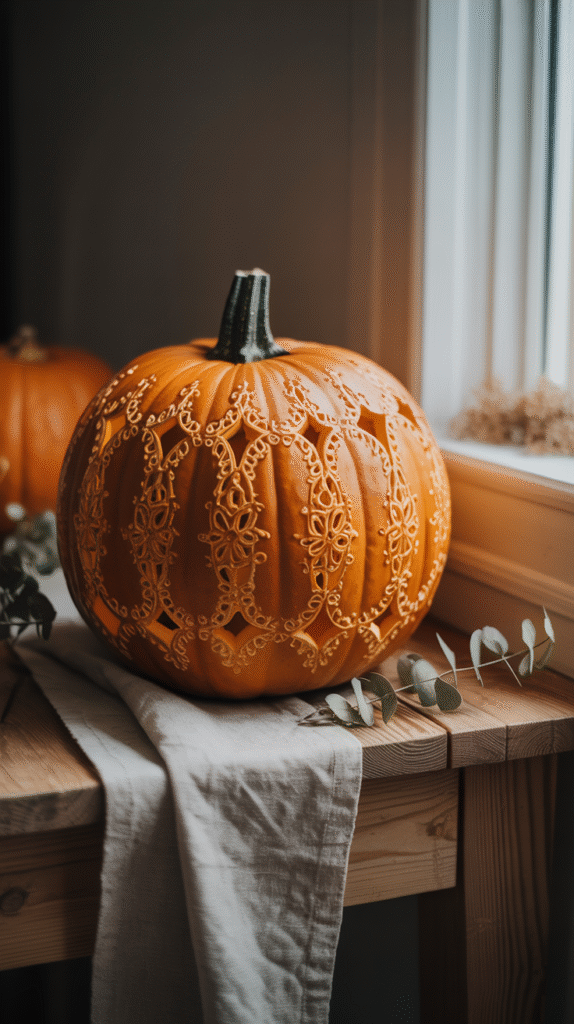
Draw delicate lace or filigree patterns on your pumpkin, then use a fine carving tool to pierce holes along the lines. The effect is subtle, almost lantern-like from the inside. Time: 60–75 minutes. Skill: Advanced (but worth it for the wow factor).
Avoid this: Don’t press too hard or your lace will break. Patience is key.
3. The “Peek-a-Boo” Face Pumpkin
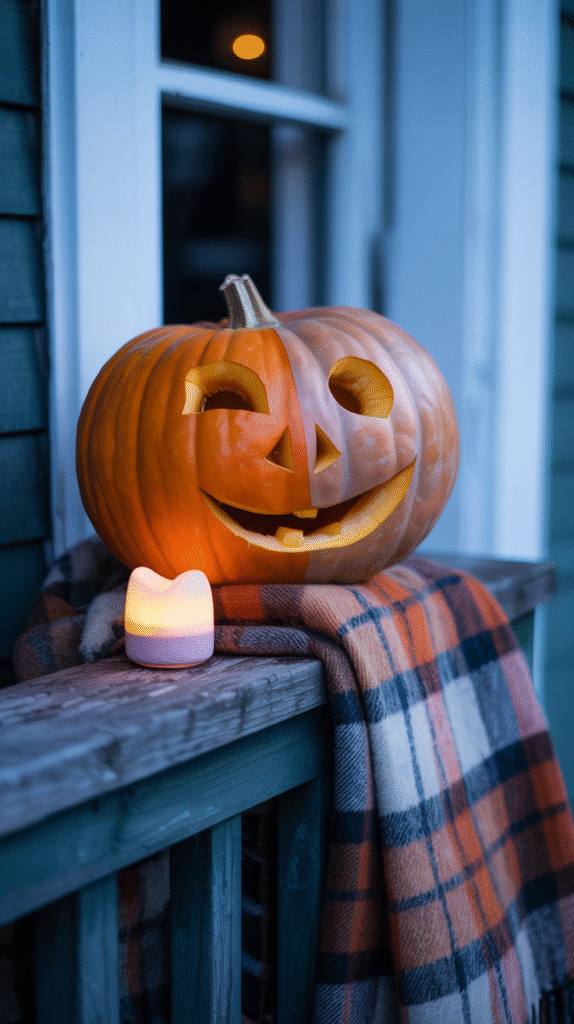
Carve only half a face, leaving the rest of the pumpkin intact but thinly scraped to let some light shine through. This is a crowd-pleaser every year at my place—it’s friendly but not over-the-top. Time: 30 minutes. Skill: Beginner.
4. Pumpkin Scene Silhouette
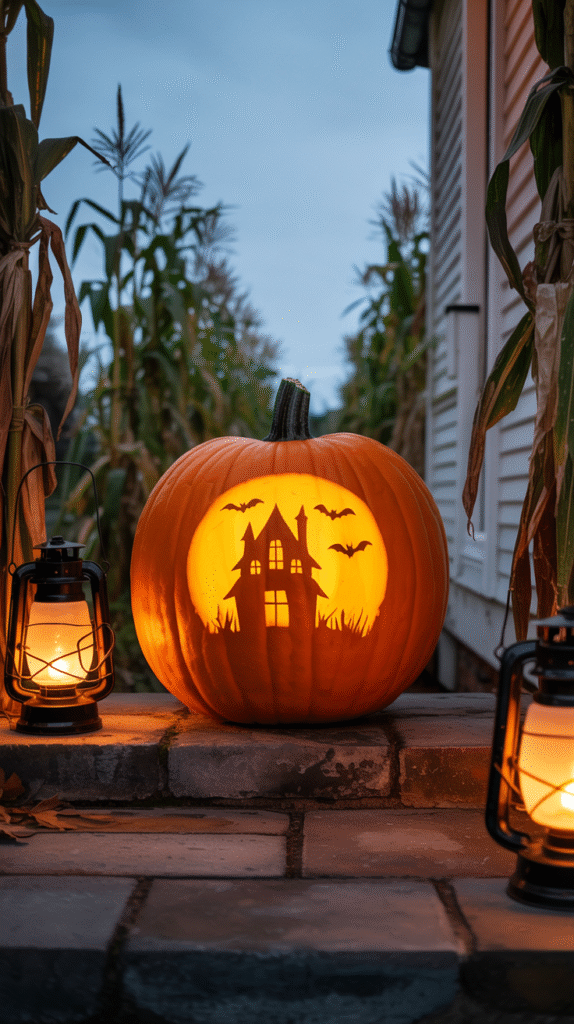
Pick a spooky scene—like a haunted house, a witch on a broom, or a full moon with bats—and carve it out. Use a stencil or draw freehand. Time: 60–90 minutes. Skill: Intermediate.
Variation: Try a city skyline or a woodland scene for something different.
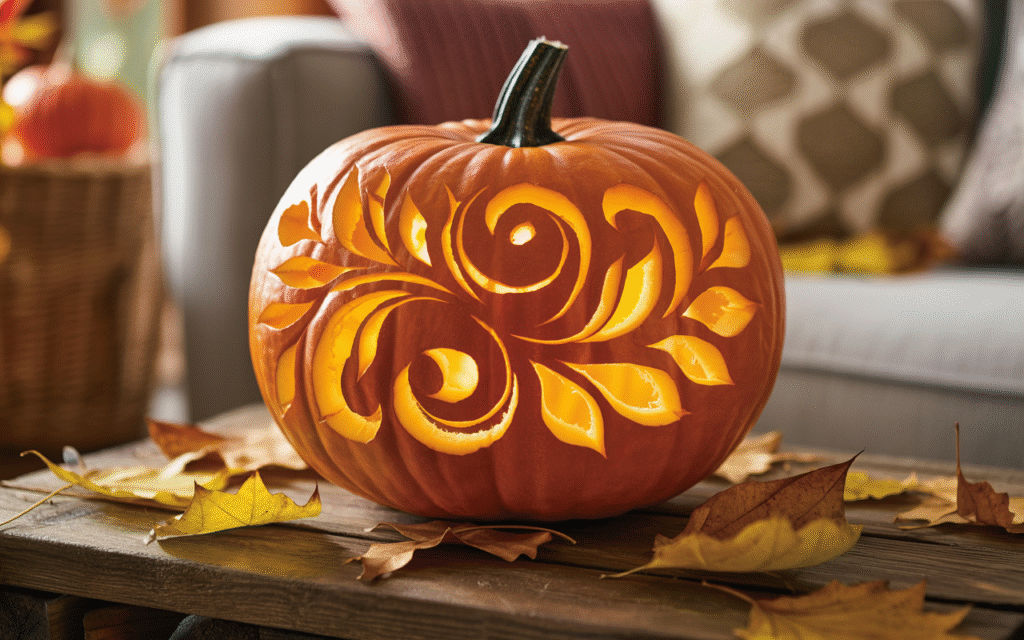
5. Shadow Pumpkin with Layered Cuts
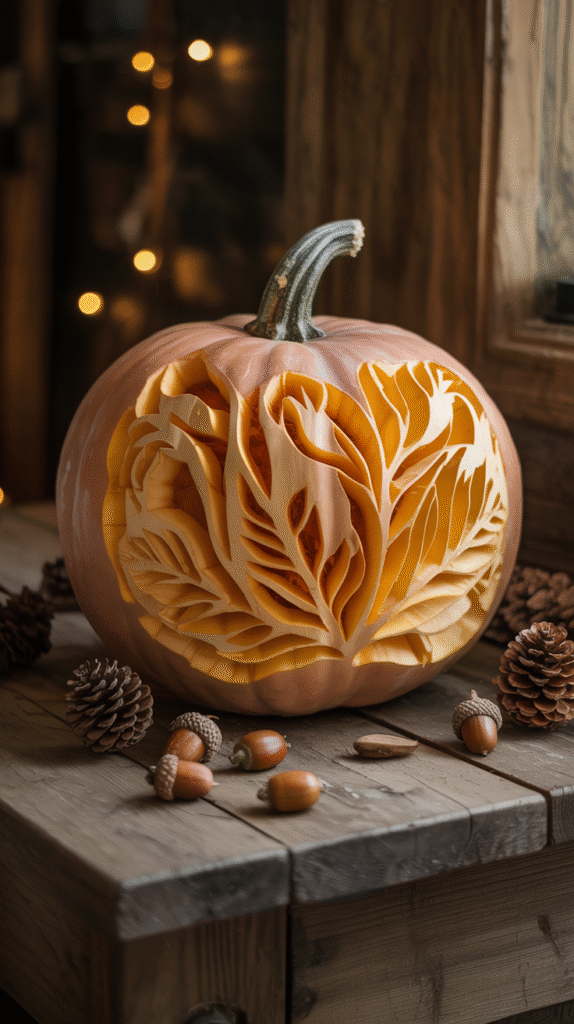
Don’t carve all the way through. Shave off layers of rind at different depths so light leaks through in some places but not others. The result is a soft, textured glow that looks handmade and unique. Time: 45–60 minutes. Skill: Intermediate.
6. The “No-Carve” Pumpkin
Paint your pumpkin instead, then use a small carving tool to etch details—like stars, swirls, or dots—through the paint. When lit, the paint blocks some light, highlighting your etching. Time: 30 minutes. Skill: Beginner.
Cost tip: Acrylic paint is cheap and versatile. Let it dry before carving.
7. The Stacked Pumpkin Tower
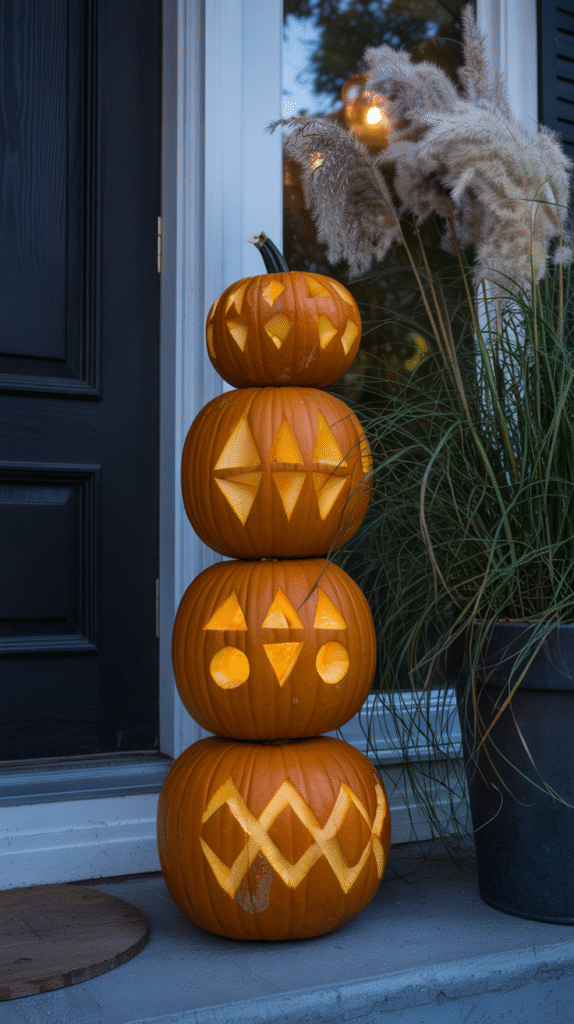
Take three small to medium pumpkins, carve each with a simple geometric pattern, and stack them vertically. Drill a hole through the center and insert a dowel rod to keep them steady. Add LED tea lights in each. Time: 60 minutes (including assembly). Skill: Beginner.
Personal anecdote: I once forgot the dowel and used a sturdy branch from my yard—it worked just fine and looked rustic.
8. Animal Portrait Pumpkin
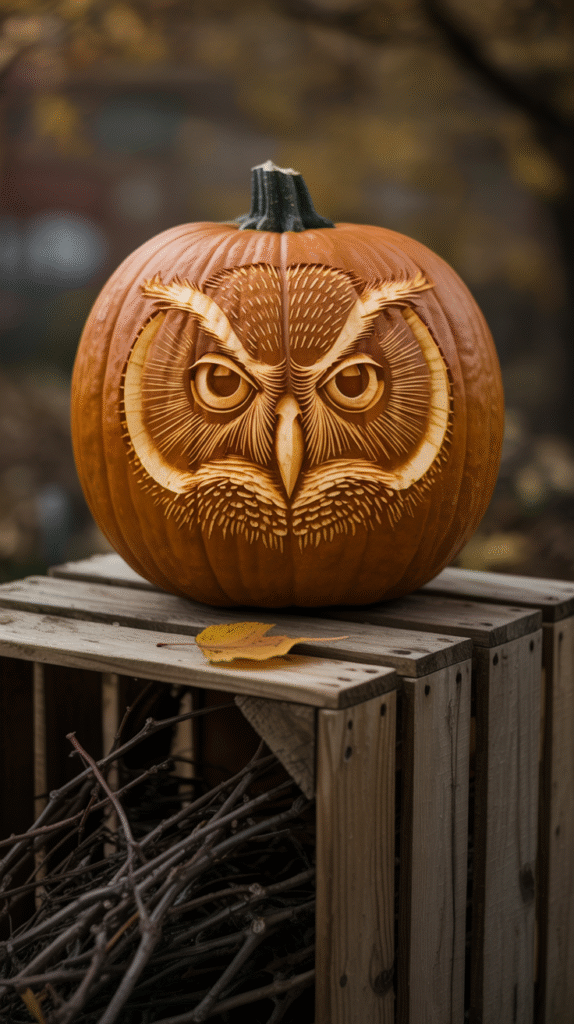
Choose your favorite animal—cat, owl, fox—and carve its face using a stencil as a guide. The key here is to focus on the eyes and muzzle for the most expressive result. Time: 45–60 minutes. Skill: Intermediate.
Pro tip: Use a fine-toothed saw blade for cleaner lines on fur details.
9. The “Melting Face” Pumpkin
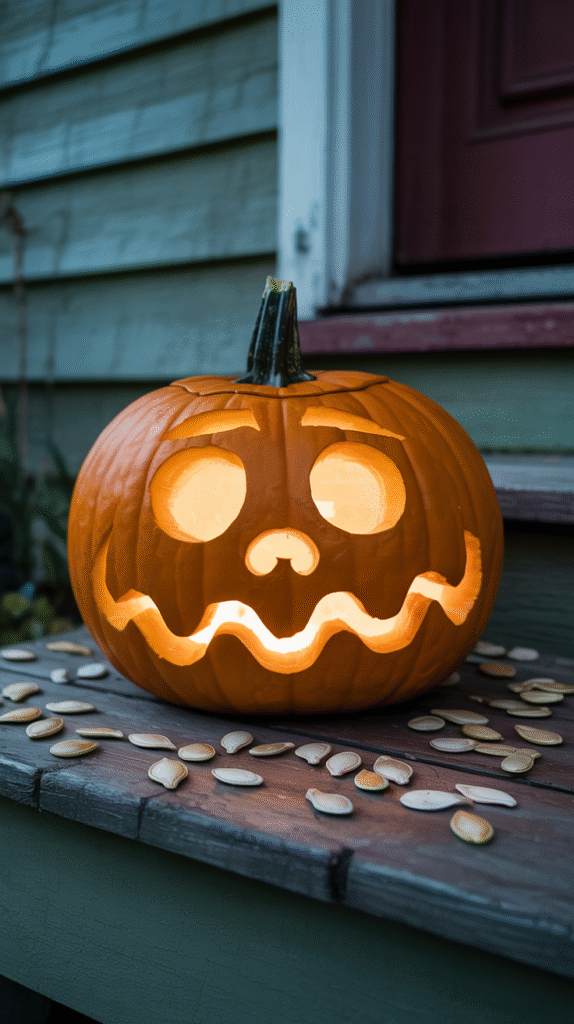
Carve a face with droopy, melting features—exaggerate the eyes, nose, and mouth so they’re sagging down. It’s silly, memorable, and easier than it looks. Time: 35–45 minutes. Skill: Beginner.
10. Pumpkin with Cut-Out Words
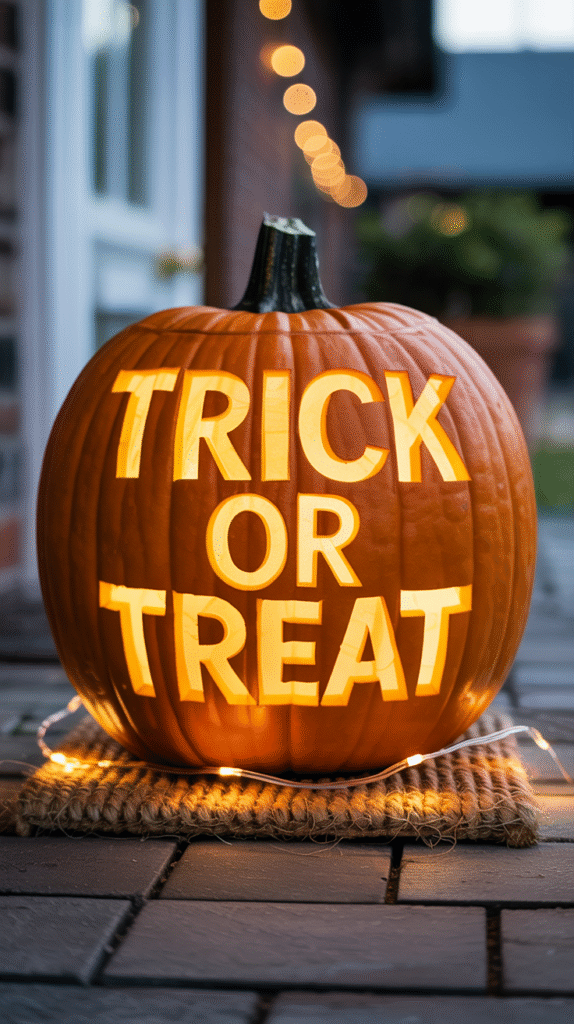
Pick a spooky or playful phrase (“Boo!”, “Trick or Treat”, “Happy Halloween”) and carve out the letters. Use a pencil to sketch the letters first. Time: 40–50 minutes. Skill: Beginner.
Avoid this: Don’t make the letters too thin or they’ll break. 8–10 mm (about 0.3–0.4 inch) is a safe width.
11. The Pumpkin Solar System
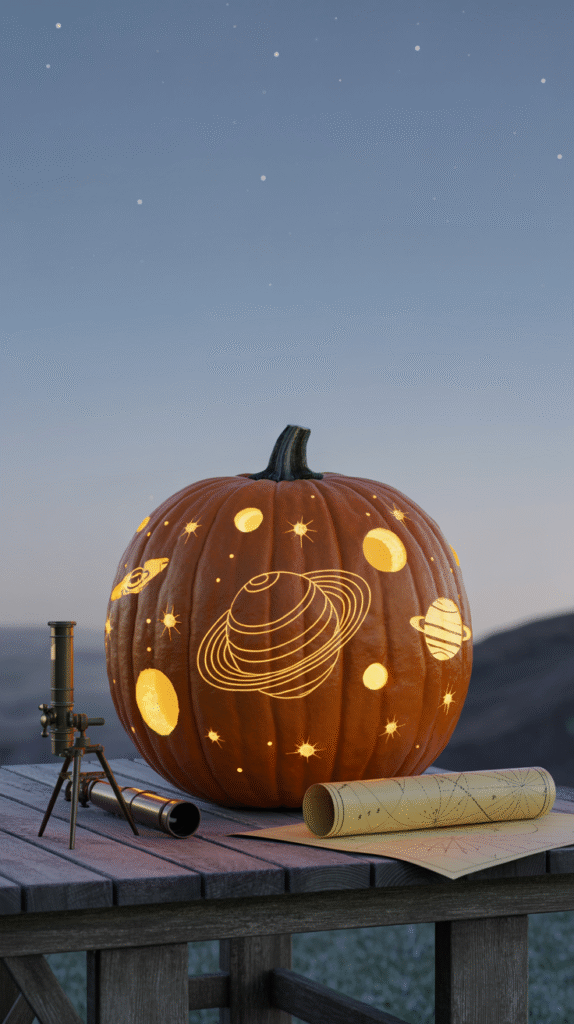
Carve planets in orbit around the stem, using different-sized holes for each planet. Add ring details for Saturn. Time: 30–45 minutes. Skill: Beginner.
12. The “Garden Patch” Pumpkin
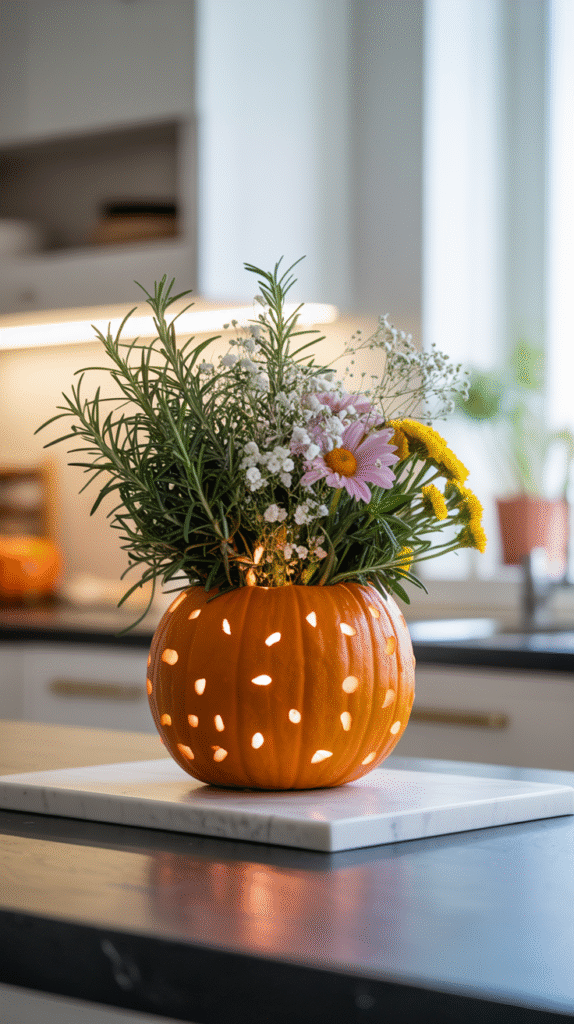
Carve or drill small holes all over the pumpkin and insert fresh flowers or herbs—rosemary, sunflowers, even baby’s breath—for a fresh, unexpected look. Time: 25 minutes. Skill: Beginner.
Personal note: This one is a hit at Thanksgiving too—just swap in autumn leaves and berries.
13. The “Glow-in-the-Dark” Pumpkin
Carve your design, then apply glow-in-the-dark paint over the rind. When the lights go off, your pumpkin glows eerily. Time: 35–45 minutes. Skill: Beginner.
Safety: Use non-toxic, water-based glow paint and test a small area first.
Essential Steps for Every Pumpkin Project
No matter which design you choose, these steps are your foundation for success.
- Plan your design: Sketches and stencils save time and reduce mistakes.
- Work in good light: Natural daylight is best for seeing your progress.
- Sharpen your tools: Dull blades slip easily. Keep your tools sharp.
- Cut from the center outward: For faces, start with the nose, then eyes, then mouth.
- Save the pumpkin “guts”: Roast the seeds for a snack; compost the rest.
- Preserve your pumpkin: Wipe the cut edges with petroleum jelly to keep them fresh longer.
- Light it up safely: Use LED candles or lights for worry-free display.
Common Mistakes & How to Fix Them
I’ve seen—and made—almost every pumpkin carving mistake out there. Here’s how to avoid the classics:
- Cutting the lid too small: Make sure you can get your hand in and out easily.
- Hacking at thick walls: Scoop thoroughly to avoid resistance and broken tools.
- Ignoring cleanup: Wipe up shavings and pulp as you go for a cleaner workspace.
- Forgetting to test your light: Make sure your candle or light fits and illuminates your design as intended before you finish.
- Letting kids carve unsupervised: Carving is fun, but always supervise little ones or have them paint instead.
Time, Cost, & Difficulty: A Quick Reference
| Idea | Time Required | Cost Estimate | Skill Level |
|---|---|---|---|
| Chandelier Pumpkin | 45–60 min | $15–$25 | Intermediate |
| Lace Pattern Pumpkin | 60–75 min | $15–$25 | Advanced |
| Peek-a-Boo Face | 30 min | $10–$15 | Beginner |
| Silhouette Scene | 60–90 min | $15–$25 | Intermediate |
| Layered Shadow Pumpkin | 45–60 min | $15–$25 | Intermediate |
| No-Carve Pumpkin | 30 min | $10–$15 | Beginner |
| Stacked Pumpkin Tower | 60 min | $20–$30 | Beginner |
| Animal Portrait | 45–60 min | $15–$25 | Intermediate |
| Melting Face | 35–45 min | $10–$15 | Beginner |
| Cut-Out Words | 40–50 min | $10–$15 | Beginner |
| Solar System Pumpkin | 30–45 min | $10–$15 | Beginner |
| Garden Patch Pumpkin | 25 min | $10–$20 | Beginner |
| Glow-in-the-Dark Pumpkin | 35–45 min | $15–$25 | Beginner |
Lesser-Known Tips for Pumpkin Carving Success
- Use dental floss to “saw” through tough spots—a little trick I picked up from a sculptor friend.
- Freeze your pumpkin for a few hours before carving to keep it firm and reduce mess.
- Try a potato peeler for fine shaving and delicate textures.
- Carve in stages: For big projects, work in two sessions—let your wrists rest.
- Seal your design with a spray bottle of water and a bit of bleach to slow rot.
Safety First
Always supervise kids, use sharp knives with care, and keep pets away from carving areas. If you’re using real candles, never leave them unattended. I prefer LED lights—they’re safe, reusable, and look just as magical.
Pumpkin Carving FAQs
How long will my carved pumpkin last?
In mild weather, a well-preserved pumpkin can last 3–5 days. Keep it cool, dry, and out of direct sunlight for best results.
Can I carve a pumpkin that’s already started to rot?
It’s best to start fresh. A rotten pumpkin is messy, smells, and won’t hold your design well.
What do I do if I make a mistake while carving?
You can sometimes patch small mistakes with toothpicks or glue. If it’s major, flip the pumpkin and carve the other side—I’ve done this more than once!
How do I transfer a stencil to a pumpkin?
Tape your stencil on, then poke small holes along the lines with a pin or skewer. Remove the paper and connect the dots with a marker or knife.
Do I need special tools?
A basic kit is helpful, but you can start with kitchen knives, spoons, and skewers. Upgrade as you get more ambitious.
How do I make my pumpkin last longer?
Clean it well before carving, keep it cool, and apply petroleum jelly to the cut edges. A bleach-water spritz also helps.
Ready, Set, Carve!
Pumpkin carving is about creativity, trying something new, and having fun with the process. Whether you’re a total beginner or looking for a fresh challenge, I hope these 13 pumpkin carving ideas and practical tips give you the confidence to create something you’re proud of. And when you’re done, snap a photo and tag me I’d love to see what you come up with! Happy carving!