
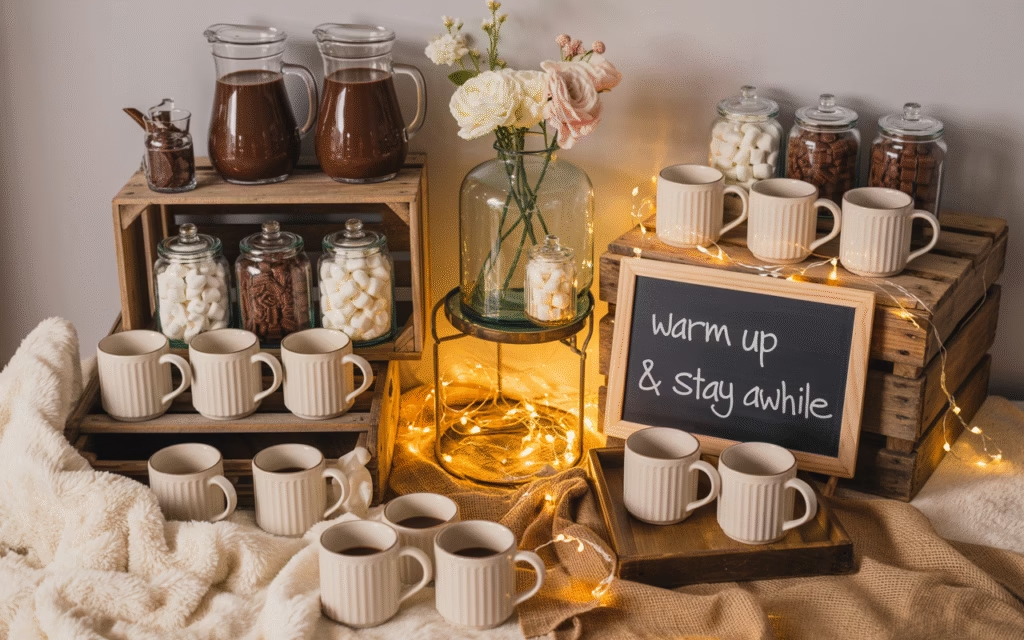
Have you ever hosted a cozy gathering and wished you could offer something more special than just coffee or tea? I’ve found that setting up a DIY hot chocolate bar is one of the easiest ways to make your guests feel pampered, especially during the colder months. What’s more, it’s surprisingly simple to create a station that looks stunning in photos and feels welcoming in real life. In this guide, I’ll walk you through every step from choosing the right spot to styling your bar so it’s both functional and Instagram-worthy. By the end, you’ll have a hot chocolate bar that’s easy to assemble, affordable to maintain, and guaranteed to impress.
Why a Hot Chocolate Bar Works for Any Home
A hot chocolate bar isn’t just for holiday parties. I’ve used mine for casual weekend brunches, book club meetings, and even as a fun after-school treat for my kids. The beauty of this setup is its flexibility. You can keep it minimal for a small family or go all out for a larger group. What works best is keeping the essentials—mugs, chocolate, and a few extras—within easy reach, so guests can help themselves without feeling overwhelmed.
Choosing the Right Spot
The first thing I do is scout for a spot that’s both practical and visually appealing. A kitchen counter, a side table near the living room, or even a small cart works well. I prefer a space that’s at least 60 cm wide (24 inches) so there’s room for mugs, toppings, and a kettle or hot water dispenser. If you’re using a cart, make sure it’s sturdy enough to hold a few heavy items.
Pro tip: Avoid placing your bar directly under a window or near a drafty door. You want the area to stay warm and inviting, not chilly.
Essential Materials List
Here’s what I always keep on hand for a basic hot chocolate bar:
- Mugs: 6–8 ceramic mugs (I like ones with a 150 ml capacity (5 oz) for a cozy serving)
- Hot chocolate mix: 2–3 varieties (dark, milk, and white chocolate work well)
- Milk: Whole, oat, and almond milk for different preferences
- Kettle or hot water dispenser: For easy pouring
- Toppings: Whipped cream, marshmallows, chocolate shavings, crushed cookies, cinnamon sticks
- Serving bowls and spoons: Small bowls for toppings, spoons for stirring
- Labels: Small chalkboard signs or printed tags for each item
Budget-friendly alternative: Use glass jars for toppings instead of fancy bowls. They’re cheaper and look just as good.
Step-by-Step Setup
1. Prep Your Base
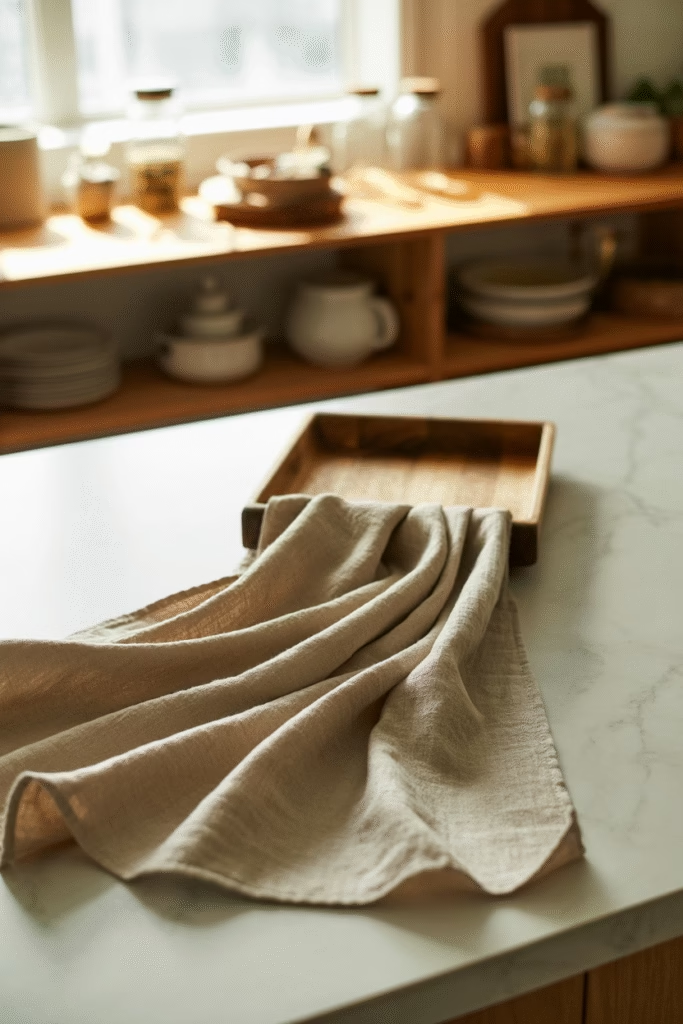
Start by clearing your chosen spot and wiping it down. Lay out a tablecloth or runner for a polished look. I like using a neutral color like beige or gray, but a festive red or green works for holidays.
2. Arrange Mugs and Mixes
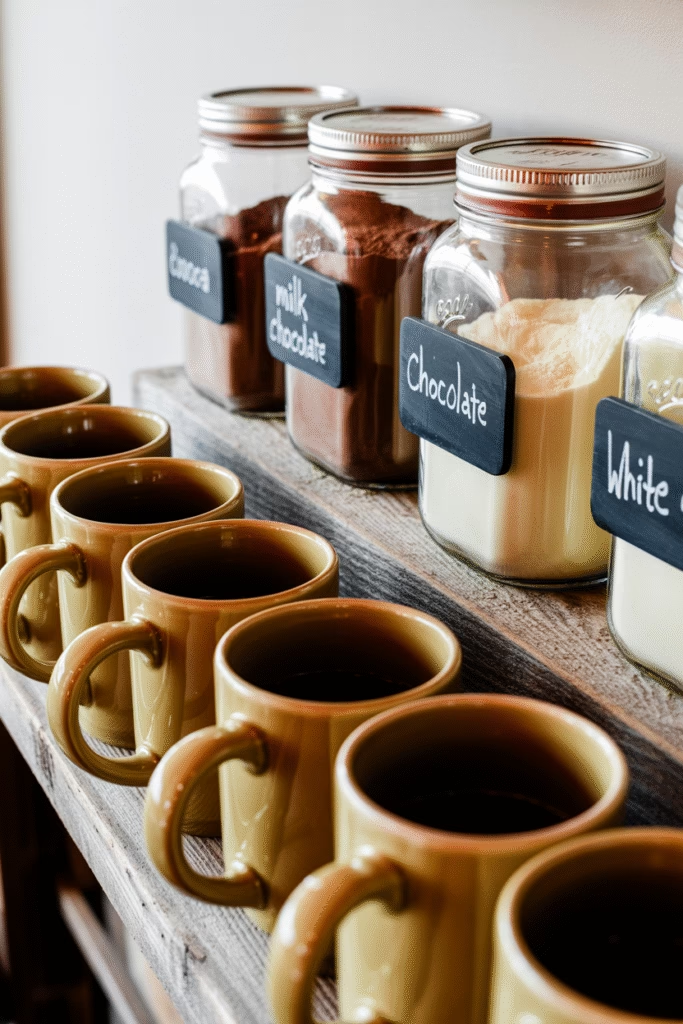
Place your mugs in a row at the front of the bar. Behind them, set out your hot chocolate mixes in small jars or bowls. Label each one clearly so guests know what they’re choosing.
3. Add Milk Options
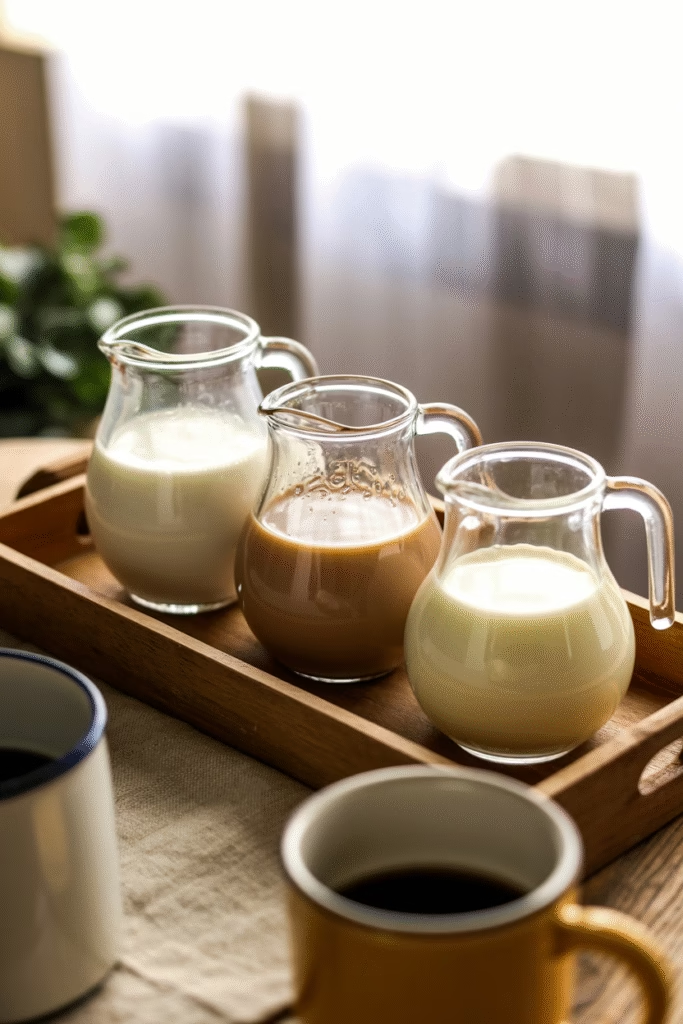
Set up your milk choices in small pitchers or bottles. If you’re using a cart, keep them on the lower shelf for easy access.
4. Style the Toppings

This is where your bar starts to look Instagram-worthy. Use small bowls for each topping and arrange them in a visually pleasing way. I like to group similar items together—marshmallows with whipped cream, cookies with chocolate shavings.
Pro tip: Add a few cinnamon sticks or candy canes for a festive touch. They double as stirrers and photo props.
5. Set Up the Kettle
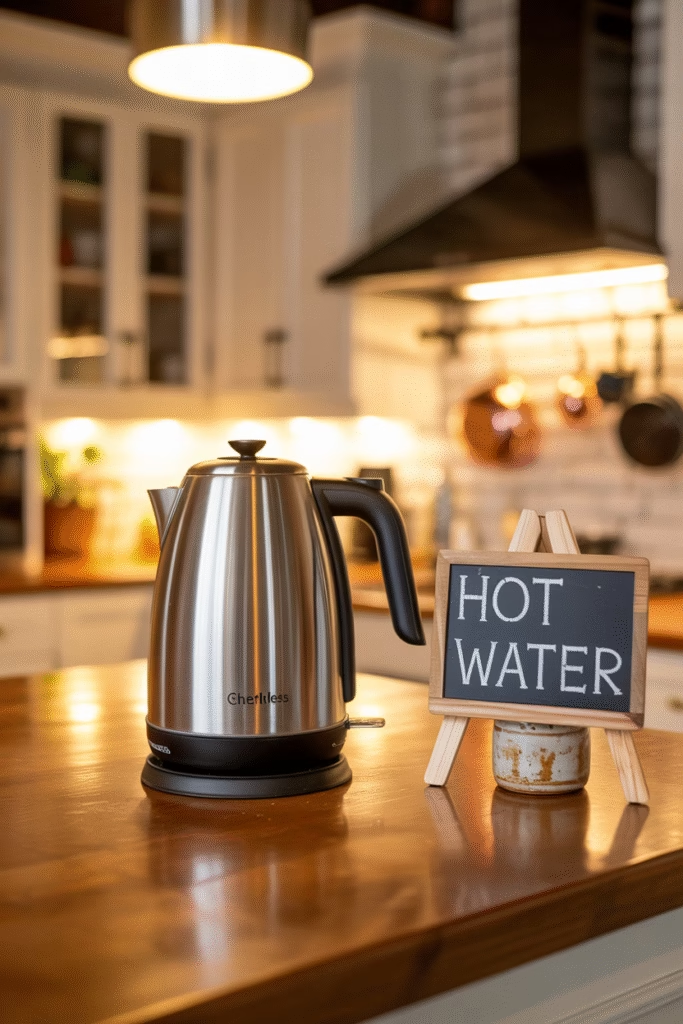
Place your kettle or hot water dispenser at one end of the bar. Make sure it’s easy to reach and won’t tip over.
6. Add Finishing Touches
A few decorative items can make a big difference. I like to add a small vase with fresh flowers, a string of fairy lights, or a stack of recipe cards for inspiration.
Styling Tips for an Instagram-Worthy Look
Use Layers and Heights
I’ve found that stacking items at different heights creates a more dynamic look. Try placing a cake stand under your toppings or using a small tray to elevate your mugs.
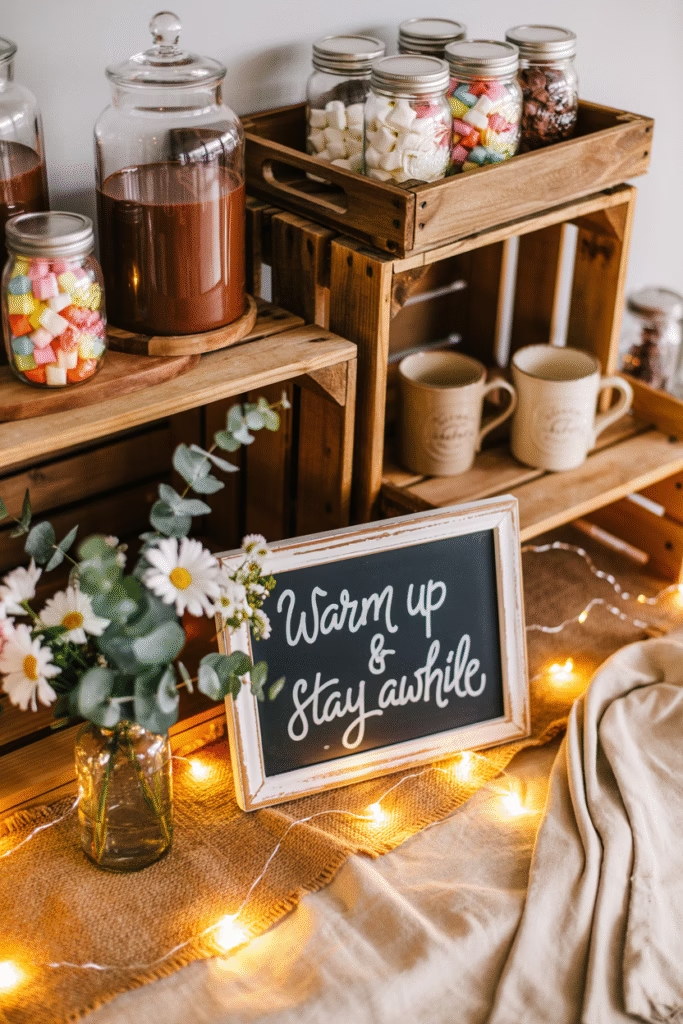
Mix Textures
Combine smooth ceramics with rustic wood or woven baskets. This adds visual interest and makes your bar feel more inviting.
Add a Personal Touch
Include a handwritten sign with a fun message like “Warm Up & Stay Awhile” or “Sip, Smile, Repeat.” It’s a small detail that makes a big impact.
Lighting Matters
Natural light is best for photos, but if you’re setting up in the evening, use soft, warm lighting. Fairy lights or a small lamp work well.
Common Mistakes to Avoid
- Overcrowding: Don’t try to fit too many items on your bar. Keep it simple and organized.
- Ignoring Practicality: Make sure everything is easy to reach and use. Guests shouldn’t have to struggle to pour milk or grab a spoon.
- Forgetting Labels: Clear labels help guests know what they’re choosing, especially if you’re offering different types of chocolate or milk.
- Skipping the Cleanup Plan: Have a tray or basket ready for used mugs and spoons. It keeps your bar looking tidy throughout the event.
Budget-Friendly Alternatives
Not everyone wants to splurge on fancy decor. Here are some affordable swaps I’ve tested:
- Mugs: Use mismatched thrift store finds for a charming, eclectic look.
- Bowls: Mason jars or small glass containers work just as well as ceramic bowls.
- Labels: Print your own on cardstock or use chalkboard stickers.
- Decor: Fresh herbs like mint or rosemary add a pop of color and fragrance without breaking the bank.
Advanced Touches for Experienced Decorators
If you’re ready to take your hot chocolate bar to the next level, try these ideas:
- Custom Mixes: Create your own hot chocolate blends with spices like cinnamon, nutmeg, or chili powder.
- Interactive Elements: Set up a “build your own” station with a variety of toppings and mix-ins.
- Themed Decor: Match your bar to a specific theme, like a winter wonderland or a cozy cabin vibe.
- Photo Backdrop: Add a small backdrop with a festive banner or a string of lights for Instagram-worthy shots.
Safety Considerations
- Hot Water: Keep the kettle or hot water dispenser out of reach of children and pets.
- Electrical Safety: If you’re using a hot water dispenser, make sure it’s on a stable surface and away from water sources.
- Allergies: Label any items that contain common allergens like nuts or dairy.
FAQs
Q: How much does it cost to set up a hot chocolate bar?
A: A basic setup costs around ₹1,500–₹3,000 (about $18–$36), depending on what you already have at home. You can keep costs down by using items you already own.
Q: How long does it take to set up?
A: About 30–45 minutes for a simple bar. Add another 15–20 minutes if you’re styling for photos.
Q: Can I make this bar kid-friendly?
A: Absolutely! Use child-safe mugs and avoid small toppings that could be a choking hazard. Offer a variety of flavors to keep things fun.
Q: What’s the best way to keep hot chocolate warm?
A: Use a thermal carafe or keep the kettle on a low setting. You can also set up a small slow cooker with a ladle for continuous serving.
Q: How do I clean up after the event?
A: Have a tray or basket ready for used mugs and spoons. Wipe down surfaces with a damp cloth and store any leftover ingredients in airtight containers.
Final Thoughts
Setting up a DIY hot chocolate bar is one of those projects that feels more complicated than it actually is. With a little planning and a few simple materials, you can create a station that’s both functional and beautiful. I’ve used mine for everything from casual family nights to holiday parties, and it’s always a hit. The key is to keep it simple, practical, and personal. Don’t worry about making it perfect what matters most is that your guests feel welcome and enjoy a warm, comforting drink.
If you’re new to home decor, start with the basics and add more touches as you gain confidence. And if you’re an experienced decorator, don’t be afraid to experiment with new ideas and themes. The best hot chocolate bars are the ones that reflect your personality and style.