
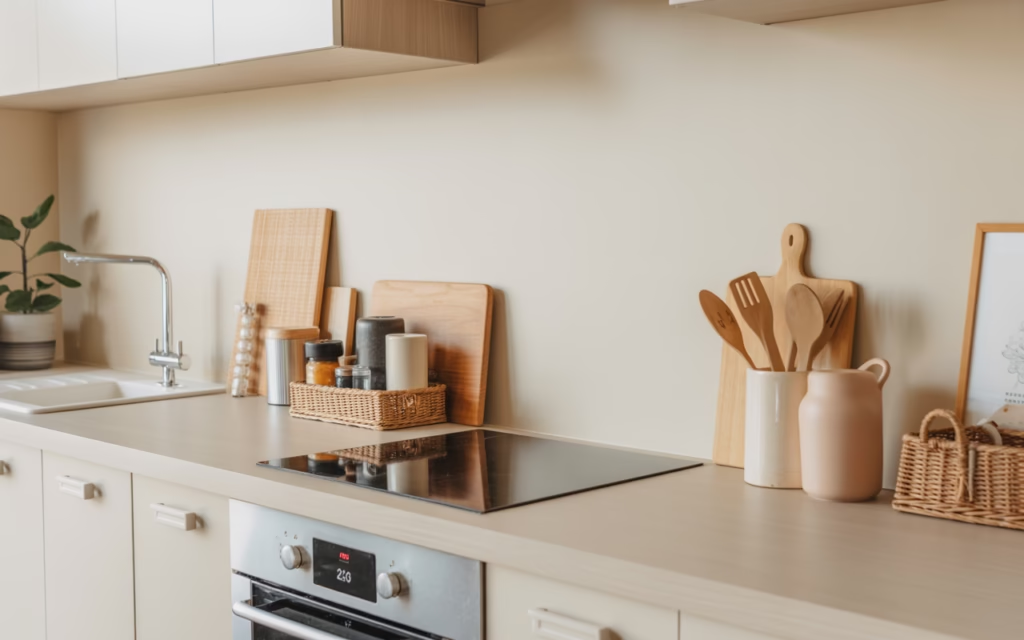
A messy kitchen countertop can make the whole room feel chaotic, even when the rest of the space looks pretty decent. It doesn’t take much either — a few appliances, scattered utensils, unopened mail, a paper towel roll, and suddenly your counter looks like it gave up. And honestly, who wants to cook in a space that feels crowded before you even chop a single onion?
I’ve always felt that countertops set the tone for the entire kitchen. When they look clean and organized, the whole space feels calmer, brighter, and way more functional. When they’re cluttered, everything feels harder than it needs to be. Making coffee gets annoying, meal prep feels cramped, and somehow even finding a spoon becomes a minor life event.
The good news is that you don’t need a giant kitchen or a full makeover to fix it. A few smart organization ideas can free up space, make your counters look polished, and help your kitchen work better every single day. Some of these ideas focus on storage, some help with layout, and a few simply make the space look more intentional — because yes, that matters too.
So in this article, I’m sharing 15 easy kitchen countertop organization ideas that can help you create a space that feels cleaner, smoother, and a lot more put together.
1. Use a Tiered Spice Rack to Reclaim Prime Real Estate
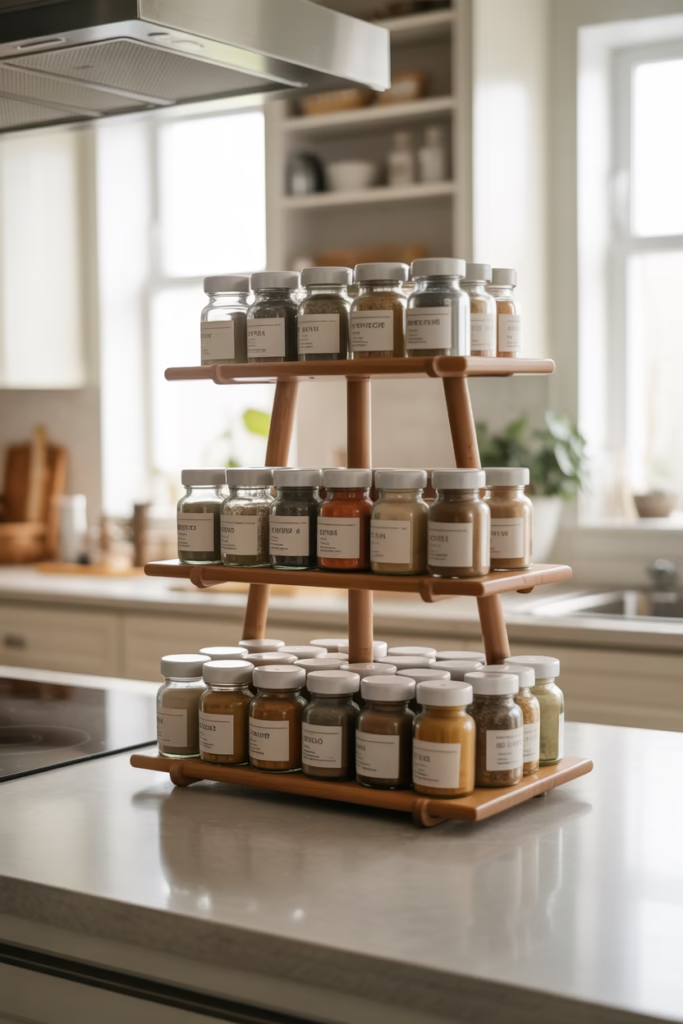
Spices are sneaky little space-stealers. Before you know it, you’ve got fifteen jars lined up like they’re auditioning for a cooking show, and none of them are actually where you can reach them quickly.
A tiered spice rack solves this instantly. It stacks your spices vertically, so you see everything at a glance without spreading them across half your counter. Go for a countertop rack with two or three levels — it keeps everything visible and within arm’s reach.
Bamboo racks look especially clean and minimal, which is a bonus if you’re going for that Pinterest-worthy kitchen aesthetic.
2. Install a Paper Towel Holder That Works Vertically
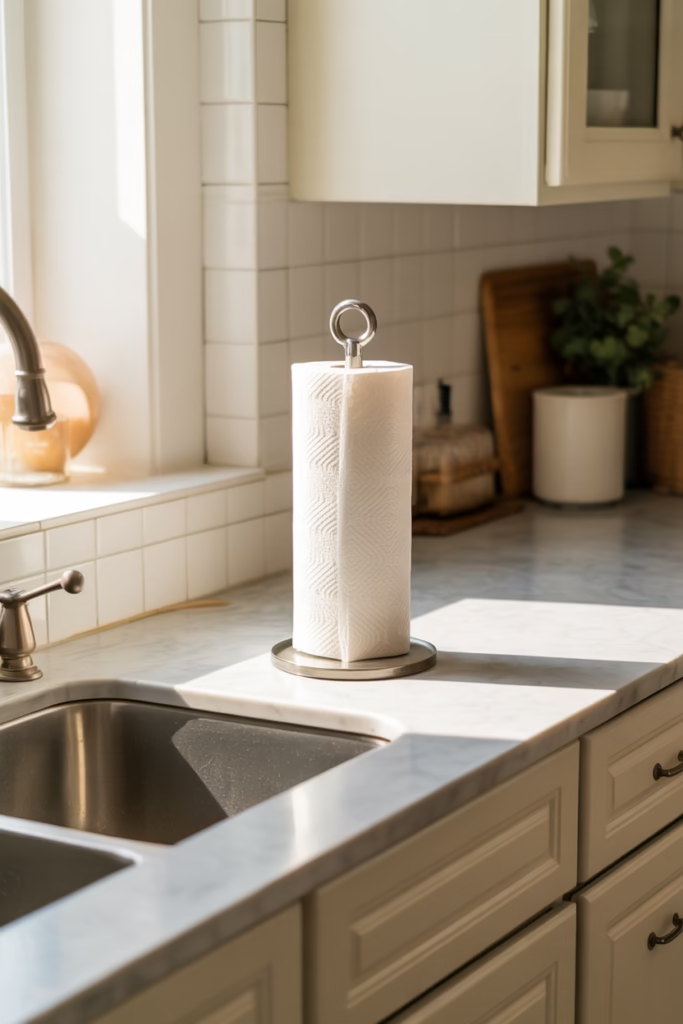
Laying a paper towel roll flat on the counter is a crime against counter space, IMO. A vertical or under-cabinet mounted holder takes it completely off your work surface.
Free up that horizontal space and keep the roll accessible without it rolling into your prep area. Wall-mount or cabinet-mount options are easy to install and make a surprisingly big difference.
This one change alone will make your countertop look tidier in about five minutes flat.
3. Group Appliances Into a Dedicated “Appliance Zone”
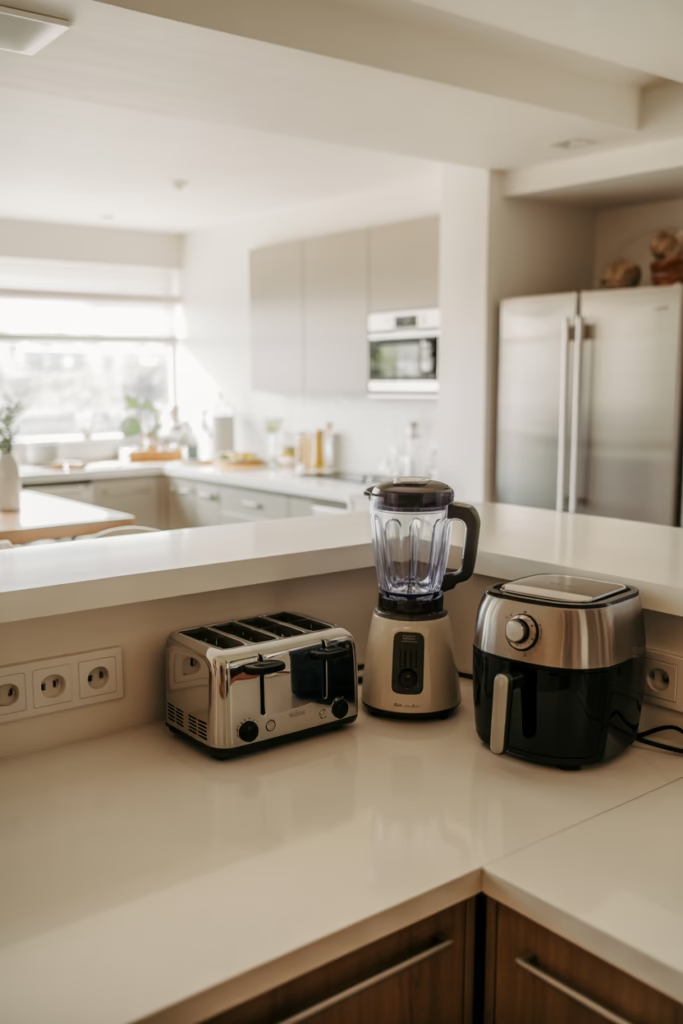
Here’s a question for you — why does your air fryer live next to the toaster, which lives next to the blender, which somehow ended up next to the dish rack? There’s no logic there.
Designating one specific zone for all your appliances keeps things visually clean and functionally smart. Push them all to one end of the counter, ideally near an outlet cluster. This way, the rest of your countertop stays open for actual food prep.
Bonus tip: if you use an appliance less than once a week, it doesn’t deserve countertop real estate. Tuck it in a cabinet.
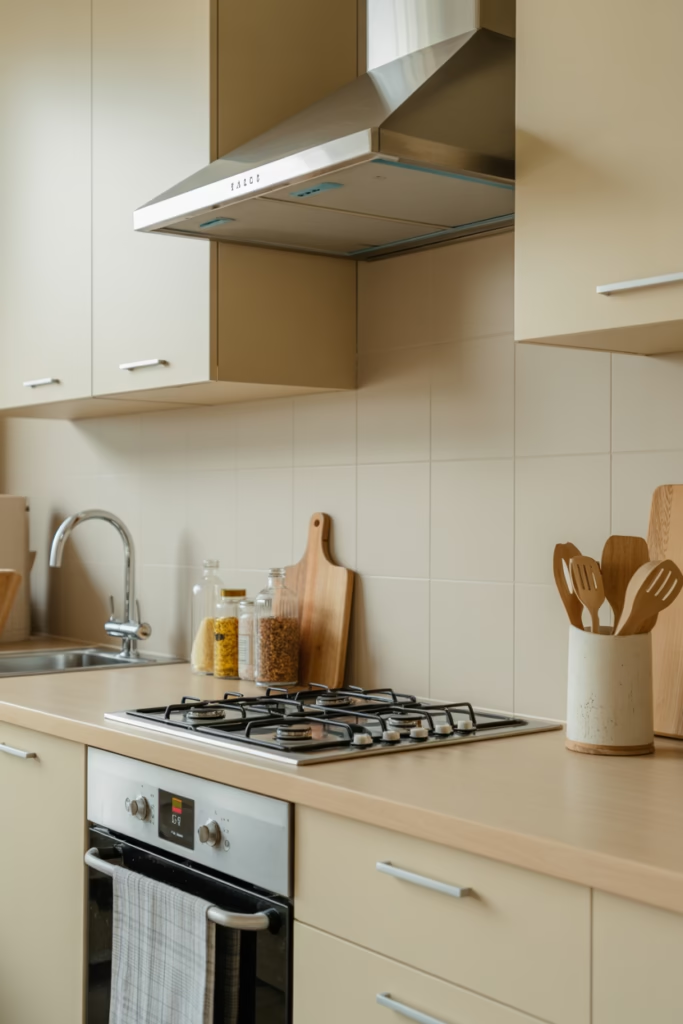
4. Add a Utensil Crock or Organizer Jar
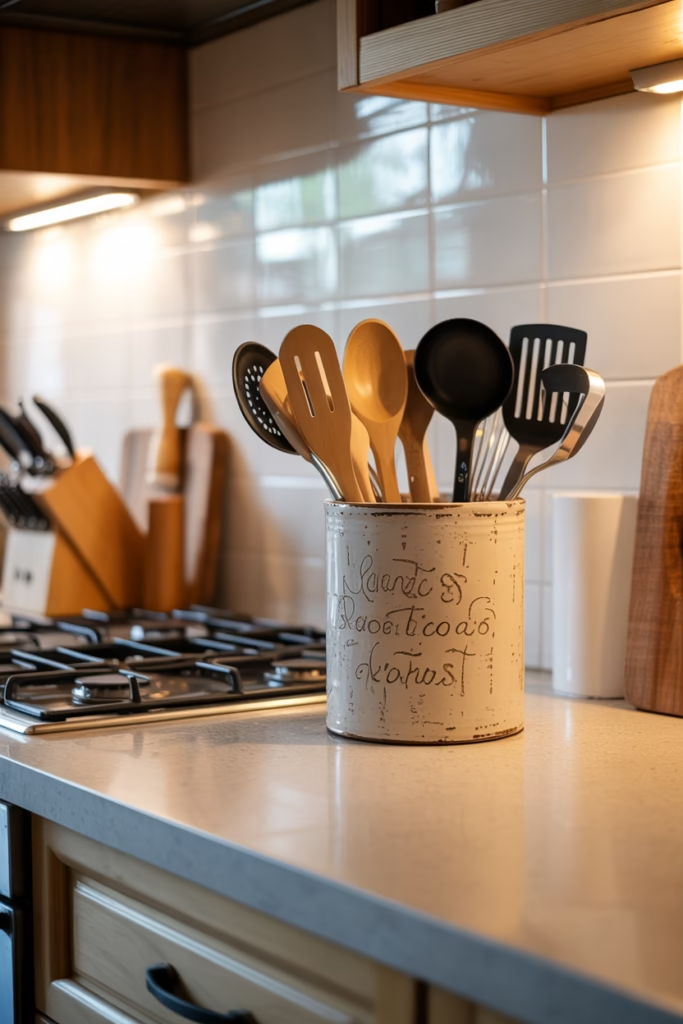
A good utensil crock is one of the most underrated countertop organization tools out there. Instead of stuffing spatulas and spoons into a drawer where they go to die, stand them upright in a stylish crock near the stove.
You can find crocks in ceramic, stainless steel, or even woven materials that match your kitchen vibe. Group similar tools together — wooden spoons in one, metal tools in another if you have the space.
It keeps your most-used tools right where you need them and adds a lived-in, curated feel to your kitchen.
5. Use a Countertop Tray to Corral Small Items

This is honestly one of my favorite tricks. A simple decorative tray acts as a visual boundary for small items that would otherwise scatter across your entire counter.
Place your olive oil, salt, pepper, and a small plant on the tray — suddenly it looks intentional instead of chaotic. The tray contains the spread and makes the whole area feel styled rather than messy.
You can use a wooden serving tray, a marble slab, or even a vintage cutting board. The key is to give small items a “home” so they stop wandering.
6. Mount a Magnetic Knife Strip on the Wall
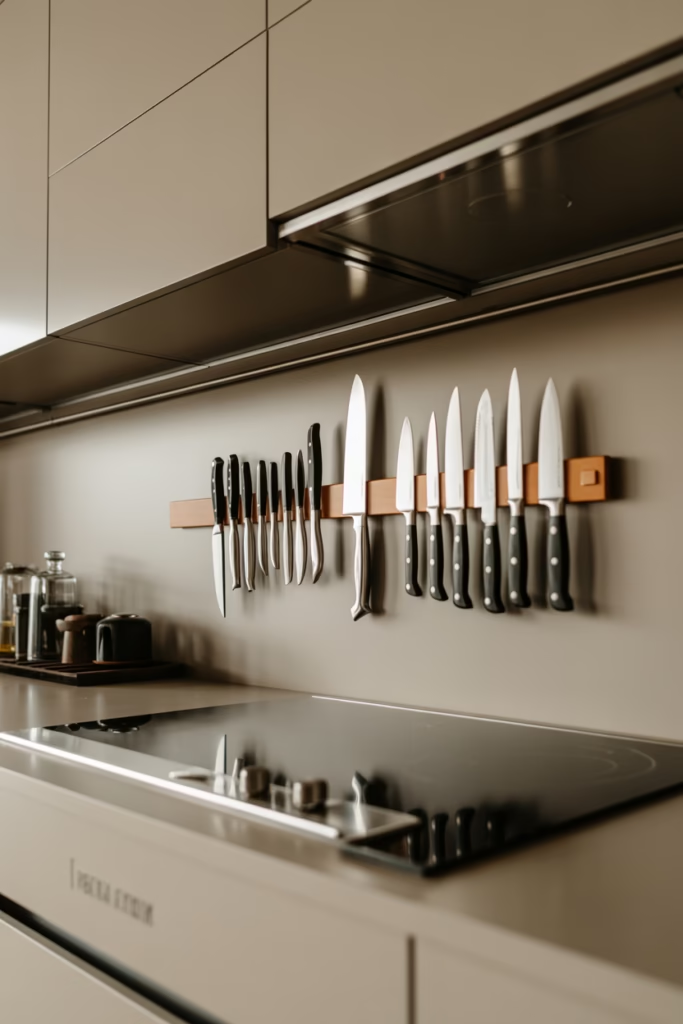
A knife block sitting on the counter takes up a surprising amount of space. Swap it for a magnetic knife strip mounted on the wall just above your counter or backsplash.
This keeps your knives accessible, safely stored, and completely off the work surface. It also looks incredibly sleek — the kind of thing you see in professional kitchens and immediately want to replicate.
Installation is easy with basic wall anchors, and most strips hold 6–10 knives without any issue.
7. Invest in a Compact Dish Drying Rack
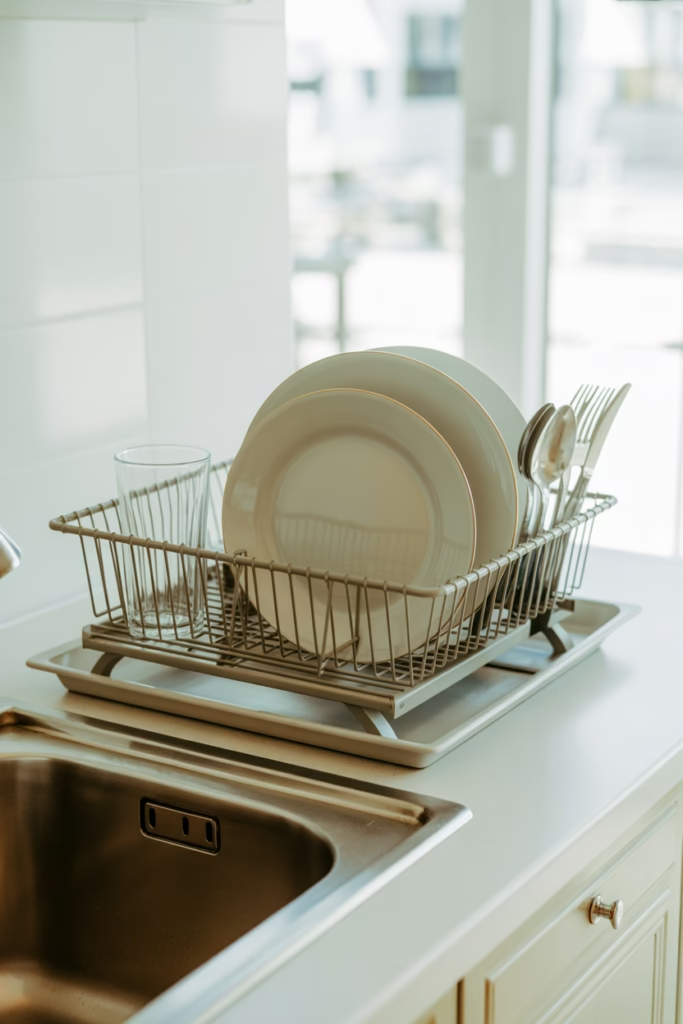
Full disclosure: dish racks are one of the biggest countertop offenders. They sprawl. They drip. They collect random items that have nothing to do with dishes.
A compact, over-the-sink drying rack completely removes the footprint from your countertop. It sits over the sink itself, so dishes drip directly into the drain. No puddles, no dedicated counter space needed.
If over-the-sink isn’t an option, go for a collapsible rack you can fold up and store when not in use. Either way, your counter wins.
8. Use Drawer Dividers to Keep the Counter Clear
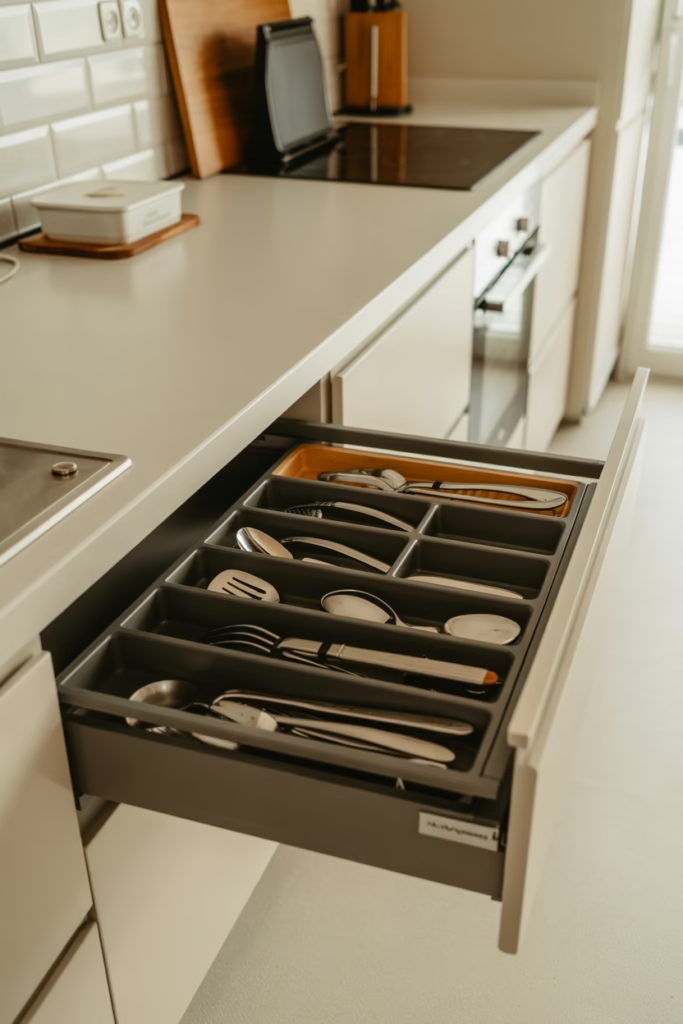
Wait — drawer dividers for countertop organization? Hear me out. When your drawers are properly organized, you actually use them. And when you use them, things stop piling up on the counter.
Half the reason countertops get cluttered is because the drawers nearby are so chaotic that nobody bothers opening them. Fix the drawer, fix the counter.
Bamboo or adjustable plastic dividers work great and cost next to nothing. This is the behind-the-scenes fix that makes your countertop look amazing.
9. Add a Small Fruit Basket or Tiered Stand
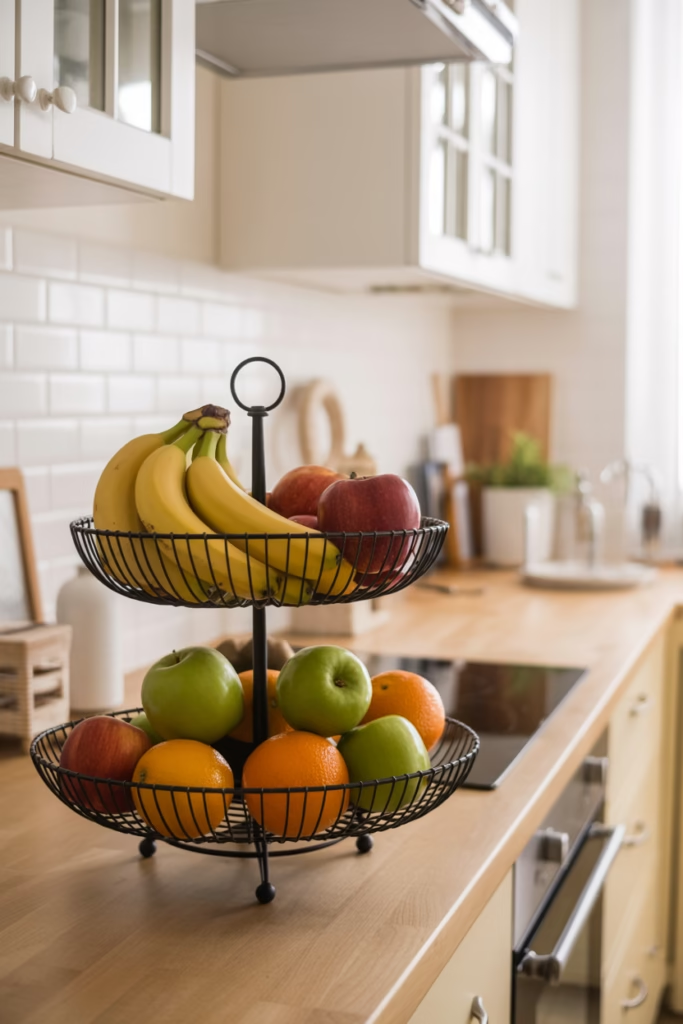
Fruit on the counter is perfectly fine — when it’s contained. A tiered fruit basket or a shallow bowl keeps your bananas, apples, and whatever else you’ve got looking intentional rather than dumped.
Go for a basket with good airflow to keep fruit fresh longer. Tiered metal stands also let you separate different fruits and add some visual height to your counter styling.
Just resist the urge to also throw your mail, chargers, and random batteries in there. The fruit bowl is for fruit. 🙂
10. Label Everything for Instant Visual Order
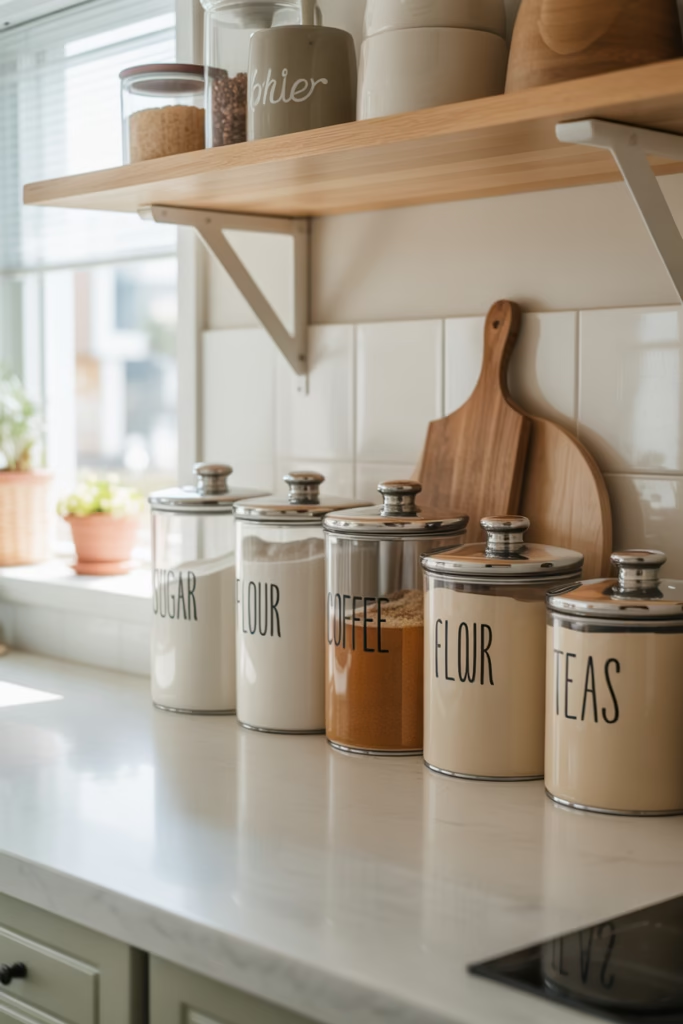
Labels sound like extra work, but they’re actually a massive time-saver. When everything has a label, everything has a place — and things actually return to that place.
Use a label maker or simple chalkboard labels on canisters, jars, and organizers. It creates visual consistency across your counter and makes it easy for everyone in the household to maintain the system.
Matching labeled canisters for flour, sugar, coffee, and tea also look incredibly clean and cohesive, especially in open-counter kitchens.
11. Place a Coffee Station in One Corner
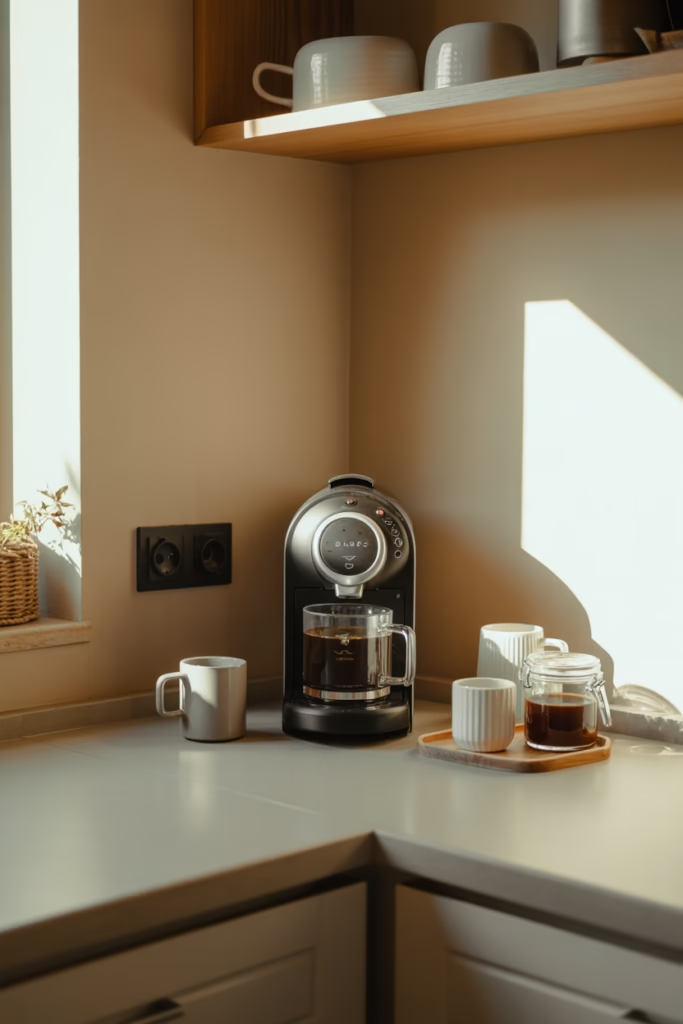
If you’re a coffee drinker, you already know your coffee maker, mugs, pods, and accessories have slowly colonized a significant portion of your counter. Lean into it by creating a dedicated coffee station instead of fighting the spread.
Group your coffee maker, a small mug tree, a canister for pods or ground coffee, and a small tray together in one corner. Suddenly it goes from “mess” to “intentional vignette.”
FYI, this also works beautifully for a tea station if that’s more your speed.
12. Use Vertical Wall Storage for Frequently Used Items

Walls are basically free real estate that most people completely ignore. Pegboards, magnetic panels, and wall-mounted shelves can hold everything from pots and pans to small jars and tools — completely off the counter.
A small floating shelf above your prep area can hold cookbooks, a small plant, and your most-used seasonings. A pegboard near your stove can keep ladles, tongs, and other tools within reach without touching the counter.
Going vertical is the single best way to increase your usable counter space without changing the layout.
13. Declutter Aggressively and Regularly
Here’s some tough love — no organization system works if you’ve just got too much stuff on the counter. Clutter is almost always a result of having more items than your space can support, not a lack of organizational tools.
Set a monthly “counter audit” where you clear everything off and only put back what genuinely belongs there. Be ruthless. If it doesn’t get daily or near-daily use, it lives in a cabinet.
The cleanest kitchens you’ve ever seen on Pinterest? They’re not magic. They’re just the result of someone being really honest about what actually needs to be out.
14. Choose Matching Storage Containers for a Cohesive Look
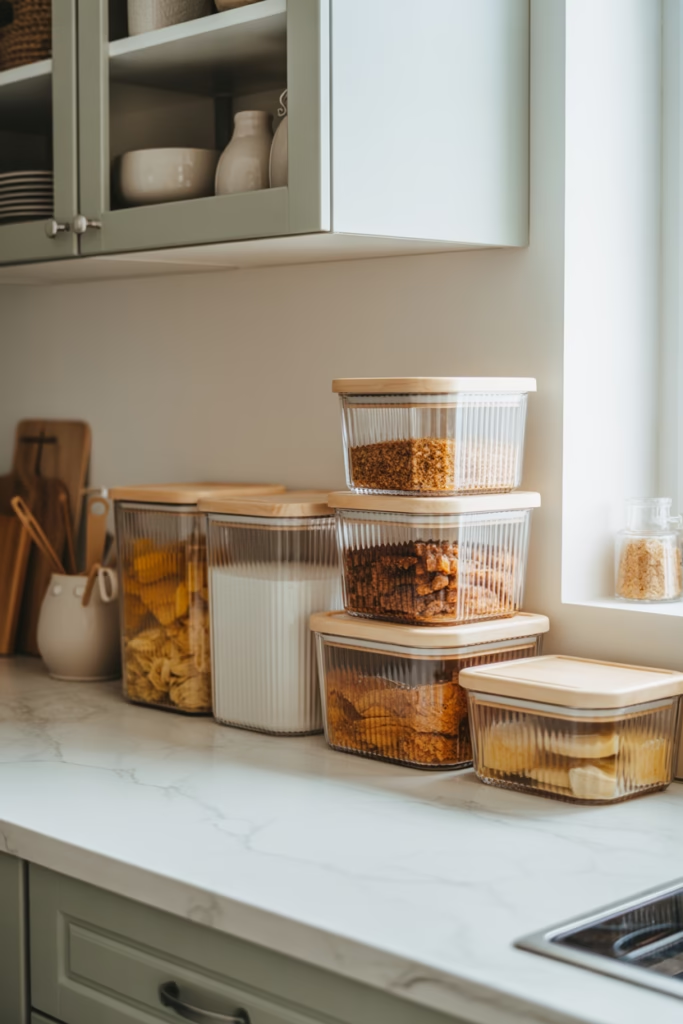
Mismatched containers are one of the sneakiest sources of visual clutter. Swapping them out for a matching set — same material, same color, same style — makes your countertop look organized even when it’s not perfectly tidy.
Airtight glass or ceramic canisters work beautifully for pantry staples and look great sitting out on the counter. Pick a color scheme that matches your kitchen and stick to it.
This is one of those “tiny change, massive impact” moves that I genuinely can’t stop recommending to anyone who’ll listen.
15. Keep a Small Trash or Compost Bin on the Counter

Okay, this one sounds counterintuitive — adding something to clear clutter? But hear me out. A small countertop compost bin or mini trash bin near your prep area keeps food scraps and small trash off the counter surface itself.
Without it, you end up with a pile of peels, wrappers, and scraps that slowly take over your workspace. A small lidded bin keeps prep clean and contained, and you empty it straight into the main trash when you’re done cooking.
It’s one of those practical touches that makes cooking so much more enjoyable. :/
Putting It All Together
Getting your kitchen countertops organized doesn’t have to be a weekend project. Start with two or three ideas from this list, implement them, and see how it feels. The goal isn’t a perfect showroom kitchen it’s a space where cooking feels easy and everything has a logical home.
The biggest shift is mental: stop thinking of the countertop as “extra space” and start treating it as prime real estate. Because once you do, you’ll guard it jealously.
Pick your starting point, grab a tray or a tiered rack, and enjoy finally being able to see your actual countertop. Trust me it makes the whole kitchen feel like a different space.