

Have you ever sat down at your study table and felt like something was missing? Maybe it’s cluttered, uninspiring, or just doesn’t feel like your space. I’ve been there countless times. Over the years, I’ve helped dozens of homeowners transform their study tables from dull and disorganized to inviting and productive. The good news? You don’t need a fancy renovation or a big budget. With a few thoughtful touches, you can create a study table that feels both functional and personal.
In this article, I’ll walk you through practical steps, share tips I’ve tested in real homes, and show you how to avoid common mistakes. Whether you’re starting from scratch or just want to refresh your current setup, you’ll walk away with ideas you can implement right away.
Why Your Study Table Matters
Your study table is more than just a place to work or study. It’s where ideas come to life, where you focus, and where you recharge. If your table feels chaotic or uninspiring, it can drain your energy and make it harder to concentrate. I’ve found that a well-decorated study table can boost productivity, spark creativity, and even make your home feel more welcoming.
A few years ago, a client came to me with a study table that was buried under stacks of papers, old notebooks, and random knick-knacks. She said she never felt motivated to sit down and work. After a few simple changes—clearing the clutter, adding a few personal touches, and organizing her supplies—she told me she actually looked forward to using her table again. That’s the power of thoughtful decor.
Step 1: Declutter and Organize
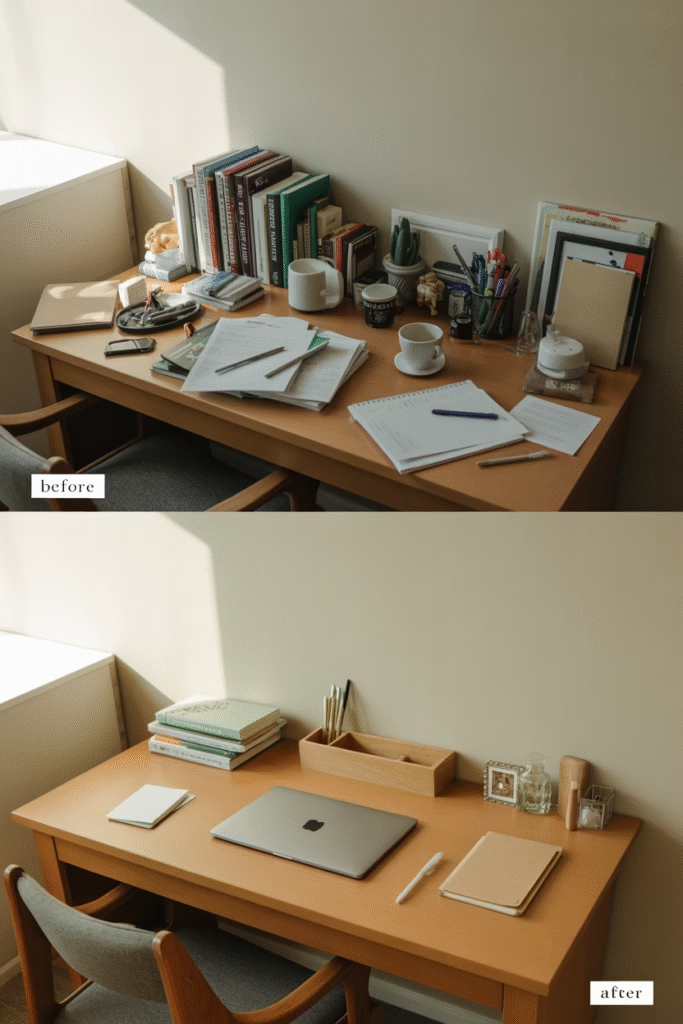
Before you add anything new, take a good look at what’s already on your table. Ask yourself: What do I actually use every day? What can I store away or donate?
Pro tip: Start by removing everything from your table. Wipe it down with a damp cloth. Then, only put back the essentials—your laptop, notebook, pen holder, and anything else you use daily.
- Keep frequently used items within easy reach.
- Store less-used supplies in drawers or nearby shelves.
- Use trays or small boxes to group similar items (like pens, sticky notes, or chargers).
I like to use a simple tray (about 20 cm x 15 cm / 8 in x 6 in) to corral my pens and notepads. It keeps things tidy and makes it easy to grab what I need.
Avoid this: Don’t try to organize everything at once. Tackle one area at a time, and give yourself permission to take breaks.
Step 2: Choose the Right Table
If you’re shopping for a new study table, consider these factors:
- Size: A table that’s too small will feel cramped, while one that’s too big can dominate the room. For most home offices, a table around 120 cm x 60 cm (47 in x 24 in) works well.
- Height: Standard table height is about 75 cm (30 in). If you’re tall or short, look for adjustable options.
- Material: Wood, metal, and glass are all popular choices. Wood feels warm and inviting, while metal and glass can make a space feel more modern.
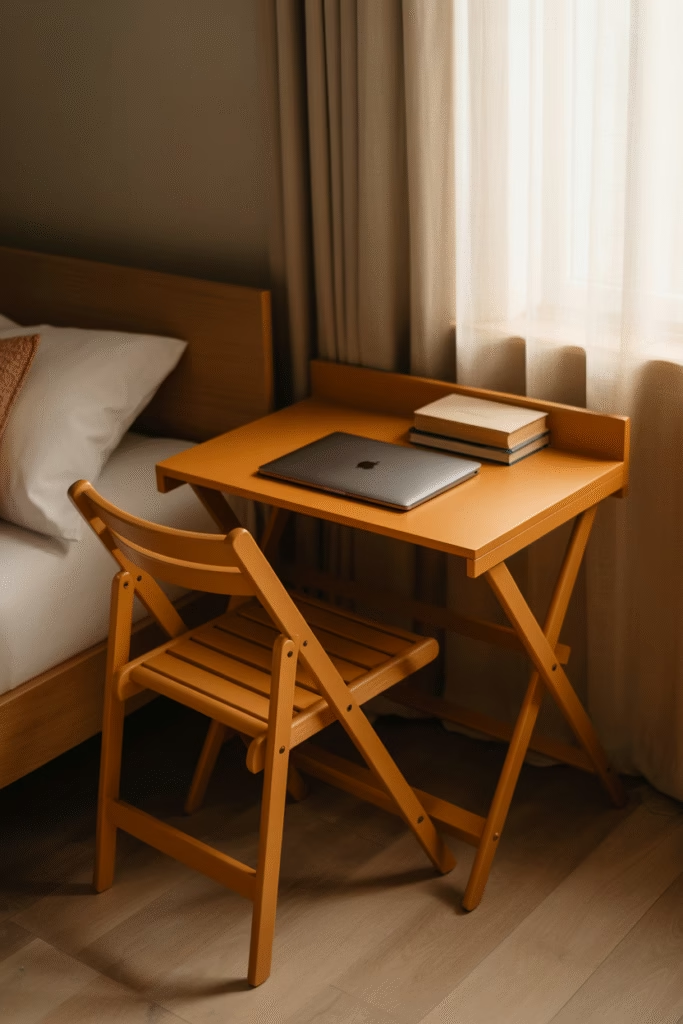
I once helped a client choose a compact foldable table (90 cm x 50 cm / 35 in x 20 in) for a small apartment. It was perfect for her needs and could be tucked away when not in use.
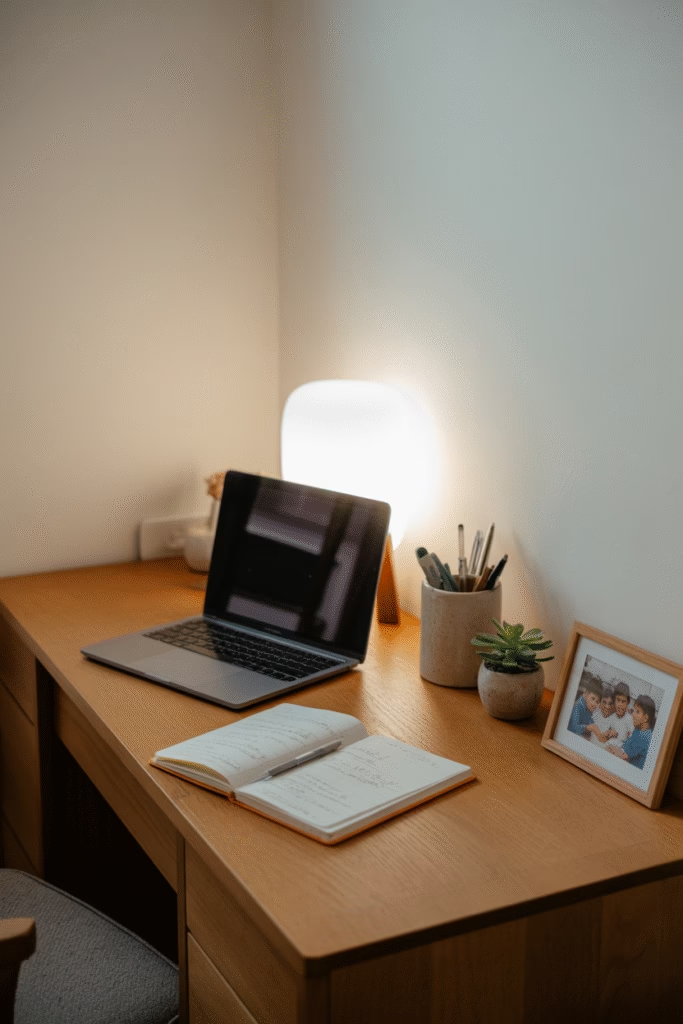
Step 3: Add Personal Touches
A study table should reflect your personality. Here are a few ideas to make it feel like your own:
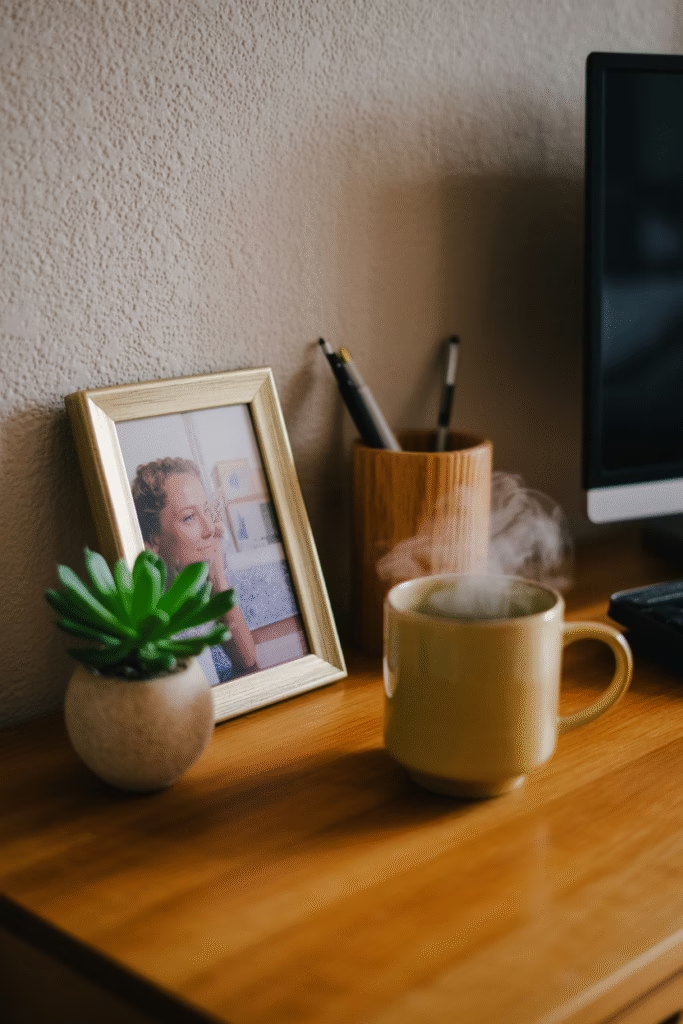
- Photos or artwork: Hang a small frame (15 cm x 10 cm / 6 in x 4 in) with a favorite photo or print. I like to rotate mine every few months to keep things fresh.
- Plants: A small potted plant (like a succulent or peace lily) can add life to your table. Just make sure it’s not too big or distracting.
- Decorative items: A small vase, candle, or figurine can add charm. Keep it simple—too many items can make the table feel cluttered.
Pro tip: If you’re worried about space, try a mini desk organizer with built-in storage. I’ve used one with a small plant holder on top, and it’s been a game-changer.
Step 4: Optimize Lighting
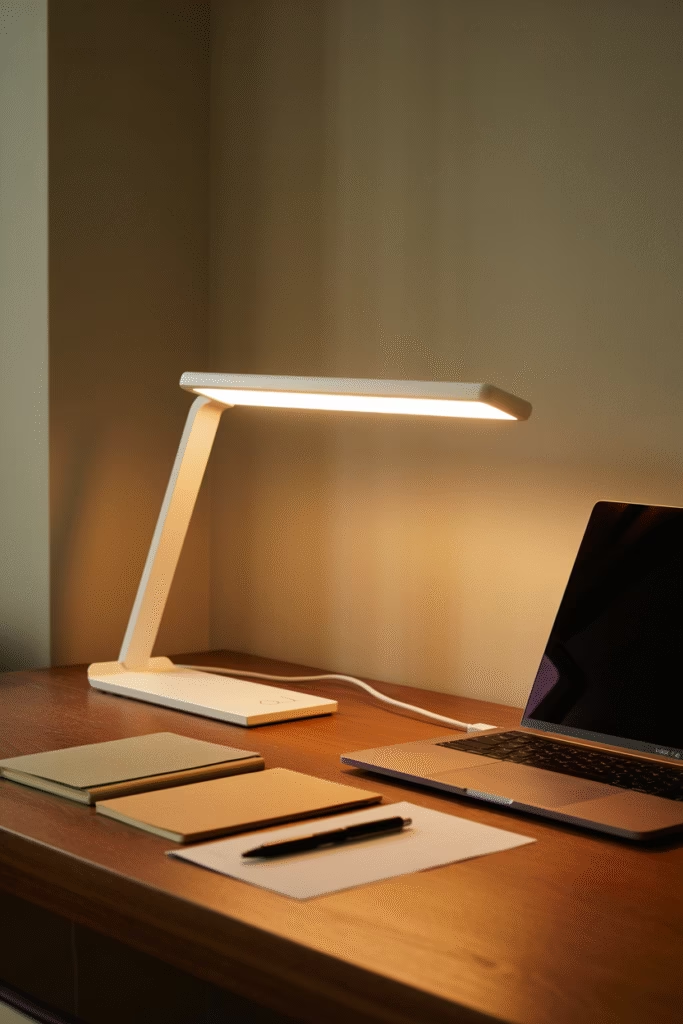
Good lighting is essential for a study table. Natural light is best, but if that’s not possible, add a desk lamp.
- Position: Place your lamp on the opposite side of your dominant hand to avoid shadows. For example, if you’re right-handed, put the lamp on the left.
- Brightness: Look for a lamp with adjustable brightness (around 400-800 lumens). Warm white light (2700K-3000K) is easier on the eyes.
- Style: Choose a lamp that matches your decor. A simple metal or wooden lamp works well in most spaces.
I once used a clamp lamp with a flexible neck, and it was perfect for directing light exactly where I needed it.
Step 5: Organize Your Cables
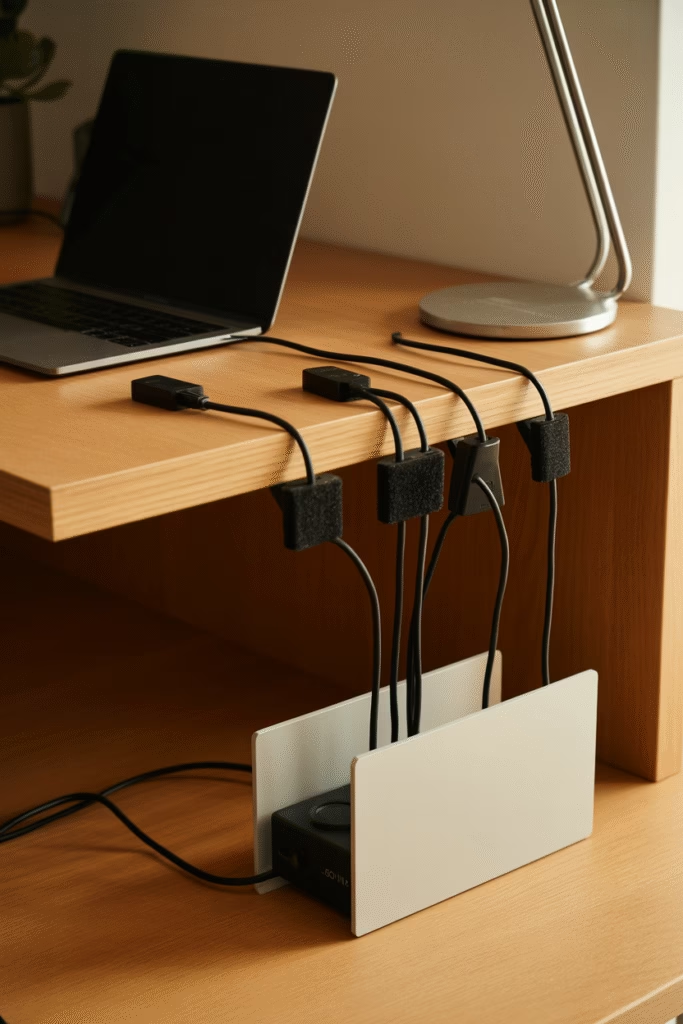
Cable clutter is a common problem. Here’s how to keep things neat:
- Cable ties or clips: Use them to bundle cords together.
- Cable management box: Place a small box (about 20 cm x 10 cm / 8 in x 4 in) under your table to hide power strips and excess cables.
- Label cords: Use small tags or colored tape to identify each cable.
Avoid this: Don’t let cables drape over the edge of your table. It looks messy and can be a tripping hazard.
Step 6: Create a Comfortable Seating Area
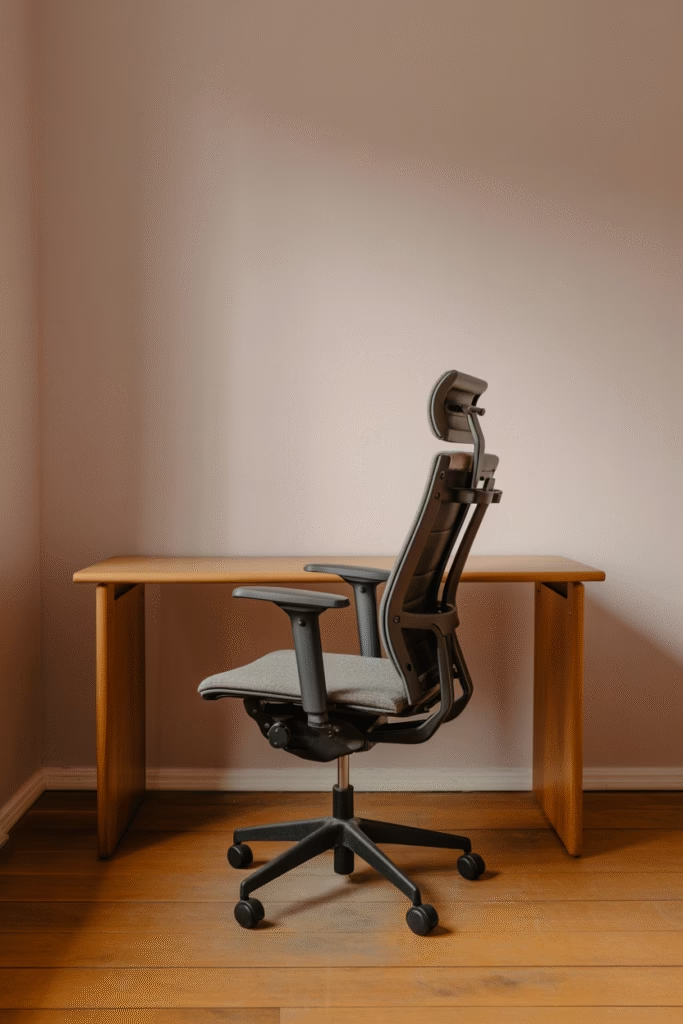
Your chair is just as important as your table. Here’s what to look for:
- Height: Your feet should rest flat on the floor, and your knees should be at a 90-degree angle.
- Back support: Choose a chair with good lumbar support. If your chair doesn’t have it, add a small cushion.
- Material: Fabric chairs are comfortable, while leather or mesh chairs are easier to clean.
I once used a simple wooden chair with a cushion, and it was surprisingly comfortable for long work sessions.
Step 7: Add Storage Solutions
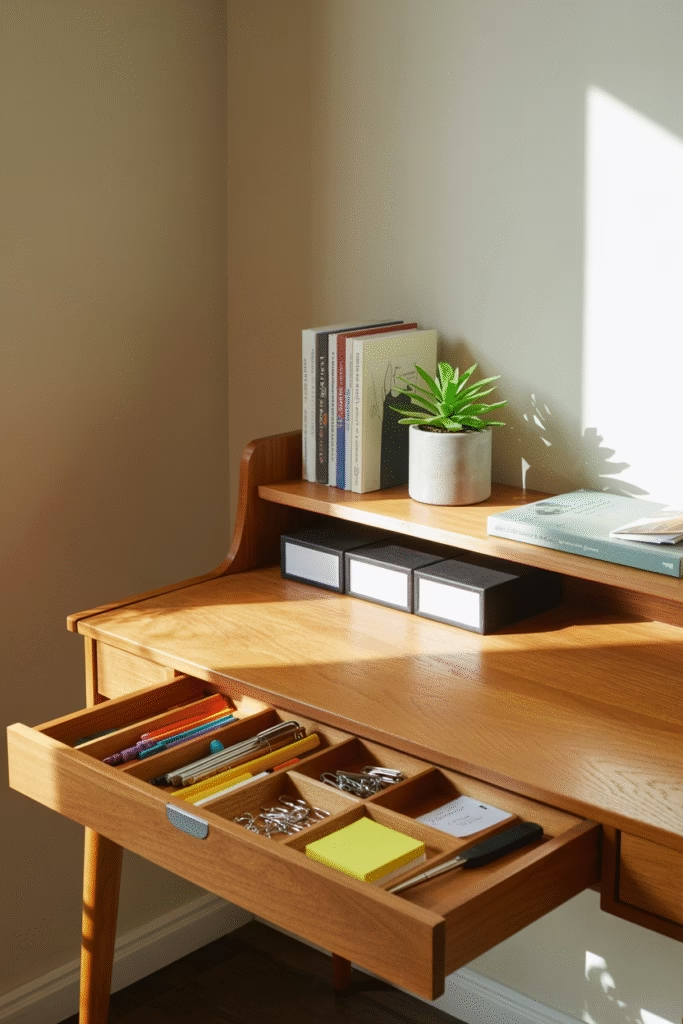
Storage keeps your table clutter-free and makes it easier to find what you need.
- Drawer organizers: Use small dividers to separate pens, paper clips, and other small items.
- Shelves: Install a small shelf above your table for books or decorative items.
- Baskets or bins: Use them to store larger items like notebooks or folders.
Pro tip: Label your storage containers so you can quickly find what you need.
Step 8: Choose a Color Scheme
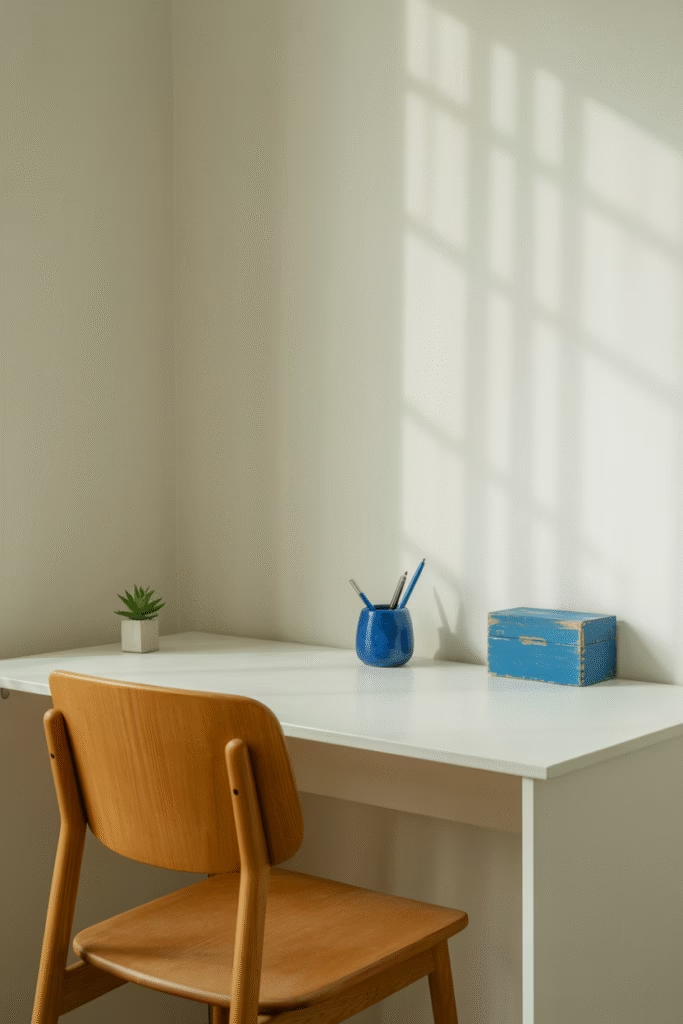
A cohesive color scheme can make your study table feel more inviting.
- Neutral tones: White, beige, or gray create a calm, focused atmosphere.
- Accent colors: Add pops of color with a lamp, plant, or decorative item.
- Personal preference: Choose colors that make you feel happy and motivated.
I once painted a small wooden box in a bright blue and used it as a pen holder. It was a simple change, but it made my table feel more cheerful.
Step 9: Keep It Functional

Your study table should be easy to use and maintain.
- Clear surface: Leave enough space for your laptop, notebook, and any other essentials.
- Easy to clean: Choose materials that are easy to wipe down.
- Accessible: Keep frequently used items within reach.
Avoid this: Don’t overcrowd your table with too many decorative items. Less is often more.
Step 10: Refresh Regularly
A study table should evolve with your needs.
- Rotate decor: Change photos, plants, or decorative items every few months.
- Reassess organization: Every few weeks, take a few minutes to tidy up and reorganize.
- Listen to feedback: If something isn’t working, don’t be afraid to make changes.
I like to set a reminder on my phone to refresh my table every three months. It keeps things feeling new and inspiring.
Common Mistakes to Avoid
- Overcrowding: Too many items can make your table feel chaotic.
- Ignoring lighting: Poor lighting can strain your eyes and make it harder to focus.
- Neglecting comfort: An uncomfortable chair or table can make long work sessions unpleasant.
- Forgetting personal touches: A table that feels impersonal can be hard to connect with.
FAQs
Q: How much does it cost to decorate a study table?
A: You can refresh your table for as little as ₹1,000–₹2,000 (about $12–$25), depending on what you already have and what you want to add.
Q: How long does it take to decorate a study table?
A: Most people can complete the basics in 2–3 hours. If you’re shopping for new items, it might take a few days.
Q: What’s the best way to organize cables?
A: Use cable ties, clips, or a cable management box to keep cords neat and out of the way.
Q: Can I decorate a small study table?
A: Absolutely! Focus on essentials and use vertical storage (like shelves or wall organizers) to save space.
Q: How do I choose the right chair?
A: Look for one with good back support, adjustable height, and a comfortable seat.
Q: What if I don’t have natural light?
A: Use a desk lamp with adjustable brightness and warm white light to create a cozy, focused atmosphere.
Final Thoughts
Decorating your study table doesn’t have to be complicated or expensive. With a few thoughtful touches, you can create a space that feels both functional and personal. Remember, the goal is to make your table a place where you feel inspired, focused, and at home.
If you’re feeling stuck, start small. Clear the clutter, add a plant or photo, and see how it feels. You’ll be surprised at how much a few simple changes can make. And if you have any questions or want more ideas, feel free to reach out. I’m always happy to help.