
Mixing wood tones sounds like interior design Russian roulette. You’re standing there with your walnut coffee table, eyeing that oak bookshelf, wondering if combining them will look effortlessly chic or like you furnished your house from three different garage sales. I’ve been there, staring at my space, second-guessing every piece of furniture. But here’s the thing: mixing wood tones isn’t just possible, it’s actually what makes a room feel layered and lived-in rather than like a showroom floor.
The old-school rule of matching everything perfectly? Yeah, that’s dead. Good riddance, honestly. Today’s homes have personality, and that means your cherry dining table can absolutely coexist with your maple dresser. You just need to know the tricks.
Why Matching Everything Is Actually Boring

Here’s a hot take: perfectly matched wood furniture looks sterile. There, I said it.
When every single piece in your room is the exact same wood tone, your space ends up feeling flat and one-dimensional. It’s like wearing head-to-toe denim—technically it all “matches,” but does it look good? Not really. Rooms need contrast and depth to feel interesting, and mixing wood tones is one of the easiest ways to create that visual interest without going overboard.
Think about it this way: nature doesn’t do matching sets. Walk through a forest and you’ll see different bark colors, varied grain patterns, and a whole spectrum of browns working together perfectly. Your home should feel just as organic and natural.
Understanding Wood Undertones (The Secret Sauce)
Alright, this is where most people get tripped up. Not all browns are created equal, and understanding undertones is honestly the difference between “wow, that looks amazing” and “why does this feel off?”
The Three Main Undertone Families
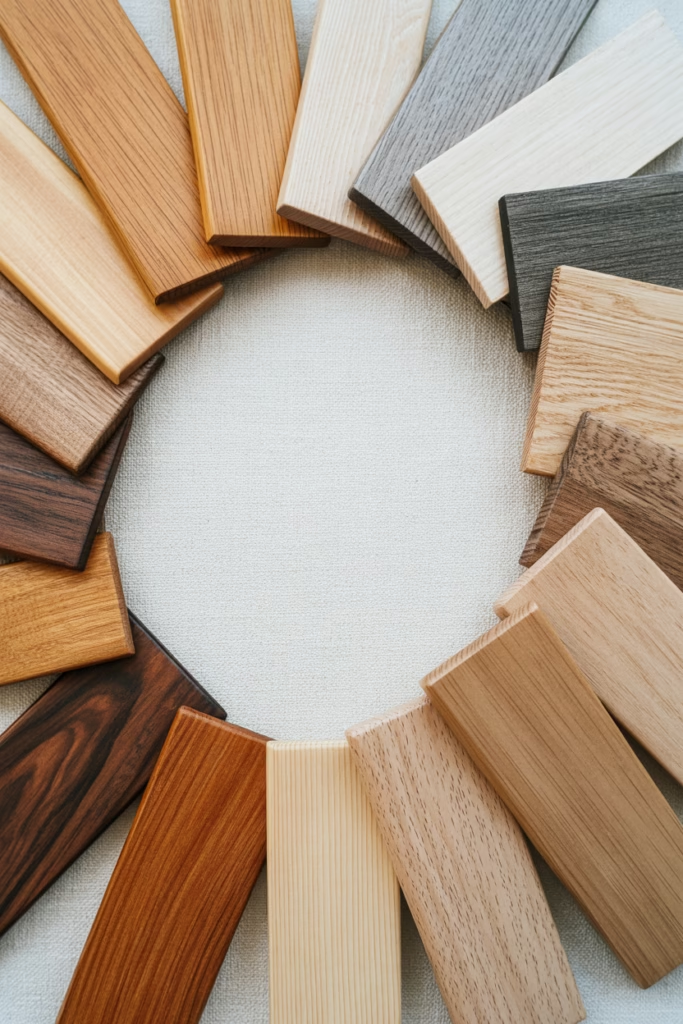
Wood tones generally fall into three camps, and recognizing them is your superpower:
Warm woods have red, orange, or yellow undertones. Think cherry, mahogany, pine, and most medium-toned woods. They feel cozy and inviting—the kind of wood that makes you want to curl up with a book.
Cool woods lean toward gray, taupe, or even slight blue undertones. Weathered oak, ash, and whitewashed pieces typically fall here. These give off modern, sophisticated vibes.
Neutral woods are the peacekeepers—they don’t commit strongly to either warm or cool. Walnut and certain oak finishes live in this sweet spot, making them incredibly versatile.
Here’s the thing: you can absolutely mix undertones, but you need at least one unifying element. Maybe everything shares a similar level of warmth, or perhaps they’re all in the same intensity range. Without that connection, your room starts feeling chaotic.
The Intensity Factor
Beyond undertones, consider intensity—basically how light or dark your woods are. A super light birch and an almost-black ebony might share warm undertones, but that extreme contrast can feel jarring without proper transition pieces.
IMO, keeping your woods within 2-3 shades of each other creates harmony while still offering variety. But rules were made to be broken (more on that later).
The 60-30-10 Rule for Wood Mixing
Ever heard of the 60-30-10 rule for color? Well, it works brilliantly for wood tones too.
60% should be your dominant wood tone. This is usually your largest furniture pieces—dining table, bed frame, or main cabinetry. Pick one wood tone to anchor your space and let it be the star.
30% is your secondary wood tone. These are your medium-sized pieces like side tables, chairs, or accent furniture. This tone should complement your dominant wood but offer enough contrast to keep things interesting.
10% is your accent wood. Think picture frames, decorative bowls, small accessories. This is where you can get a bit bolder with contrast or introduce a completely different undertone as a surprise element.
This formula prevents your room from feeling like a wood tone free-for-all while ensuring enough variety to create depth. And honestly? It takes the guesswork out of shopping for new pieces because you’ll know exactly which “category” you’re filling.
Strategic Placement Is Everything
Okay, so you’ve got your three wood tones picked out. Now what? Where you place them matters just as much as the tones themselves.
Create Visual Separation
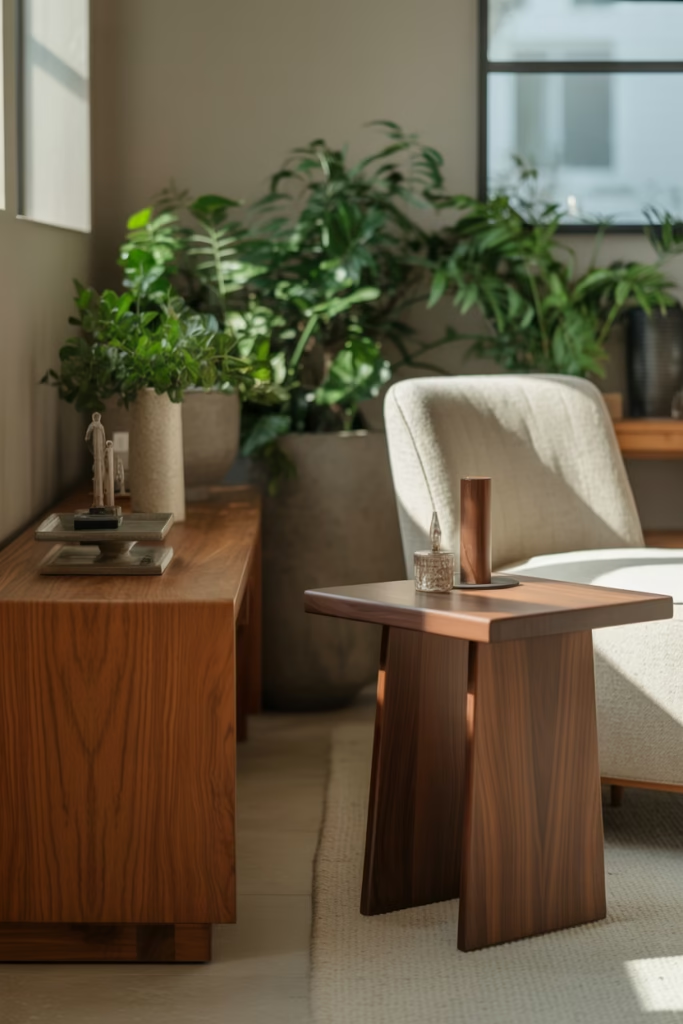
Don’t stack different wood tones directly on top of each other or right next to each other without some breathing room. A walnut side table sitting directly against an oak dresser? That’s asking for trouble. But that same walnut table a few feet away with a neutral rug between them? Perfect.
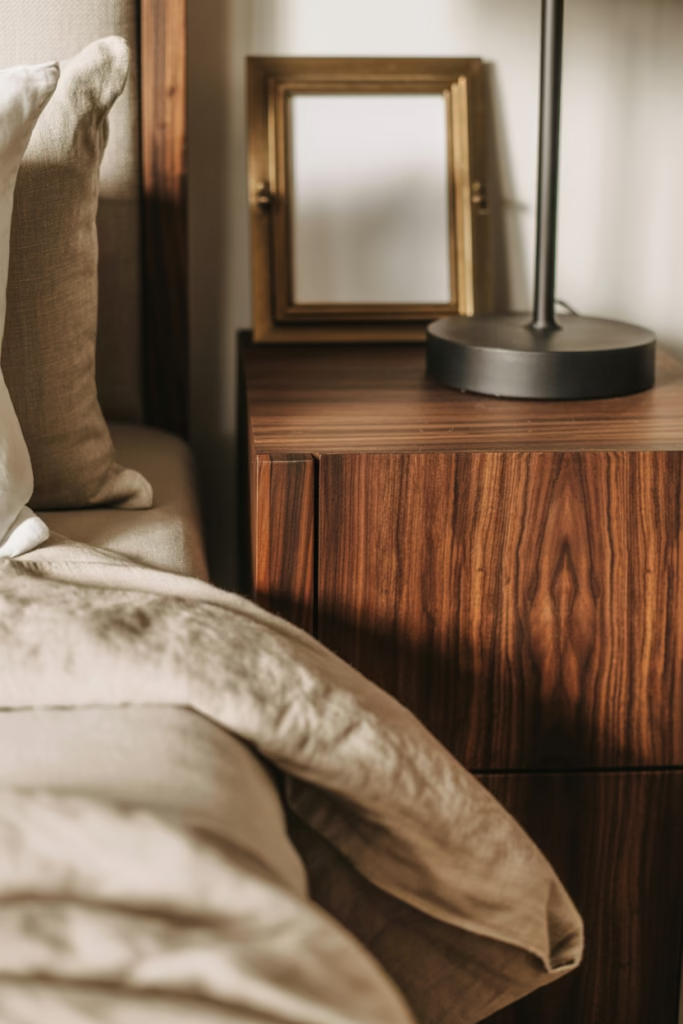
Use textiles, wall space, or other materials as buffers. A fabric headboard between your wood nightstands and wood bed frame creates natural separation. Area rugs, wall art, and even plants can serve as visual palettes cleansers between different wood pieces.
Balance Across the Room
Ever noticed how some rooms feel lopsided even when the furniture is symmetrical? That’s often because all the warm woods are clustered on one side while the cool woods hang out on the other.
Distribute your wood tones evenly throughout the space. If you’ve got a warm cherry dresser on the east wall, maybe place another warm-toned piece on the west side to create visual balance. Your eye should travel around the room and see a cohesive story, not distinct “zones” of different woods.
Vertical Mixing Works Wonders
Here’s a trick that interior designers love: mix your wood tones vertically rather than horizontally. For example, oak flooring + walnut furniture + maple floating shelves creates layers that feel intentional. Each “level” of the room has its moment without competing directly.
Unifying Elements That Make It All Work
Want to know the real secret? It’s not just about the wood—it’s about everything else tying the woods together.
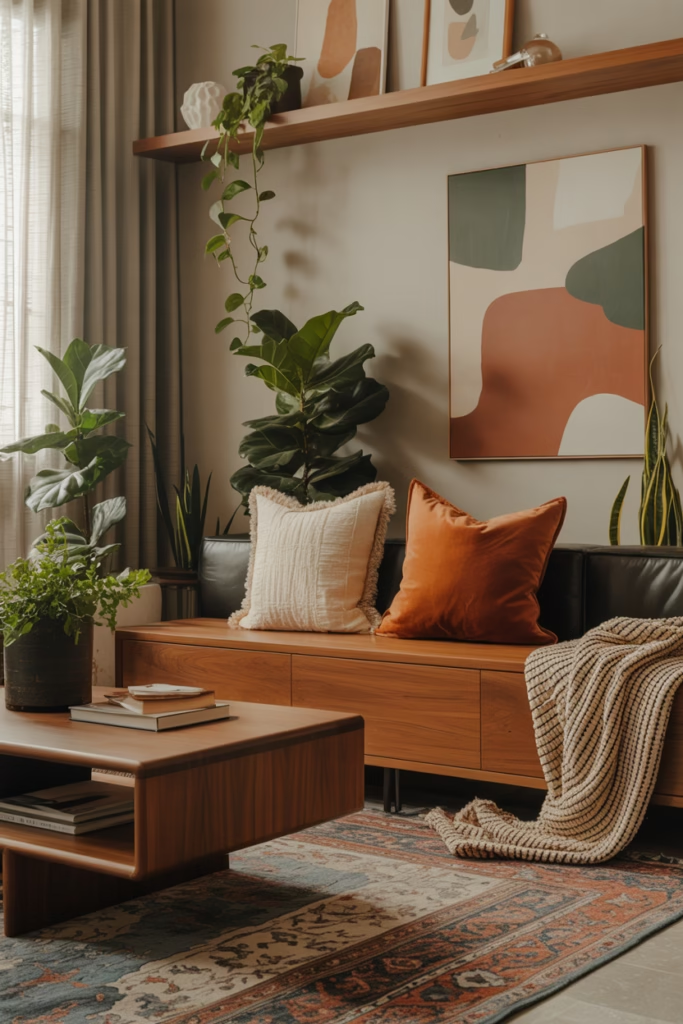
Repeat Your Undertones Elsewhere
If your woods have warm undertones, echo that warmth in your throw pillows, artwork, or wall colors. Got cool-toned woods? Bring in grays, blues, or crisp whites in your textiles. This creates a cohesive color story that makes the different wood tones feel like they belong together.
Metal Finishes as the Bridge
Metal hardware and fixtures can be your best friend when mixing woods. Brass or gold finishes complement warm woods beautifully, while chrome and matte black pair gorgeously with cool tones. Mixing wood undertones? Pick a metal finish that works with both and use it consistently throughout the space.
I learned this the hard way when I mixed antique brass pulls on my warm oak cabinets but used chrome on my cool ash floating shelves. It looked… confused. Once I switched everything to oil-rubbed bronze (which bridges warm and cool), suddenly everything clicked.
Consistent Stain Finish
Even when your wood tones differ, keeping the finish consistent helps. If one piece has a high-gloss finish while another is matte, they’ll fight each other. Stick with all matte, all satin, or all glossy within the same room (or at least the same visual zone).
When Contrast Actually Works Better
Here’s where we break some rules 🙂
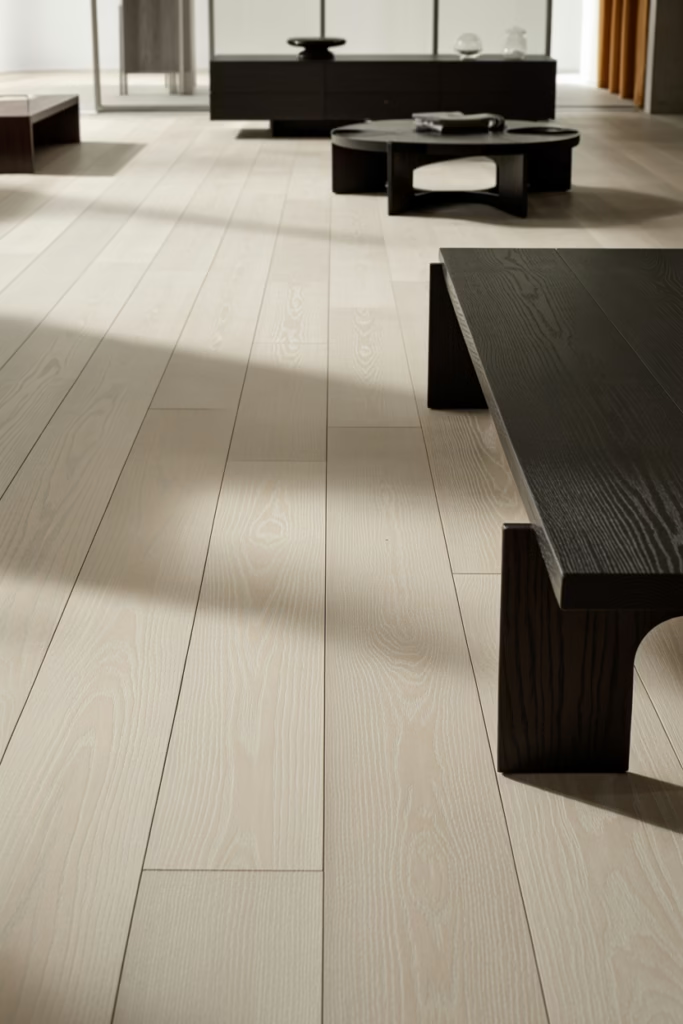
Sometimes high contrast between wood tones creates drama that’s absolutely stunning. A ultra-light whitewashed wood floor with dark espresso furniture? Chef’s kiss. The key is making it look intentional rather than accidental.
The Black and White Approach
Think of it like wearing black and white together—the extreme contrast just works. Super light and super dark woods can coexist beautifully if you commit to the contrast fully. Don’t try to bridge them with medium tones; lean into the drama.
This works especially well in modern or minimalist spaces where bold contrast feels deliberate rather than chaotic. Just make sure you’re not introducing a third or fourth wood tone into the mix—keep it to your two contrasting tones and maybe one neutral accent.
The Weathered + Polished Combo
Pairing a rustic, weathered wood (like reclaimed barn wood) with a sleek, polished wood creates textural contrast that’s incredibly appealing. The rough and refined play off each other in a way that feels curated and interesting.
I’ve seen this done beautifully with weathered wood beam mantels paired with glossy walnut built-ins. The textures are so different that your brain doesn’t try to compare them directly—it just appreciates the variety.
Common Mistakes to Avoid
Let me save you from some of my biggest facepalm moments.
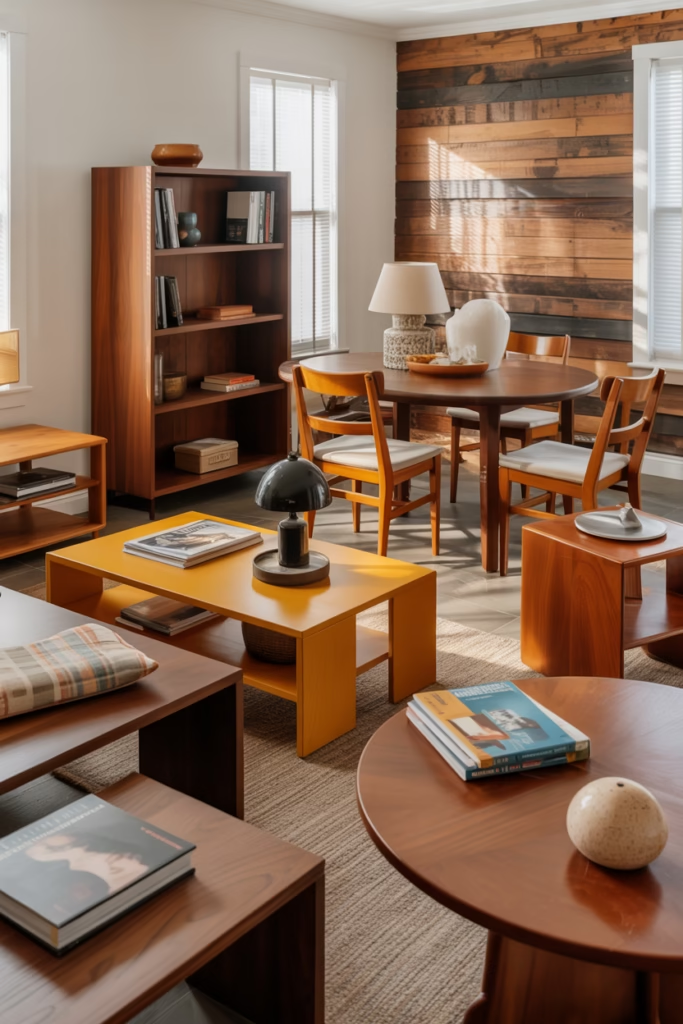
Too many wood tones. I once had five different wood tones in my living room. Five. It looked like a timber yard exploded. Stick to 2-3 max in a single space, or you’ll overwhelm the eye.
Ignoring your flooring. Your floors are a massive expanse of wood tone that you absolutely cannot ignore. They’re part of your equation, so factor them into your 60-30-10 rule. FYI, if you’re renting with floors you can’t change, use large area rugs to minimize their impact.
Mixing all warm with one cool piece. One outlier wood tone can look like a mistake unless you repeat it or connect it to something else in the room. If everything’s warm cherry and oak but you bring in one cool gray-wash piece, it’ll stick out awkwardly. Either commit to mixing undertones more evenly or stick with your family.
Forgetting about scale. A tiny wood accent table won’t balance out massive dark wood built-ins. Make sure your secondary and accent woods have enough visual weight to matter without overwhelming your dominant tone.
Room-by-Room Strategies
Different rooms have different wood-mixing challenges, so let’s break it down.
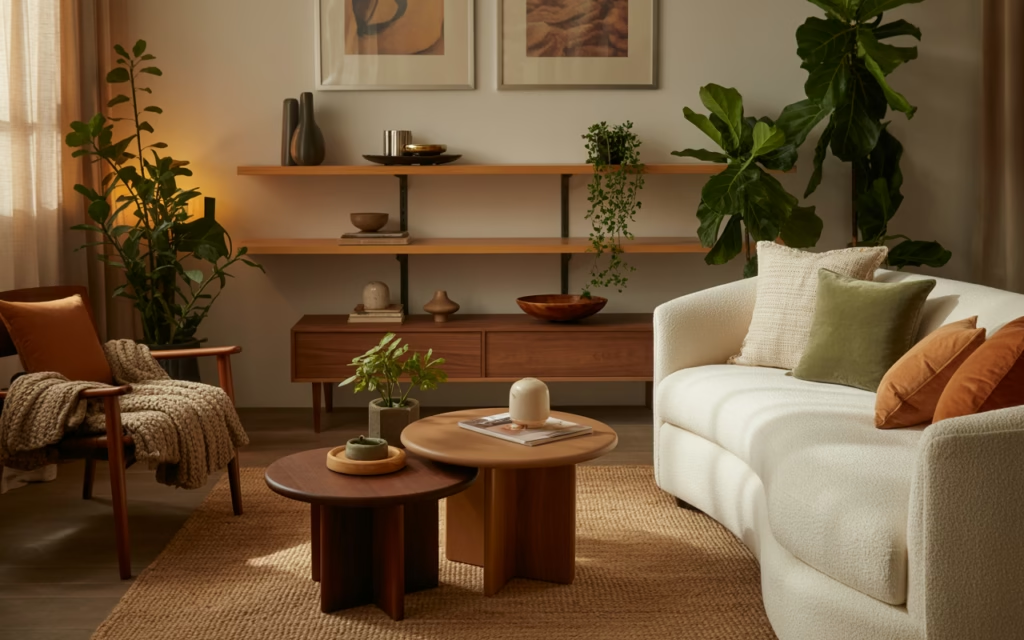
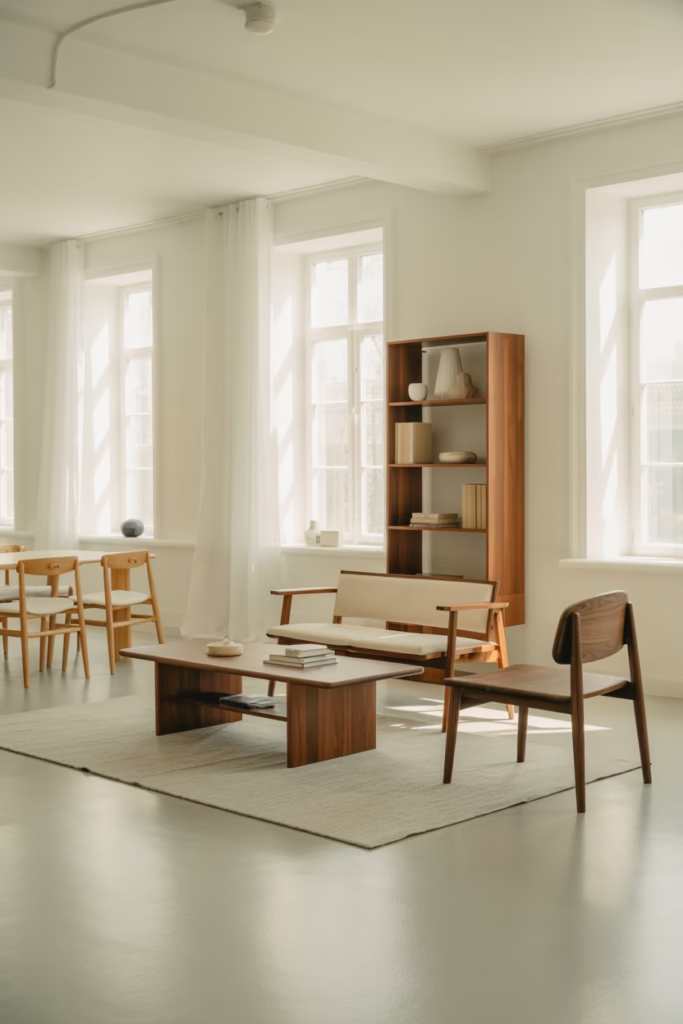
Living Room
This is usually your easiest room because you’ve got flexibility. Your flooring is your dominant tone (usually), so build from there. Coffee table and TV console can be your secondary tone, with smaller accent pieces like plant stands or picture frames as your 10%.
Keep upholstered furniture in between your wood pieces to create natural breaks. A sofa between your wood coffee table and wood side tables = instant visual breathing room.
Bedroom
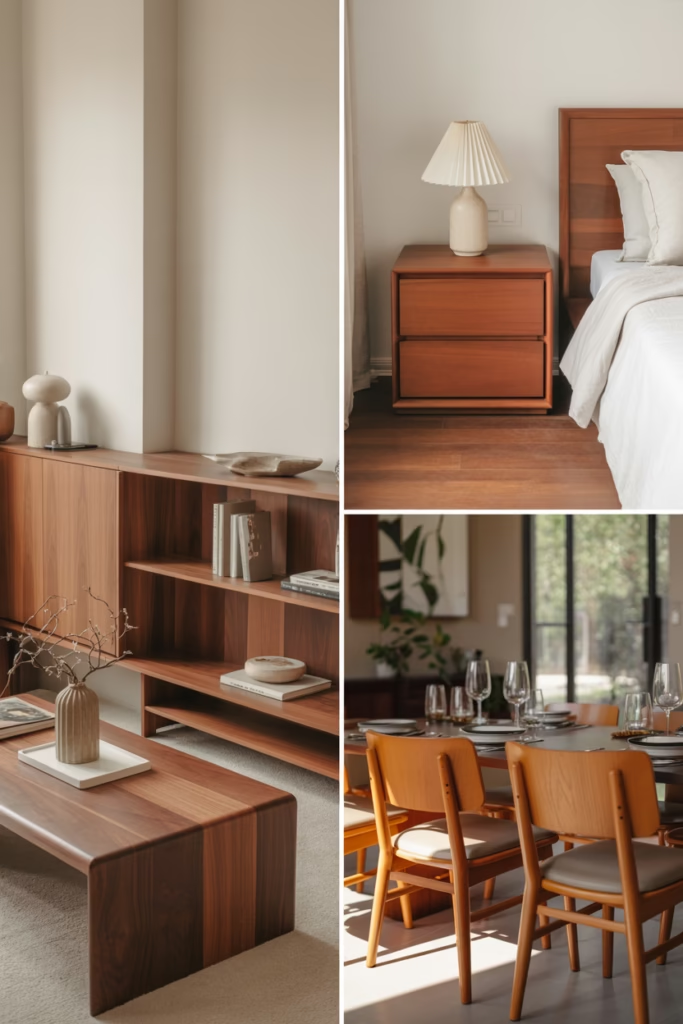
Bedrooms can handle more wood variety because your bed typically has a fabric headboard or upholstered frame, creating built-in separation. Your nightstands don’t have to match your dresser—in fact, they probably shouldn’t.
I mixed a warm walnut bed frame with cooler oak nightstands, and it works because my neutral linen bedding and cream walls tie everything together. The secret? Making sure both woods had similar intensity levels even though their undertones differed.
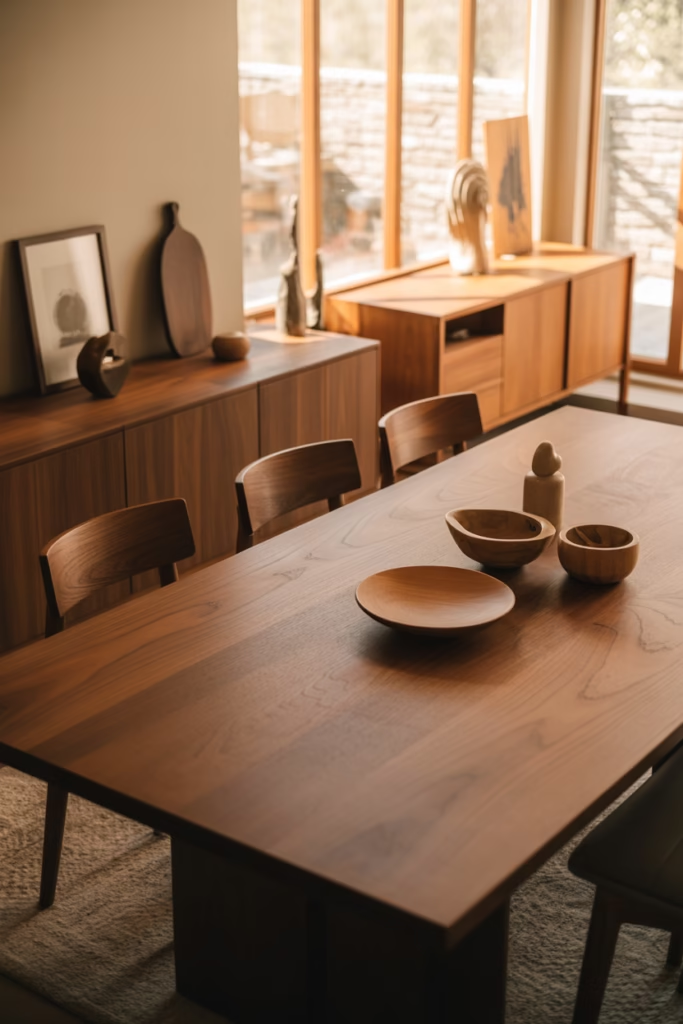
Kitchen and Dining Room
These spaces get tricky because you’ve often got cabinets, flooring, a dining table, and chairs all in play. My advice? Let your cabinets be your dominant 60%, your table your 30%, and bring in accent woods through cutting boards, bowls, or open shelving.
Open-concept spaces connecting to living areas need the most careful planning since you’re mixing woods across a larger visual field. Repeat at least one wood tone between the spaces to create flow.
The White Space Strategy
When in doubt, add more white space—literally.
White walls, white trim, white textiles, and white accessories create visual pauses between your different wood tones. It’s like the silence between musical notes; it makes each wood piece stand out individually while preventing them from clashing.
This is especially helpful if you’re working with inherited furniture in various wood tones that you can’t or don’t want to replace. Surround everything with neutral breathing room, and suddenly the variety feels intentional rather than mismatched.
Testing Before Committing
Before you commit to a major wood furniture purchase, test it in your space. Seriously.
Most furniture stores let you bring home samples or have generous return policies. Live with that new oak dresser next to your existing cherry bed for a few days. Look at it in morning light, afternoon light, and evening light. Take photos from different angles. If something feels off after 48 hours, trust your gut.
I’ve returned pieces that looked perfect in the store but clashed horribly with my existing furniture once home. Lighting changes everything, and what works under fluorescent showroom lights might look completely different in your naturally-lit bedroom.
When to Call It Quits and Refinish
Sometimes pieces just don’t want to play nice together, and that’s okay. Refinishing furniture to match your existing pieces is always an option—and honestly, it’s not as hard as you think.
I refinished an inherited oak side table to match my walnut aesthetic, and the transformation was incredible. You don’t need to be a woodworking expert; plenty of tutorials exist for DIY staining. Or hire a local furniture refinisher if you want professional results.
Just make sure the piece is solid wood rather than veneer before you start sanding. Ask me how I learned that lesson the hard way :/
The Confidence Factor
Here’s the real tea: half of making mixed wood tones work is just owning your choices confidently.
If you love that combination of walnut and oak in your dining room, commit to it. Style the rest of the space intentionally. Add decor that bridges the tones. Don’t constantly question whether it “matches” because that energy shows in how your space feels.
The most beautifully designed homes I’ve seen didn’t follow rigid rules—they followed a vision. Their owners mixed woods fearlessly, creating spaces that felt collected and personal rather than cookie-cutter perfect. Your home should tell your story, and stories have variety, contrast, and unexpected combinations that somehow work.
Mixing wood tones is part art, part science, and part just trusting your eye. Start with understanding undertones, apply the 60-30-10 rule as your safety net, and use unifying elements to tie everything together. Create visual separation between different woods, distribute them evenly throughout your space, and don’t be afraid of intentional contrast when done boldly.
Most importantly, stop stressing about whether it’s “allowed.” Your space, your rules. Mix that cherry with that oak, throw in some walnut accents, and create a home that feels layered, interesting, and uniquely yours. Because at the end of the day, the best-designed spaces aren’t the ones that followed every rule—they’re the ones that feel like home.