
I’ll never forget the first Christmas my wife and I decided to go all-out with outdoor lights we ended up wrapped in extension cords, squinting at bulb diagrams, and realizing halfway through that we hadn’t measured anything. It’s easy to feel overwhelmed, especially if you’re not sure where to start or how to avoid the most common pitfalls. But here’s the good news: with a bit of planning and some practical know-how, anyone can create a festive, inviting outdoor display that’s safe, beautiful, and uniquely theirs. By the end of this article, you’ll have a clear plan, specific measurements, material lists, budget-friendly alternatives, and honest advice from my own trial-and-error. You’ll know how to avoid the mistakes most beginners make, balance effort with impact, and even impress your neighbors without losing your sanity or your weekend.
Choose the Right Lights for Each Job
Not all outdoor lights are the same. Here’s a quick guide to what works best, based on years of transforming my own and my clients’ homes:
- Mini string lights: Versatile, classic, and ideal for wrapping trees, hedges, or railings. I prefer LEDs for their energy efficiency and cool-to-the-touch bulbs.
- C9 or C7 bulbs: Larger, vintage-style bulbs that make a bold statement. Great for outlining roofs and fences. These take more power, so plan your circuits carefully.
- Icicle lights: Fantastic for eaves—but only if your roof isn’t dangerously steep. Safety first!
- Net lights: A lifesaver for bushes. They drape over shrubs in seconds, saving time versus wrapping.
- Floodlights and spotlights: Use these sparingly to highlight a tree, wreath, or architectural feature.
Pro tip: Buy extra bulbs or a spare string—especially if you’re putting up lights in early November. There’s nothing worse than a dark section in December when stores are sold out.
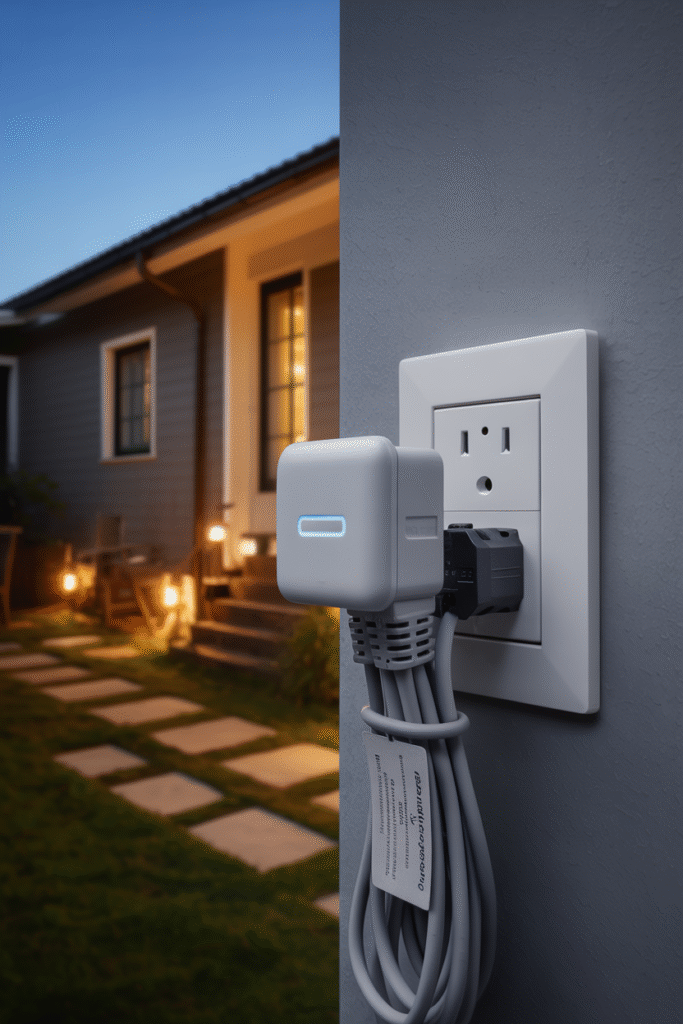
Power Play: Extension Cords, Timers, and Safety
One of the biggest mistakes I see is daisy-chaining too many extension cords, or worse, running them across walkways or under carpets. In my experience, it’s worth investing in heavy-duty outdoor extension cords and outdoor-rated power strips. I keep mine under 15 meters (50 feet) for safety, and I always use a ground fault circuit interrupter (GFCI) outlet or adapter—this can literally be a lifesaver if something goes wrong in wet or snowy weather.
- Materials list: Outdoor extension cords, waterproof covers, GFCI adapters, surge protectors
- Time needed: 30 minutes to plan and lay out cords
- Difficulty: Beginner to intermediate
Avoid this: Never run cords through door or window cracks, or overload a single outlet. It’s a fire hazard and a quick way to trip a breaker.
15 Outdoor Christmas Lighting Ideas You Can Actually Use
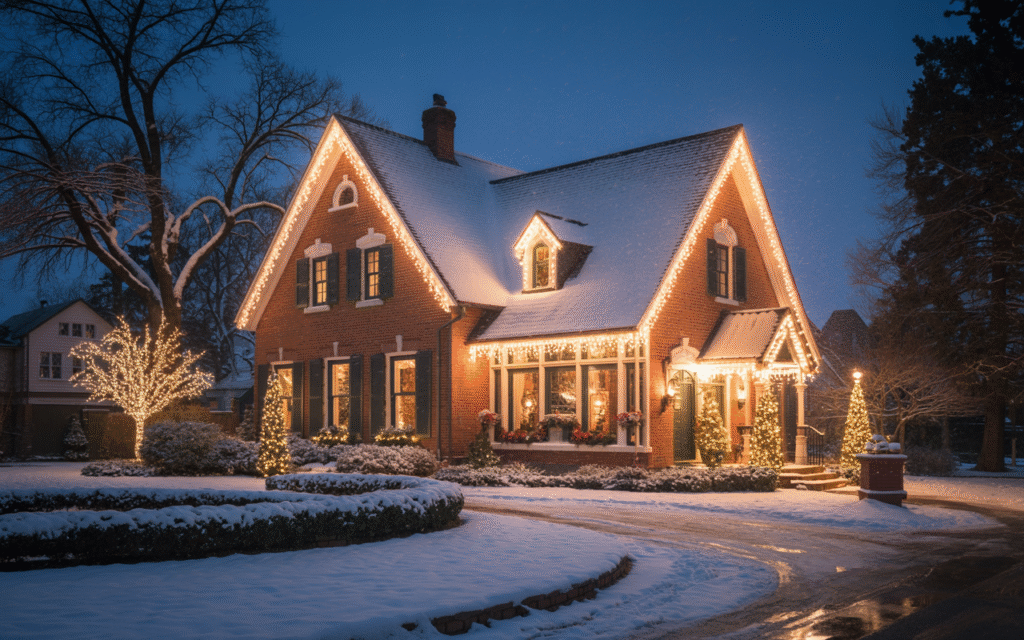
1. Outline Your Roofline for Instant Curb Appeal
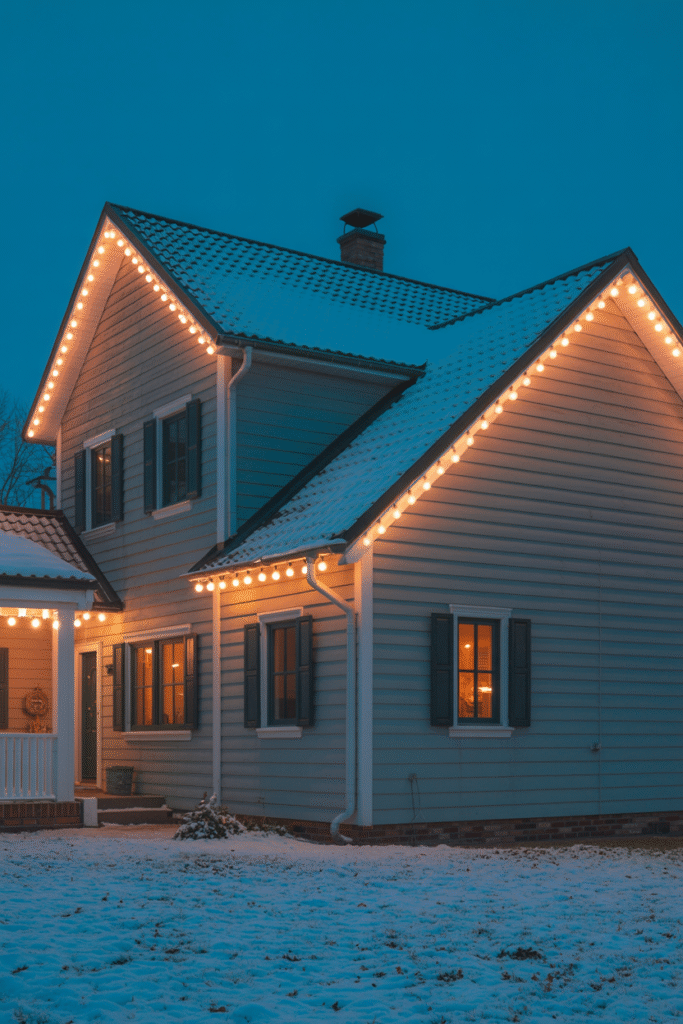
How: Use C9 or C7 bulbs for a classic look, or mini LEDs for something softer. Clip the lights onto clips every 30 cm (12 inches) for a straight, even line. I’ve found metal gutter clips (not plastic clips, which can break in the cold) hold up all season.
Approximate Cost: €25–€75 ($30–$85) depending on length
Time: 1–2 hours for a standard home
Personal story: The year I switched from hand-tying lights to using gutter clips, I saved an entire afternoon—and my ladder time dropped by 75%.
2. Wrap Trees Like a Pro (Without Climbing)
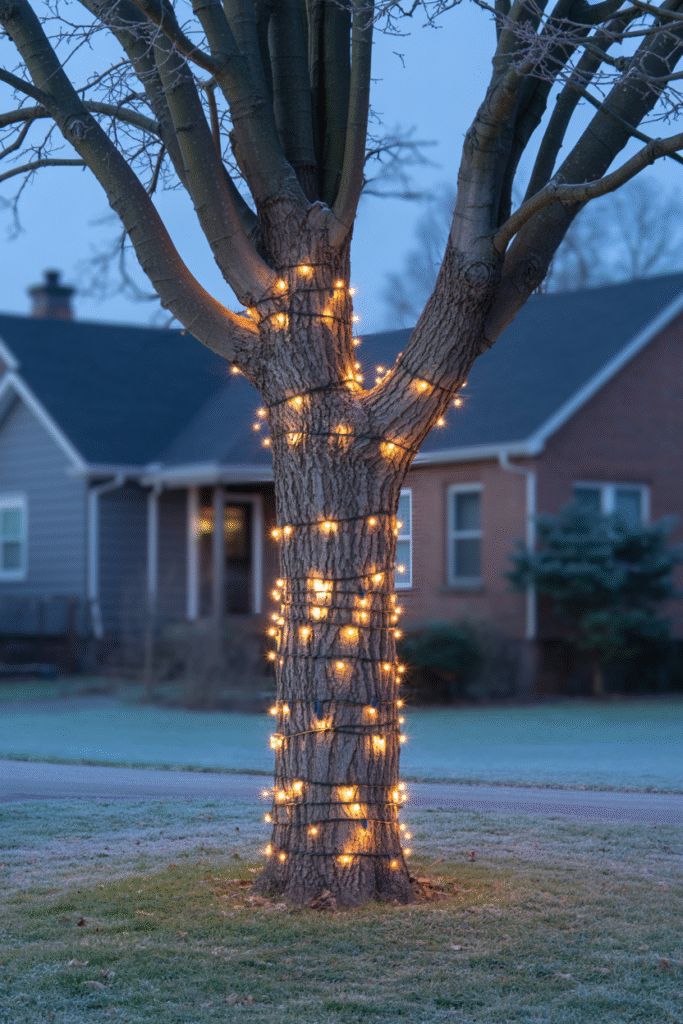
How: Use a light-hanging pole or a broomstick to gently drape lights around the lower branches, then move up as high as you can reach comfortably. For bigger trees, wrap just the trunk and some lower branches—this is dramatic and much safer.
Approximate Cost: €10–€50 ($12–$60) per tree
Time: 20 minutes per tree
Pro tip: Start with the plug at the base so you can connect to other trees or features easily.
3. Illuminate Pathways and Driveways
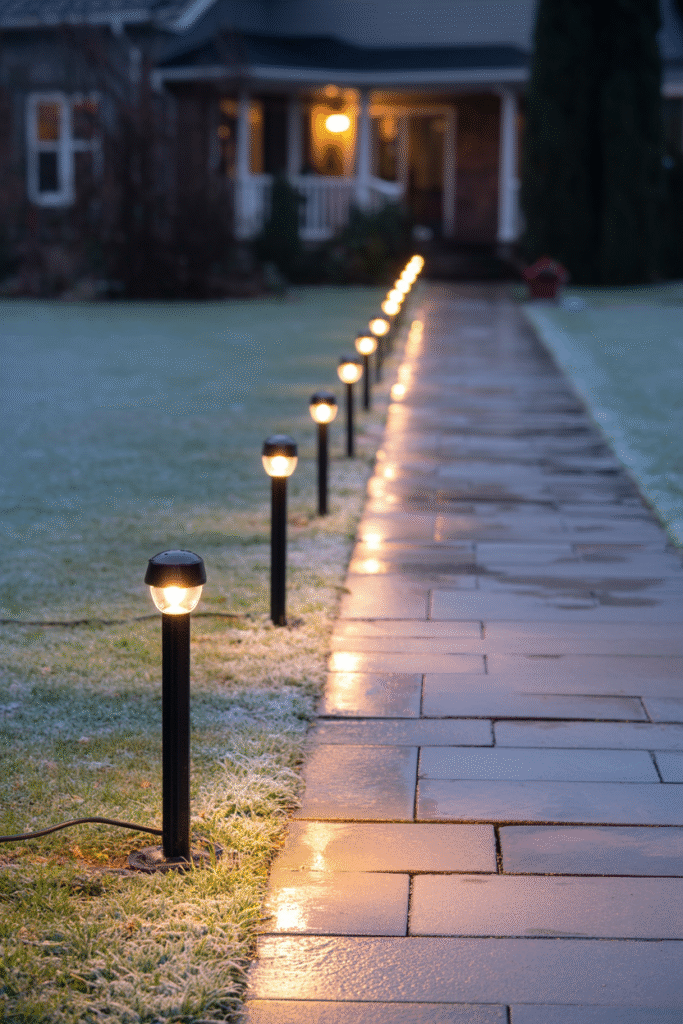
How: Place solar-powered stake lights or low-voltage LED fixtures along walkways. These are easy to install (just push into the ground) and don’t need an outlet.
Approximate Cost: €20–€60 ($25–$70) for a set
Time: 15 minutes
Avoid this: Don’t run string lights along walkways—they’re a trip hazard when people aren’t looking down.
4. Create a Festive Fence
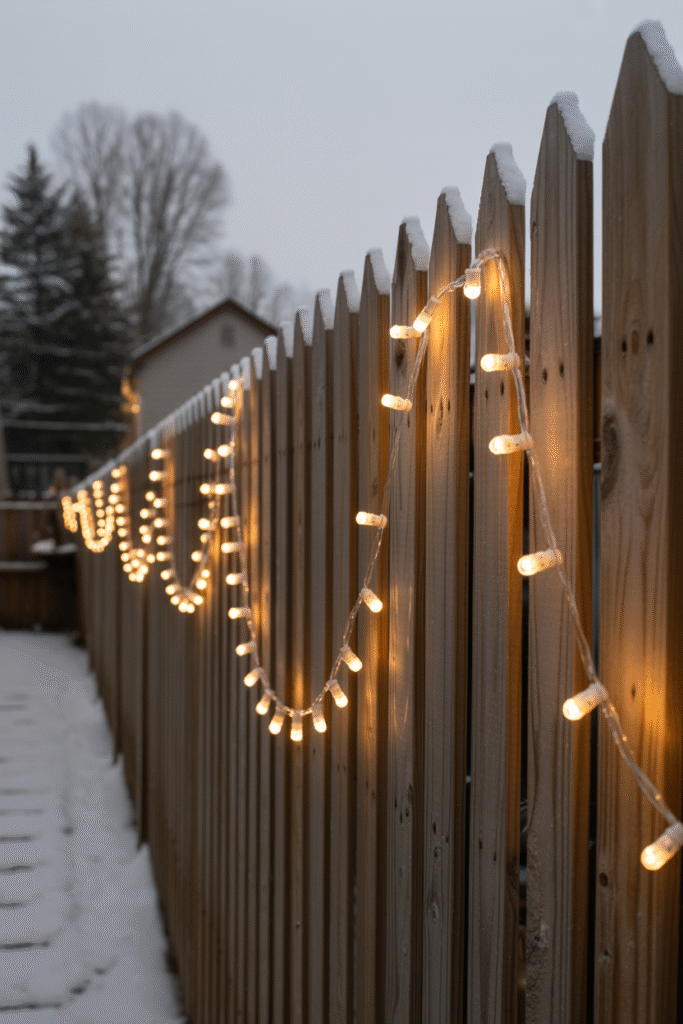
How: Attach mini string lights to the top of your fence every 50 cm (20 inches) using zip ties or fence clips. For a rustic look, use thicker wire (like jute or thick rope) to hang lights in loose loops between posts.
Approximate Cost: €15–€40 ($18–$48)
Time: 30 minutes
Variation: Use alternating warm white and multicolor lights for a playful, retro effect.
5. Highlight Hedges and Bushes
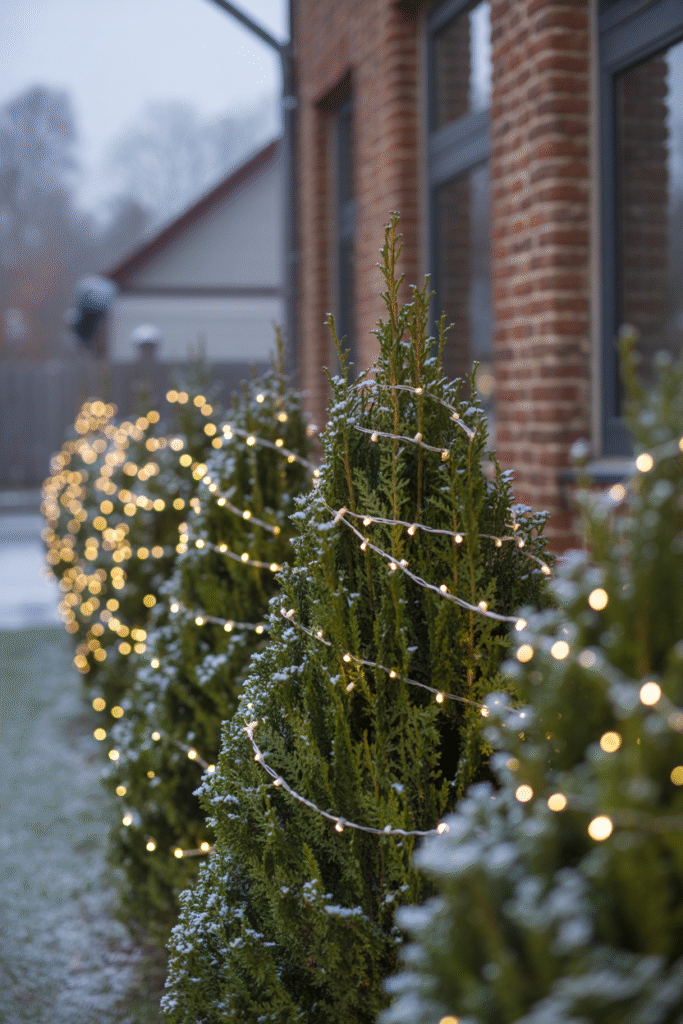
How: Toss net lights over bushes for instant coverage. For a more custom look, spiral string lights vertically around each bush, starting at the bottom and moving up.
Approximate Cost: €10–€30 ($12–$35) per bush
Time: 10 minutes per bush
Pro tip: For hedges, weave lights horizontally through the branches for depth and texture.
6. Light Up Porch Posts and Railings
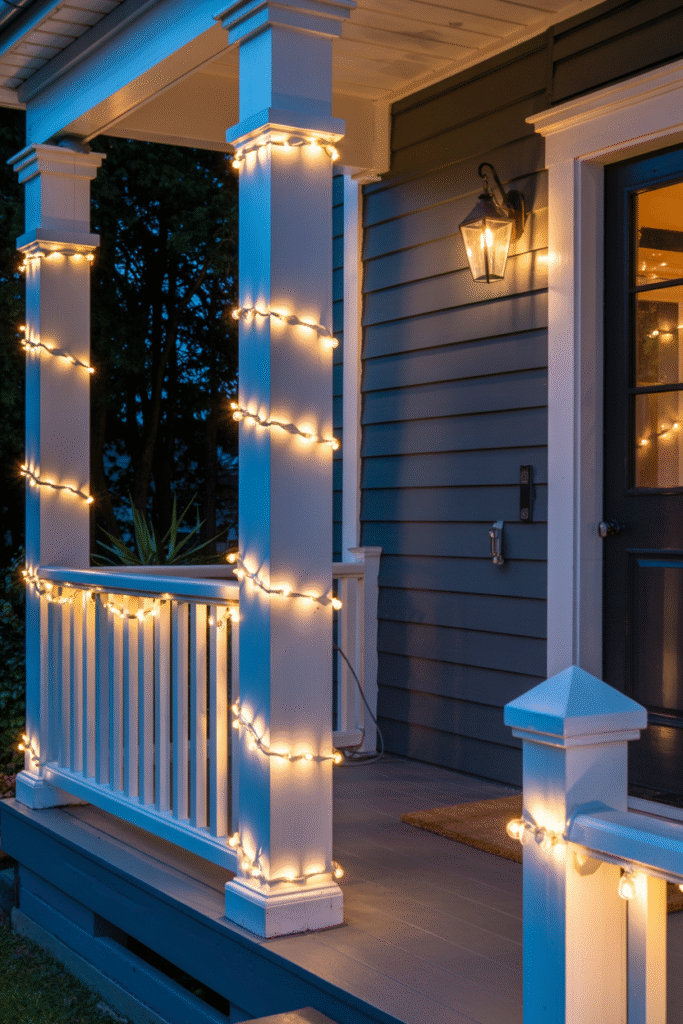
How: Wrap mini string lights around porch posts and railings, securing them with clear zip ties or adhesive clips every 30–40 cm (12–16 inches).
Approximate Cost: €10–€25 ($12–$30)
Time: 20 minutes
Avoid this: Don’t let cords dangle—tape them to the rail or hide them behind the post.
7. Accent Architectural Features
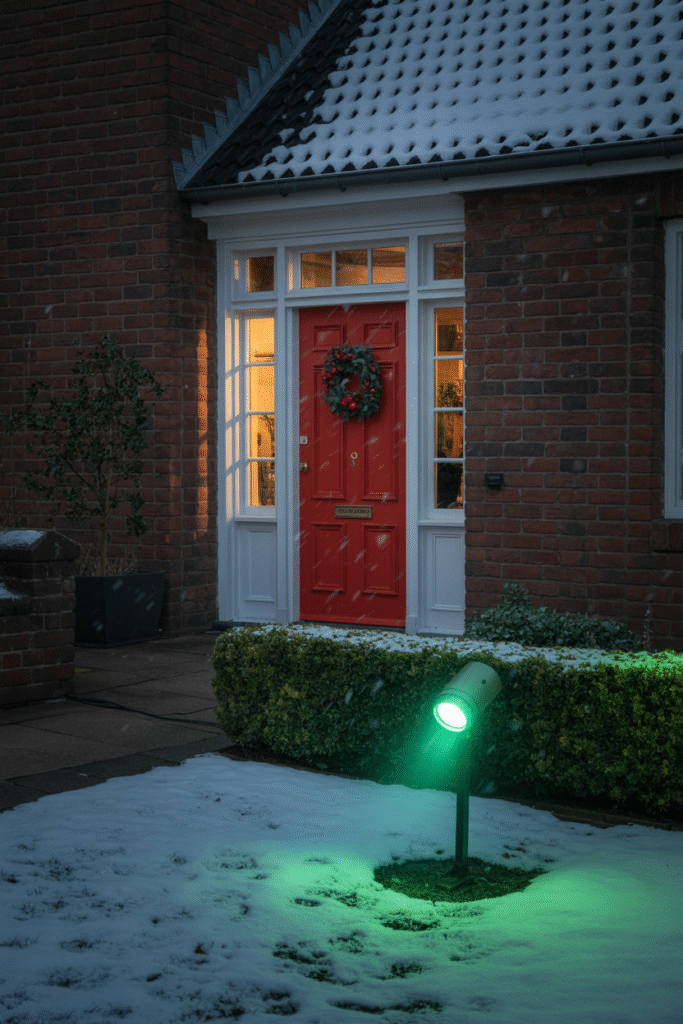
How: Use colored LED spotlights to highlight brickwork, columns, or a front door. Solar-powered spotlights are easy to set up and move as needed.
Approximate Cost: €20–€50 ($25–$60)
Time: 15 minutes
Personal story: Last year, I aimed a green spotlight at our arched front door, and neighbors asked if we had a professional designer—it cost €25 and took 10 minutes.
8. Make a DIY Lighted Garland
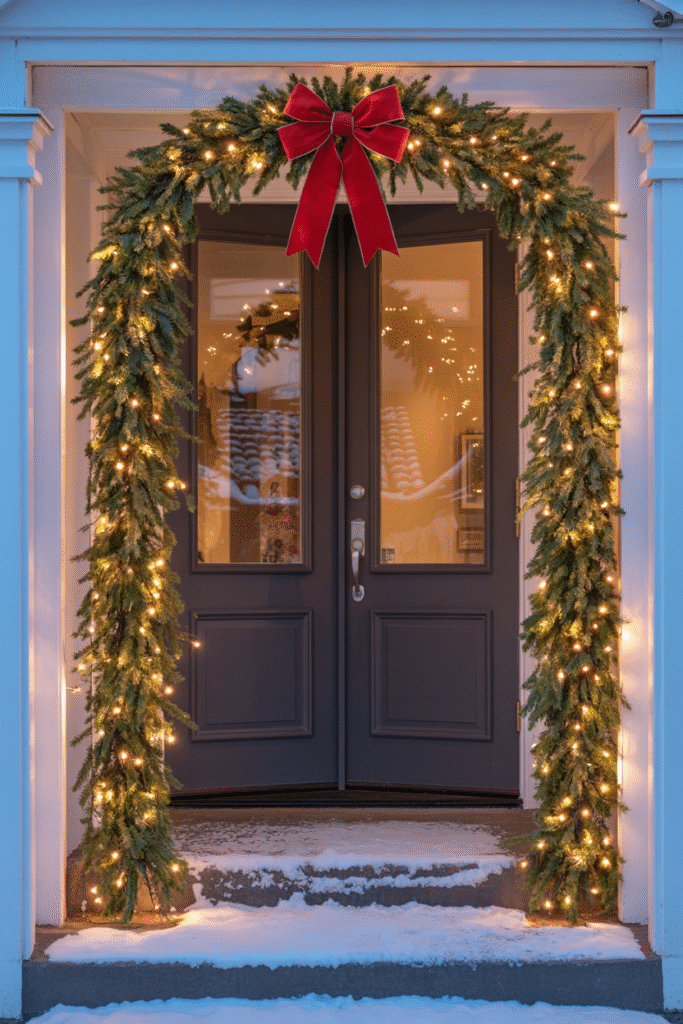
How: Weave string lights into an artificial garland for your porch or staircase. Use floral wire to anchor the lights every 30 cm (12 inches).
Approximate Cost: €20–€40 ($25–$48)
Time: 30 minutes
Pro tip: Pre-make these in November—they’re easy to hang in early December.
9. Illuminate Your Mailbox
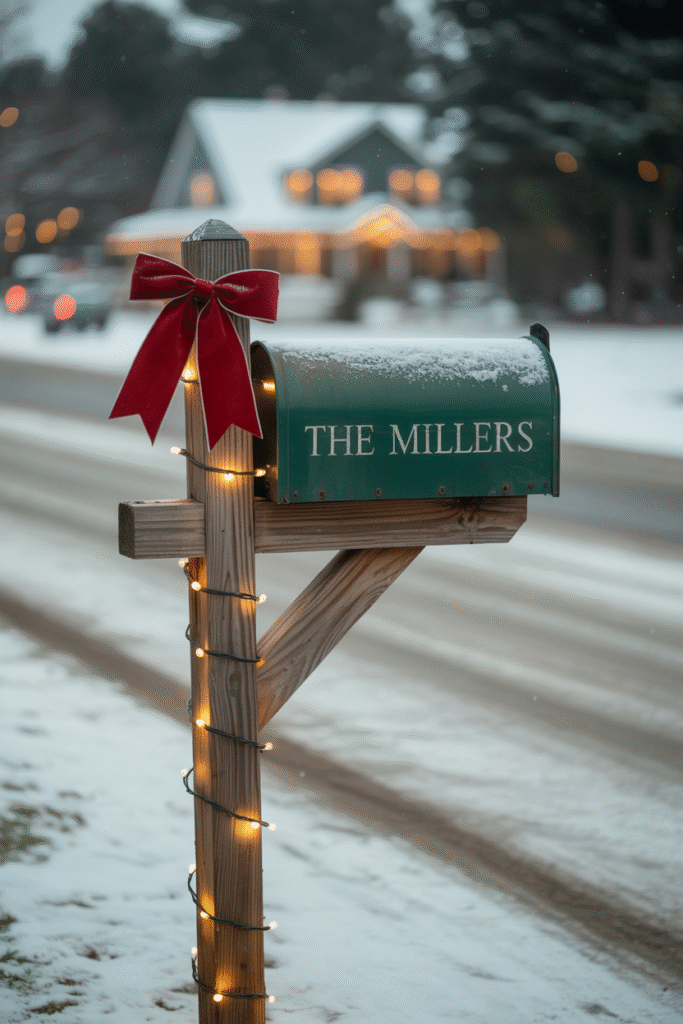
How: Wrap mini lights around your mailbox post, or hang a pre-lit wreath above the box. Solar lights work well here, too, if you don’t mind a glow that dims overnight.
Approximate Cost: €5–€20 ($6–$24)
Time: 10 minutes
Variation: Add a bow or a small wooden sign for extra charm.
10. Create a Cozy Glow with Lanterns
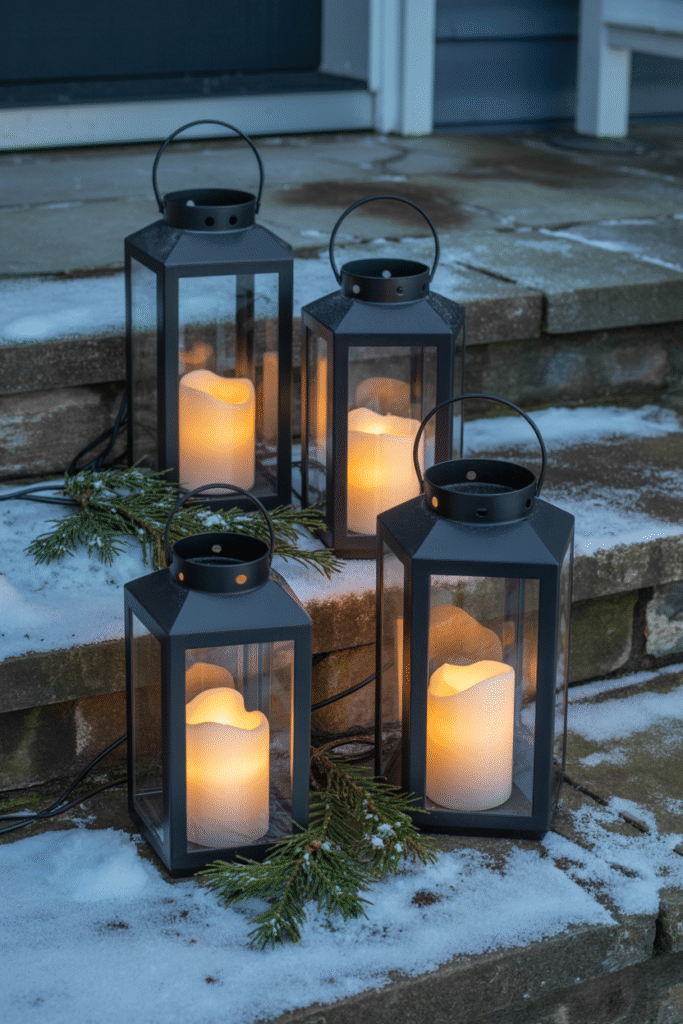
How: Place LED lanterns on your porch, deck, or along the driveway. Flameless candles are safe and look great in all weather.
Approximate Cost: €15–€40 ($18–$48) for a set
Time: 10 minutes
Avoid this: Skip real candles—they’re a fire hazard outdoors.
11. Add Sparkle with Icicle Lights
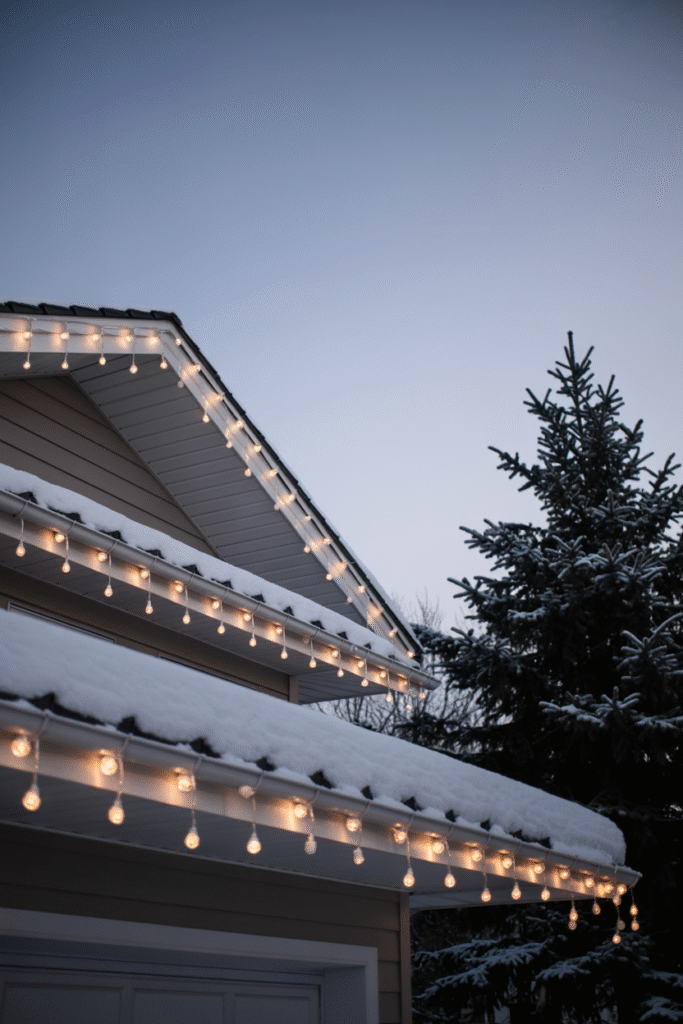
How: Hang icicle lights from the roof eaves or porch ceiling. For depth, hang a second row staggered below the first.
Approximate Cost: €20–€50 ($25–$60)
Time: 1 hour
Pro tip: Buy the extra-long strings—it’s easier to cut length than to add more.
12. Go Upside Down: Tree Silhouettes
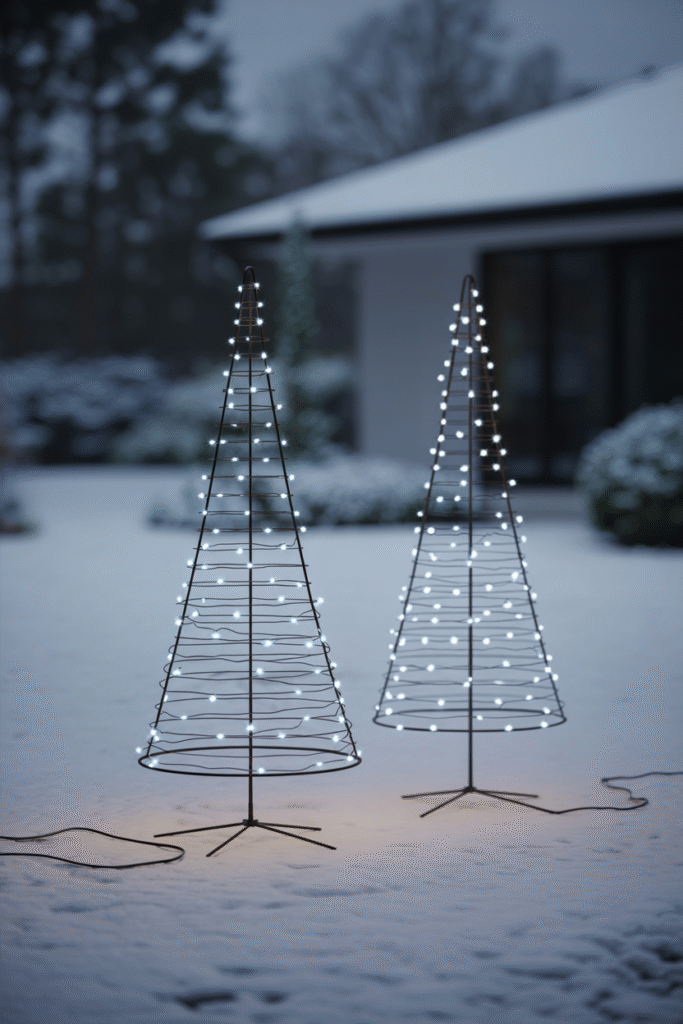
How: Place a few cone-shaped shrubs in large pots, wrap them with lights, and “plant” them upside down in your yard. It’s a fun, modern twist that gets comments every year.
Approximate Cost: €30–€80 ($35–$95)
Time: 1 hour
Personal story: My kids’ favorite feature last year—easy to do, looks like floating trees at night.
13. Light the Bare Branches
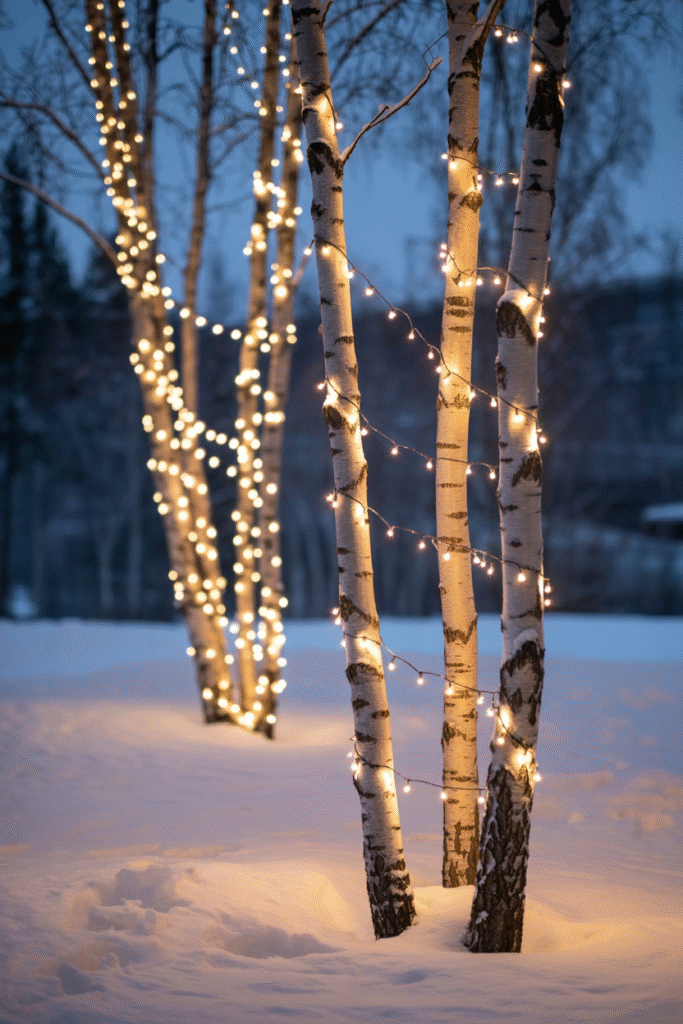
How: Wrap string lights around young trees or winter branches for an ethereal effect. This works best with white or cool LEDs.
Approximate Cost: €10–€25 ($12–$30) per tree
Time: 20 minutes
Avoid this: Don’t use staples—these can damage bark.
14. Window Box Wonders
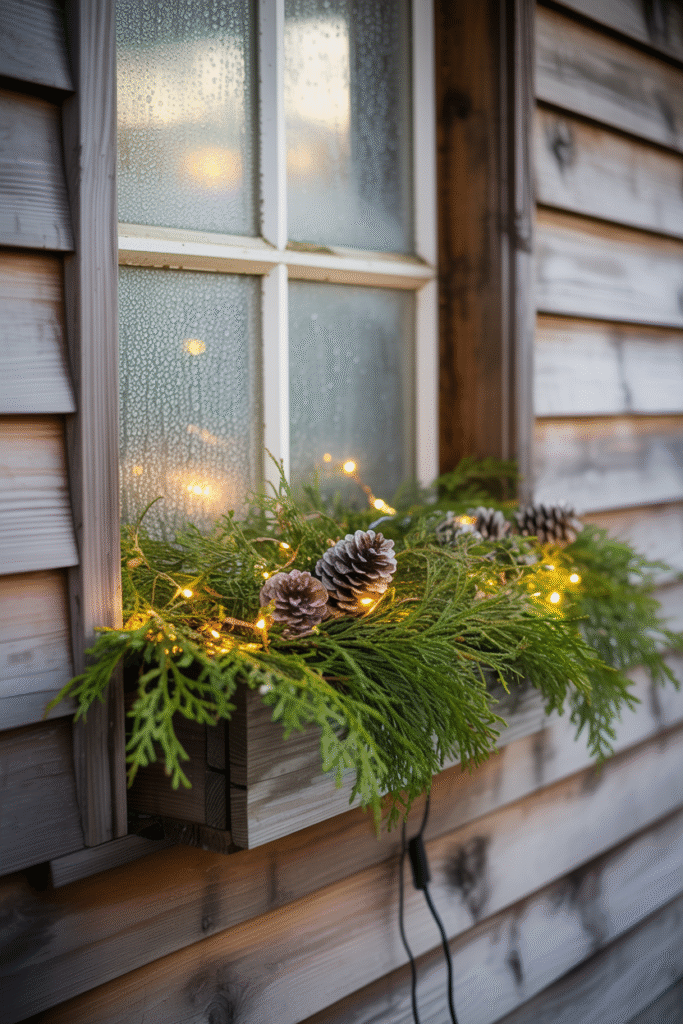
How: Line wooden window boxes with mini string lights beneath the greenery. Plug into an outdoor outlet if possible, or use battery-powered LEDs.
Approximate Cost: €10–€20 ($12–$24) per box
Time: 15 minutes
Pro tip: Make sure the lights are rated for outdoor use—check for the “UL” or equivalent mark.
15. Double Up on Timers
How: Use two timers—one for pathway and accent lights, and one for the main display—so you can save energy but still have a welcoming glow after bedtime.
Approximate Cost: €15–€25 ($18–$30) each
Time: 10 minutes
Variation: Smart plugs let you control lights from your phone, handy if you want to adjust for weather or guests.
Safety First: Common Mistakes and How to Avoid Them
Mistake: Overloading circuits
Solution: Plan for no more than three standard light strings per circuit. The packaging will tell you the wattage—add up all your lights and compare.
Mistake: Using indoor lights outdoors
Solution: Always check for an outdoor rating on the packaging. Indoor lights can short out, overheat, or become dangerous in wet conditions.
Mistake: Ignoring the weather forecast
Solution: Secure everything well. If high winds or heavy snow are coming, wait to install or take lights down temporarily.
Mistake: Forgetting to unplug while working
Solution: Always unplug lights when adjusting, adding, or removing them.
Mistake: Skimping on clips and fasteners
Solution: Invest in quality gutter clips, zip ties, and hooks. Cheap plastic clips break in freezing weather.
Mistake: Not checking for tripping hazards
Solution: Keep cords off walkways and driveways, and secure them with tape or cord covers.
Budget and Skill Alternatives
On a tight budget? Start with mini string lights on your porch and a few solar stakes. This basic setup can cost as little as €20 ($25) and makes a noticeable difference.
Don’t own a ladder? Focus on ground-level features like shrubs, pathways, and fences. You can create a lovely display without ever leaving the ground.
No outdoor outlets? Use solar-powered lights for paths, bushes, and trees. They won’t be as bright, but they’re easy and safe.
Want to go big? Consider renting a cherry picker for a day to reach high eaves safely, or hire a local handyperson for tricky spots.
DIY-phobic? Buy pre-lit garlands, pre-assembled wreaths, and net lights for bushes. These are quick to install and look polished.
Troubleshooting: What If…
My lights won’t turn on:
Check for a blown fuse—most LED strings have a small fuse in the plug. Replace it with an identical one from a hardware store.
Some bulbs are out:
LED strings usually keep working if one bulb fails, but if a whole section is dark, gently wiggle each bulb to make sure they’re seated.
My display looks messy:
Take a step back and adjust spacing. Sometimes a little untangling and repositioning makes all the difference.
I can’t get a straight roofline:
Use gutter clips every 30 cm (12 inches) and step back often to check alignment. It’s worth the time.
Outdoor Christmas Lights FAQs
Q: When should I start putting up my Christmas lights?
Start in late October or early November, especially if you’re not used to working in cold weather. It’s easier, and you’re less likely to get caught in snow or ice.
Q: How do I store my lights so they don’t tangle next year?
Wrap each string around a piece of cardboard or a storage reel, and use twist ties to keep them neat. Store in a dry, labeled box.
Q: Can I leave my lights up all winter?
Most LED lights are fine outdoors for a few months, but take them down if there’s extreme wind, ice, or if you’re leaving for an extended period.
Q: Are LED lights really worth it?
Yes, absolutely. They last longer, use less energy, and stay cool. The upfront cost is higher, but you’ll save money and hassle in the long run.
Q: How do I attach lights to wood fencing without damaging it?
Use small, removable clips or clear zip ties that can be snipped off in spring. Avoid staples or screws that could split the wood.
Q: Do I need to measure my house before buying lights?
It’s the best way to avoid mid-job trips to the store. Trust me—I’ve learned this the hard way.
Final Thoughts
Christmas lighting doesn’t have to be stressful or expensive. My most memorable displays have been simple, well-planned, and personally meaningful—not the ones I spent hours fussing over. Choose a few key features to highlight, use quality materials, plan for safety, and enjoy the process. If you’re new to this, start small and build each year. And remember, everyone’s first attempt is a learning experience mine certainly was! Whether you’re stringing your first set of mini lights or going all out with spotlights and timers, let your holiday spirit shine through. If I can make that rookie mistake of tangled cords and half-lit eaves my first year, anyone can start and next year, you’ll be the expert giving advice to someone just beginning.