
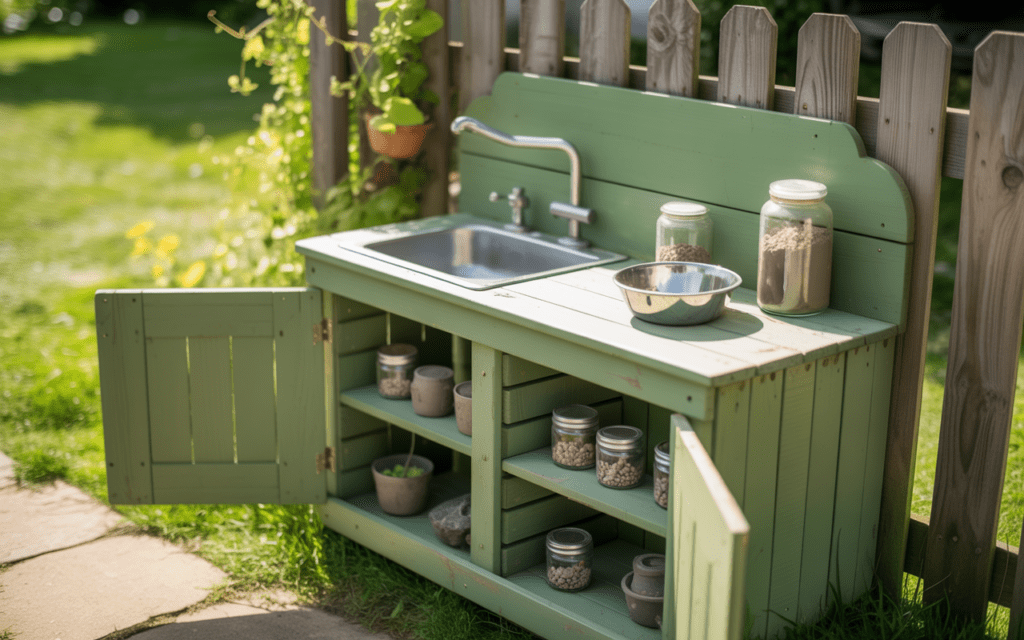
if your kid hasn’t discovered the pure, chaotic joy of playing with mud, you’re both missing out. Mud kitchens are hands-down one of the best outdoor play setups you can build for your little ones, and the best part? You don’t need to spend a fortune. With a few reclaimed materials and a free weekend, you can create something that’ll keep the kids busy for hours (and maybe give you some peace :)).
Whether you’re a seasoned DIY-er or someone who once called a hammer “the pointy stick thing,” there’s a mud kitchen idea here for you. Let’s get into it.
What Even Is a Mud Kitchen?
A mud kitchen is basically an outdoor play station where kids can “cook” with mud, water, leaves, sticks, and whatever else the backyard throws at them. Think of it as their version of a gourmet kitchen — except the ingredients are dirt and the health inspector has very low standards.
Why are mud kitchens so good for kids? Research consistently shows that unstructured outdoor play builds creativity, sensory development, and problem-solving skills. Mud play in particular helps kids connect with nature and develop fine motor skills. Plus, tired kids sleep better. You’re welcome.
12 DIY Mud Kitchen Ideas for Outdoor Play
1. The Classic Pallet Kitchen
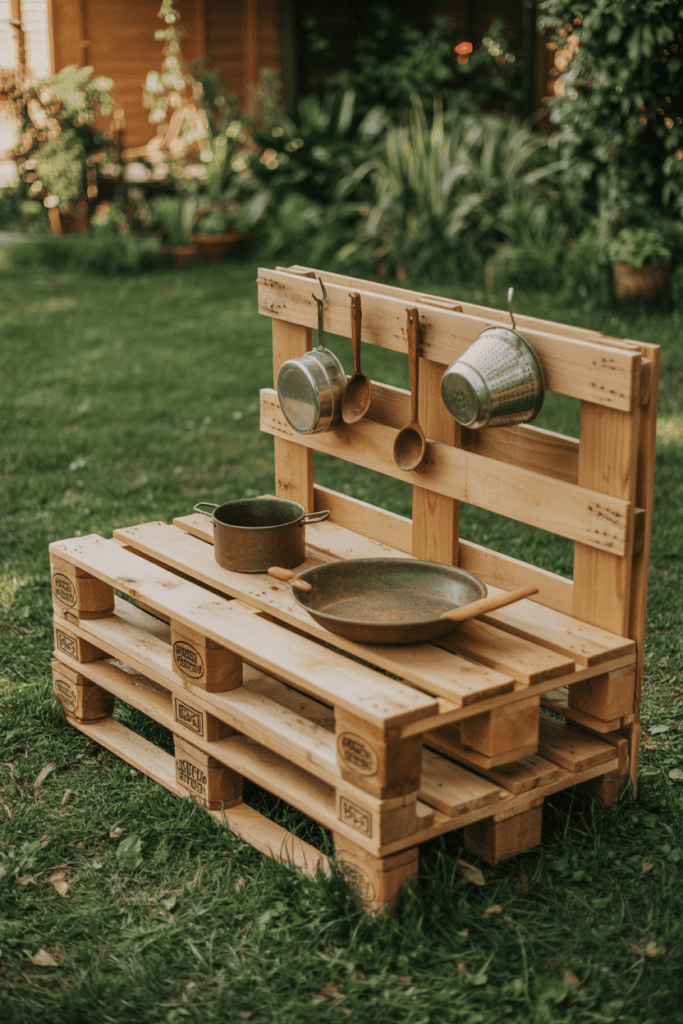
Old wooden pallets are basically the holy grail of budget DIY projects. Stack two pallets vertically, attach a third one horizontally as a counter, and boom — you’ve got a mud kitchen frame.
- Sand down rough edges to avoid splinters
- Add a few hooks for hanging “utensils” (old spoons, colanders, pots)
- Seal with outdoor wood stain to extend its life
This is IMO the easiest starting point for anyone who’s never built anything before. Total cost? Often under $20 if you source pallets for free from local businesses.
2. Upcycled Cabinet Kitchen
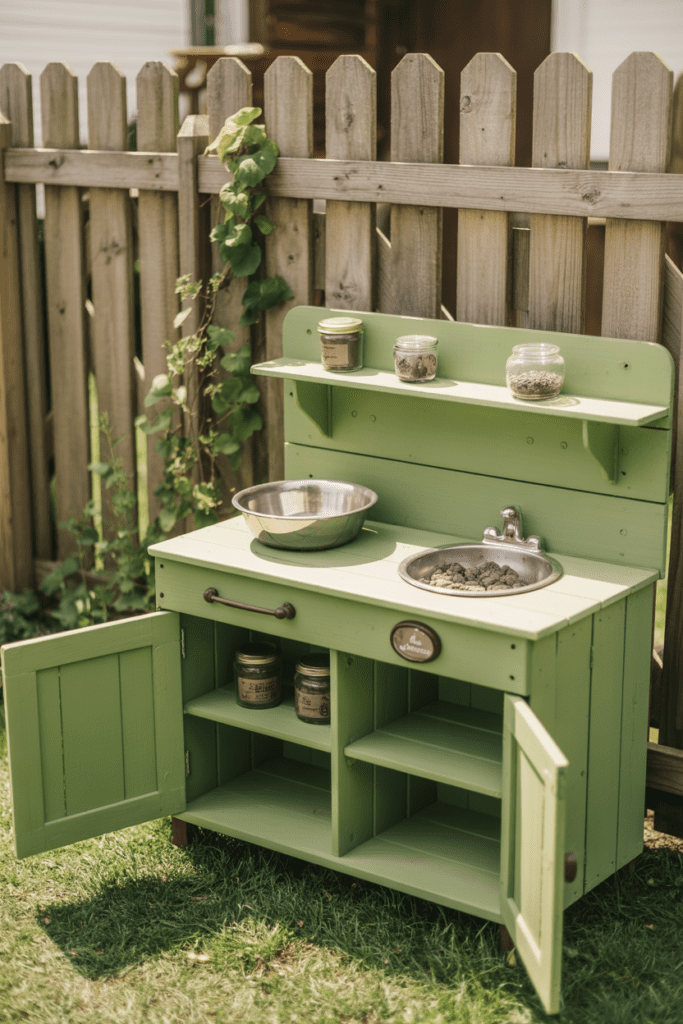
Got an old kitchen cabinet sitting in the garage? Don’t toss it — repurpose it. Strip it down, give it a coat of outdoor paint, and mount it against a fence or shed wall.
The built-in shelves are perfect for storing mud “ingredients,” and the cabinet doors add a surprisingly realistic kitchen feel. Kids absolutely love the drama of opening cabinet doors before their “cooking sessions.”
Pro tip: Remove any MDF panels and replace them with exterior-grade plywood before painting. MDF and rain are mortal enemies.
3. The Workbench Mud Station
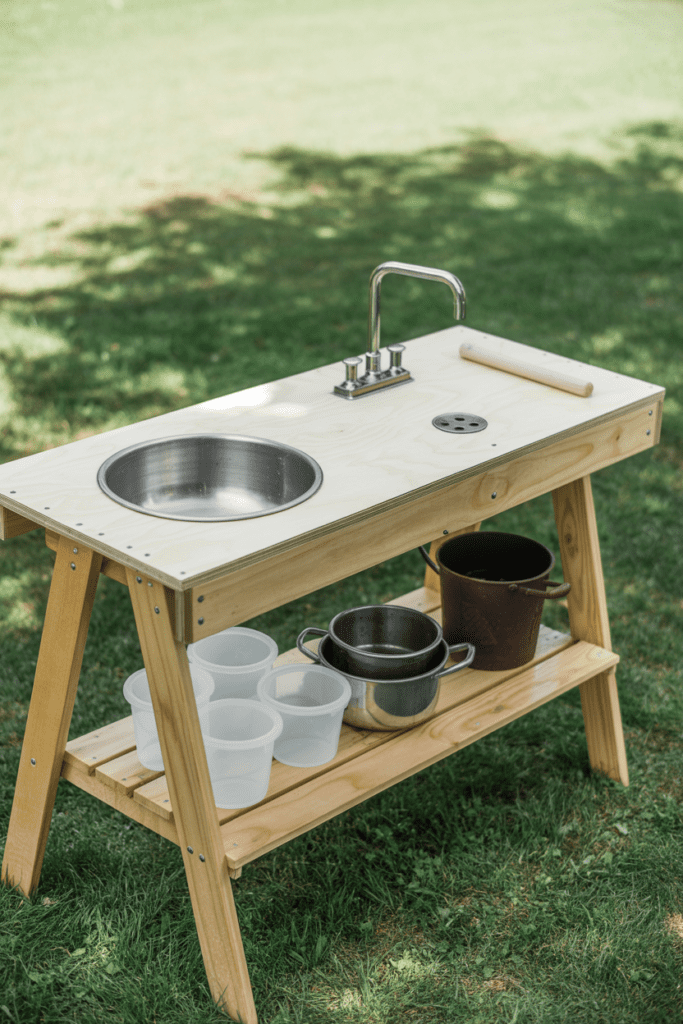
A simple workbench setup works brilliantly as a mud kitchen. You can build a basic one with two sawhorses and a thick plywood top, or repurpose an old wooden workbench from a garage sale.
- Cut a hole in the counter and drop in a stainless steel mixing bowl as the “sink”
- Run a simple hose connection or keep a watering can nearby for water play
- Add a lower shelf for storage
This design is sturdy, spacious, and super practical — especially for multiple kids playing at once.
4. The Fence-Mounted Mini Kitchen
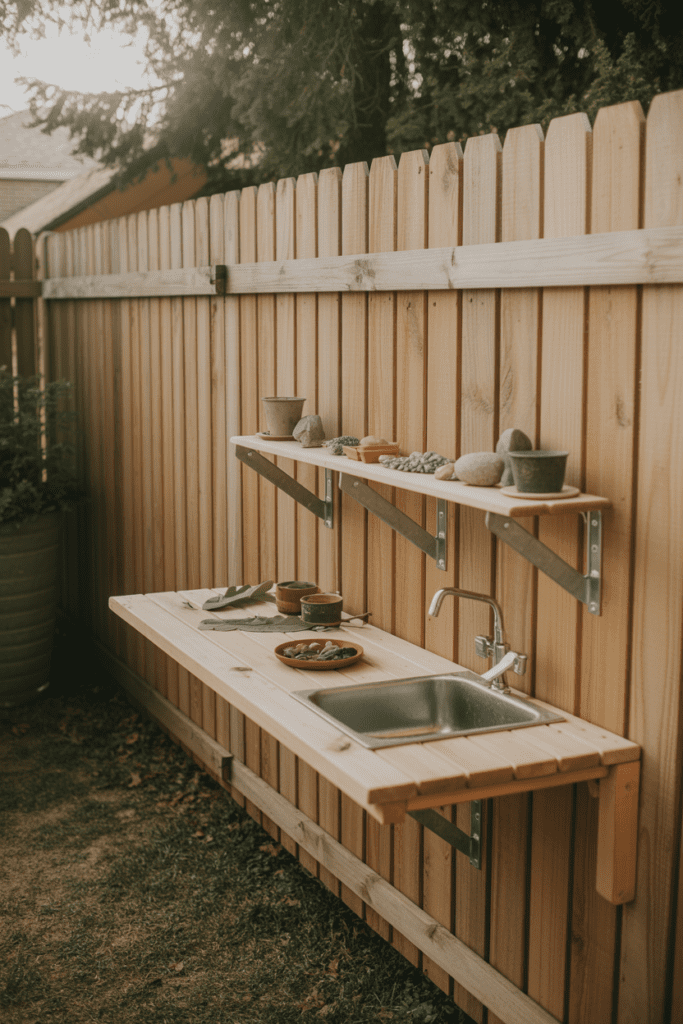
Short on yard space? Mount your mud kitchen directly onto a fence. Use a long plank as the counter, attach L-brackets, and add a few smaller shelves above it for storage.
This works really well for narrow gardens or patios. It keeps the mud zone contained to one area (your future self will thank you) and it looks surprisingly tidy from a distance. Emphasis on “from a distance” :/
Bold the key benefit here: minimal footprint, maximum fun.
5. Log Slice Countertop Kitchen
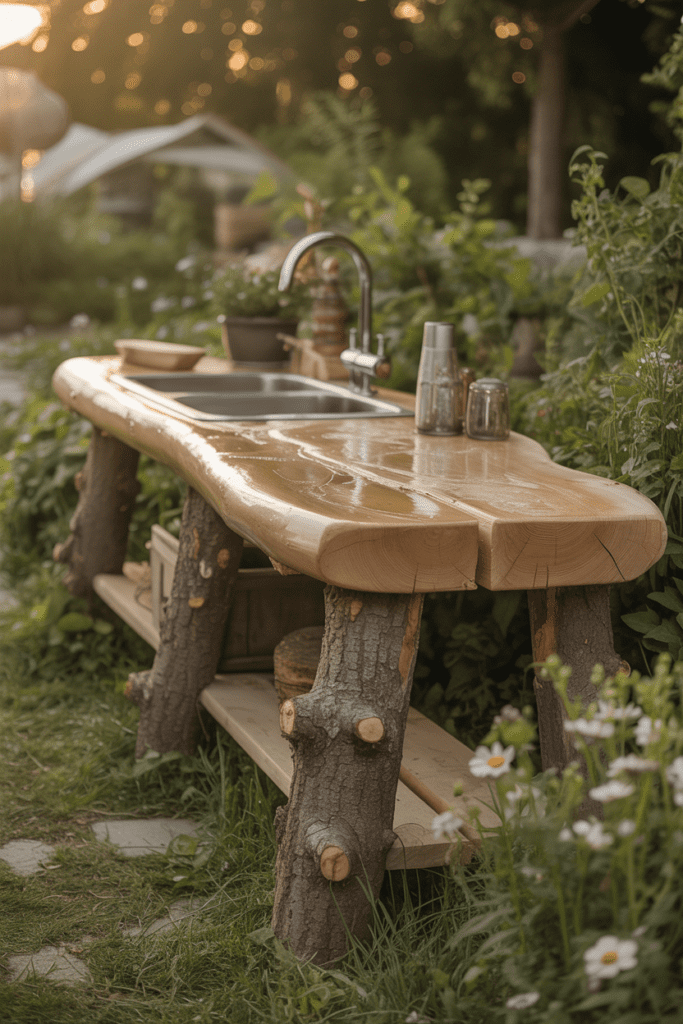
For the more aesthetically inclined parents out there, a log slice countertop mud kitchen looks absolutely stunning in a backyard. Source a wide cross-cut log slab, sand it smooth, and seal it with outdoor wood wax.
Pair it with rustic branch legs and you’ve got something that looks like it belongs in a Pinterest home decor spread. Honestly, it might look nicer than your actual kitchen. No judgment.
- Use naturally rot-resistant wood like cedar or oak
- Seal the slab thoroughly before outdoor use
- Keep legs thick — kids will lean on this thing hard
6. The Two-Story Mud Kitchen
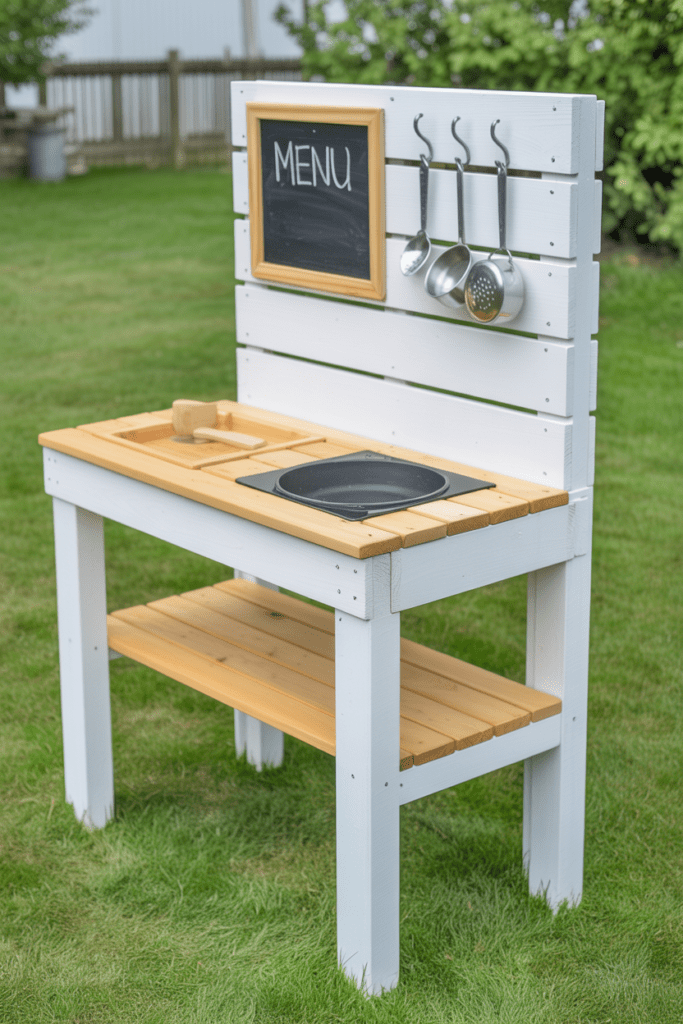
Go big or go home, right? A two-story mud kitchen gives kids a lower prep area and an upper “serving” counter, and it adds serious wow factor to your backyard.
Build a simple frame from 2×4 lumber, add two counter levels, and include a back panel with hooks and shelves. This is a weekend project, but the payoff is huge — kids treat it like a full restaurant and will spend entire afternoons in full chef mode.
FYI, adding a small chalkboard panel to the front lets them write their “menu.” It’s absurdly cute.
7. Old Dresser Turned Mud Kitchen
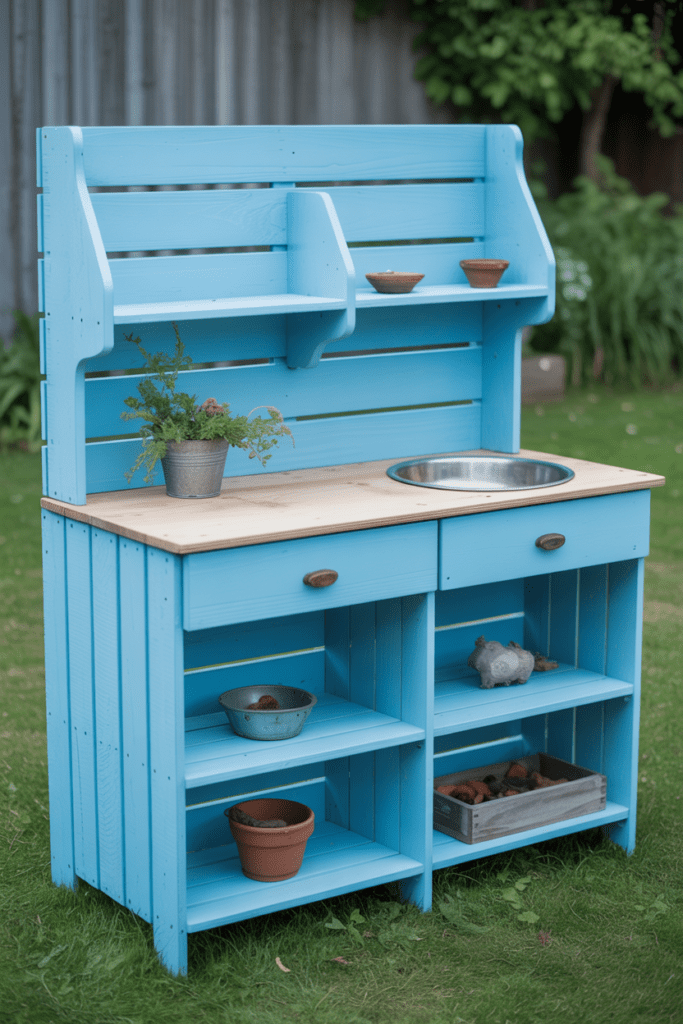
Spotted a beat-up old dresser at a garage sale? Grab it. Remove the drawers, flip it on its side, and use the open compartments as shelves. Mount a counter on top using a plywood sheet.
The transformation takes a few hours max and costs almost nothing. Sand, prime, paint with exterior paint, and seal — that’s the full process. Kids don’t care if it used to be a dresser. They care if it has enough space to store their “herbs” (a.k.a. grass and twigs).
8. Cinder Block and Wood Slab Kitchen
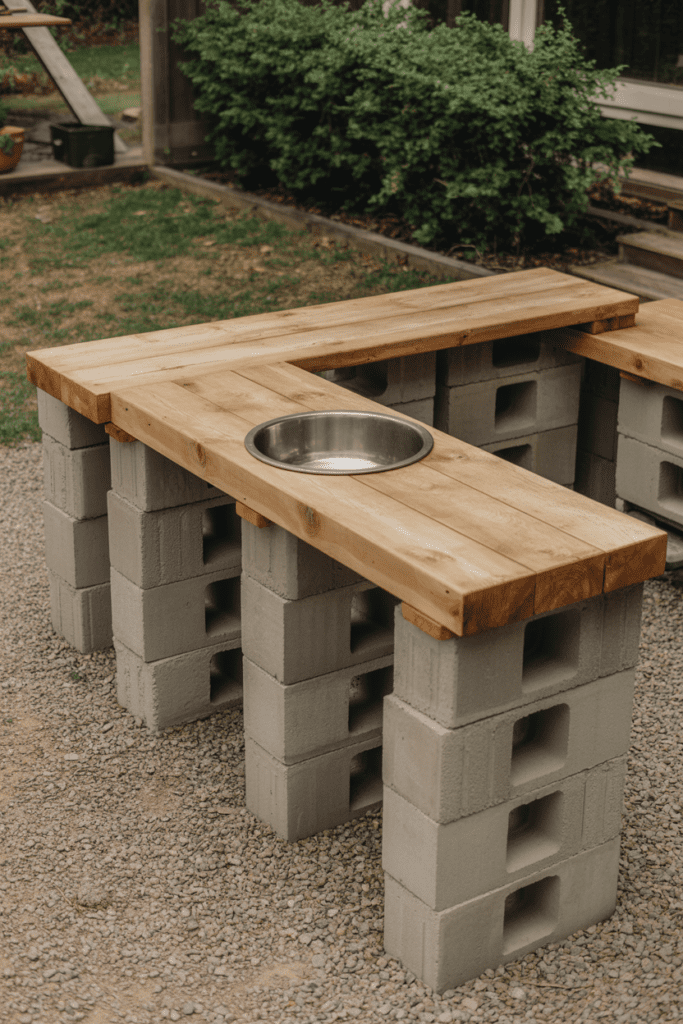
Want something that’ll survive a decade of outdoor weather without much maintenance? Build your mud kitchen with cinder blocks and thick timber planks.
Stack cinder blocks in an L-shape or U-shape, lay heavy planks across the top, and done. It’s indestructible, free-draining, and incredibly easy to customize by rearranging blocks. Add a steel bowl as a sink and drill a drainage hole through the plank for bonus realism.
This is great for kids who are a little rough on their play equipment (you know the type).
9. The Hanging Pot Rack Kitchen
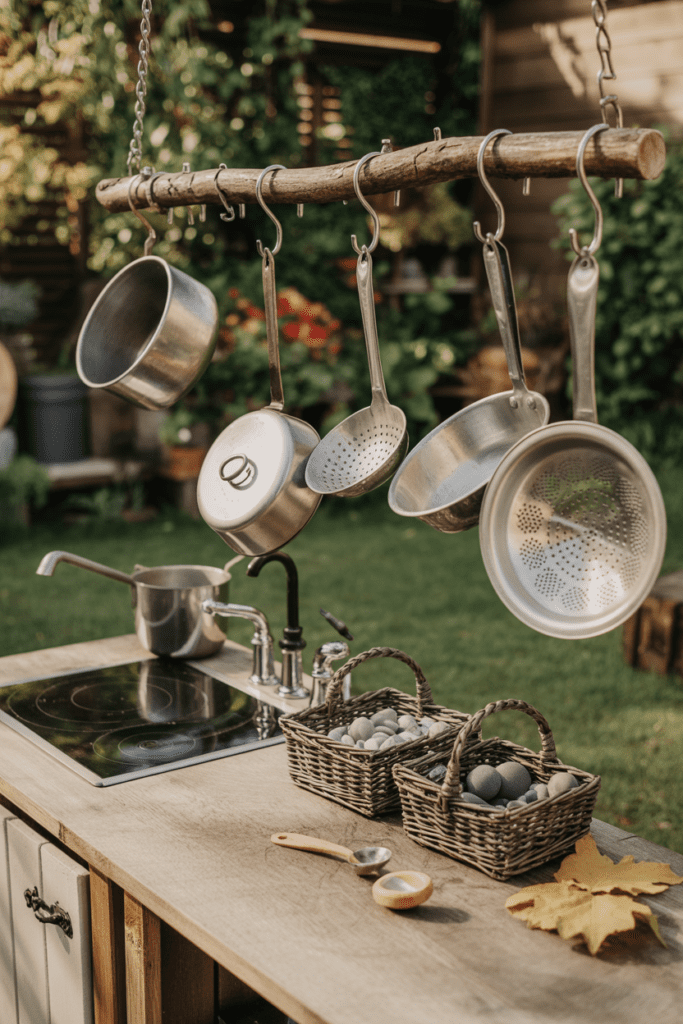
Sometimes the accessories make the whole setup. Build a simple countertop from reclaimed wood, then add a horizontal wooden dowel or branch above it — this becomes your hanging pot rack.
- Hang old pots, pans, and ladles with S-hooks
- Add small baskets on the counter for “ingredients”
- Include a chalkboard for the menu
The hanging rack makes this feel like a proper kitchen and keeps tools organized. Kids also love the satisfying clatter of pots — which, admittedly, is less fun for nearby adults.
10. Stump and Board Natural Kitchen
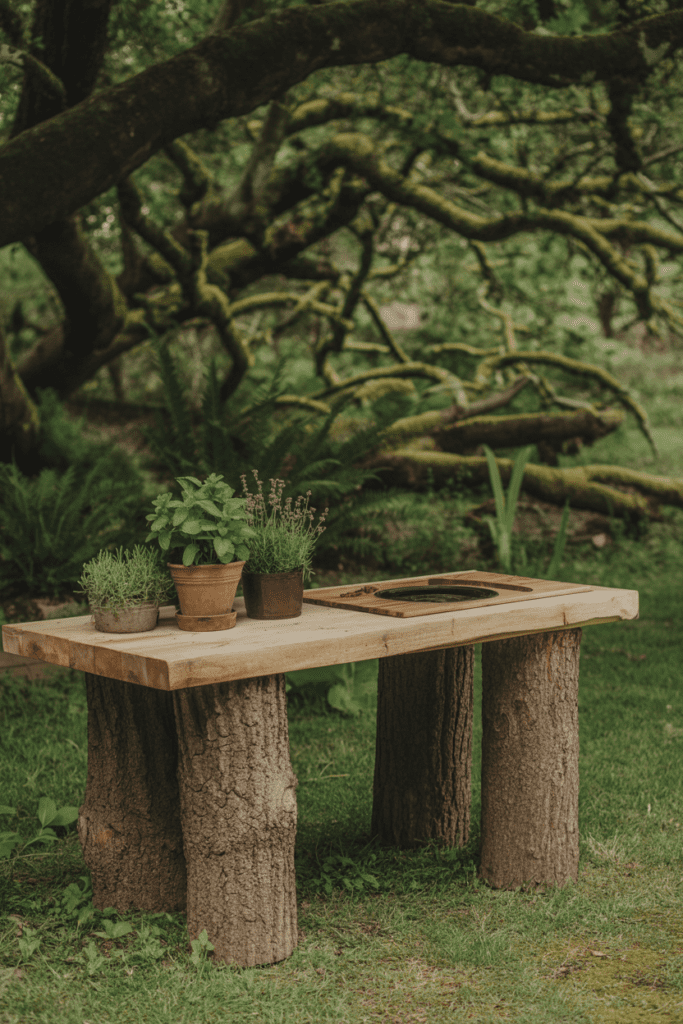
For a totally nature-inspired look, use tree stumps as the base and wide boards as the counter surface. Source stumps from a local tree trimmer (they often give them away) and rough-cut boards from a lumber yard.
This style blends beautifully into a garden and requires almost no construction skills. Arrange the stumps at counter height, lay the board across, secure with wood screws, and seal the whole thing. Add a mossy backdrop and some potted herbs nearby for a seriously dreamy outdoor play corner.
11. The Repurposed Barbecue Grill Kitchen
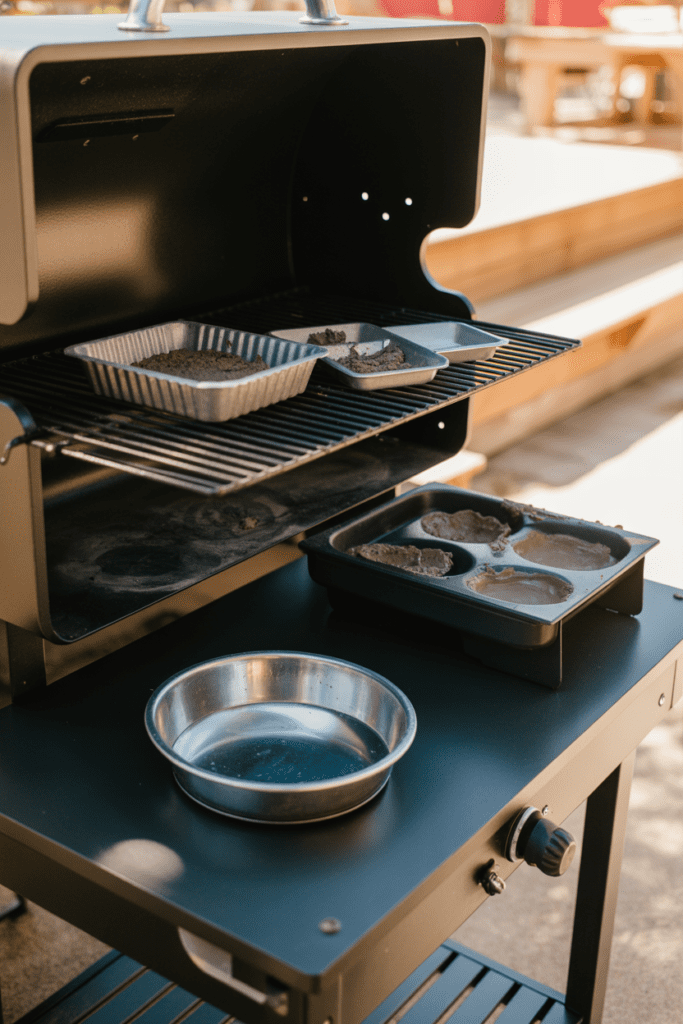
Got an old BBQ grill rusting away in the corner? Don’t cart it to the dump just yet. Strip out the internals, clean it up, and repurpose the body as a mud kitchen base.
The grill shelf becomes a lower storage area, and the main grill surface can hold trays and bowls. Kids go wild for this one because it actually looks like a real grill — they’ll host entire mud barbecues. It’s weirdly wholesome.
Sand down any rust, apply rust-neutralizing primer, and repaint with heat-resistant outdoor paint for durability.
12. The Deluxe Corner Mud Kitchen
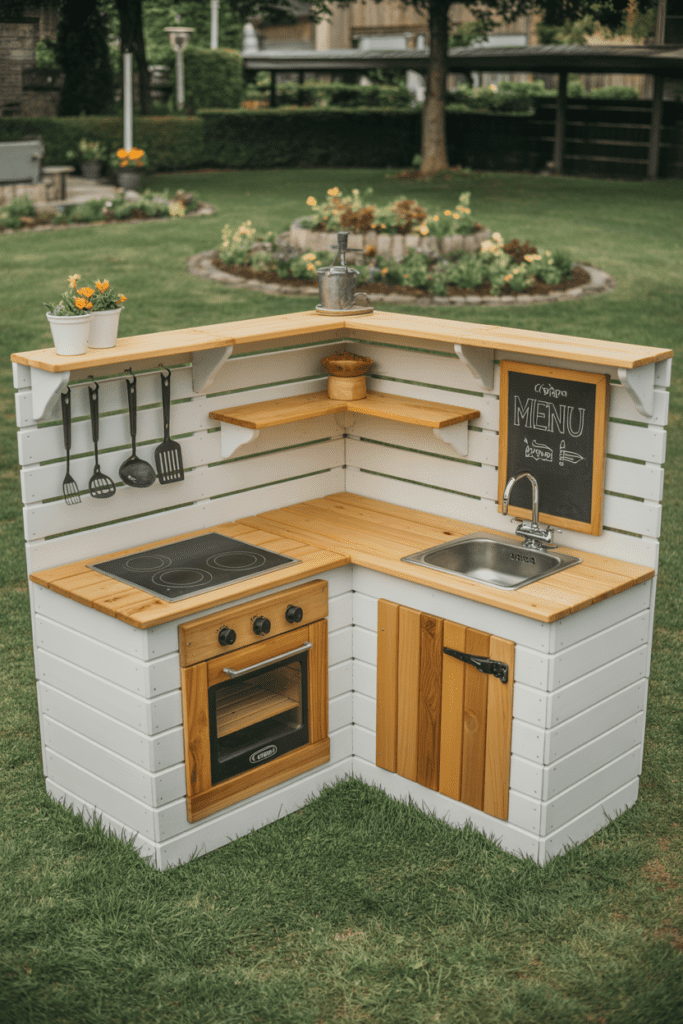
If you want to go all out, build a corner-shaped mud kitchen that fits neatly into a garden corner. Use an L-shaped frame, add two counter sections, and include:
- A built-in “oven” (just a box with a door)
- A sink cutout with a bowl and drainage
- Upper shelves with a back panel for hooks
- A chalkboard menu panel
This is the Rolls-Royce of mud kitchens and might take a full weekend to build, but it becomes a permanent, beloved fixture in your yard. Several parents I know have kept these standing for four or five years with minimal upkeep.
Tips for Building Any Mud Kitchen
Before you grab your tools, a few quick things worth knowing:
- Use exterior-grade wood or pressure-treated lumber to resist moisture and rot
- Seal all wood surfaces with outdoor wood stain or paint — unsealed wood won’t last one rainy season
- Sand all edges smooth before kids start using it
- Keep it at the right height — counter height should be roughly hip-height for your child so they’re comfortable “cooking”
- Add drainage wherever possible so water doesn’t pool and create splinter-accelerating wet rot
Good tools to set out with the kitchen: old pots, metal spoons, colanders, muffin tins, measuring cups, and ice cube trays. Most of these come from thrift stores for pennies.
What to Plant Nearby for Extra Play Value
Here’s a bonus tip that makes mud kitchens even better — plant some sensory garden elements nearby. Mint, lavender, rosemary, and chamomile all grow easily and let kids add real “herbs” to their mud recipes.
Kids who have access to real plants in their play space tend to engage longer and more creatively. Plus, your yard smells amazing. Win-win.
Wrapping It Up
There you have it 12 genuinely doable DIY mud kitchen ideas for every budget, skill level, and backyard size. Whether you’re repurposing old pallets, an orphaned dresser, or going full luxury with a corner build, the result is the same: a happy kid, hours of creative outdoor play, and a few muddy laundry loads (sorry, that part’s unavoidable).
The real magic of a mud kitchen isn’t the build — it’s watching kids invent entire worlds in your backyard. Start simple, let your kid help with the decorating, and don’t stress about it being perfect. Mud doesn’t care about aesthetics.
Now go find those pallets. Your kid’s culinary career isn’t going to start itself. 🙂