
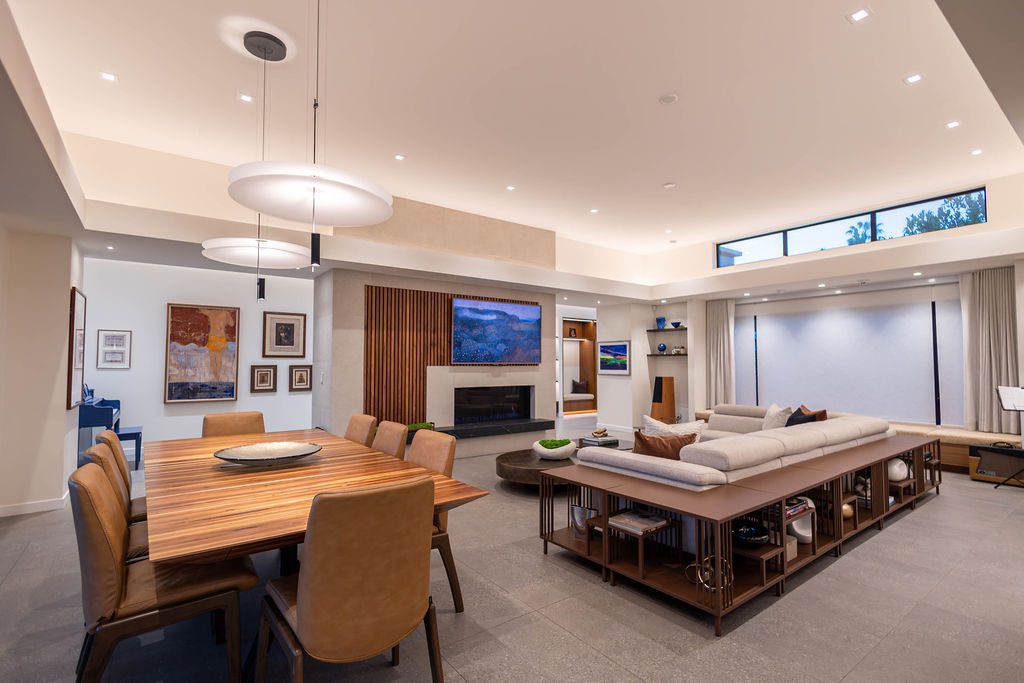
Open concept homes look gorgeous on Pinterest, right up until you realize one ceiling light is doing the emotional labor of an entire floor. If your kitchen, dining, and living areas all blur together, lighting becomes the thing that either makes the space feel polished or turns it into one giant awkward cave. I’ve seen both, and trust me, the difference is wild.
The good news? Layering lighting in an open concept home isn’t complicated once you understand the basic formula. You just need to combine the right types of light, place them with intention, and stop expecting one sad fixture to handle everything. Sounds fair, doesn’t it?
Why Lighting Layers Matter
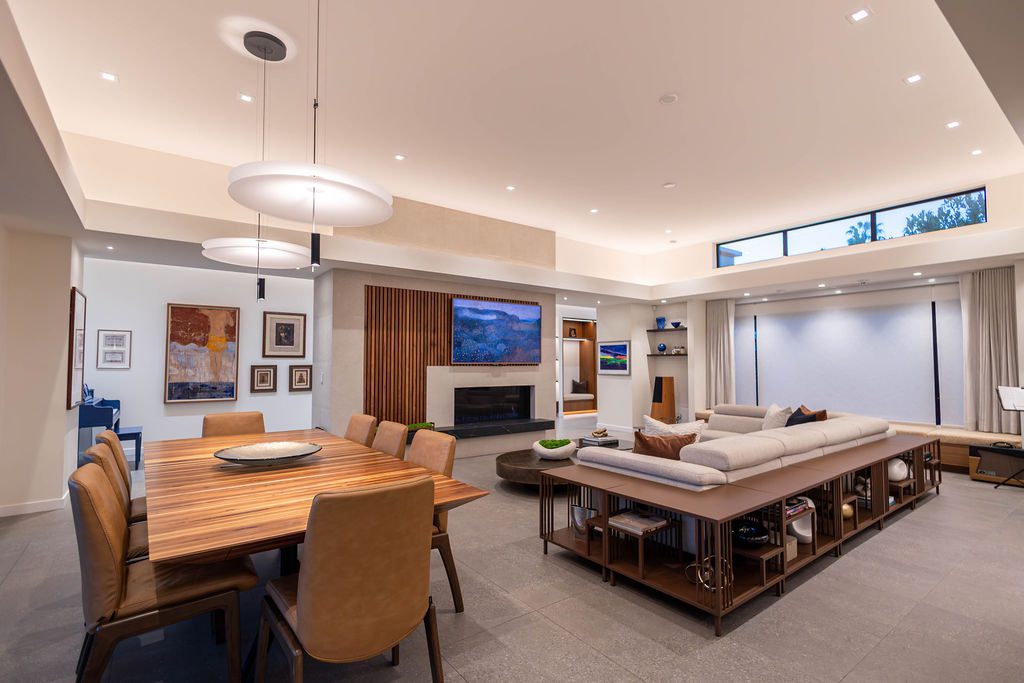
Open concept layouts need more than brightness. They need depth, balance, and zoning. Without layers, the whole room feels flat, and every area competes for attention like it’s auditioning for a reality show.
The three layers you need
Think of lighting like getting dressed. You wouldn’t wear only socks and call it a day, would you? Same idea here.
- Ambient lighting gives the room overall illumination.
- Task lighting helps with specific activities like cooking, reading, or working.
- Accent lighting adds drama, highlights features, and makes the space feel finished.
When these three work together, your open concept home feels warm, flexible, and intentional. IMO, that’s the real secret sauce.
Start With Ambient Lighting
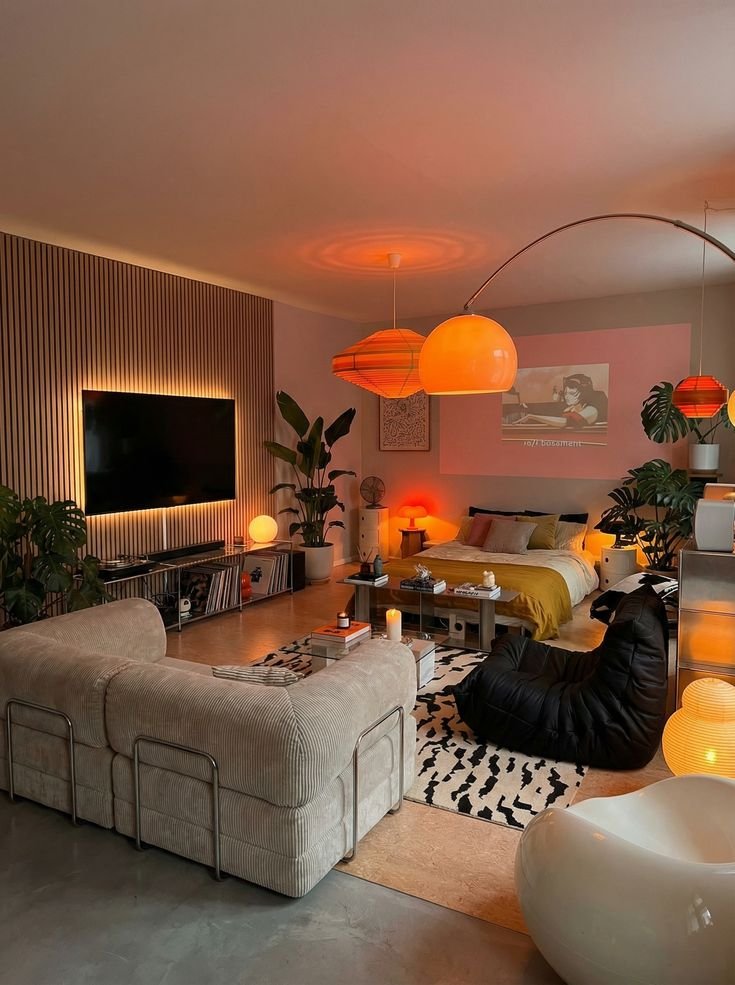
Ambient lighting sets the foundation. It fills the room with general light so the space feels comfortable and usable from the start. If you get this wrong, everything else fights uphill.
Use ceiling fixtures wisely
Open concept homes often rely on recessed lights, flush mounts, or large pendants for ambient light. I usually recommend spreading them evenly so you avoid dark pockets and random bright spots. Nobody wants a kitchen that looks like a spotlight interrogation room :/
Match brightness to the space
Your ambient lighting should feel balanced, not blinding. If you have a large open area, you may need multiple fixtures or dimmable options to control the mood throughout the day.
A few smart choices include:
- Recessed lights for broad coverage.
- Flush mounts for lower ceilings.
- Large pendants for visual impact and general light in key zones.
- Dimmers for flexibility, because life changes from “morning coffee” to “movie night” pretty quickly.
Add Task Lighting Where People Actually Work
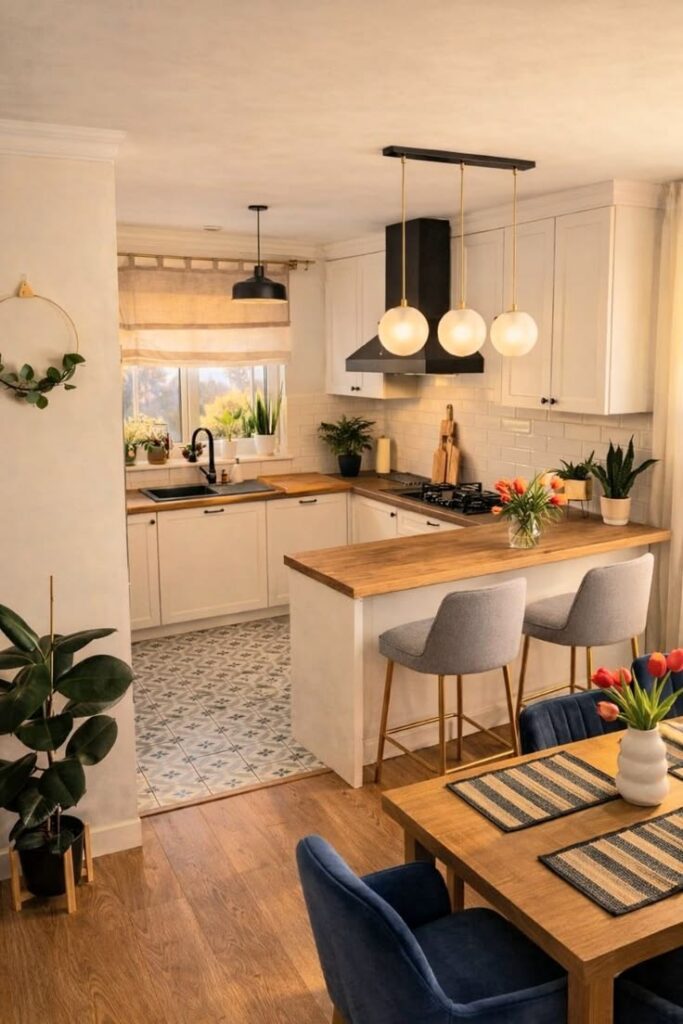
Open concept homes look seamless, but people still need functional zones. You cook in the kitchen, eat at the table, read on the sofa, and maybe even answer emails at the island because apparently the counter now does everything.
Kitchen task lighting
The kitchen usually needs the most focused light. I love under-cabinet lighting because it cuts shadows and makes prep work easier. Pendant lights over an island also help define the space while giving you better visibility.
Great kitchen task lighting options include:
- Under-cabinet LEDs for counters.
- Pendant lights over islands and breakfast bars.
- Range hood lighting for cooking zones.
- Track lighting for adjustable coverage in larger kitchens.
Dining area task lighting
The dining area needs enough light for meals, homework, game night, and the occasional dinner that feels a little too fancy. A pendant or chandelier over the table usually works best because it creates a clear visual anchor.
Keep the fixture size proportional to the table. Too small looks timid. Too large looks like the dining room wants to star in a cathedral.
Living area task lighting
The living room needs softer task lighting, especially if people read, knit, work, or scroll doom feeds there. Floor lamps, table lamps, and adjustable wall lights work beautifully here. They make the room feel cozy without forcing you to rely on overhead light alone.
Use Accent Lighting for Personality
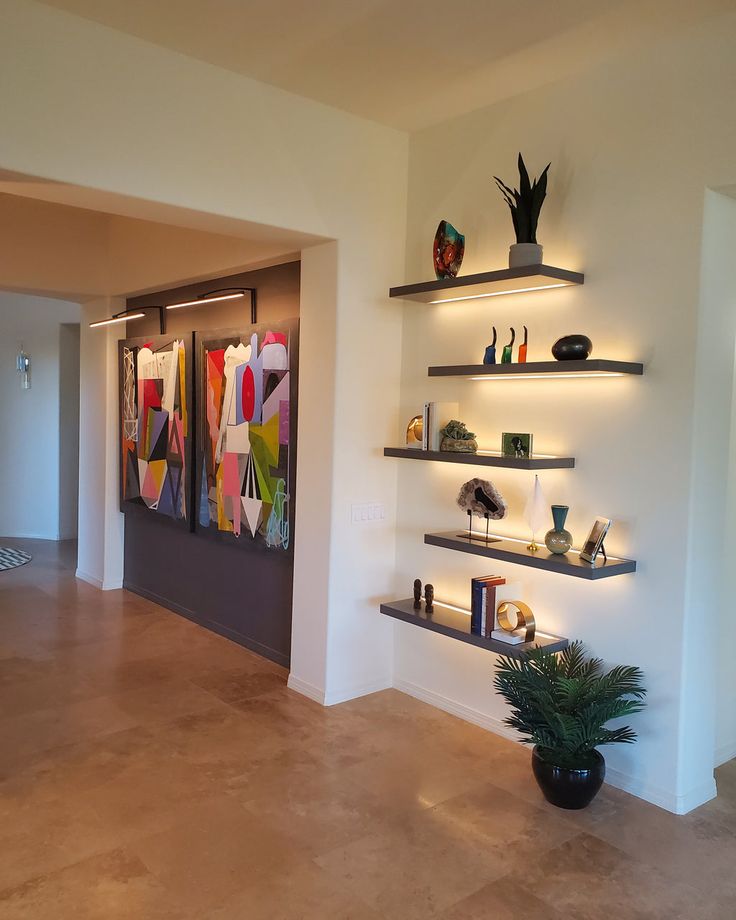
Accent lighting gives your home character. It highlights art, architectural details, shelves, or textured walls. Without it, the room may still function, but it won’t feel layered or memorable.
What accent lighting can highlight
Accent lighting works best when you use it with purpose. It draws the eye where you want it and creates contrast, which makes the space feel more dynamic.
Try using it for:
- Artwork.
- Shelving.
- Statement walls.
- Plants or decor pieces.
- Ceiling beams or niches.
Small touches make a big difference
I’ve always thought accent lighting works a bit like seasoning. You don’t need a ton of it, but a little can transform the whole dish. A shelf with subtle LED strips or a picture light over art can make an open concept room feel much more curated.
Ever wondered why some homes feel expensive even when the furniture stays pretty simple? Accent lighting often does the heavy lifting.
Define Zones With Light
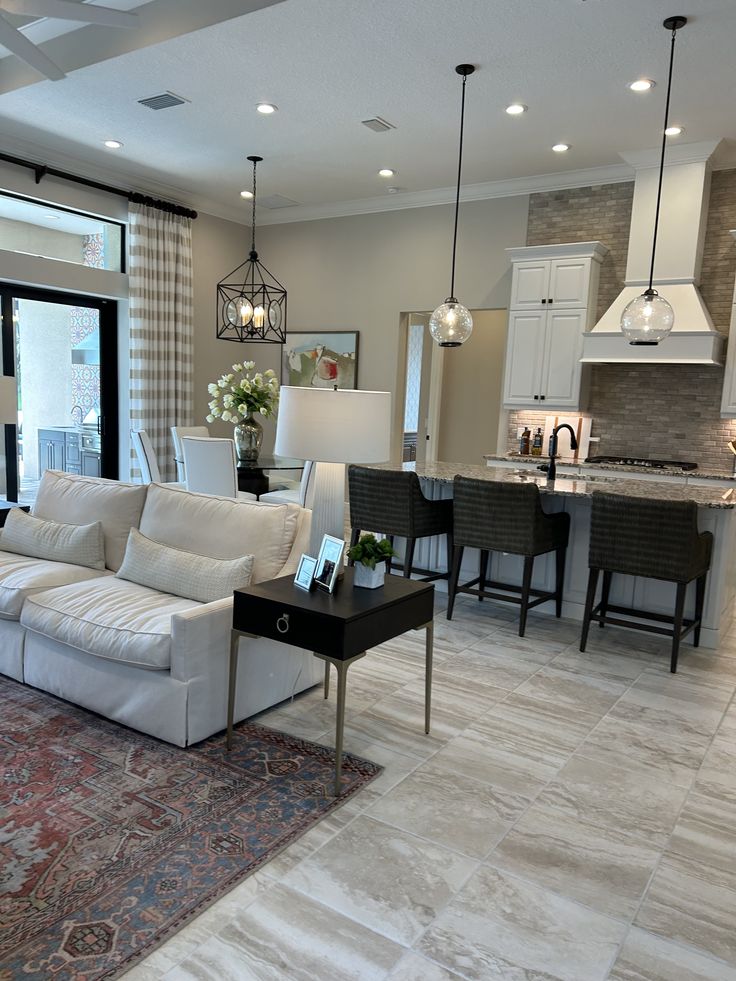
Open concept homes can feel too open if you don’t create visual separation. Lighting gives you a sneaky, elegant way to define zones without adding walls. That’s the magic trick.
How to separate spaces naturally
You can use different fixture styles, brightness levels, or light temperatures to make each area feel distinct. The kitchen can look crisp and bright, while the living room feels softer and warmer.
Here’s how I’d split things up:
- Kitchen: Bright, clean, functional.
- Dining area: Warm, focused, inviting.
- Living room: Soft, layered, relaxed.
This approach helps each zone keep its own personality while still feeling connected. Pretty neat, right?
Avoid one-light-fits-all thinking
A single lighting plan across the whole open space often feels boring. Worse, it usually ignores how people actually use the room. A home works better when the lighting shifts with the activity, not just the square footage.
Choose the Right Color Temperature
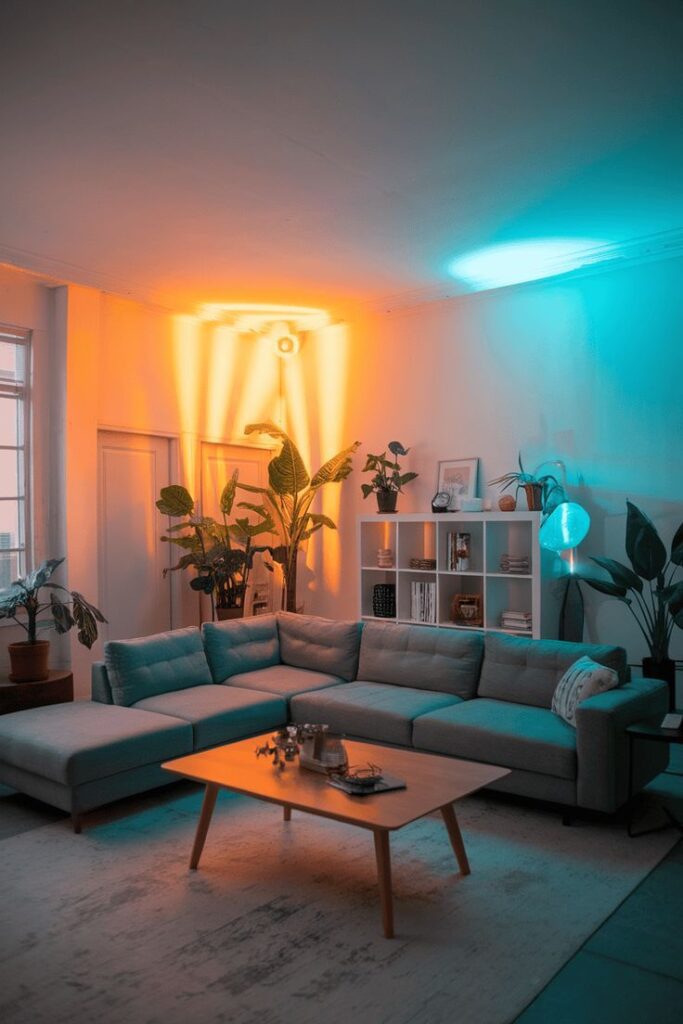
Color temperature changes the whole mood of a room. It can make a space feel crisp, cozy, harsh, or calm. If you ignore it, your open concept home can end up looking like a weird mix of office, café, and hospital.
Warm vs cool light
- Warm light feels cozy and relaxing, usually around 2700K to 3000K.
- Cool light feels bright and crisp, usually around 3500K to 4000K or higher.
For most open concept homes, I like a mix. Warm light works well in living and dining zones, while slightly cooler light suits kitchens and work areas.
Keep the lighting consistent
You don’t want every room to look like a different universe. If you mix temperatures too aggressively, the transitions feel jarring. Pick a general range and stay close to it across the main space.
FYI, matching color temperature goes a long way toward making the whole home feel polished and calm.
Layer Lighting by Function
The best open concept lighting plans start with how people use the space. Not how the floor plan looks in a brochure. Shocking concept, I know.
Think about daily activities
Before you choose fixtures, ask yourself what happens in each zone.
- Do you cook a lot?
- Do you host friends often?
- Do you work from the living room?
- Do your kids do homework at the island?
Your answers should guide your lighting choices. A space that supports real life always feels better than one that just photographs well.
Use dimmers everywhere possible
Dimmers are one of the easiest upgrades you can make. They let you shift from bright and functional to soft and relaxed without changing a single bulb. That flexibility matters a lot in open concept homes because the same space often serves three or four purposes in one day.
Make Fixtures Work Together
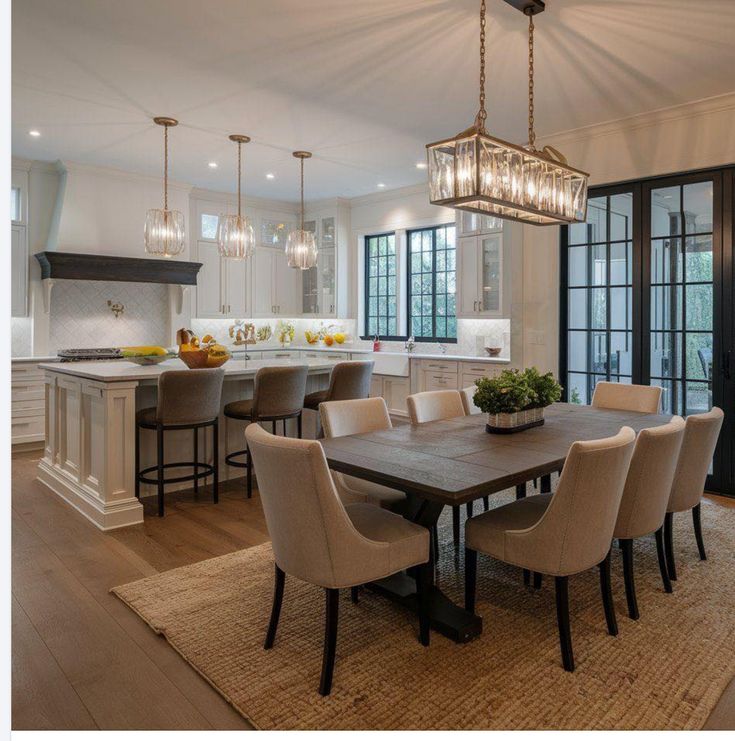
You don’t need every light to match perfectly, but you do need them to feel coordinated. Open concept homes look best when the fixtures share a common design language.
Mix styles with intention
You can absolutely mix pendants, sconces, lamps, and recessed lights. Just make sure they complement each other. If one fixture feels rustic, another feels ultra-modern, and a third feels like it escaped from a restaurant, the room starts to lose focus.
A simple rule helps:
- Stick to one main style family.
- Repeat finishes like black, brass, or brushed nickel.
- Balance visual weight across the room.
Let one fixture stand out
I usually like one “hero” fixture, such as a bold chandelier over the dining table or sculptural pendants over the island. That gives the eye a place to land without making the room feel cluttered. A little drama can go a long way, as long as it doesn’t start shouting.
Plan for Shadows and Glare
Lighting mistakes show up fast in open concept homes because the space has fewer visual breaks. Shadows and glare become much more noticeable. That’s why placement matters just as much as style.
Avoid harsh downlighting
If all your light points straight down, the room can feel flat and uncomfortable. You’ll also create shadows on faces, counters, and seating areas. That’s not ideal when you’re trying to make the home feel welcoming.
Try to combine overhead fixtures with lamps, sconces, or indirect lighting. This softens the whole space and makes it more comfortable to live in.
Watch for reflective surfaces
Glossy counters, glass tables, mirrors, and polished finishes can bounce light around in weird ways. Sometimes that looks amazing. Sometimes it turns into a glare festival. Test your lighting during the day and at night so you can catch those problems early.
Work With Natural Light
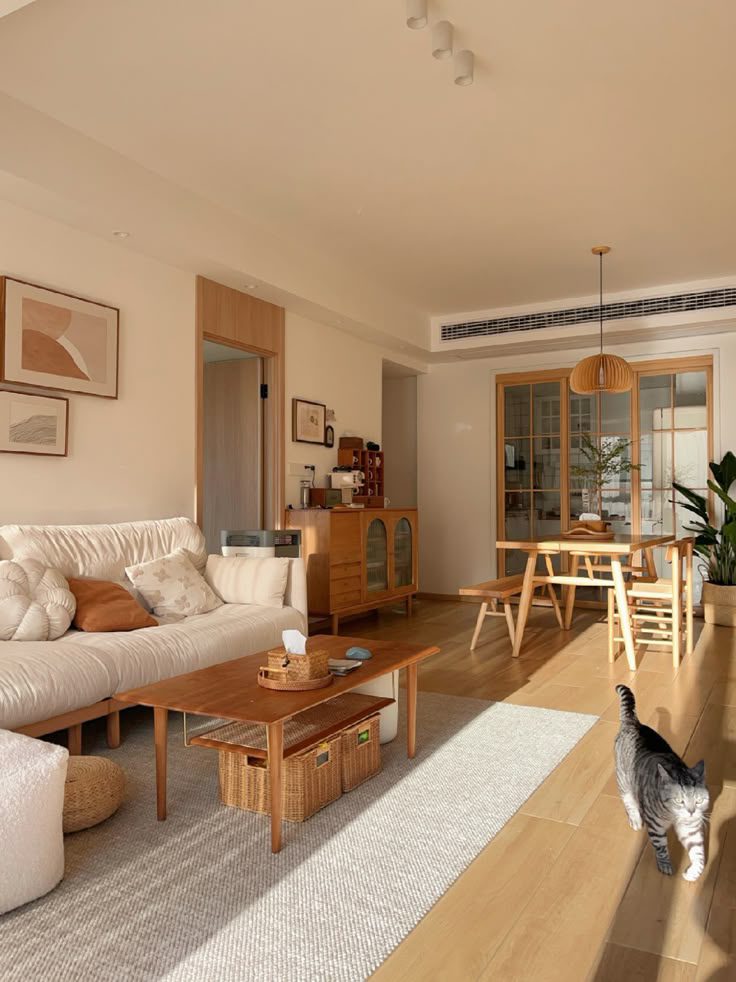
Natural light already does half the work, so your artificial lighting should support it, not fight it. Open concept homes often have large windows, which gives you a huge advantage. Use it.
Layer lighting around daylight
During the day, sunlight may handle most of the ambient light in your home. At night, your artificial layers take over. A good plan keeps the space feeling balanced in both situations.
A few smart moves:
- Place mirrors to reflect daylight.
- Use sheer curtains to soften harsh sun.
- Add dimmable fixtures for evening transitions.
- Choose bulbs that complement natural daylight instead of clashing with it.
Follow the light path
Notice where sunlight hits during the day. If one side of your room stays darker, add lighting there so the space feels even. This matters especially in long open-plan layouts where one end can feel much dimmer than the other.
Common Mistakes to Avoid
A lot of lighting problems come from trying to do too much with too little. Or too little with too much. Either way, it gets messy fast.
The biggest open concept lighting mistakes
- Using only recessed lights and calling it done.
- Ignoring task lighting in kitchens and work areas.
- Choosing mismatched fixture styles that fight each other.
- Skipping dimmers, which removes flexibility.
- Using the same brightness everywhere, which flattens the room.
- Forgetting about color temperature, which makes the space feel inconsistent.
Honestly, the biggest mistake is treating the open concept as one giant room with one giant lighting solution. It never works as well as people hope.
A Simple Lighting Plan Example
Let’s say you have an open concept space with a kitchen, dining area, and living room. Here’s a practical way to layer the lighting.
Kitchen
- Recessed ceiling lights for ambient lighting.
- Pendant lights over the island for task lighting and style.
- Under-cabinet LEDs for focused prep light.
Dining area
- One statement pendant or chandelier over the table.
- Dimmer control for dinner, work, or gatherings.
- Optional wall sconce or buffet lamp for extra warmth.
Living room
- Recessed lights on a dimmer for ambient light.
- Floor lamps near seating areas.
- Small accent lights for shelves, art, or decor.
This setup gives every zone its own job while still keeping the whole space connected. That’s the sweet spot.
Final Tips That Actually Help
If you want your lighting plan to feel polished, keep these ideas in mind.
- Start with function, then style.
- Use layers, not a single fixture type.
- Keep brightness and color temperature coordinated.
- Add dimmers wherever you can.
- Treat each zone like its own mini-room.
One more thing: don’t rush it. Lighting looks deceptively simple until you live with it for a few weeks. Then you notice whether the room feels warm, awkward, balanced, or like someone forgot a step.
Conclusion
Layering lighting in an open concept home comes down to one simple idea: use different types of light to shape the space, not just fill it. When you combine ambient, task, and accent lighting, your home feels more functional, more stylish, and a lot less like a giant undecorated box.