
Fall is here, and it’s time to transform your home into an autumn haven. But let’s be honest—store-bought fall decorations come with a hefty price tag and often feel generic and mass-produced. The good news? DIY fall decoration ideas offer a budget-friendly, personalized alternative that actually looks stunning.
Whether you’re looking to refresh your living room, add warmth to your entryway, or create a cozy dining experience, handmade autumn décor delivers on all fronts. The best part? These 16 projects require nothing more than basic crafting supplies, some natural materials, and a little creativity.
This guide walks you through 16 beautiful DIY fall decoration ideas that work for any skill level and budget. From painted pumpkins to autumn wreaths, pressed flower art to fabric banners, you’ll find projects that fit your style and timeframe. Let’s explore what’s possible when you skip the retail markup and create something meaningful instead.
1. Autumn Leaf Garland for Every Doorway
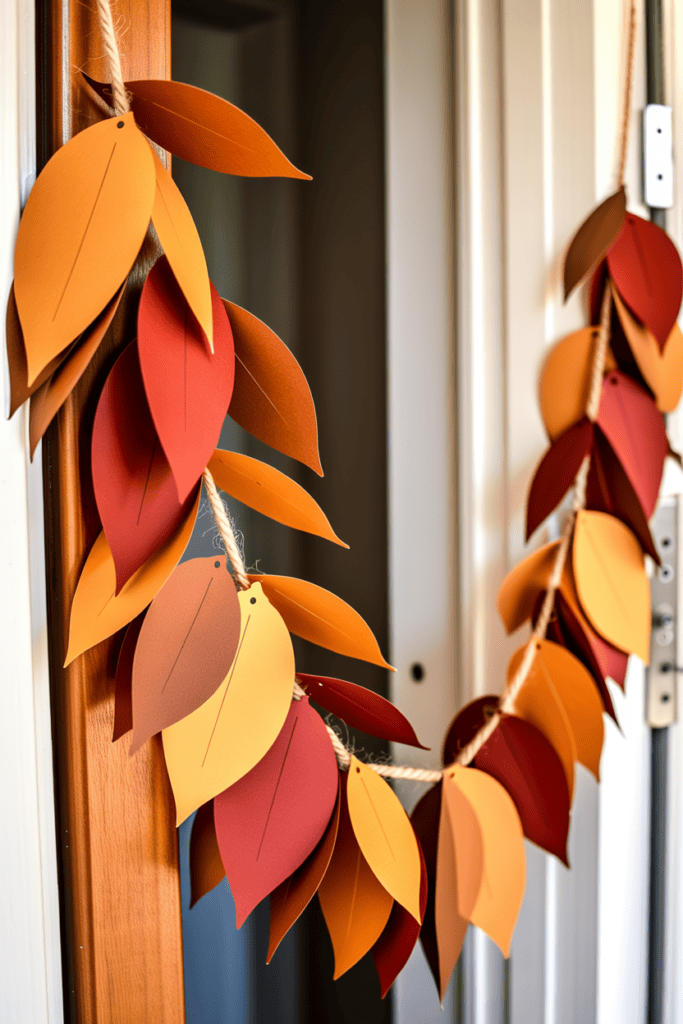
Ever noticed how a simple garland can completely transform an entryway? I’m obsessed with this one.
What You Need:
- Cardstock or craft paper in autumn colors (oranges, deep reds, yellows, browns)
- Scissors or a leaf-shaped punch
- Twine or ribbon
- Hot glue gun
- Optional: acrylic paint or markers for details
How to Make It:
Cut out dozens of leaves in varying sizes. Punch them out if you want uniformity, or hand-cut them for a more organic vibe. Layer different colors to create depth—this prevents a flat, one-dimensional look. Attach each leaf to twine using hot glue, spacing them about 2–3 inches apart. Drape it across doorways, hang it on walls, or wrap it around a mirror frame.
I made one of these last year and legit left it up way longer than intended because I couldn’t bear to take it down. That’s the mark of good decor, right?
2. Mason Jar Candle Holders with Dried Flowers
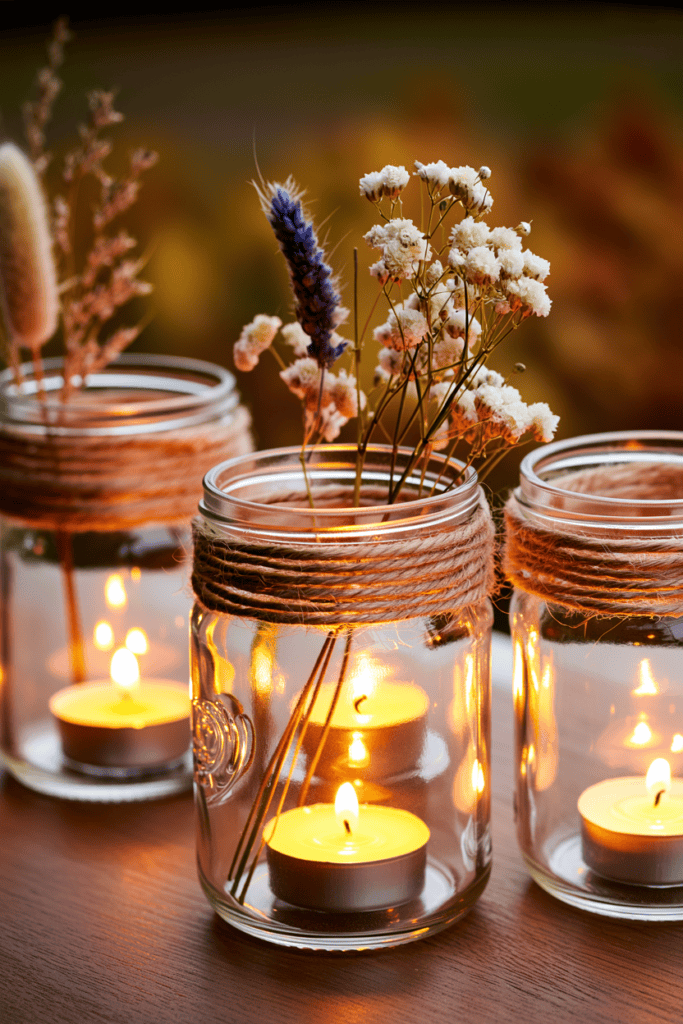
Candles + dried flowers = instant cozy vibes. This project takes about 15 minutes per jar.
What You Need:
- Clean mason jars (any size)
- Twine or burlap ribbon
- Dried flowers, grasses, or leaves
- Hot glue gun
- Candles (tea lights or pillar candles)
How to Make It:
Wrap twine around the neck of the jar to create a rustic base. Glue down dried flowers and small branches around the jar for texture and visual interest. Drop a candle inside and watch the magic happen. The dried flowers catch the candlelight beautifully—seriously, this creates restaurant-quality ambiance in your living room.
3. Painted Pumpkins (Beyond the Basic Orange)
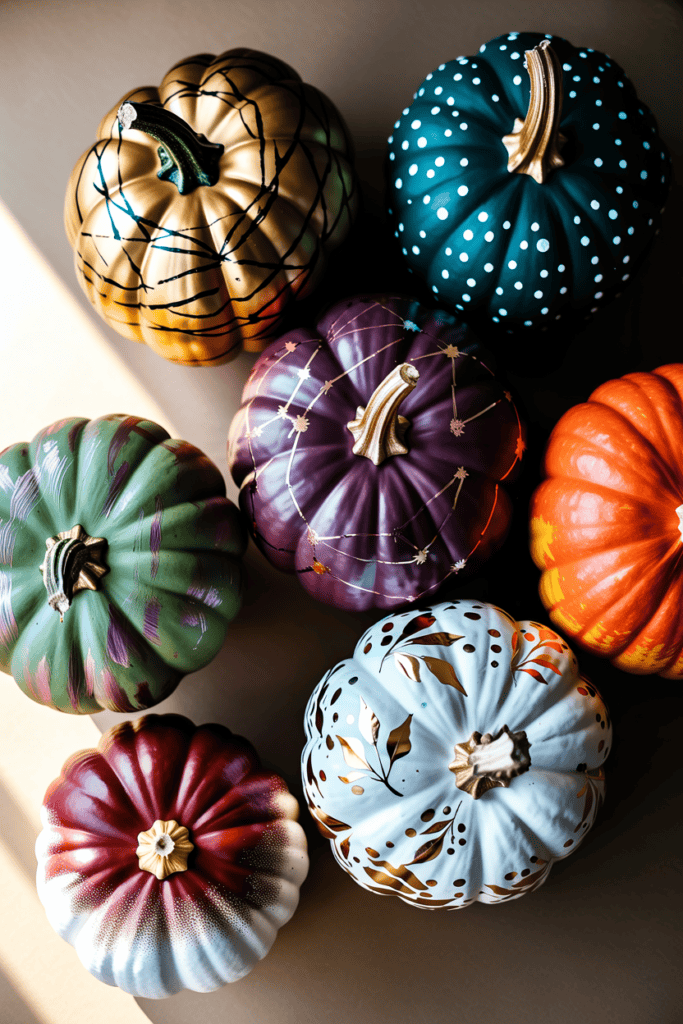
Real talk: painting pumpkins is way more fun than carving them, and they last twice as long.
What You Need:
- Small to medium pumpkins or gourds
- Acrylic paint in fall colors
- Paintbrushes or foam applicators
- Matte sealant (optional but recommended)
- Stencils (optional)
How to Make It:
Forget the traditional orange pumpkin with a face. Try metallic golds and silvers for an elegant look, or go bold with deep teals and purples if that’s your style. Use stencils for geometric patterns, polka dots, or even constellation designs. Paint them ombré, stripe them, or create abstract art—there are no rules here.
Once dry, seal them with matte sealant to preserve the paint longer. I’ve had some painted pumpkins last from September straight through November with zero fading.
4. Pressed Flower Autumn Wall Art
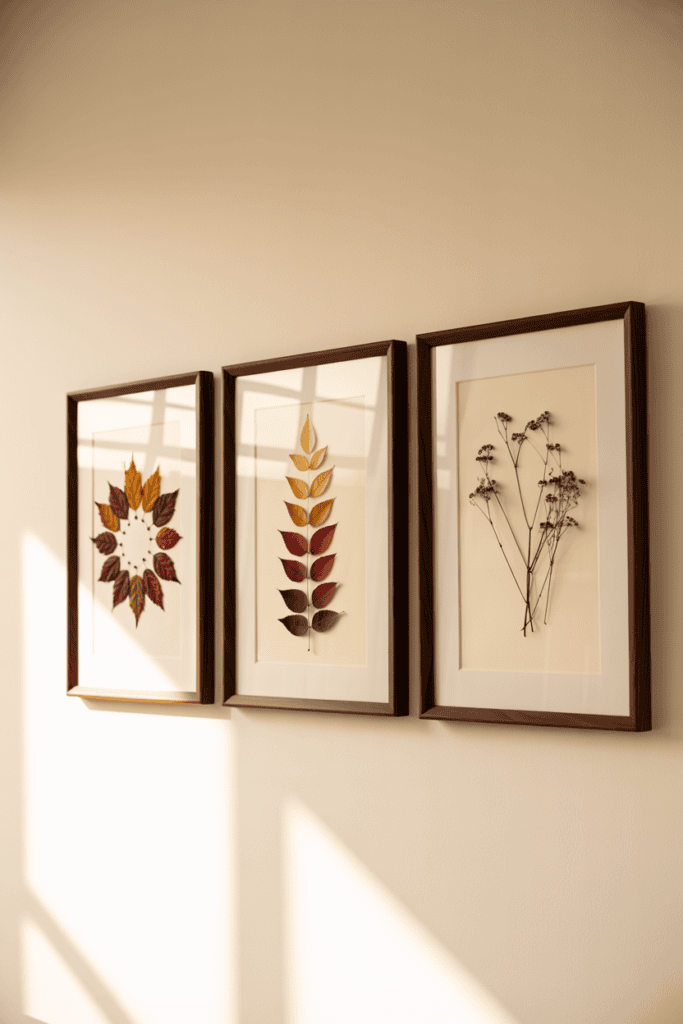
This is where creativity meets natural beauty, and honestly, it’s easier than it sounds.
What You Need:
- Pressed flowers, leaves, and herbs
- Cardstock or watercolor paper in neutral tones
- Adhesive (glue stick or craft glue)
- Picture frame
- Optional: watercolor paint for background
How to Make It:
Collect leaves and flowers throughout early autumn, press them between book pages for a few weeks, and arrange them on cardstock to create botanical art. You can create geometric patterns, nature-inspired designs, or even spell out words with cleverly positioned leaves. Frame them and hang them in clusters for maximum impact.
The best part? These pieces look gallery-quality but cost you basically nothing.
5. Fall Foliage Table Runner
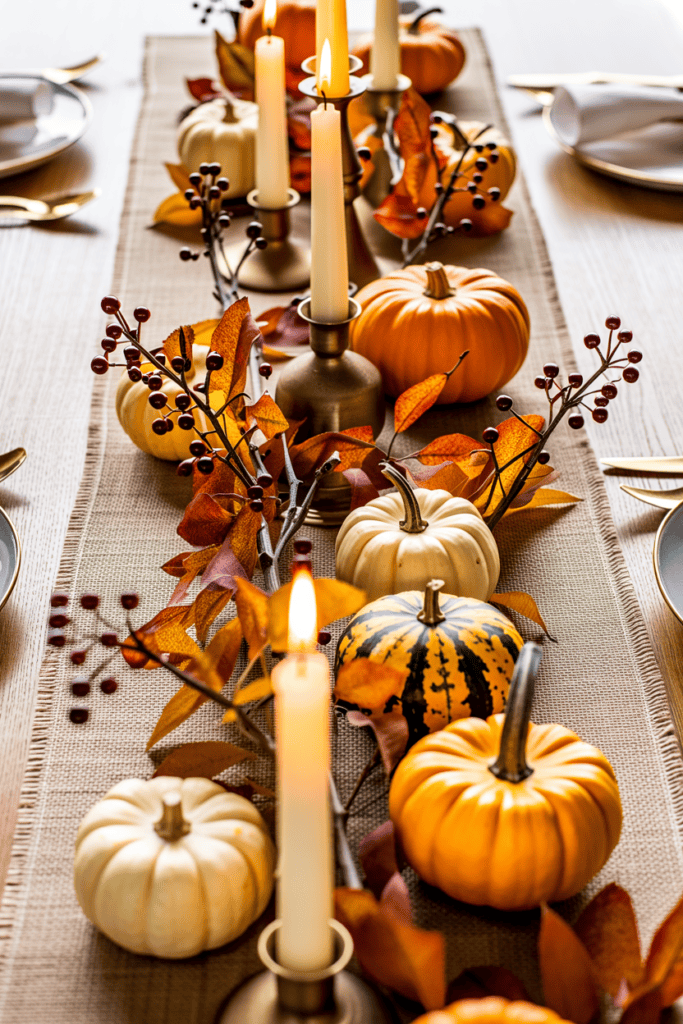
Your dining table deserves to look seasonal too, and this runner brings serious visual drama.
What You Need:
- Burlap or linen fabric (approximately 12 inches wide)
- Fall leaves (fresh or faux)
- Twine or rope
- Hot glue gun
- Candles and small decorative items
How to Make It:
Lay your fabric down the center of your table. Arrange leaves, branches, candles, and small gourds along the runner in groups of three—this creates visual rhythm and balance. Secure everything with hot glue (for faux items) or just arrange fresh leaves loosely for flexibility.
Change out the elements weekly to keep it fresh. This one project makes your entire dining space feel intentional and autumn-ready.
6. DIY Autumn Wreath for Your Front Door
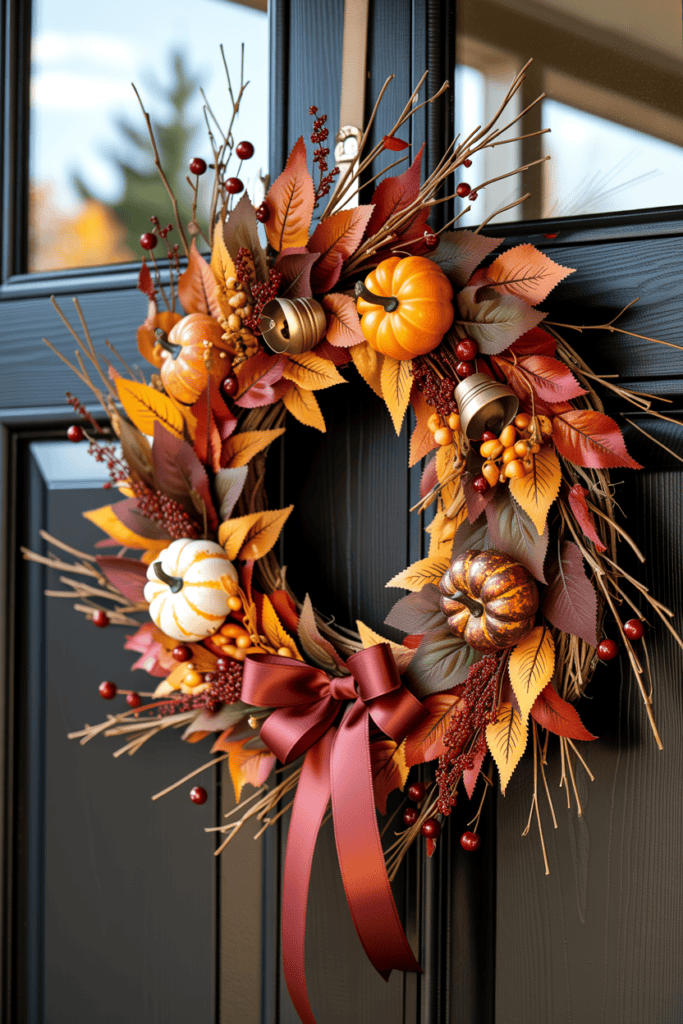
A handmade wreath screams “I put thought into this,” and your guests will definitely notice.
What You Need:
- Foam or straw wreath base
- Hot glue gun
- Faux fall leaves, branches, berries, and ornaments
- Ribbon or twine for hanging
- Accent pieces (small pumpkins, dried flowers, bells)
How to Make It:
Start by hot-gluing larger pieces like branches and clusters of leaves to your base. Fill in gaps with smaller leaves and ornamental pieces. Add ribbons, bells, or other accents for personality. The key is layering different textures and heights—avoid a flat, one-sided look.
Hang it prominently on your front door. Trust me, this detail alone transforms your home’s curb appeal and makes visitors smile before they even knock.
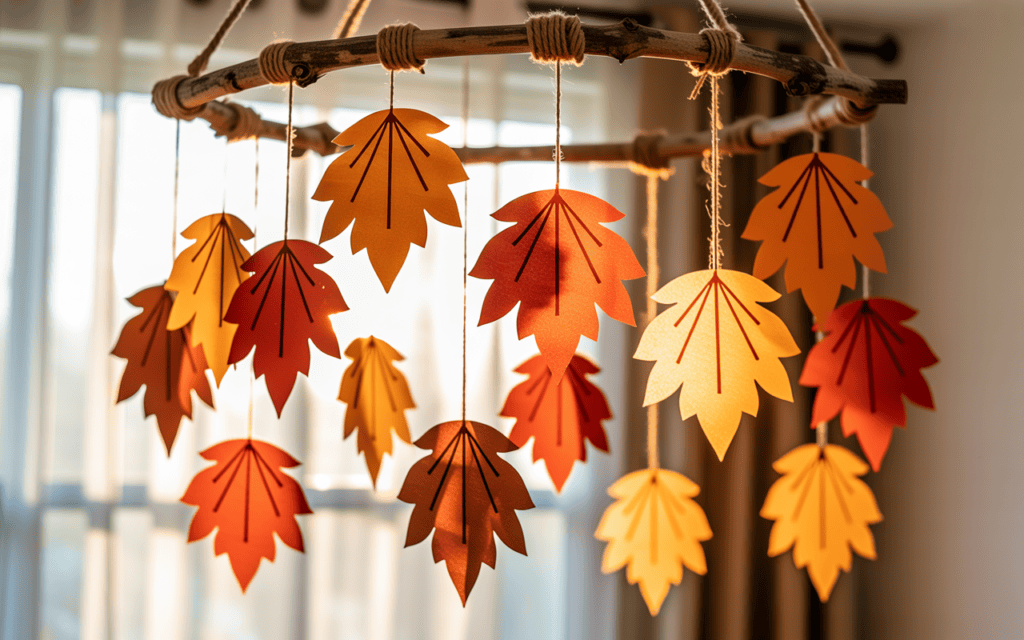
7. Floating Paper Leaf Mobile
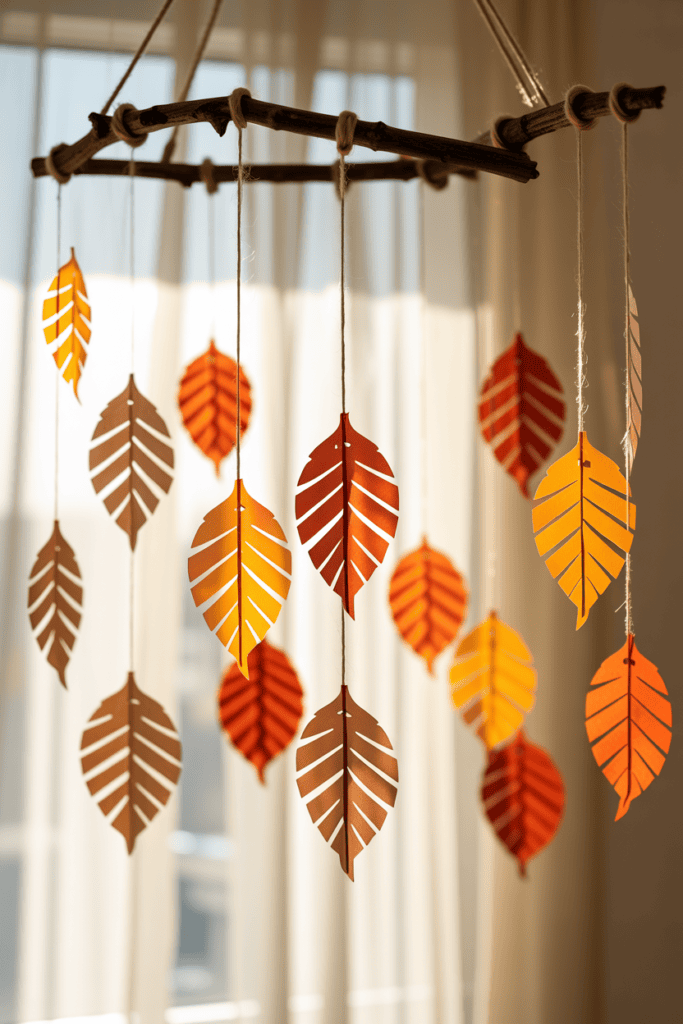
This one’s perfect if you want to add fall vibes to a bedroom, hallway, or living room ceiling.
What You Need:
- Cardstock in fall colors
- Leaf templates (print or draw your own)
- Scissors or craft knife
- Fishing line or clear thread
- Sticks or wire for the frame
- Hot glue gun
How to Make It:
Cut out dozens of leaves in varying sizes and colors. Tie them to fishing line at different lengths to create depth. Attach the fishing line to a branch or wire frame and hang from the ceiling. As air moves through your space, the leaves gently sway and catch light, creating a mesmerizing effect.
8. Scented Autumn Sachets
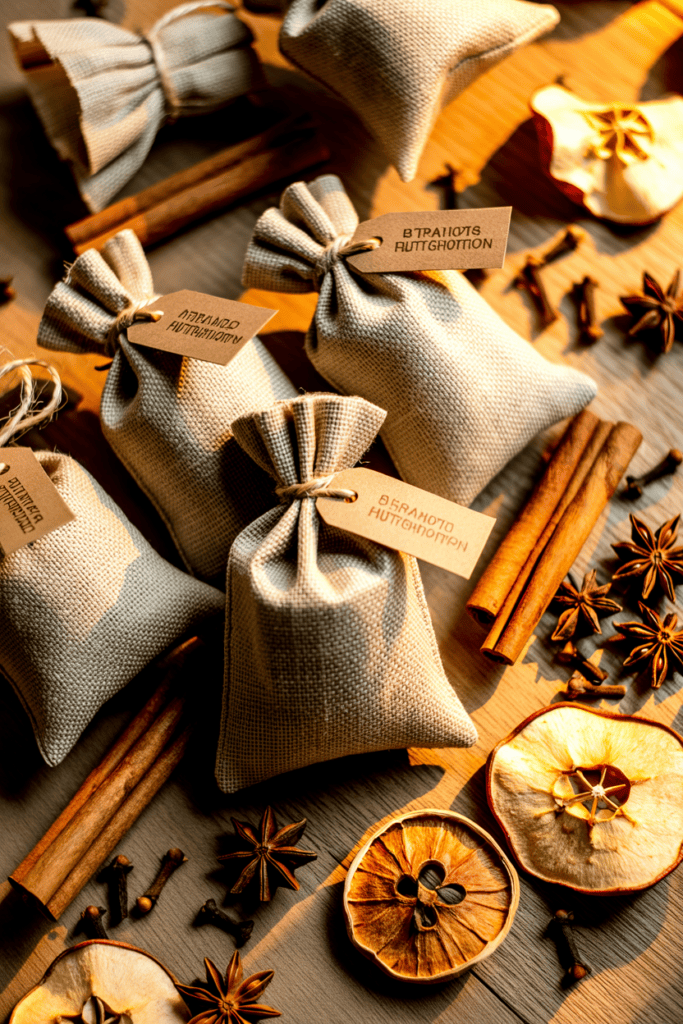
These smell incredible and look adorable tucked into corners around your home.
What You Need:
- Small muslin or burlap bags
- Dried lavender, cinnamon sticks, dried apple slices, cloves, nutmeg
- Twine or ribbon
- Optional: burlap tags for labels
How to Make It:
Fill small bags with a mix of dried botanicals and spices—this combination creates that authentic fall scent without any artificial fragrance. Tie them closed with twine and stash them in closets, under couch cushions, or on shelves. They’re functional and decorative.
9. Chalkboard Sign with Fall Quotes
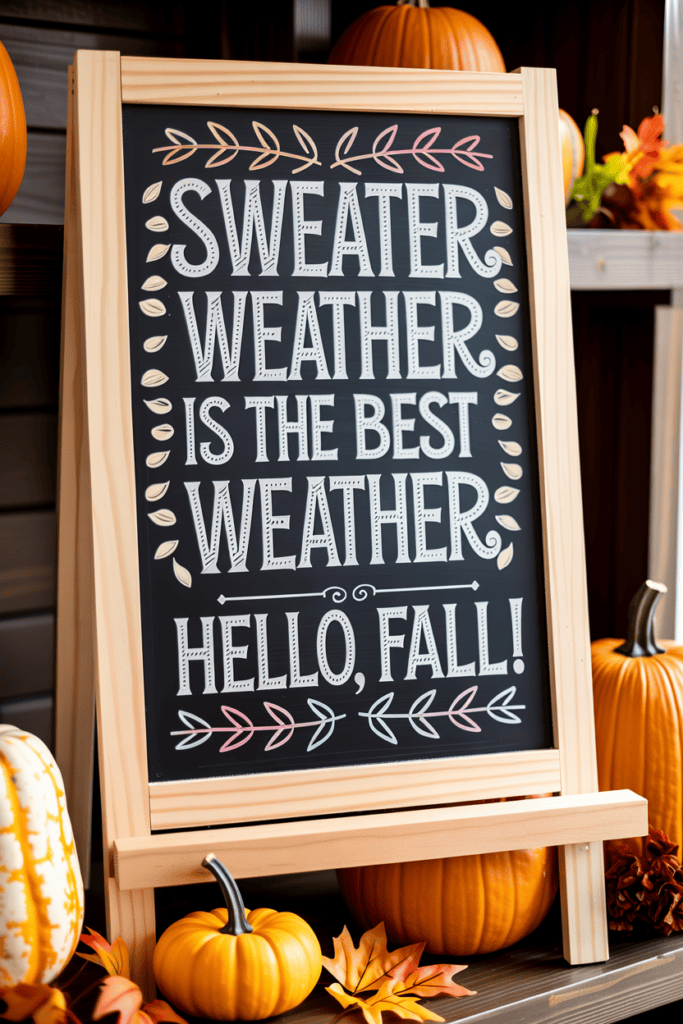
A handwritten chalkboard instantly adds warmth and personality to any space.
What You Need:
- Chalkboard (DIY or purchased)
- Chalk or chalk markers in various colors
- Seasonal quotes or sayings
- A easel or stand to display it
How to Make It:
Write autumn-themed messages or quotes on your chalkboard—think along the lines of “Sweater weather is the best weather” or “Hello, fall!” FYI, chalk markers give you more control than regular chalk and produce cleaner lines. Rotate your message weekly to keep things fresh.
10. Fabric Banner with Autumn Colors
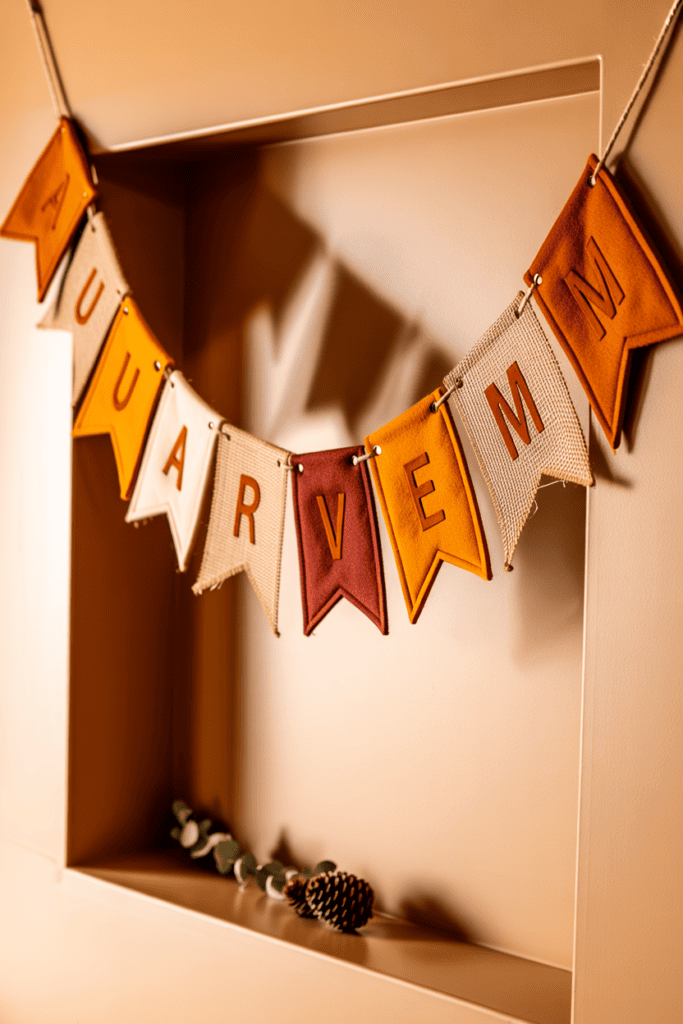
This is literally the easiest project and creates serious visual impact.
What You Need:
- Burlap or felt fabric
- Scissors
- Twine or rope
- Hot glue gun
- Optional: paint, markers, or fabric paint for lettering
How to Make It:
Cut fabric into pennant shapes and string them on twine using hot glue. Arrange your banner across a shelf, above a doorway, or along a window. You can leave them blank for a minimalist look or add lettering for a personalized message. The simplicity here works in your favor—it’s clean, it’s effective, and it doesn’t scream “trying too hard.”
11. Autumn Centerpiece with Mixed Elements
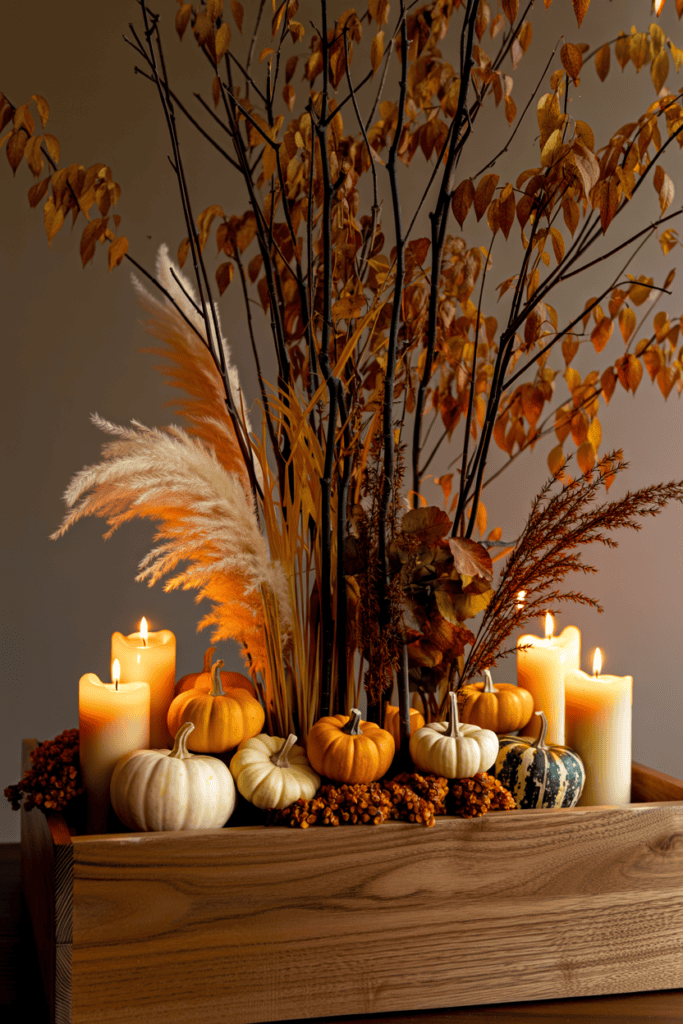
A thoughtfully curated centerpiece brings everything together beautifully.
What You Need:
- A base container (wooden box, vase, or basket)
- Fall branches and twigs
- Candles (taper, pillar, or tea lights)
- Mini pumpkins or gourds
- Dried flowers and grasses
- Stones or moss to fill gaps
How to Make It:
Layer your container with stones or moss as a base. Arrange tall branches first for height and structure. Tuck candles between branches and add mini pumpkins, dried flowers, and grasses to fill spaces. The combination of heights, textures, and colors creates visual interest without looking chaotic.
These look restaurant-quality when you take your time arranging everything.
12. Hand-Painted Pillow Covers
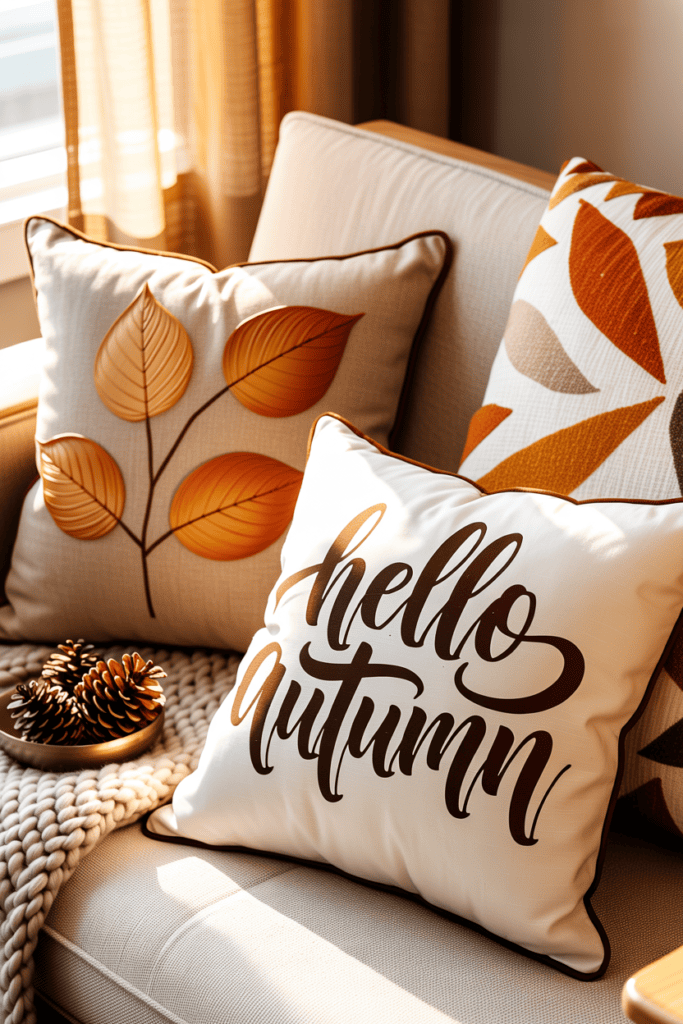
Who doesn’t want cozy pillows that actually match their fall aesthetic?
What You Need:
- Solid-colored pillow covers (beige, cream, or light gray work best)
- Fabric paint in fall colors
- Stencils or freehand designs
- Paintbrushes
- Matte sealant to prevent paint cracking
How to Make It:
Use stencils for geometric patterns, or go freehand with leaf designs, abstract shapes, or even lettering. The beauty here is you control the design entirely. Paint on pumpkins, leaves, words, or whatever autumn means to you. Let dry completely before using.
I painted mine with simple leaf silhouettes, and they cost me maybe $5 in supplies but look like premium décor.
13. Dried Citrus Slice Ornaments
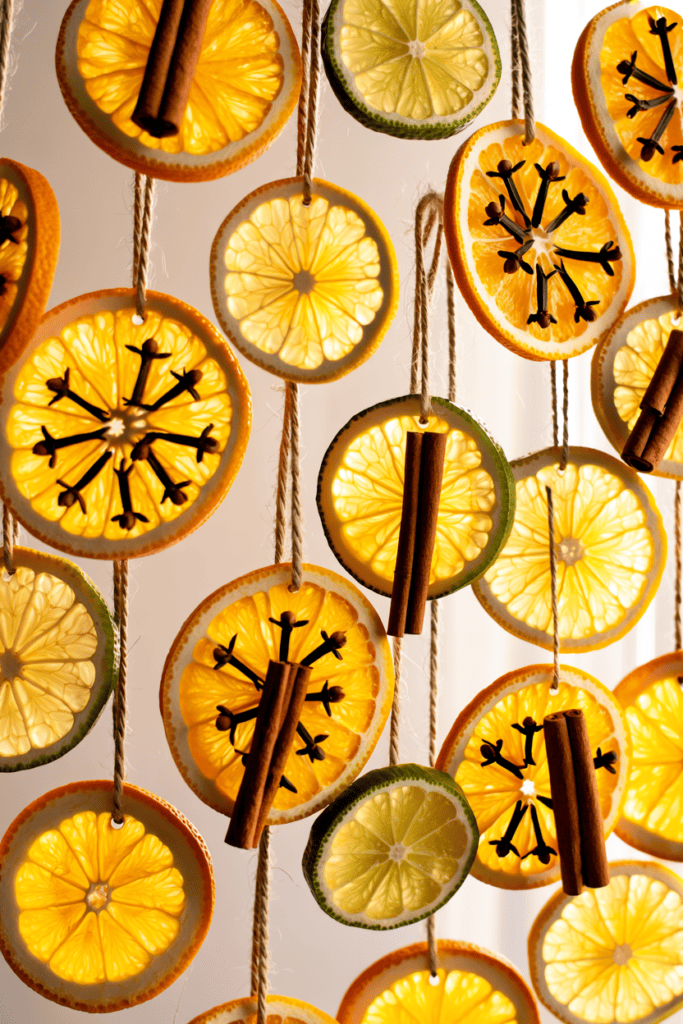
These smell amazing and look like they belong on a Pinterest board.
What You Need:
- Oranges, lemons, and limes
- Knife for slicing
- Oven or dehydrator
- String or twine for hanging
- Optional: cinnamon sticks, whole cloves for pressing into slices
How to Make It:
Slice your citrus thinly and either dehydrate them in a low oven (200°F for 3–4 hours) or use a dehydrator. Press whole cloves or small cinnamon stick pieces into the slices before drying for added texture and scent. Tie string through the center and hang from branches, door handles, or in windows. The combination of natural color and fragrance is unmatched.
14. Burlap and Lace Pumpkin Wraps
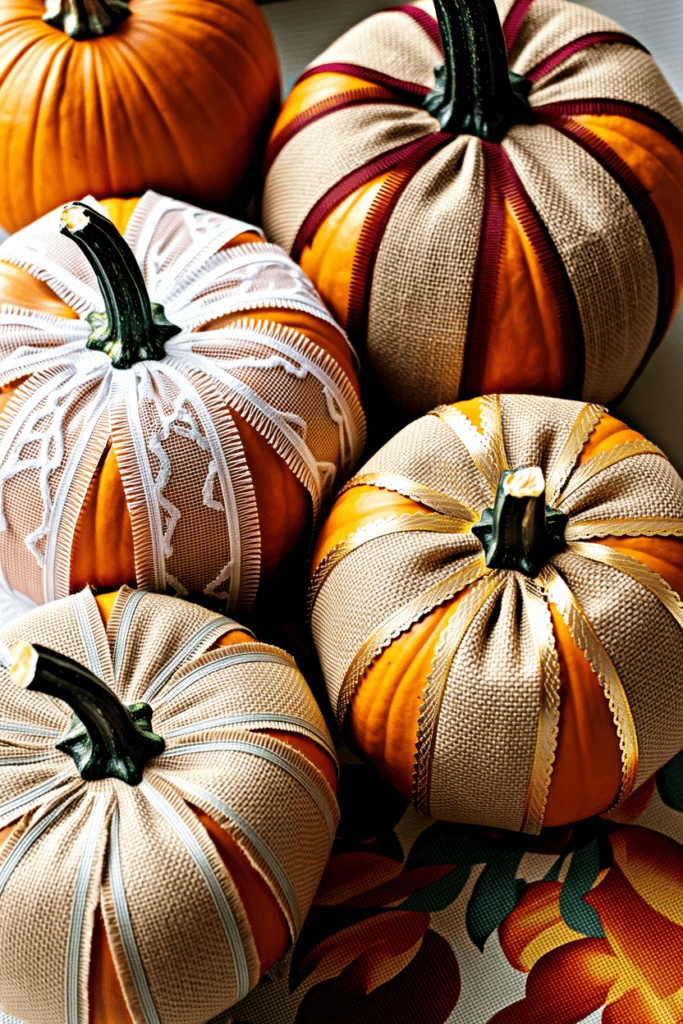
Transform plain pumpkins with fabric in minutes.
What You Need:
- Burlap fabric
- Lace trim or ribbon
- Pumpkins (any size)
- Hot glue gun
- Fabric scissors
How to Make It:
Wrap burlap around your pumpkin like a ribbon, securing it with hot glue. Layer lace or decorative ribbon over the top and add a bow at the stem. This method gives you a rustic-elegant look that’s totally customizable. Mix and match fabrics and ribbons to create variety.
15. Window Clings Made from Tissue Paper
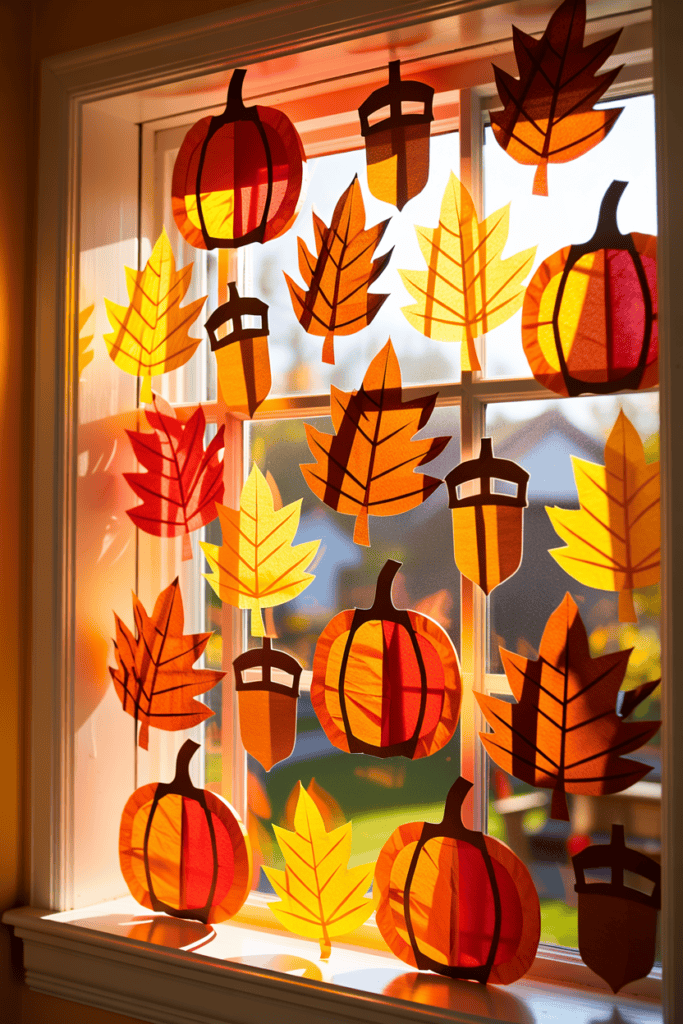
Kids love this project, but honestly, adults do too.
What You Need:
- Colored tissue paper in fall hues
- Scissors
- Window cleaner or diluted dish soap
- Leaves, pumpkins, or other fall shapes to trace
How to Make It:
Cut shapes from tissue paper—leaves, pumpkins, acorns, whatever feels autumn-y to you. Spray your window lightly with window cleaner and stick the tissue paper shapes directly onto the glass. They catch sunlight beautifully and create a stained-glass effect. The transparency lets light shine through, making your windows look absolutely magical.
16. Recycled Bottle Vases with Twine Wrapping
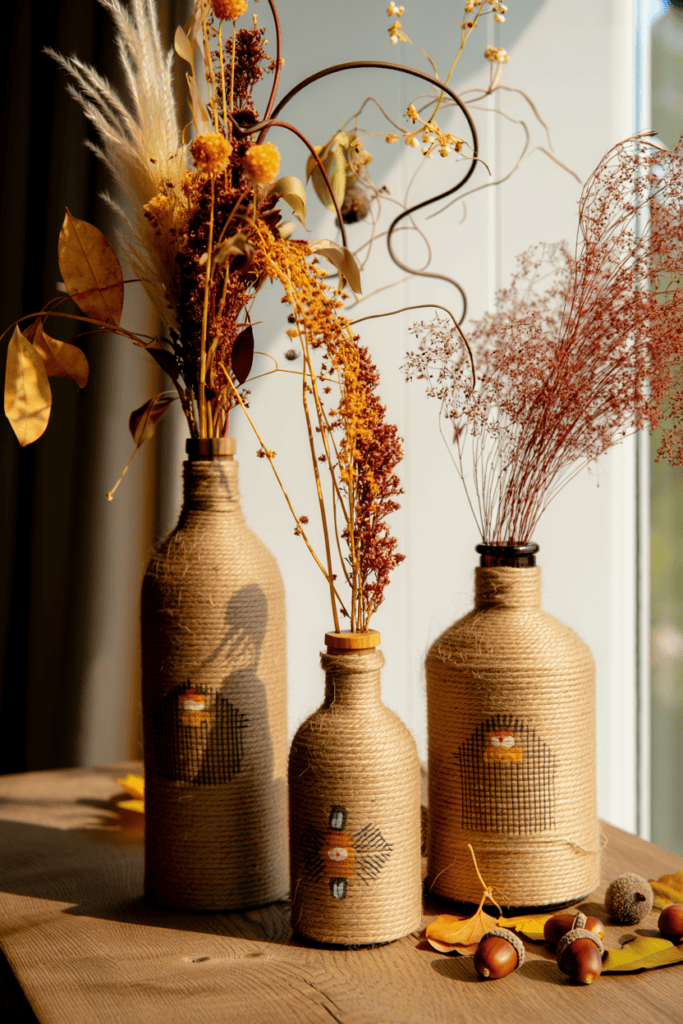
This is sustainability meets décor, and I’m here for it.
What You Need:
- Glass bottles (any size or shape)
- Twine or rope in neutral tones
- Hot glue gun
- Fall branches, grasses, or dried flowers
- Paint (optional, for glass)
How to Make It:
Wrap twine around your bottle from top to bottom, securing it with hot glue. Fill with fall branches and dried flowers. If you want extra pizzazz, paint designs on the glass before wrapping. These work beautifully as table centerpieces or shelf displays. I love doing these because I’m reusing bottles I’d normally recycle.
Bringing It All Together: Room-by-Room Application
Now that you’ve got 16 ideas, let’s talk about how to actually implement them throughout your home without creating visual chaos.
Living Room: Creating a Focal Point
Your living room should feel like a cozy autumn retreat. Start with a statement piece like the autumn wreath or a large centerpiece on your coffee table. Add painted pillow covers to your couch, hang the paper leaf mobile from your ceiling, and place mason jar candle holders on side tables.
The key is layering different elements without overwhelming the space. You want people to walk in and feel warm, not bombarded with fall decorations.
Kitchen: Functional and Beautiful
The kitchen works perfectly for food-safe fall décor like dried citrus slices and scented sachets. Hang a fabric banner above your kitchen window, place a fall foliage table runner on your dining table, and group mason jar candle holders on windowsills.
Consider painting small pumpkins and arranging them on open shelving. This keeps your kitchen looking intentional and seasonal without feeling over-the-top.
Entryway: Make a Strong First Impression
Your entryway deserves serious attention since it’s the first thing guests see. Hang the autumn leaf garland above your doorway, place a handmade wreath on your front door, and put a seasonal centerpiece on an entryway table.
This combination creates immediate impact and sets the tone for the rest of your home.
Bedroom: Subtle Sophistication
Keep bedroom décor softer and more minimal. Add hand-painted pillow covers, hang the paper leaf mobile above your bed, and place a few dried citrus slices in a vase on your nightstand. This approach keeps your bedroom peaceful while still feeling seasonal.
Budget-Friendly Tips for Maximum Impact
Here’s what I’ve learned from making way too many fall decorations: you don’t need to spend a fortune to create something beautiful.
Shop Your Home First
Before buying anything, look through what you already have. Do you have mason jars? Branches outside? Clear glass bottles? These are your foundation. Search your craft supplies, your closet, and your garage. You’d be surprised what you can repurpose.
Embrace Natural Materials
Free materials are everywhere in fall. Collect leaves, branches, acorns, and seed pods while taking walks. These cost you nothing but add authentic, organic beauty to your projects. Seriously, nature does half the work for you.
Thrift Store Treasures
Hit up thrift stores for fabric, baskets, frames, and containers. You’ll find amazing pieces for pennies. I once found a gorgeous wooden box perfect for a centerpiece base for $1.50. :/
DIY Over Store-Bought
Making your own decorations costs about 20% of buying them pre-made. A store-bought wreath runs $30–50. Your DIY wreath? Probably $10 if you’re buying everything new, or nearly free if you use items you have.
The Bottom Line
DIY fall decoration ideas transform your home into an autumn sanctuary without the retail price tag or the generic feel. Whether you’re a creative person who loves arts and crafts or someone who’s never made anything, these 16 projects offer something for every skill level and aesthetic.
The beauty of making your own décor? It tells a story. It says, “I care about creating a beautiful space, and I’m willing to put in the effort.” That matters way more than anything you could buy.