
Last Halloween, my neighbor walked past my porch, stopped dead in her tracks, and asked, “Wait, did you pay someone to do that?” No, Karen, I did not pay someone. I just know a few tricks that make pumpkin carving look way more impressive than it actually is.
That’s the thing nobody tells you about carving pumpkins: it’s less about artistic talent and more about picking the right technique for your skill level and patience. I’ve watched people burn out trying to freehand a realistic werewolf face when they’ve never carved anything more complex than a triangle nose. Meanwhile, someone else nails a jaw-dropping silhouette design using a $5 printable template.
So whether you’re a total beginner who just wants a decent grin on your porch, or you’re ready to level up into something people actually photograph, I’ve got 13 ideas here that cover every skill level, every vibe, and every amount of patience you’re willing to spend on a vegetable that’s going to rot in two weeks anyway. Let’s get into it.
1. The Classic Jagged-Tooth Grin
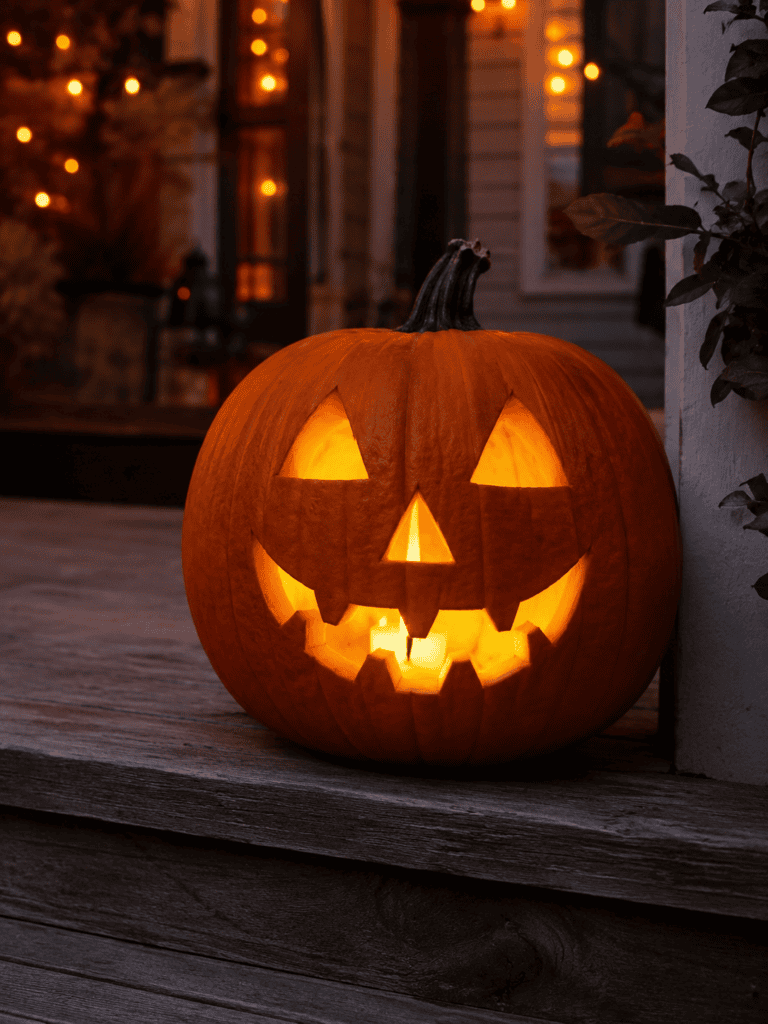
You can’t talk pumpkin carving without starting here. The classic triangle-eyed, jagged-tooth grin is the OG design, and honestly? It still slaps.
Here’s why I keep coming back to it:
- It’s beginner-friendly—no fancy tools required.
- It photographs well in low light (that flickering candle glow does all the work).
- It takes 20 minutes, tops.
Don’t overthink this one. Sometimes the classic works because it’s classic, not because you need to reinvent it every single year.
2. Silhouette Carving for Instant Drama
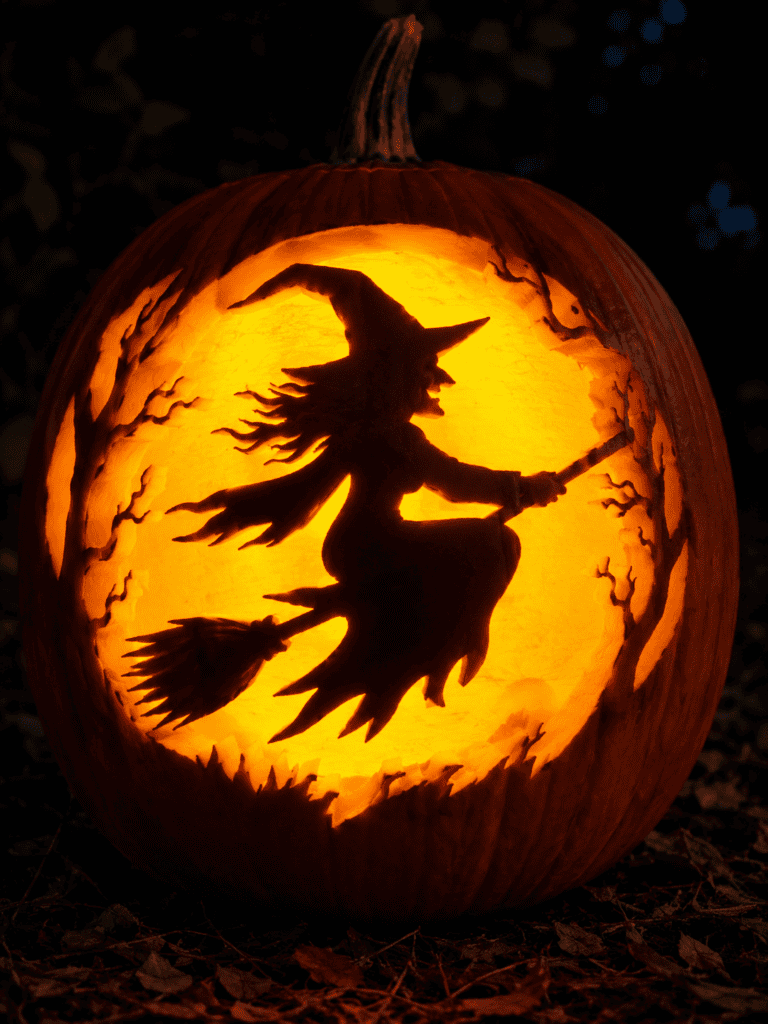
Want your pumpkin to look like it belongs in a horror movie poster? Silhouette carving is your answer.
You print a template (bats, witches, a cat arching its back), tape it to the pumpkin, and carve along the outline. The trick is keeping the background solid and only removing the shape itself. I did a witch-on-a-broomstick silhouette last year, and people actually stopped to take pictures. IMO, that’s the whole point of carving a pumpkin in the first place.
Where to Find Templates
- Free printable sites (search “pumpkin carving templates”)
- Halloween decor apps
- Draw your own if you’re feeling artsy
3. The Etched Pumpkin
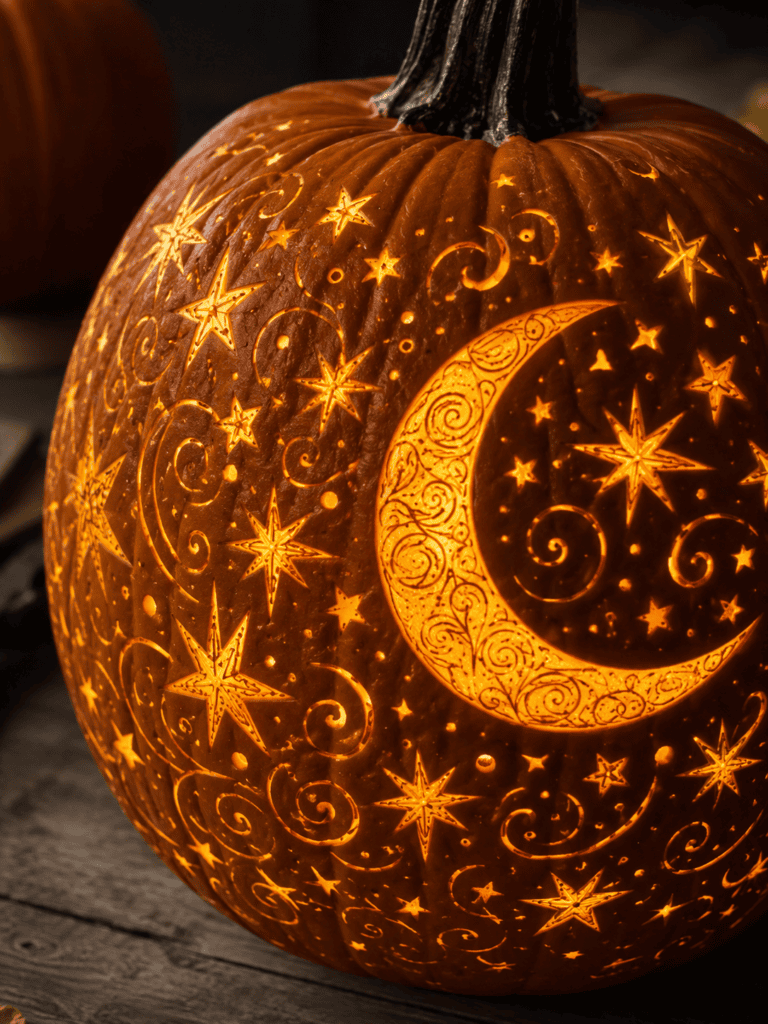
Here’s a technique I wish someone had told me about years ago: etching. Instead of cutting all the way through the pumpkin, you scrape away just the outer skin, leaving the flesh exposed underneath.
The result? A glowing, textured design that looks way more intricate than it actually is. It’s also less messy, since you’re not gutting the pumpkin as aggressively.
Pro tip: Use a linoleum cutting tool or a specialized pumpkin etching kit—your standard kitchen knife won’t give you the control you need.
4. Layered Depth Carving
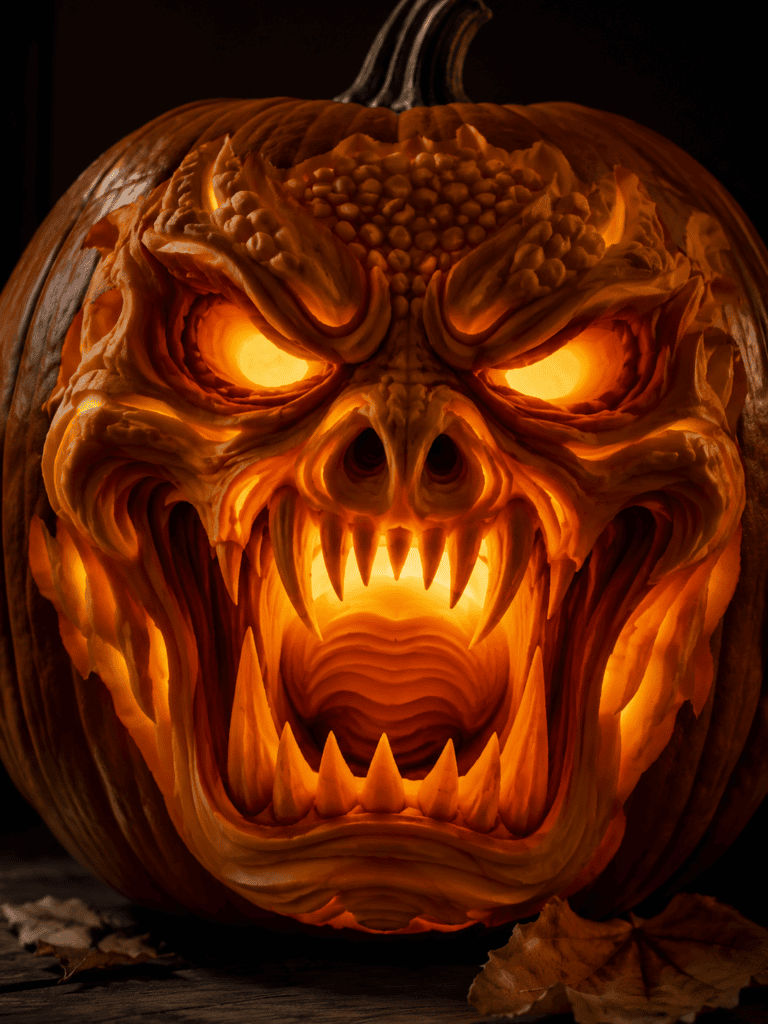
This one separates the casual carvers from the people who take Halloween seriously. Layered depth carving involves cutting at different depths to create shadow and dimension.
Think of it like sculpting rather than just cutting shapes out. You remove some skin entirely, scrape other areas thin, and leave some spots untouched. The candlelight does the rest, casting different intensities of glow across the design.
Ever wondered why some jack-o’-lanterns look like actual art pieces? This is usually how they get there.
5. Painted Pumpkins (For the Carving-Averse)
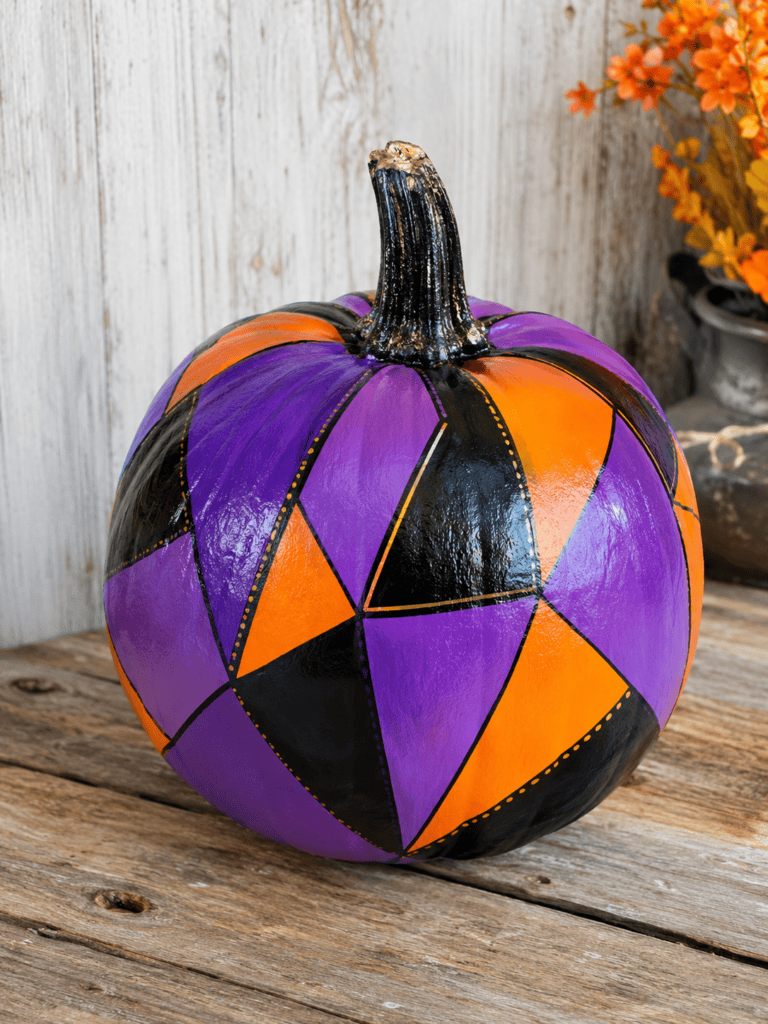
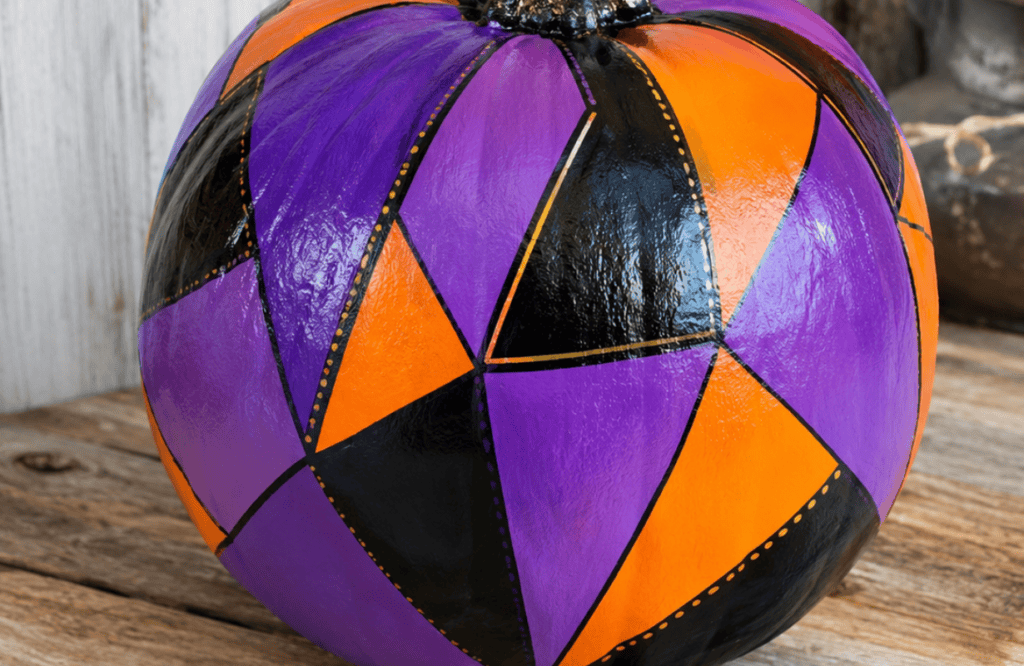
Not everyone wants to wrestle with a knife, and honestly, that’s fair. Painting your pumpkin is a legit alternative that skips the mess entirely.
Grab some acrylic paint and go wild:
- Geometric patterns
- Faux “carved” designs painted on
- Full character faces (I’ve seen a killer Jack Skellington)
The best part? Painted pumpkins last longer than carved ones since you’re not creating an open wound for mold to move into. If you’re the type who wants your pumpkin display to survive past Halloween night, this is genuinely the smarter move.
6. The Two-Faced Pumpkin
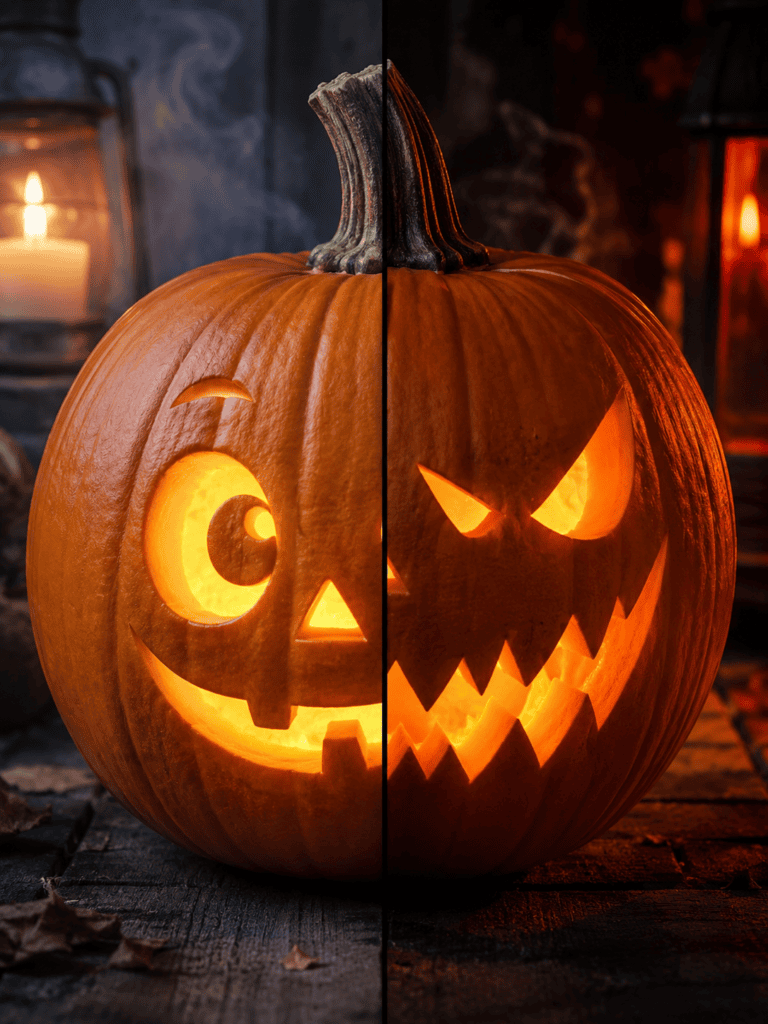
I stumbled onto this idea by accident when I botched one side of a carving and had to salvage it. The two-faced pumpkin carves a different expression or scene on each side.
One side can be a cute, friendly face; the other, something menacing. It’s a fun way to play with contrast, and it means your pumpkin gives a different vibe depending on which angle trick-or-treaters approach from.
7. Miniature Pumpkin Clusters
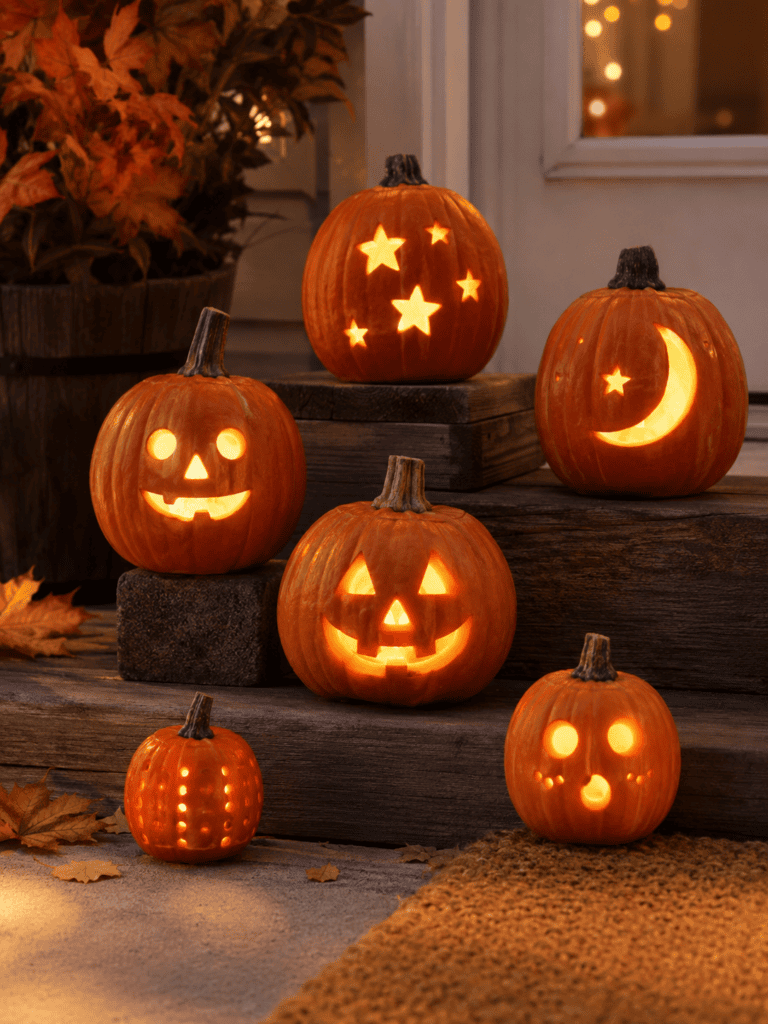
Sometimes bigger isn’t better. Grouping several mini pumpkins with different simple carvings creates a display that’s more visually interesting than one giant pumpkin alone.
Here’s how I’d approach it:
- Grab 4–6 small pumpkins in varying sizes
- Carve a simple design on each (stars, moons, small faces)
- Arrange them in a cluster with varying heights (use overturned bowls or boxes underneath)
This setup is also way easier on your hands. Carving one giant pumpkin can be a workout; carving a bunch of minis is more like a fun little assembly line.
8. The Realistic Face Carve
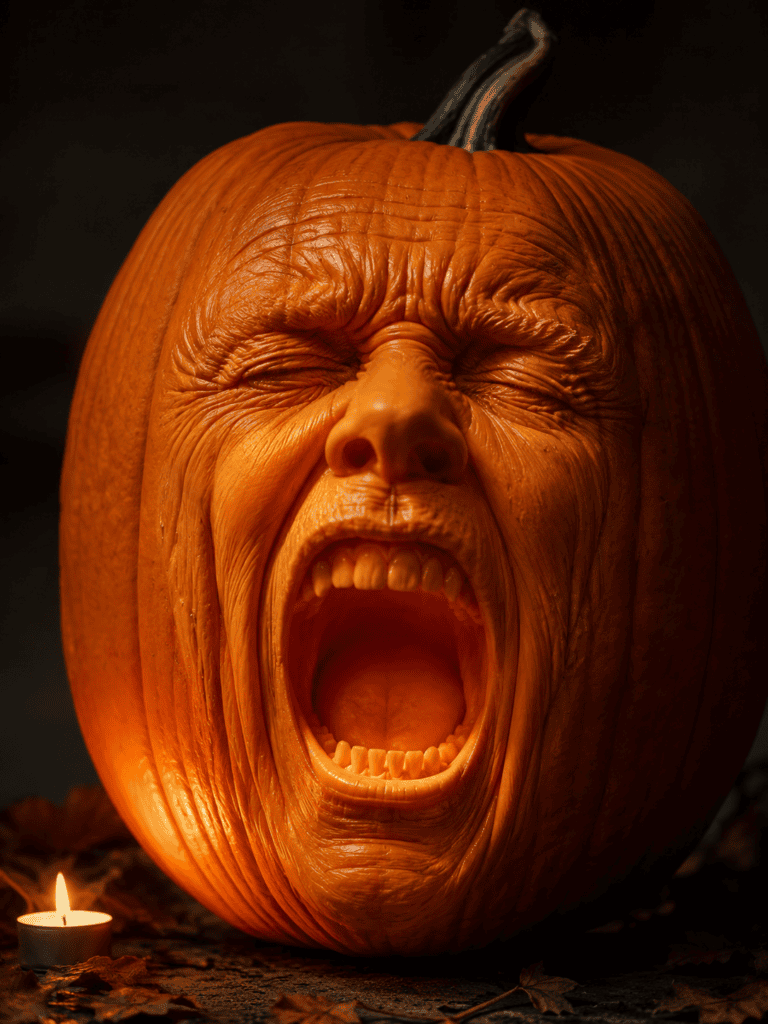
If you’ve got patience (and maybe a reference photo), a realistic human or creature face takes pumpkin carving to another level. I tried this once attempting to carve a “screaming” face, and let’s just say my first attempt looked more “surprised by a spider” than “terrified.”
What makes this work:
- Use a fine-detail carving tool, not a big kitchen knife
- Start with light guideline scratches before committing to deep cuts
- Work slowly around the nose and mouth—these areas are the most likely to crack
This isn’t a rush job. Set aside a solid hour or two, put on a podcast, and take your time.
9. Word or Message Pumpkins
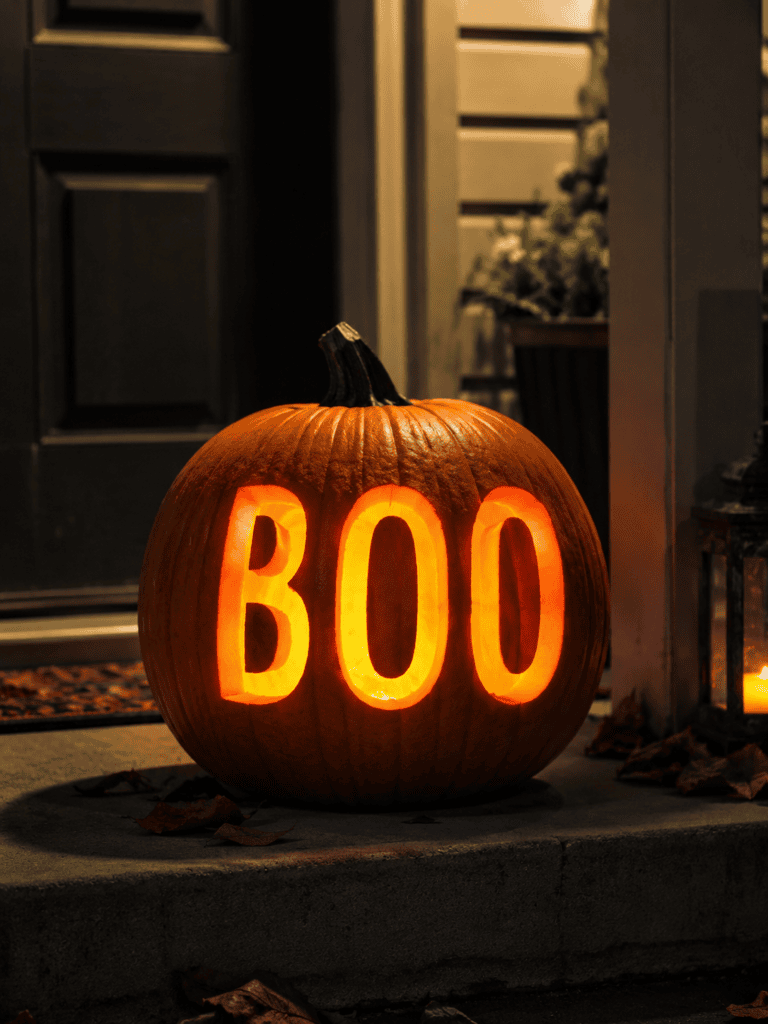
Sometimes simplicity wins. Carving a word, phrase, or message into your pumpkin can be surprisingly effective, especially with the right font choice.
Popular options include:
- “BOO”
- “TRICK OR TREAT”
- A pun (bonus points for pumpkin-related puns—”Gourd-geous” never gets old)
The key here is spacing. Cramped letters collapse into an unreadable blob once the pumpkin starts to shrink over a few days. Give your letters breathing room.
10. Nature-Inspired Carvings
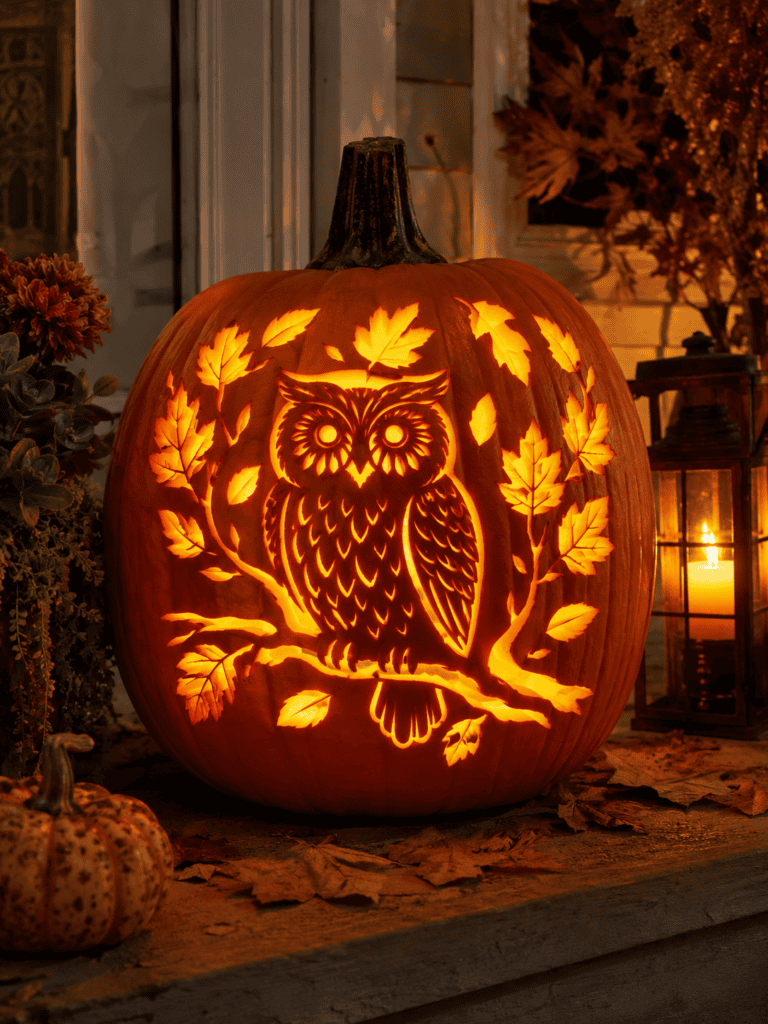
Not every pumpkin needs a spooky theme. Leaves, owls, moons, and forest scenes make for a gorgeous autumn display that works even if you’re not big on the “horror” side of Halloween.
I did an owl-on-a-branch design a couple years back, and it fit perfectly with my fall porch setup—no orange-and-black horror aesthetic required. If your Halloween decorating leans more “cozy autumn” than “haunted house,” this category is for you.
11. LED and Color-Changing Light Displays
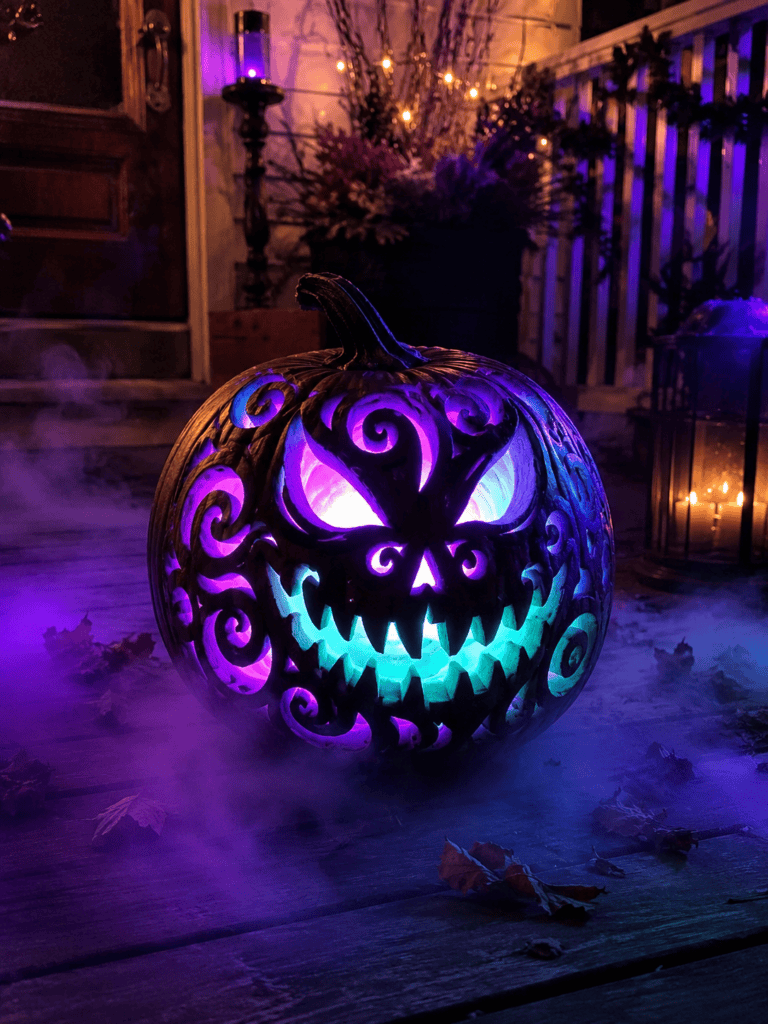
FYI, ditching the traditional candle for LED lights changes the whole game. Color-changing LED tea lights let your pumpkin cycle through purple, green, orange, and blue without you lifting a finger.
Why bother with this upgrade?
- No fire risk—great if kids or pets are around
- Batteries last through the whole season
- The color shifts add a genuinely eerie effect that candlelight can’t replicate
I switched to LEDs a few years ago and never looked back. 🙂 My pumpkin now looks like it belongs in a low-budget sci-fi movie, and I mean that as a compliment.
12. The “Melting” or Drippy Pumpkin
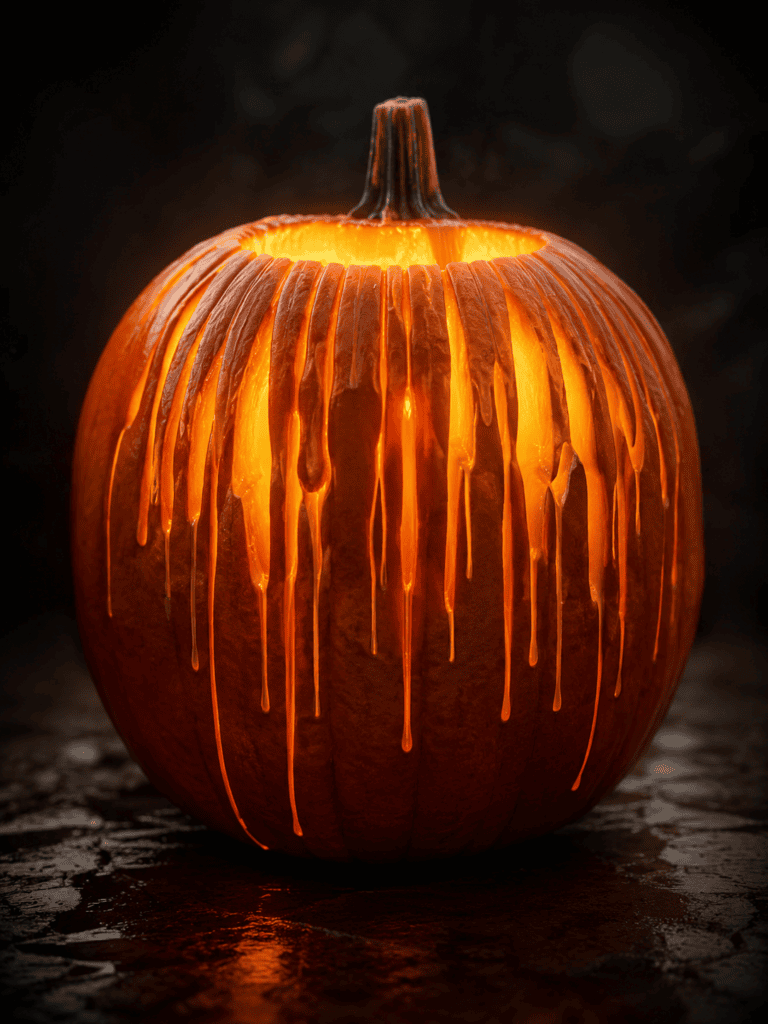
This design mimics wax dripping down the sides of the pumpkin, giving it a slightly unsettling, surreal look. Drippy carvings work best when you carve thin vertical lines of varying lengths trailing down from the top opening.
It’s a technique that looks way more complicated than it is. The illusion comes from inconsistent line lengths—some short, some long, mimicking actual dripping wax or slime.
13. Interactive or Functional Pumpkins
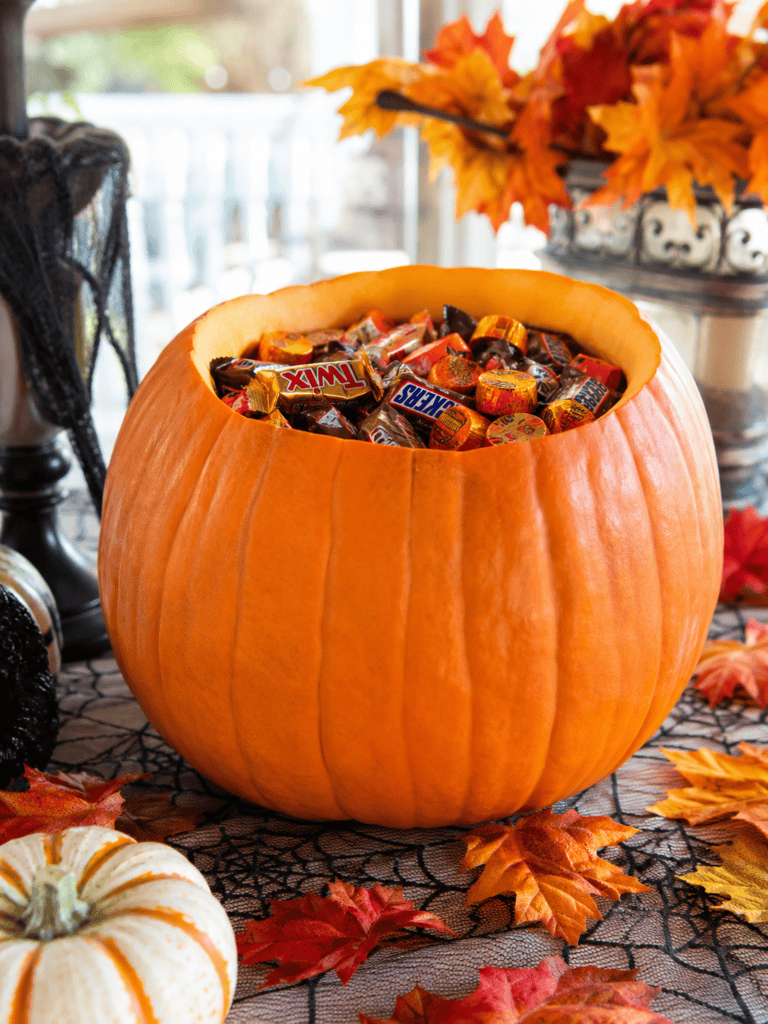
Save the most creative category for last: pumpkins that do something. I’m talking about carving a pumpkin into a candy bowl, a drink cooler, or even a planter for small succulents once Halloween’s over.
Some functional ideas:
- Candy dish pumpkin: hollow it out completely, skip the face, use it as a bowl
- Pumpkin cooler: great for outdoor parties, keeps drinks cold and looks festive
- Post-Halloween planter: once the carving phase is done, repurpose the shell
IMO, this is the most underrated category. Everyone’s so focused on faces and scary designs that they forget pumpkins can straight-up be useful too.
A Few Carving Tips Before You Start
Regardless of which design you pick, a few basics will save you a headache:
- Cut the lid at an angle, not straight down—this stops it from falling into the pumpkin later.
- Scrape the inner walls down to about an inch thick for the best light glow without structural collapse.
- Keep your tools sharp. A dull knife is more dangerous than a sharp one because you end up forcing it.
- Carve close to Halloween, ideally 1–3 days before, unless you’re painting instead.
Skipping these steps is exactly how I ended up with that potato-pumpkin disaster I mentioned earlier. Learn from my mistakes so you don’t have to make your own :/
Wrapping This Up
Pumpkin carving doesn’t have to be complicated, and it definitely doesn’t have to look like everyone else’s porch. Whether you go classic with a jagged grin, get artsy with layered depth carving, or skip the knife entirely and paint your masterpiece, the goal is the same: have fun with it.
Pick the idea that matches your patience level and your Halloween vibe—horror, cozy autumn, or somewhere in between. Then grab your tools, put on some spooky music, and get carving.