

Halloween decorating has a weird problem: everyone ends up with the same look. A plastic pumpkin here, a sad stretchy spiderweb there, one string of orange lights that half-works by the second week of October. It’s not that people lack creativity — it’s that nobody tells you where the actual impact comes from. Spoiler: it’s rarely the decorations themselves.
The difference between a room that looks “decorated” and a room that actually feels haunted comes down to a handful of details most people skip entirely lighting layers, shadow placement, sound, and restraint. Skip those, and you end up with a room full of Halloween stuff that somehow still looks flat. Get them right, and even a cheap prop starts pulling its weight.
That’s what this list is really about. Not just “buy these 15 things,” but how to actually build atmosphere with what you’ve already got — plus a few upgrades worth the extra effort. Some of these ideas cost next to nothing. Others take a bit more planning. All fifteen are ranked by how much bang you actually get for your buck, so you can pick what fits your space, your time, and your patience for assembling foam tombstones.
1. Layer Your Lighting Instead of Just Adding Orange Bulbs
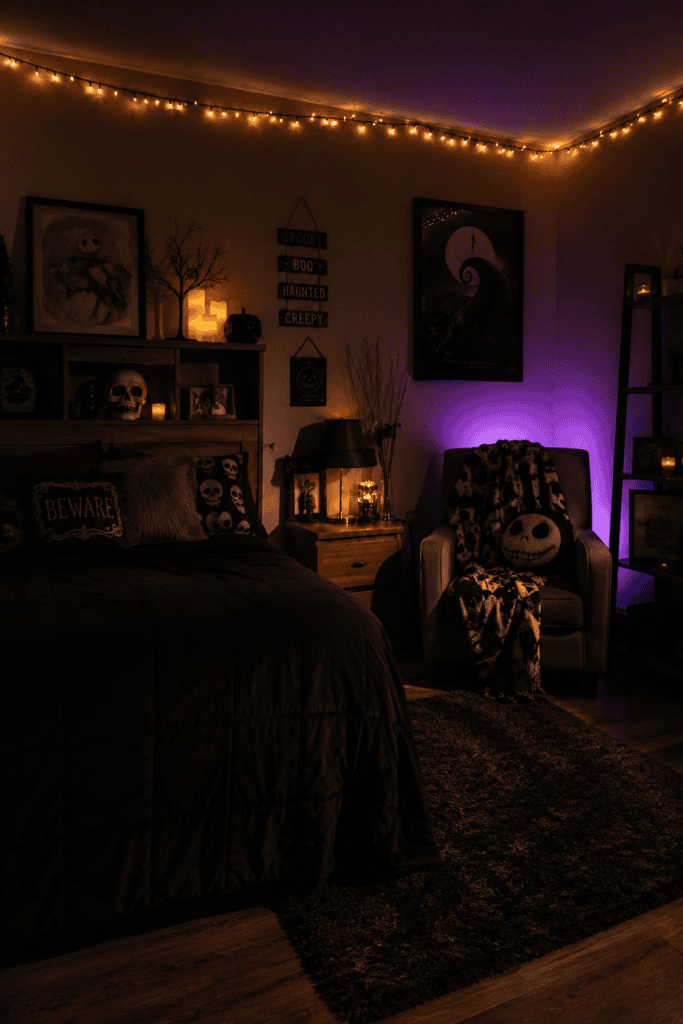
Here’s a mistake I made for years: I thought “Halloween lighting” just meant swapping white bulbs for orange ones. Turns out, lighting layers make way more of a difference than color alone.
Try combining:
- String lights along ceiling edges or window frames
- Flickering LED candles on shelves or windowsills
- Uplighting behind furniture with colored bulbs (purple and green are underrated)
Why does this work so well? Because real spooky atmosphere comes from shadows, not brightness. A single dim light source creates way more tension than a fully lit room ever could.
2. Build a Spider Web Feature Wall
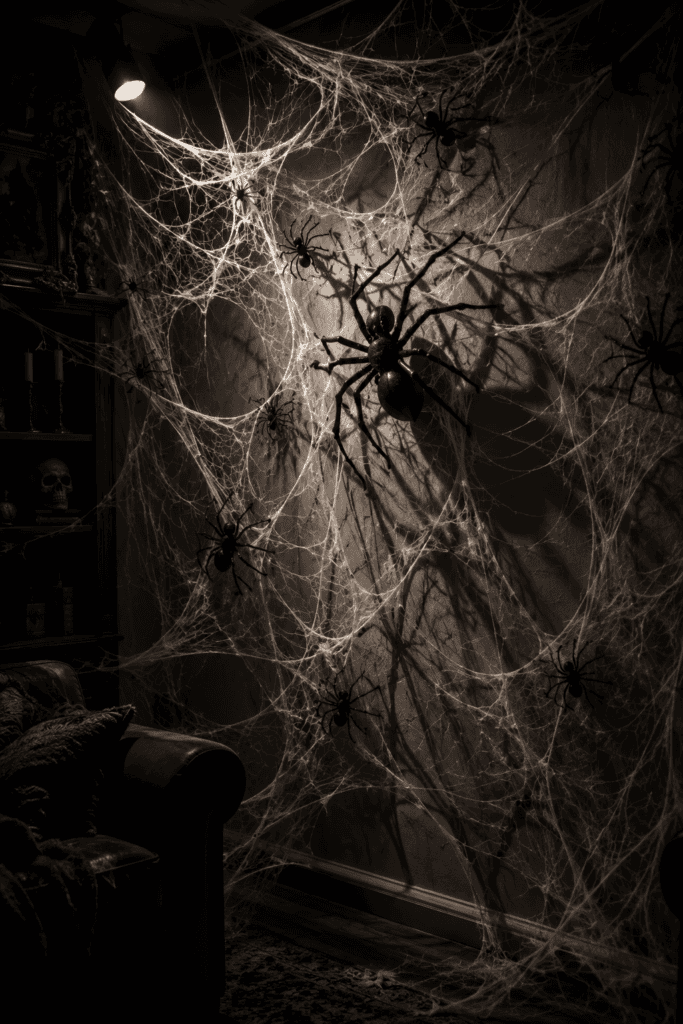
Everyone throws a stretchy spiderweb in a corner and calls it done. IMO, that’s a wasted opportunity. Instead, pick one wall and commit to it.
Layer multiple webs at different depths, add a few oversized spider props at varying heights, and use a spotlight to cast shadows across the room. The trick is depth—a flat web looks cheap, but overlapping layers create texture that actually looks unsettling.
I did this in my apartment last year and my roommate genuinely paused before walking past it. Mission accomplished.
3. Get Serious About Fog (Without Setting Off the Smoke Alarm)
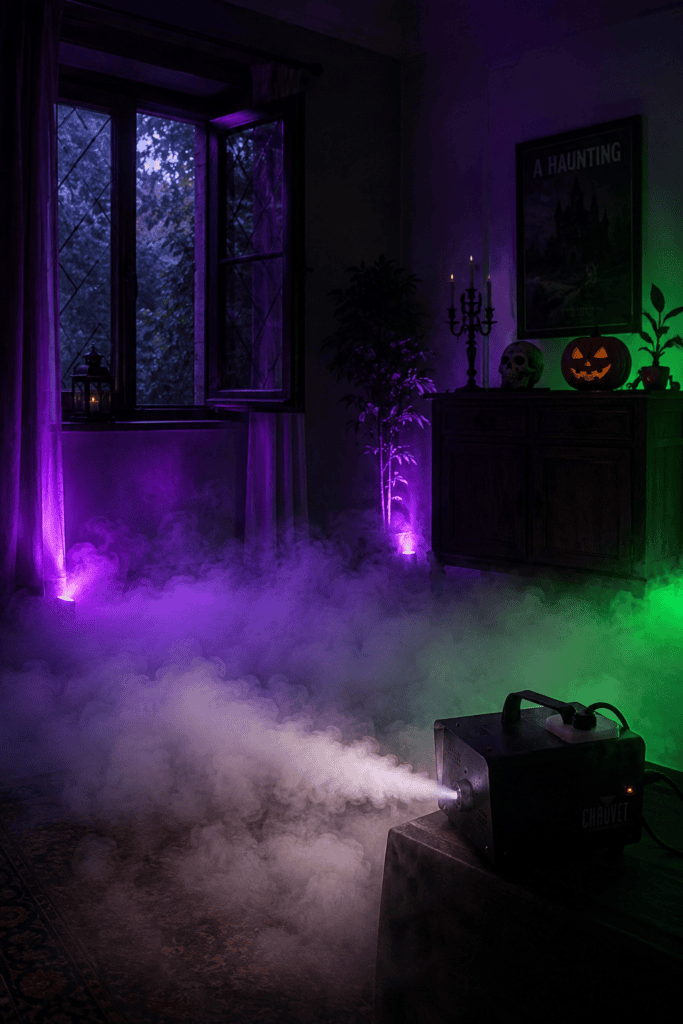
Let’s talk about the fog machine incident. I plugged in a machine, closed the door for “maximum effect,” and within ten minutes had a fire alarm going off and neighbors knocking. Lesson learned: ventilation matters.
Small tabletop fog machines paired with LED uplighting create that low-lying, creeping fog look without turning your room into an actual hazard. Keep doors cracked, use it in short bursts, and never point it directly at a smoke detector. Trust me on this one.
4. Turn Your Ceiling Into Part of the Decor
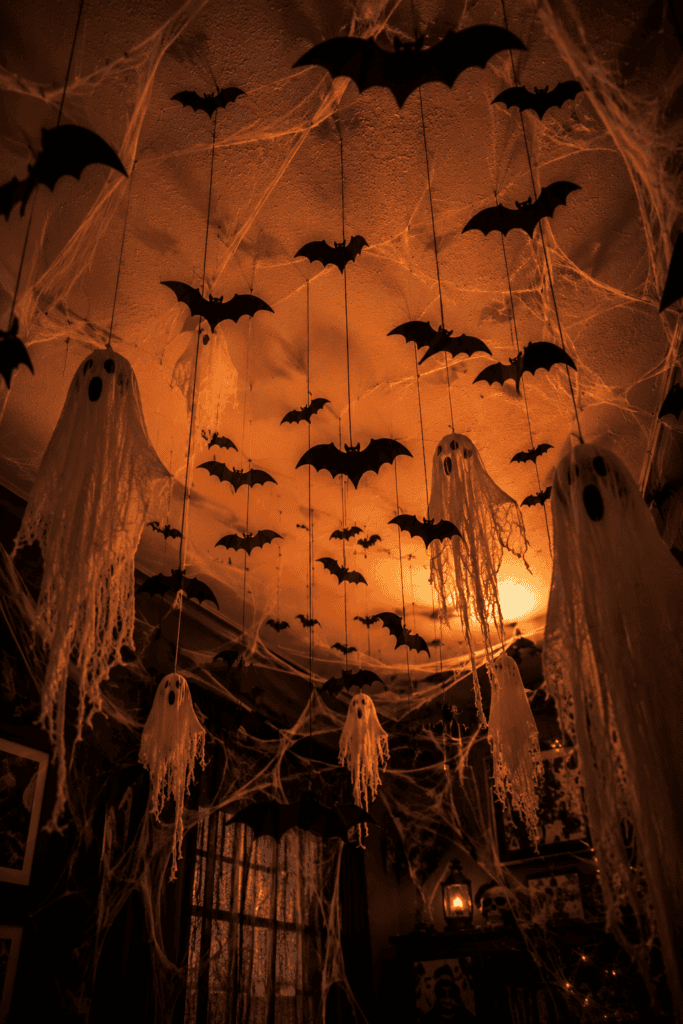
Most people decorate walls and forget the ceiling entirely, which is honestly a missed opportunity. Ever notice how haunted house designers always use the space above your head?
Hanging elements create an immersive, almost claustrophobic feel:
- Paper bats suspended at different lengths
- Fake cobwebs stretched across corners
- Hanging ghosts made from cheesecloth (cheap and surprisingly effective)
This works because it forces people to look up, which most rooms never ask them to do. It’s a small shift that makes the whole space feel more intentional.
5. Create a Creepy Apothecary Table
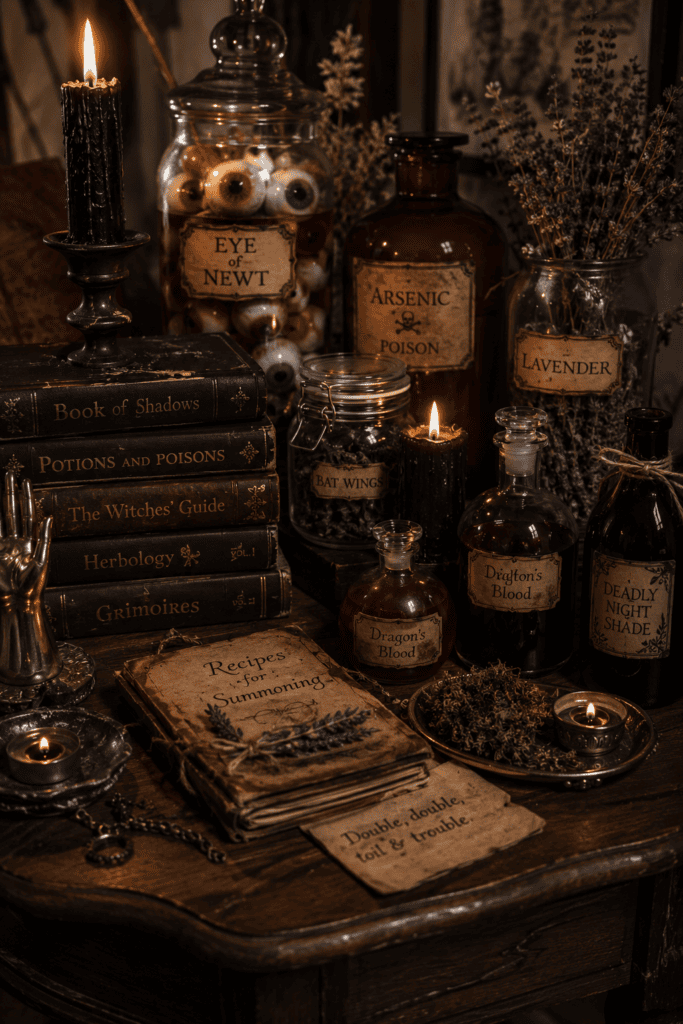
If you want a section of your room that looks straight out of a witch’s cottage, this is it. Grab some old glass jars, fill them with things like fake eyeballs, dried herbs, or colored water, and label them with handwritten tags.
Add a few candles, a stack of old-looking books, and maybe a skull or two, and you’ve got a display that photographs beautifully. I put one together on a $15 budget using thrift store jars, and it’s become the centerpiece of my whole setup.
6. Use Silhouettes for Instant Drama
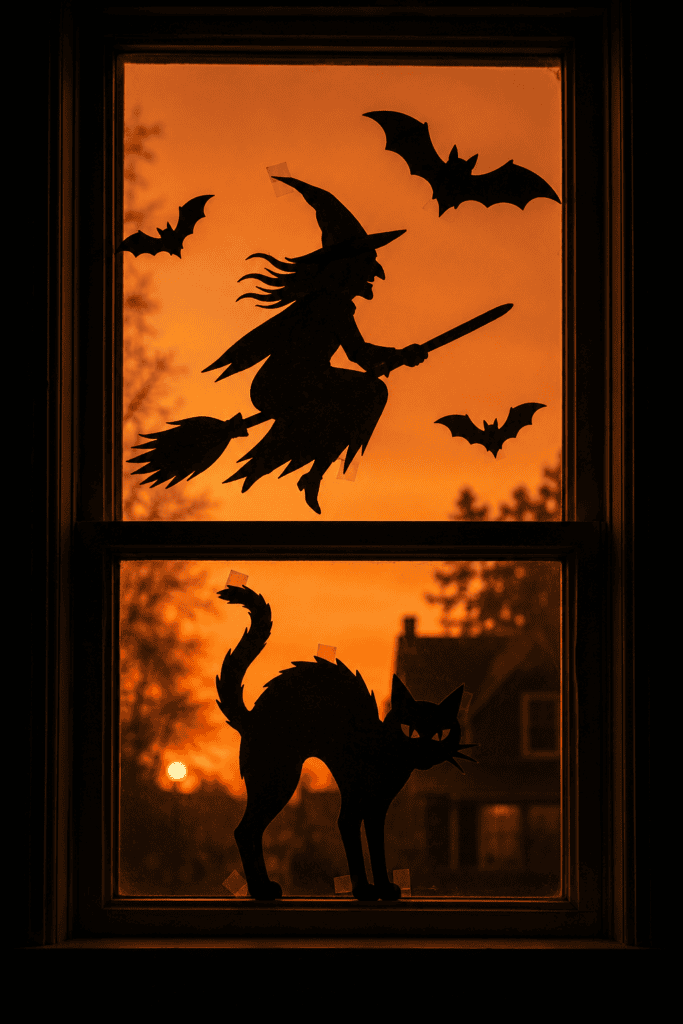
Silhouettes are criminally underrated in Halloween decor. Cut shapes out of black cardstock—witches, bats, cats with arched backs—and tape them to windows or backlight them on walls.
Why does this work so well? Because your brain fills in the details your eyes can’t see, and that’s genuinely creepier than a fully visible prop. A shadow implies a monster; a plastic figure just states one outright.
7. Don’t Sleep on Sound Design
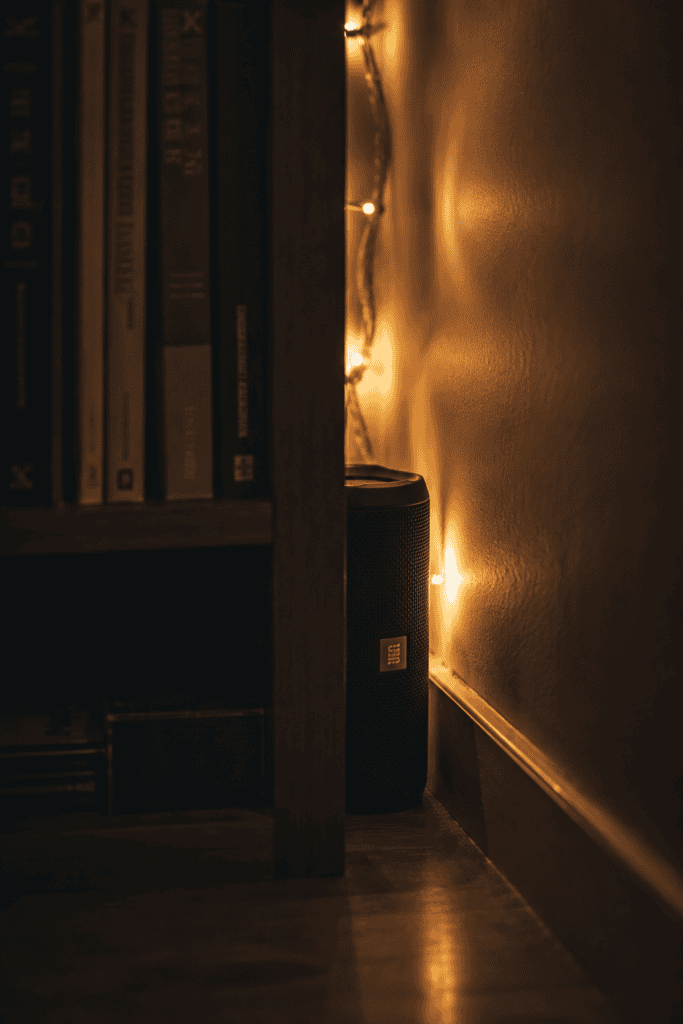
Visuals get all the attention, but sound is honestly half the battle. A quiet creaking floor track or distant howling on loop does more for atmosphere than another string of lights ever will.
Bluetooth speakers hidden behind furniture work great here. Keep the volume low—this should feel ambient, not like a haunted house jump-scare track blasting at full volume.
8. Pick a Color Palette and Stick to It
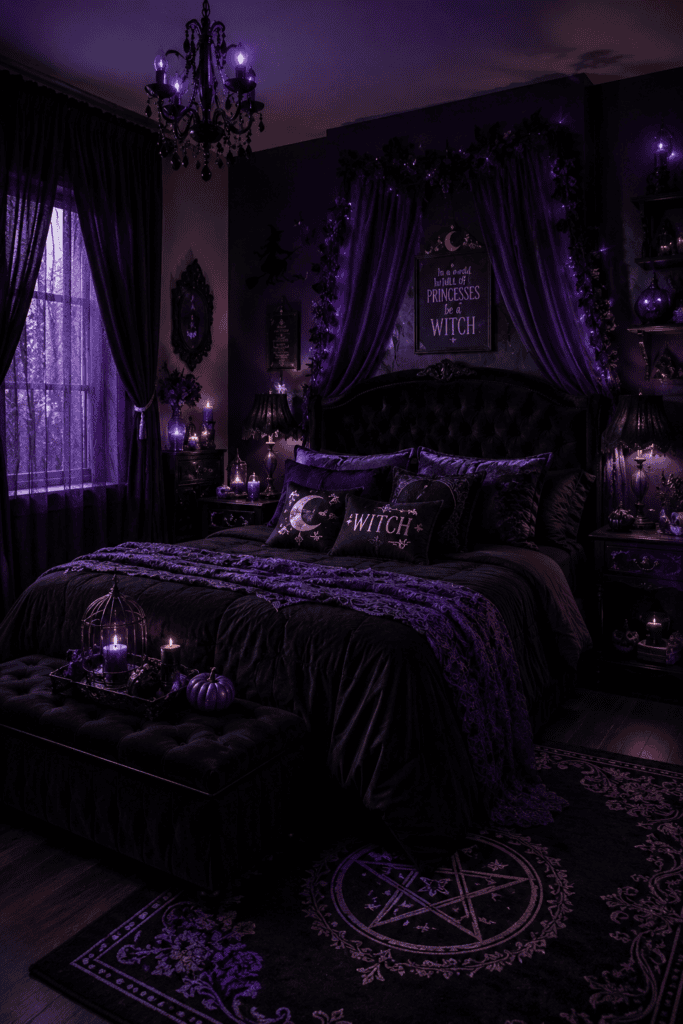
This one sounds obvious, but so many rooms go wrong here. Orange and black is the classic combo, sure, but it’s not the only option, and honestly, going full cliché can look a bit flat.
Consider these alternate palettes:
- Deep purple and black for a witchy, mystical vibe
- Sickly green and gray for an eerie, abandoned-lab feel
- Blood red and charcoal for something more gothic
Whatever you pick, stay consistent. A room with five competing color schemes looks chaotic, not spooky.
9. Transform Ordinary Furniture With Fabric
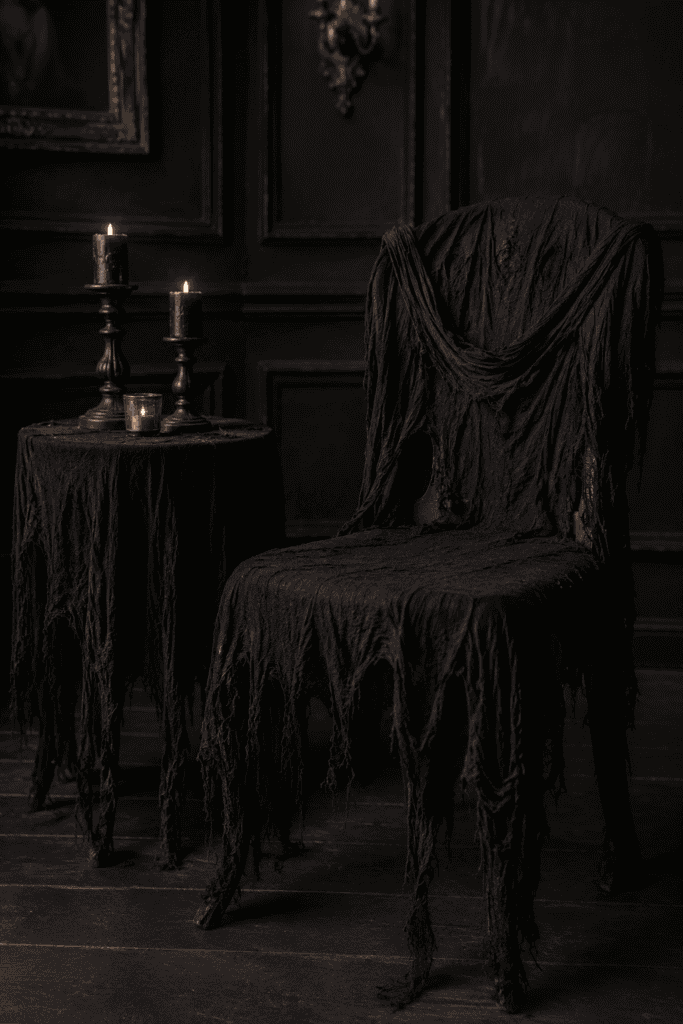
Draping furniture in dark, textured fabric is one of the cheapest tricks that makes the biggest difference. Old bedsheets dyed black or gray work perfectly for this.
Cover a side table to make it look like a tombstone base, or drape a chair to give it a “haunted mansion” feel. It’s a five-minute change that transforms a normal piece of furniture into something that belongs in your decor rather than fighting against it.
10. Add a Focal Point Prop (But Only One)
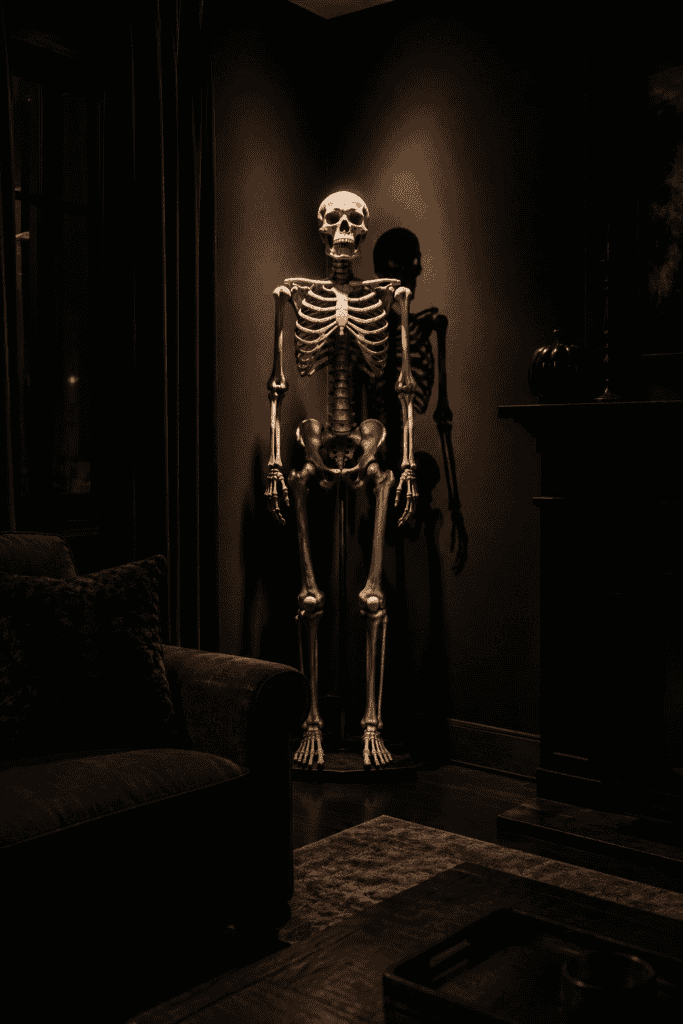
Every great room has a hero piece—the thing people notice first. Maybe it’s a life-sized skeleton in the corner, an animatronic raven, or a witch’s cauldron with bubbling dry ice.
The key here is restraint. If everything in the room screams for attention, nothing actually gets it. Pick one standout piece, and let everything else support it rather than compete with it.
11. Use Window Clings and Decals for Zero-Commitment Impact
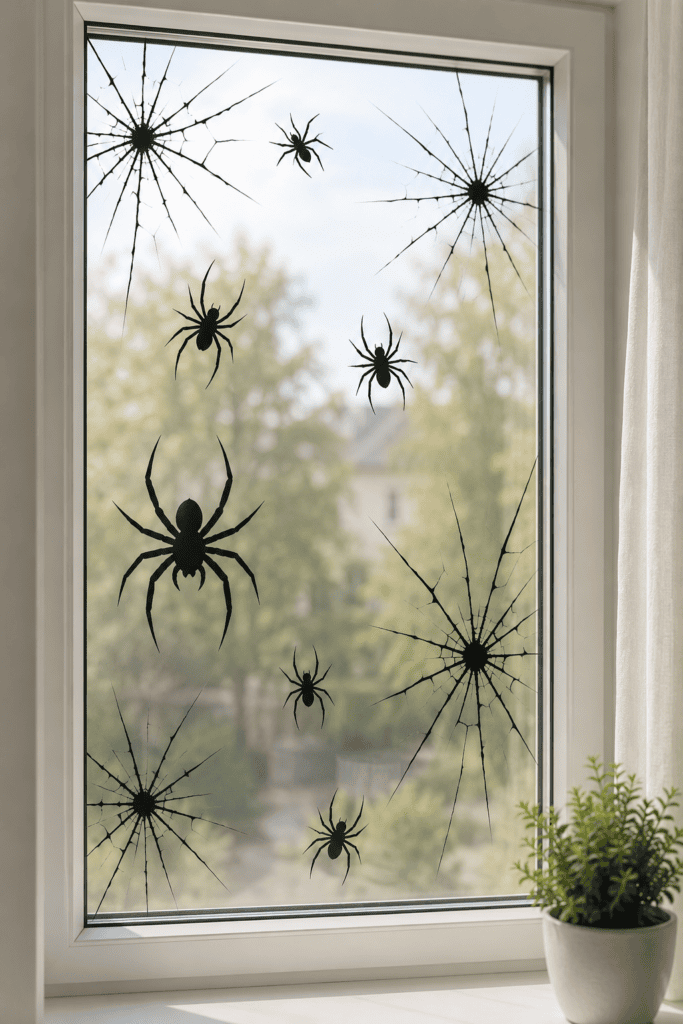
Not everyone wants to commit to a full room overhaul, and that’s fair. Window clings and static decals—think spiders, cracked glass effects, or eerie faces—give you instant impact without any real setup.
They peel off cleanly, they’re renter-friendly, and they genuinely look better than you’d expect for something so low-effort. I keep a pack on hand every year because they’re basically the decor equivalent of a quick outfit change 🙂
12. Build a Graveyard Corner
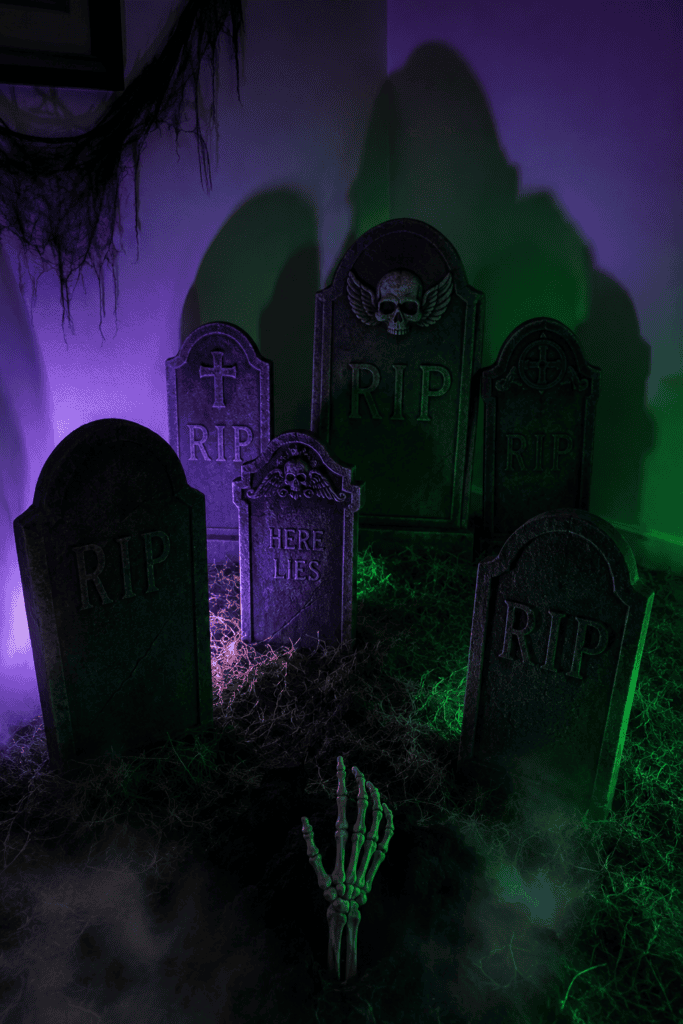
If you’ve got even a small unused corner of your room, turn it into a mini graveyard. Foam tombstones (you can DIY these from cardboard) paired with fake dead grass, a few skeleton hands poking out of the “ground,” and dim uplighting go a long way.
This idea scales really well—you can do a tiny version on a bookshelf or a full corner setup if you’ve got the space. Either way, it adds narrative to your room instead of just random spooky objects scattered around.
13. Play With Reflections and Mirrors
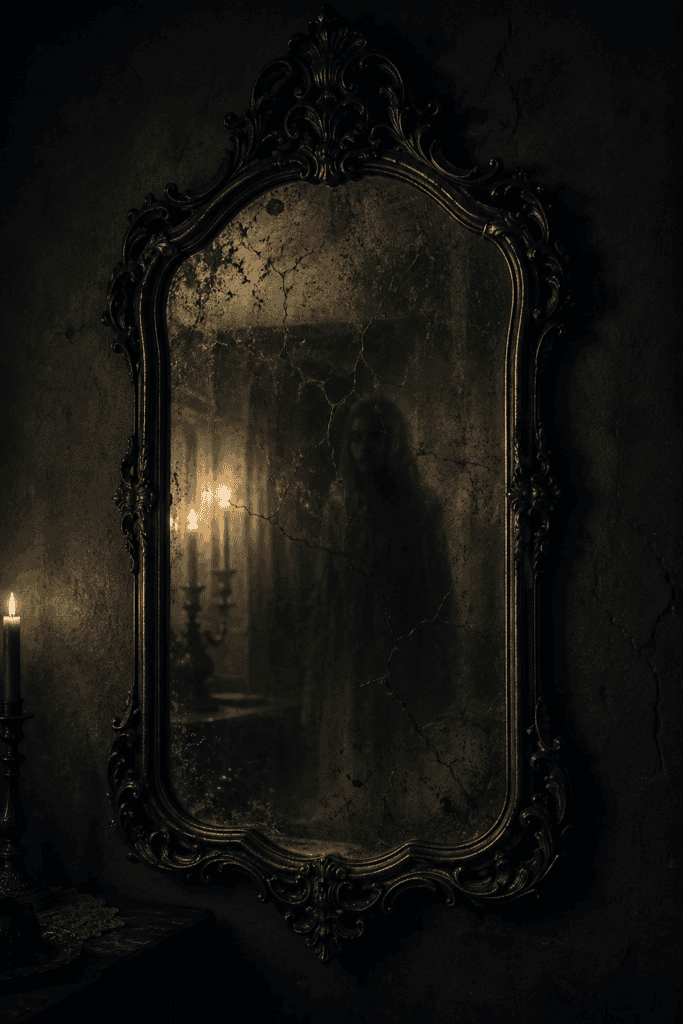
Mirrors are a genuinely underused trick in Halloween decor. A slightly fogged or “cracked-look” mirror decal can make a normal reflection feel unsettling, especially paired with dim lighting nearby.
Some people even add a projector effect—a faint ghostly image that appears to move in the reflection when lighting hits it right. It’s a bit more advanced, but the payoff is worth it if you want your room to feel genuinely eerie rather than just “decorated.”
14. Incorporate Natural and Seasonal Elements

Not every decoration needs to be plastic or store-bought. Dried branches, corn husks, pumpkins (real or faux), and autumn leaves add texture and make a space feel seasonal rather than costume-y.
This blend of natural and spooky elements keeps the room from feeling like a Halloween store display and more like an actual lived-in space that happens to celebrate the season. It’s a small distinction, but it makes a real difference in how “put together” everything feels.
15. Create an Interactive Element
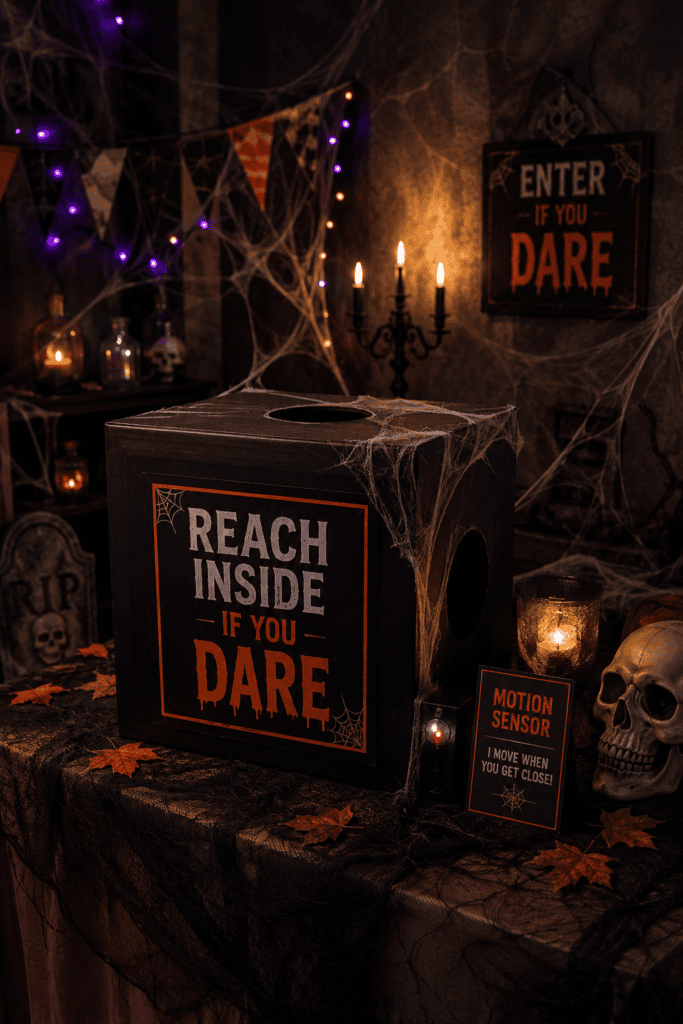
Want your room to be memorable? Add something guests can actually interact with. A “mystery box” they reach into (fill it with cold spaghetti for “guts,” peeled grapes for “eyeballs”), a spooky trivia card on the door, or a simple motion-sensor prop that reacts when someone walks by.
IMO, this is the idea most people skip, and it’s the one that actually gets talked about afterward. Visual decor gets noticed; interactive decor gets remembered.
Quick Comparison: Budget vs. Impact
Not all of these ideas cost—or deliver—the same. Here’s how I’d rank them if you’re working with limited time or money:
- High impact, low cost: Silhouettes, window clings, fabric draping
- Medium impact, medium cost: Lighting layers, apothecary table, graveyard corner
- High impact, higher cost: Fog effects, animatronic focal props, sound systems
If you’re decorating on a budget, start with the first category. You’ll be surprised how far $20 and a bit of creativity actually goes.
Wrapping This Up
So there you have it 15 ways to take your room from “meh, I put up a pumpkin” to “okay, this actually looks incredible.” The real secret isn’t spending more money; it’s being intentional about lighting, focal points, and the small details most people skip.
Pick two or three ideas from this list that fit your space and budget, and actually commit to them rather than half-doing ten different things. Ever notice how the best-decorated rooms usually aren’t the most expensive ones? They’re just the most thoughtful.