
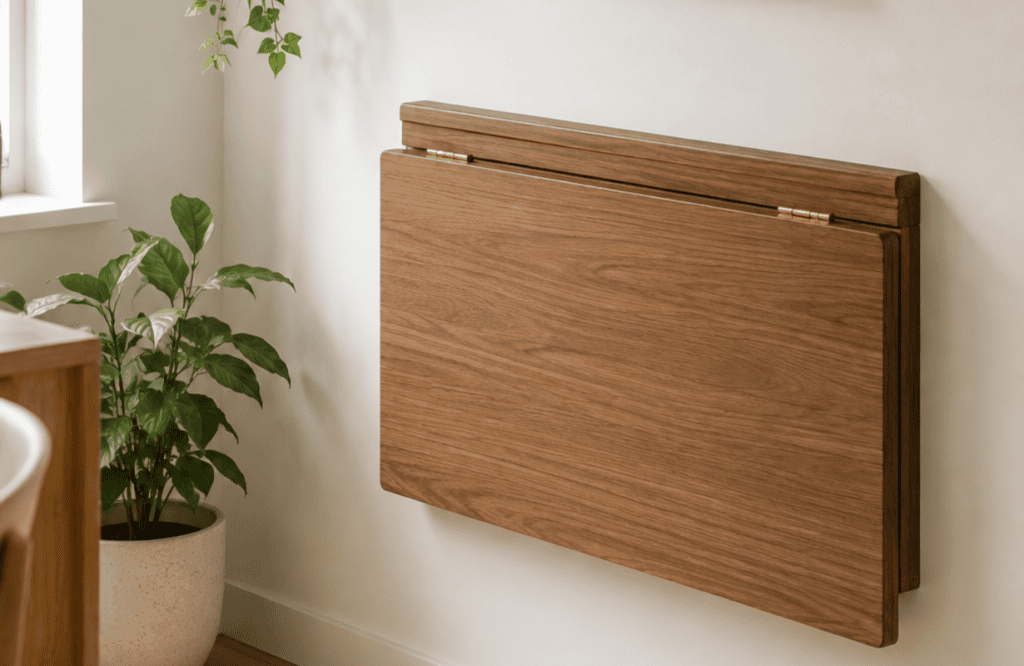
If you’ve ever tried working from your kitchen counter because there’s simply nowhere else to put a desk, you’re definitely not alone. Small apartments, studio homes, and compact bedrooms rarely have room for a permanent workspace. The problem is that a traditional desk takes up valuable floor space 24/7 even when you’re not using it.
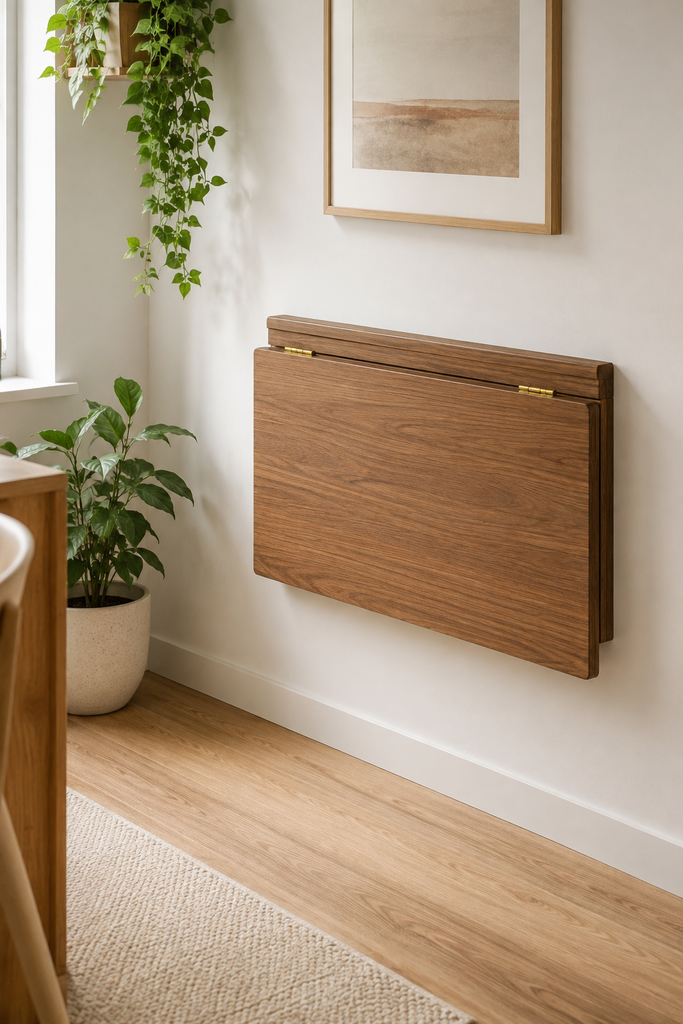
That’s exactly why a DIY wall-mounted folding desk for a small space is such a smart project. When it’s open, you have a comfortable place to work, study, or even craft. When you’re done, it folds flat against the wall, giving your room back instantly.
Here’s the thing: a lot of DIY folding desk tutorials focus on making something that looks clever but isn’t actually practical for daily life. They end up being too small, too flimsy, or mounted at the wrong height.
What actually works is building a folding desk around how you’ll use it every day. That means choosing the right location, using sturdy hardware, and making sure it feels just as solid as a regular desk. The good news? You don’t need a huge workshop or expensive tools to build one.
Why a Wall-Mounted Folding Desk Makes Sense
A folding desk isn’t just about saving space. It’s about making one room serve multiple purposes without feeling crowded.
Imagine your guest room becoming a home office during the day and a relaxing bedroom at night. Or your dining nook doubling as a homework station that disappears before dinner.
Because the desk folds away, your room feels larger and less cluttered. That visual openness can make even a tiny apartment seem significantly bigger.
It’s also surprisingly customizable. You decide:
- The width
- The depth
- The finish
- The storage
- Whether it blends into the wall or becomes a design feature
Unlike buying a pre-made folding desk, building one yourself means it fits your exact space instead of forcing your room to adapt to standard furniture dimensions.
Common Mistakes People Make
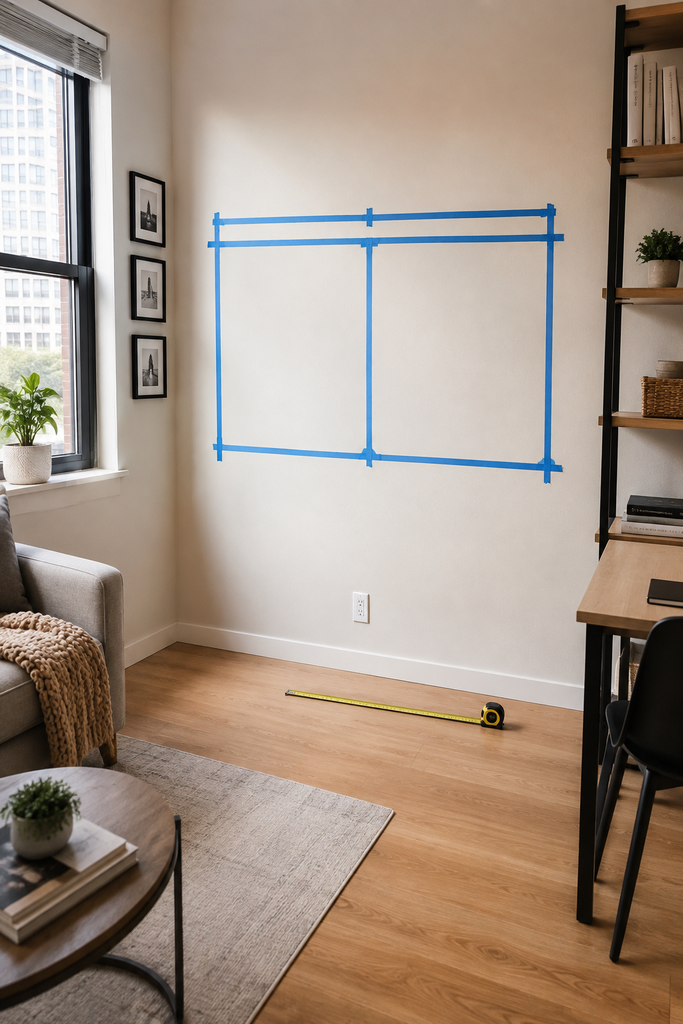
Choosing the Wrong Wall
Most people think any empty wall will work.
It won’t.
If the desk blocks a doorway, interrupts a walking path, or hits nearby furniture when folded down, you’ll eventually stop using it.
Instead, watch how you naturally move around the room for a day or two. The best wall is usually one that’s already underused.
Corners near windows often work especially well because they provide natural light without sacrificing central floor space.
Ignoring Wall Studs
This is probably the biggest mistake.
A folding desk carries more weight than people expect.
Think about it.
You’re not only supporting the wood itself. You’re also supporting:
- A laptop
- Your arms
- Books
- Coffee mugs
- Leaning pressure
Mounting only into drywall anchors usually isn’t enough for long-term durability.
Whenever possible, secure the frame directly into wall studs. If the spacing doesn’t line up perfectly, install a sturdy mounting board across multiple studs first.
That extra effort pays off every single day.
Making the Desktop Too Small
People often shrink the desktop just to save a few inches.
Ironically, that makes the desk much less useful.
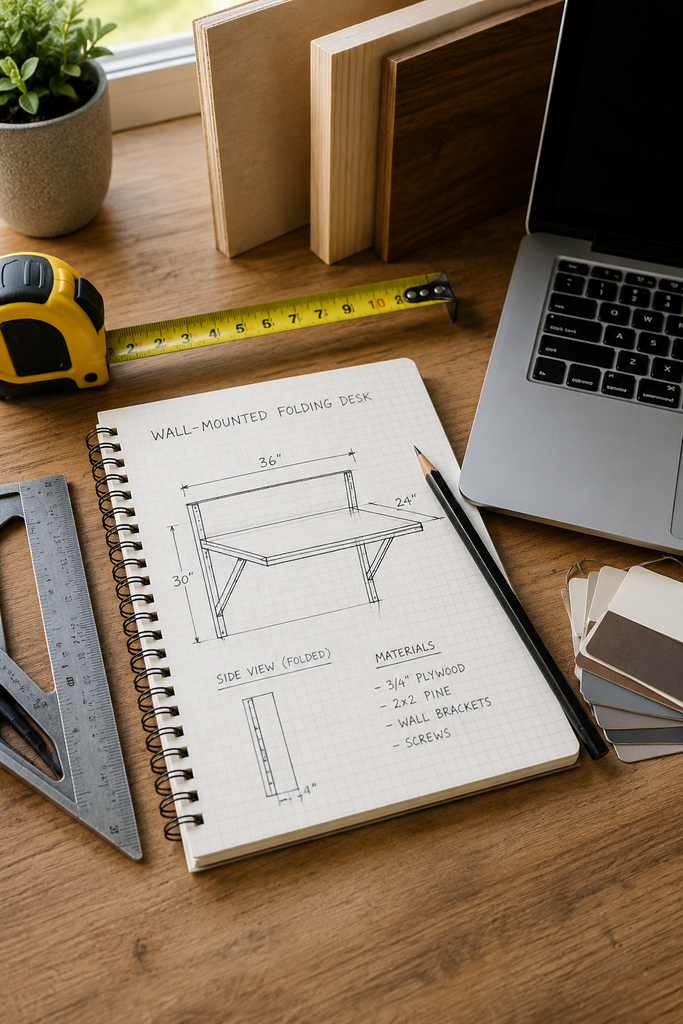
A surface around 18–24 inches deep usually gives enough room for a laptop while still allowing comfortable typing.
Anything much shallower starts feeling cramped quickly.
Remember, the goal isn’t making the smallest desk possible.
It’s making the smallest desk that’s still enjoyable to use.
Planning Before You Build
Measure How You Actually Work
Before cutting wood, place your laptop on a dining table.
Now notice how much space you naturally use.
Do you keep notebooks beside it?
Use a mouse?
Need room for coffee?
Those observations determine the right dimensions much better than copying measurements from someone else’s project.
Decide How the Desk Will Be Used
A folding desk can serve very different purposes.
Some people need:
- A compact laptop station
- A homework desk
- A sewing table
- A craft workspace
- A bill-paying station
Each use affects the ideal size.
For example, crafting often requires more depth than checking emails.
Building around your lifestyle makes the finished project feel intentional instead of generic.
Materials That Last Longer
Most people get this wrong by buying the cheapest wood available.
Thin particle board may look fine initially, but repeated folding eventually loosens screws and weakens the structure.
Instead, consider materials like:
Plywood
Cabinet-grade plywood offers an excellent balance between strength, cost, and weight.
It resists warping better than many inexpensive boards.
Solid Pine
Easy to cut and beginner-friendly.
Perfect if you want a natural wood finish.
Hardwood
Oak or maple creates an incredibly durable desk, although they’re heavier and cost more.
For most DIY homeowners, quality plywood provides the best overall value.
Step-by-Step Guide to Building Your Folding Desk
Step 1: Mark the Correct Height
Most desks sit around 28–30 inches high.
Adjust slightly if you’re particularly tall or short.
Use a level so the mounting board is perfectly straight.
Even a slight angle becomes very noticeable once the desk is installed.
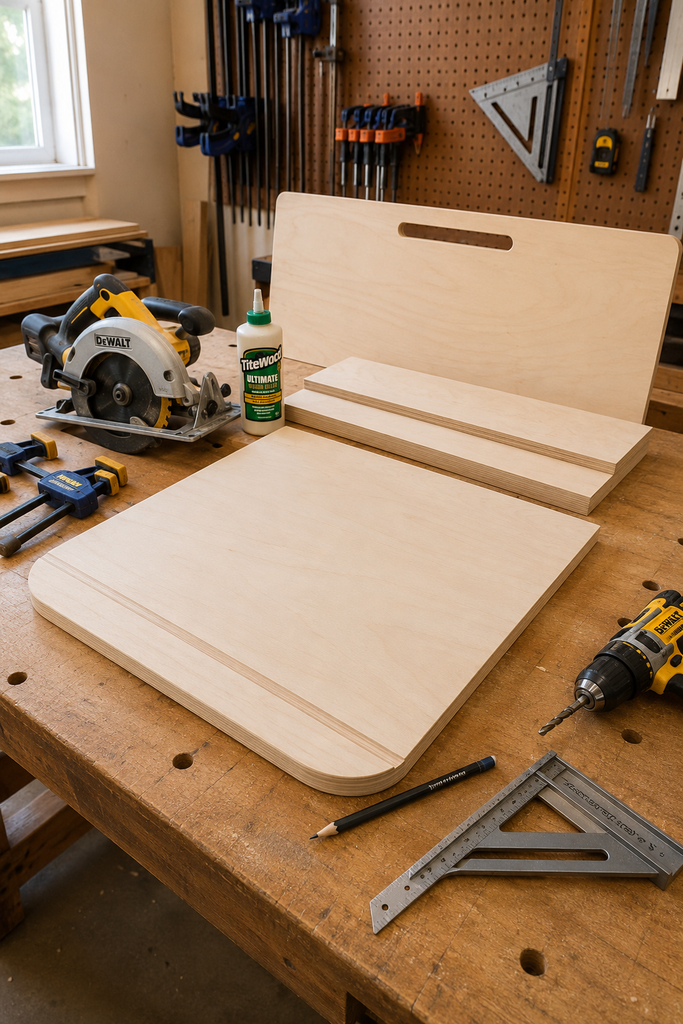
Step 2: Install a Strong Backing Board
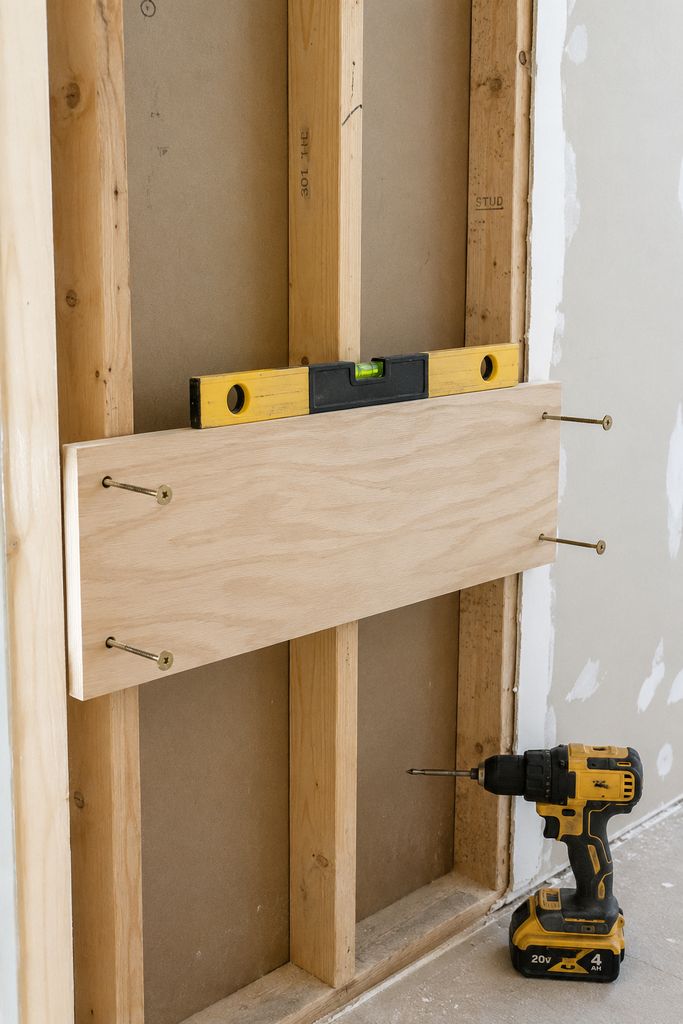
Attach a sturdy horizontal board into multiple wall studs.
This spreads the load across the wall rather than concentrating stress on a few screws.
It’s one of those hidden details nobody notices—but it dramatically improves durability.
Step 3: Attach Heavy-Duty Hinges
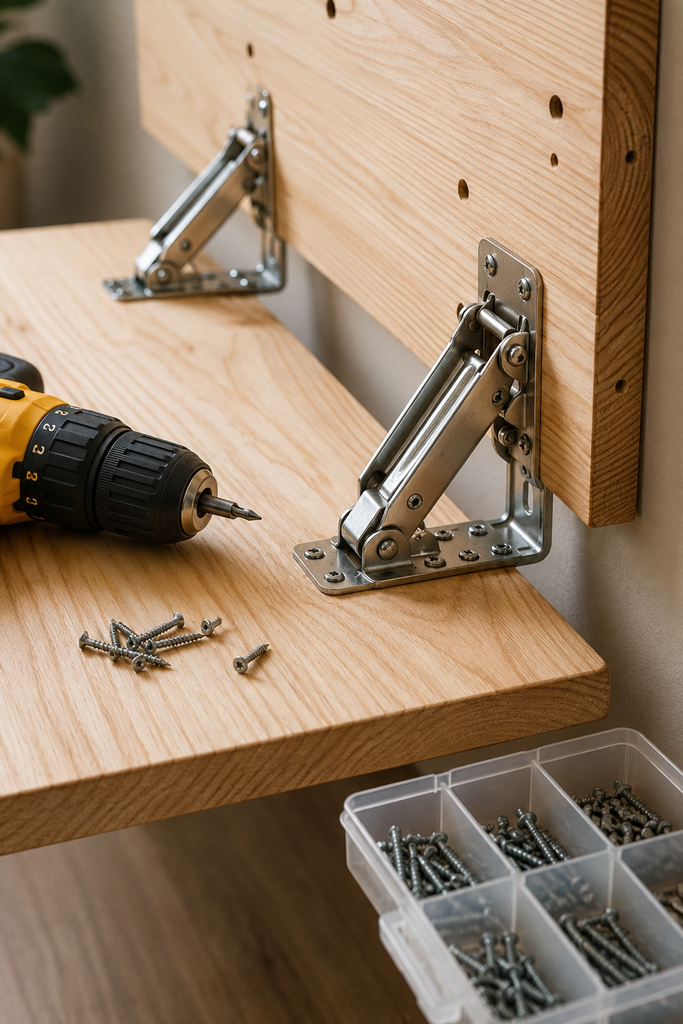
Install strong hinges between the mounting board and desktop.
Test the movement several times before tightening everything completely.
The desktop should fold smoothly without rubbing against the wall.
Step 4: Add Folding Supports
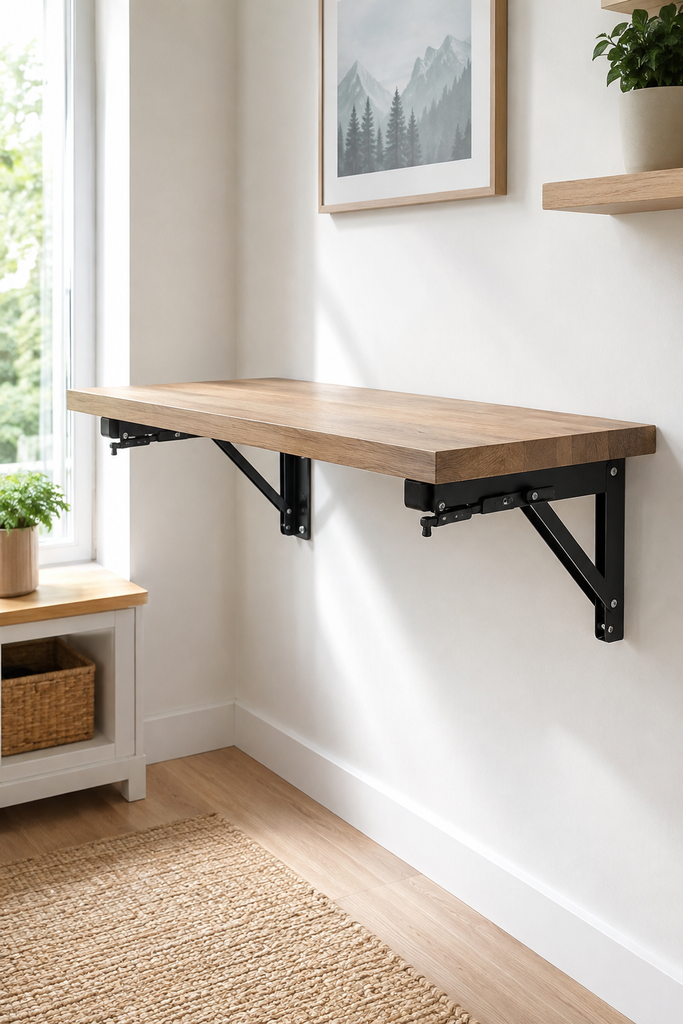
This is what transforms the desk from decorative to functional.
Options include:
Folding Shelf Brackets
These lock automatically when opened.
They’re simple, reliable, and beginner-friendly.
Folding Legs
Great if your wall isn’t ideal for heavy brackets.
Decorative Chains or Cables
These create a lighter, floating appearance but usually support less weight.
Choose based on how much load the desk will regularly carry.
Step 5: Sand and Finish Everything
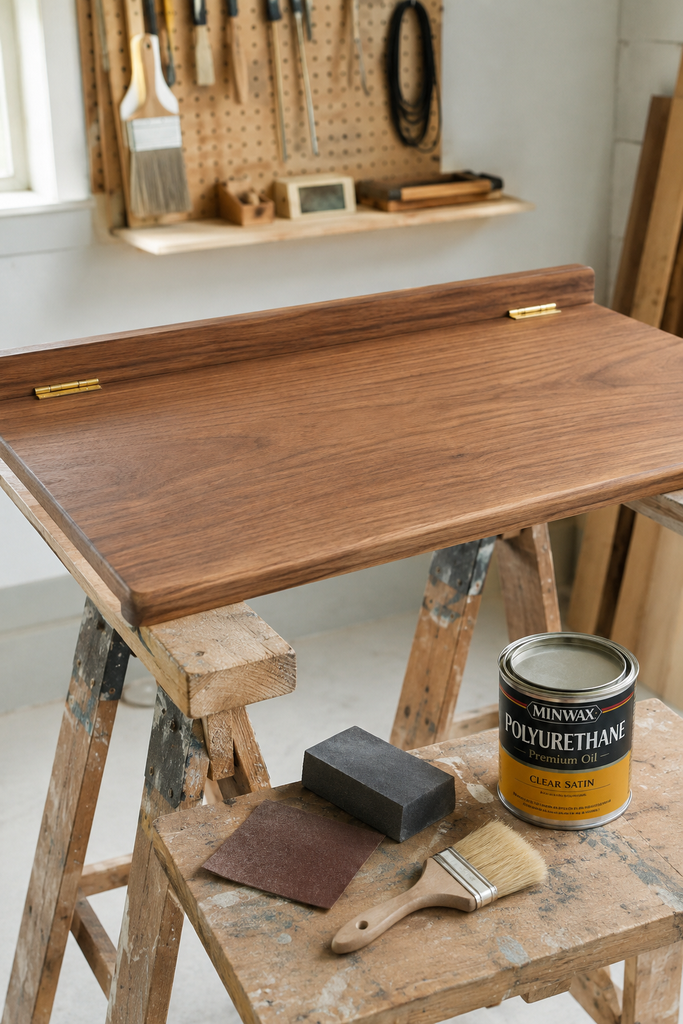
Sharp edges quickly become annoying during daily use.
Round over exposed corners with sandpaper before painting or staining.
A durable polyurethane finish protects the wood from scratches, spilled drinks, and everyday wear.
If you’re painting, choose a satin or semi-gloss finish because it’s easier to wipe clean.
Smart Storage Ideas
One of the biggest advantages of a DIY build is adding storage that actually suits your habits.
Floating Shelves Above
Keep frequently used books or office supplies within reach.
Since they’re mounted vertically, they don’t steal floor space.
Hidden Interior Storage
Some folding desks include shallow compartments inside the desktop.
Perfect for:
- Pens
- Chargers
- Sticky notes
- Small notebooks
Everything disappears once the desk closes.
Cable Management
Nothing ruins a clean workspace faster than dangling cords.
Install adhesive cable clips underneath the desktop or drill a simple cable hole near the back.
It takes five minutes but makes the desk feel much more polished.
Simple Design Ideas That Look Built-In
A DIY project doesn’t have to look homemade.
One easy trick is painting the desk the same color as the wall.
When folded, it almost disappears.
For a warmer look, stain the wood and pair it with black hardware for a modern farmhouse or Scandinavian feel.
If your room already has natural wood furniture, matching the finish creates a cohesive look that feels intentional rather than added later.
You can even frame the folded desk with trim molding so it resembles decorative wall paneling when closed.
Little details like these elevate the entire room without adding much cost.
Making Your Folding Desk Comfortable
Saving space shouldn’t mean sacrificing comfort.
Here’s what actually works.
Choose a chair that slides completely underneath when the desk is folded.
Install proper task lighting if the area doesn’t receive enough daylight.
Keep the desktop clear except for daily essentials.
A compact workspace feels surprisingly spacious when every item has a purpose.
Finally, remember that even a small footrest can dramatically improve comfort if you spend several hours working at the desk.
Small ergonomic improvements matter far more than expensive accessories.
Let’s Conclude
Building a DIY wall-mounted folding desk for a small space is one of those projects that delivers immediate results. You gain a dedicated workspace without permanently giving up valuable square footage, and the finished desk can look just as polished as custom built-in furniture if you plan it carefully.
The biggest takeaway is this: don’t rush the planning stage. Measure your space, mount the desk securely into studs, and build it around how you actually work not just how it looks in photos. A thoughtful design will be more comfortable, sturdier, and far more likely to get used every day.
If you’ve been putting off creating a home office because your room feels too small, this project proves you don’t need more space—you just need smarter furniture.