
Pumpkin spice latte season is officially here, and my front porch is practically begging for a makeover. If you are still buying those overpriced, mass-produced plastic pumpkins from the big-box stores, we need to have a serious talk. Why spend a fortune when a little hot glue and imagination can give you gorgeous, custom autumn decor?
I have ruined enough carpets with orange glitter over the years to know what actually works and what just creates a massive headache. Trust me, you do not need an art degree to pull off these projects. Ready to upgrade your autumn aesthetic without breaking your bank account? Let us jump right into my favorite DIY pumpkin crafts that will make your neighbors completely jealous.
1. The Chic Concrete Pumpkin Look
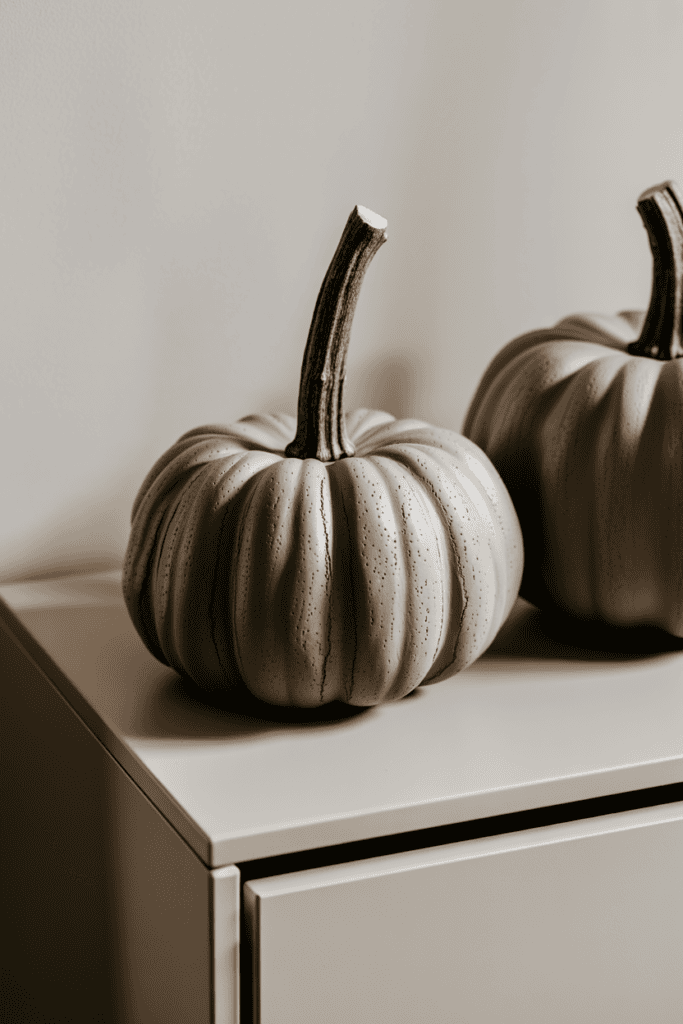
Ever wondered why minimalist decor costs so much in boutique shops? It is honestly a scam because you can make your own concrete-style pumpkins for pennies. I discovered this trick last year when I wanted a modern, industrial vibe for my dining table mantle.
What You Need
- Cheap plastic trick-or-treat pumpkins
- Grey textured spray paint or actual fine concrete mix
- A sturdy branch from your backyard for the stem
- Hot glue gun
You simply cut the plastic handles off those cheap grocery store pumpkin buckets and coat them with textured spray paint. Textured matte paint mimics the rough, earthy feel of real stone perfectly. Once dry, snap off the top plastic stem and glue a real, weathered twig in its place. IMO, the contrast between the rough concrete texture and the organic wood stem looks incredibly high-end. 🙂
2. Cozy Up with Sweater Pumpkins
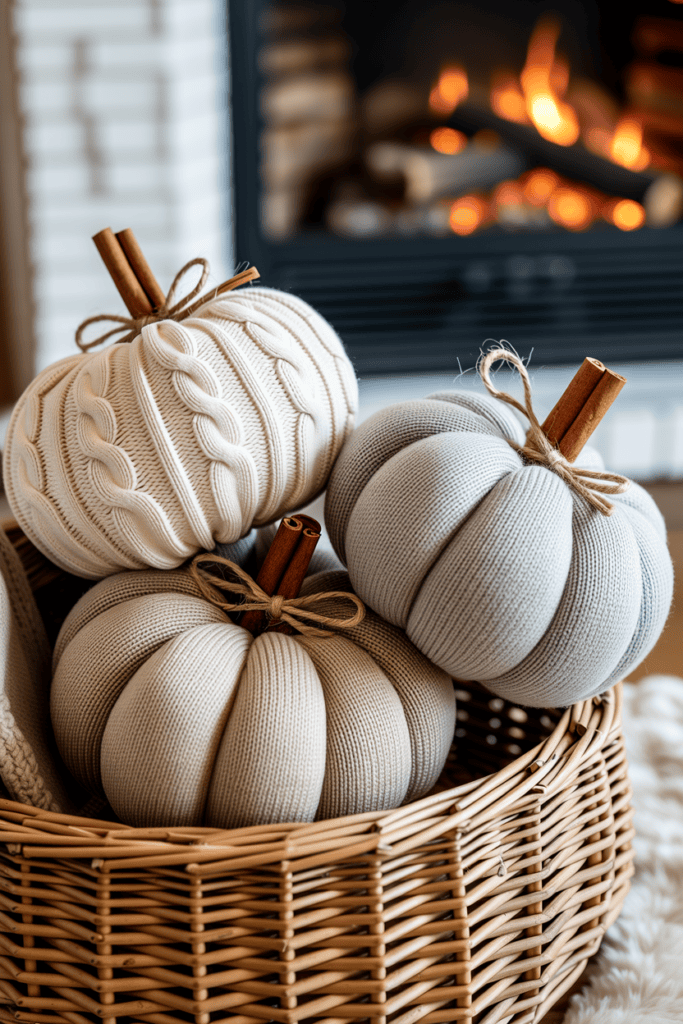
Do you have an old, moth-eaten sweater sitting in the back of your closet that you refuse to throw away? Give it a second life as a cozy, plush pumpkin. I love this craft because it requires absolutely zero sewing skills, which is a massive win for anyone who accidentally glues their fingers together on a regular basis.
The No-Sew Method
- Cut the sleeve off an old knit sweater.
- Tie one end tightly with twine and turn it inside out.
- Stuff it with polyester fiberfill or even plastic grocery bags.
- Gather the top edges, tie them secure, and tuck in a cinnamon stick.
The cinnamon stick does double duty here by acting as a rustic stem and making your living room smell fantastic. These look incredibly charming when you cluster them in a wicker basket near the fireplace. Just keep them away from actual open flames, for obvious reasons.
3. Elegant Decoupage Botanical Pumpkins
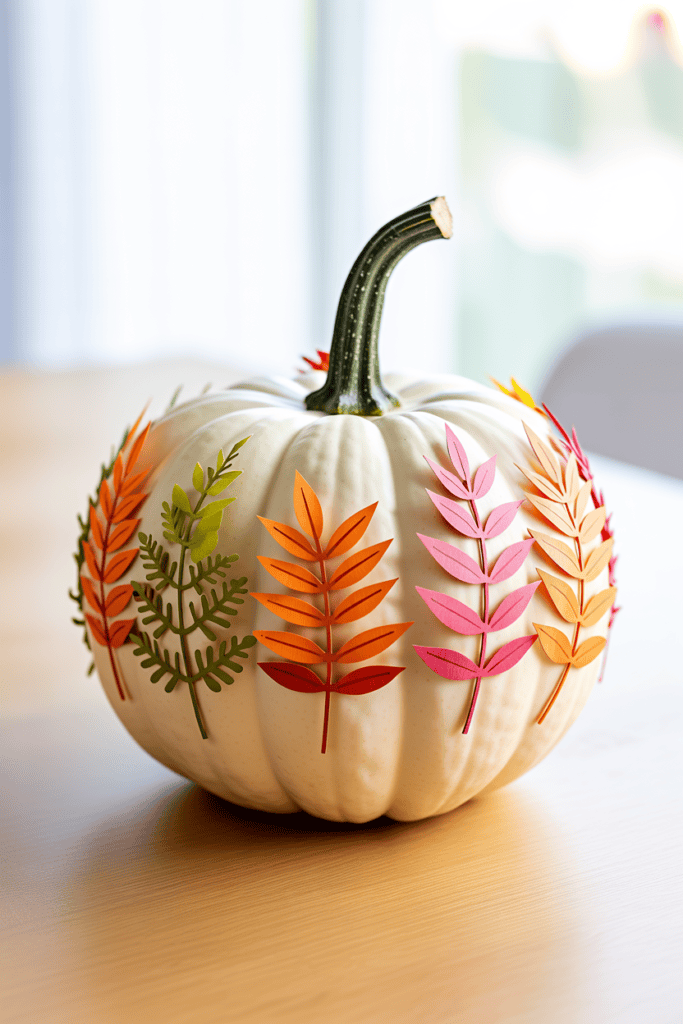
If you want your decor to scream “sophisticated cottagecore” instead of “spooky Halloween,” decoupage is your best friend. I tried this using real pressed leaves from my yard, but white faux pumpkins and paper napkins work even better.
How to Achieve the Look
- Find paper napkins with delicate floral or botanical prints.
- Separate the napkin layers so you only have the thin, printed top sheet.
- Cut out the individual leaf or flower designs.
- Apply a thin layer of Mod Podge to a white craft pumpkin, press the paper down, and seal it with another layer of glue.
The paper blends seamlessly into the pumpkin surface as it dries, making it look hand-painted. Visitors will think you spent hours with a fine paintbrush. You can just nod and accept the compliments gracefully.
4. Vintage Book Page Pumpkins
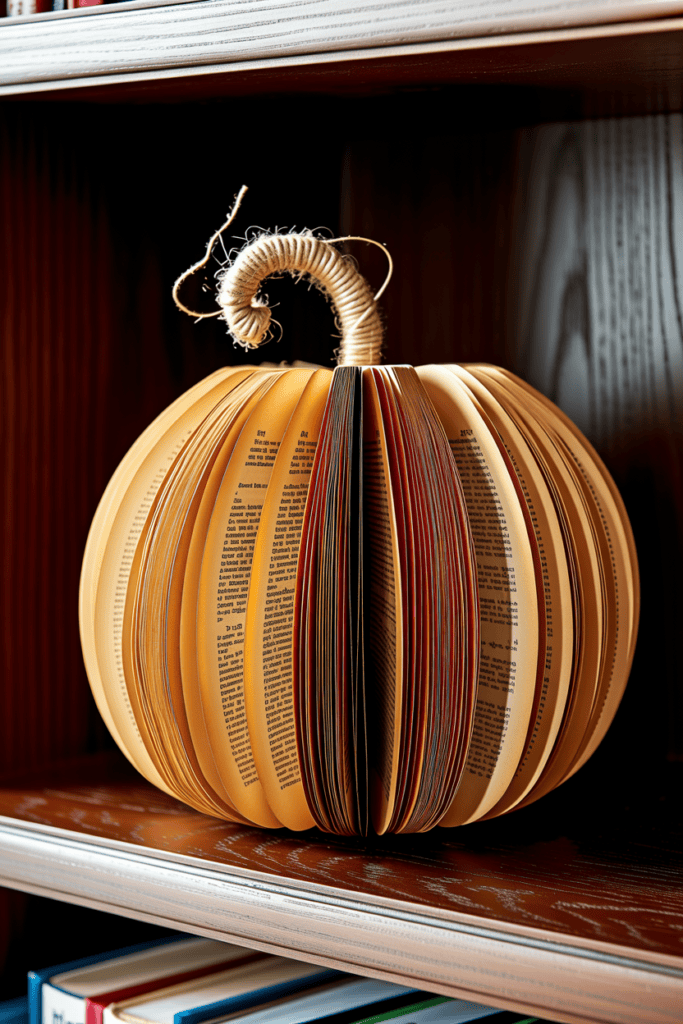
What do you do with old books that are missing half their pages? You turn them into beautiful, architectural paper pumpkins, of course. This project adds a wonderful vintage texture to your bookshelves and costs next to nothing.
Step-by-Step Construction
First, draw half a pumpkin shape on a piece of cardboard to create your template. Next, take an old paperback book, remove the covers, and trace your template onto the first page. Cut through multiple pages at once using a sharp utility knife—and please keep all your fingers attached during this step.
Once you cut through the whole book, glue the front page to the back page so the book fans out into a full 3D sphere. Spray the edges with a bit of gold metallic paint for a subtle shimmer. A twine-wrapped wire makes the perfect curly vine for the top.
5. Modern Matte Black and Metallic Pumpkins
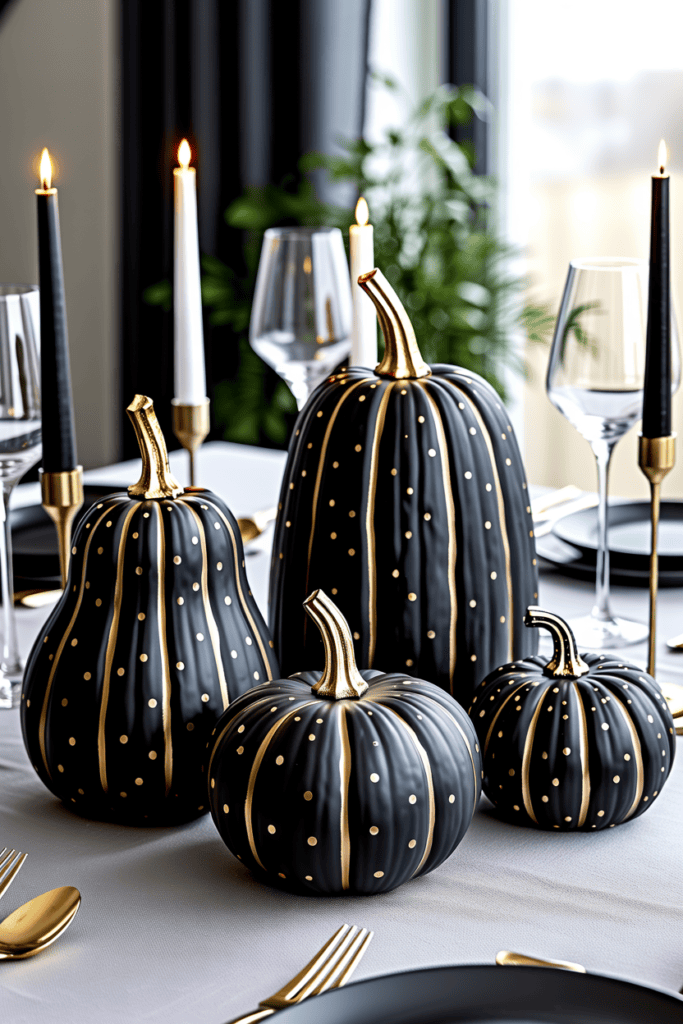
Who says fall decor has to be orange and brown? If your home features a lot of sleek, modern lines, traditional autumn colors can stick out like a sore thumb. Enter the high-contrast matte and metallic look.
+------------------+-------------------+--------------------+
| Base Coat Paint  | Accent Medium     | Best Placement     |
+------------------+-------------------+--------------------+
| Ultra-Matte Black| Gold Leafing      | Entryway Console   |
| Charcoal Grey    | Copper Paint Pen  | Dining Table Center|
| Crisp Chalk White| Silver Glitter    | Minimalist Mantel  |
+------------------+-------------------+--------------------+
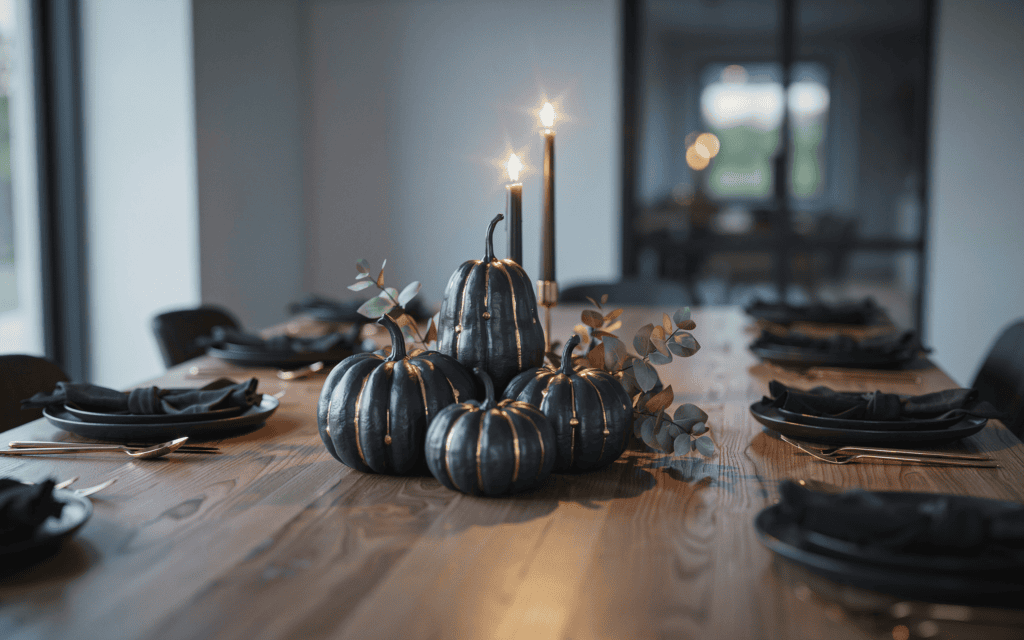
I painted five different-sized craft pumpkins with ultra-matte black chalk paint. Once they dried, I used a metallic gold paint pen to draw simple geometric lines and dots down the ridges. The matte finish absorbs light while the gold reflects it, creating a striking centerpiece that looks incredibly glamorous.
6. Rustic Twine-Wrapped Pumpkins
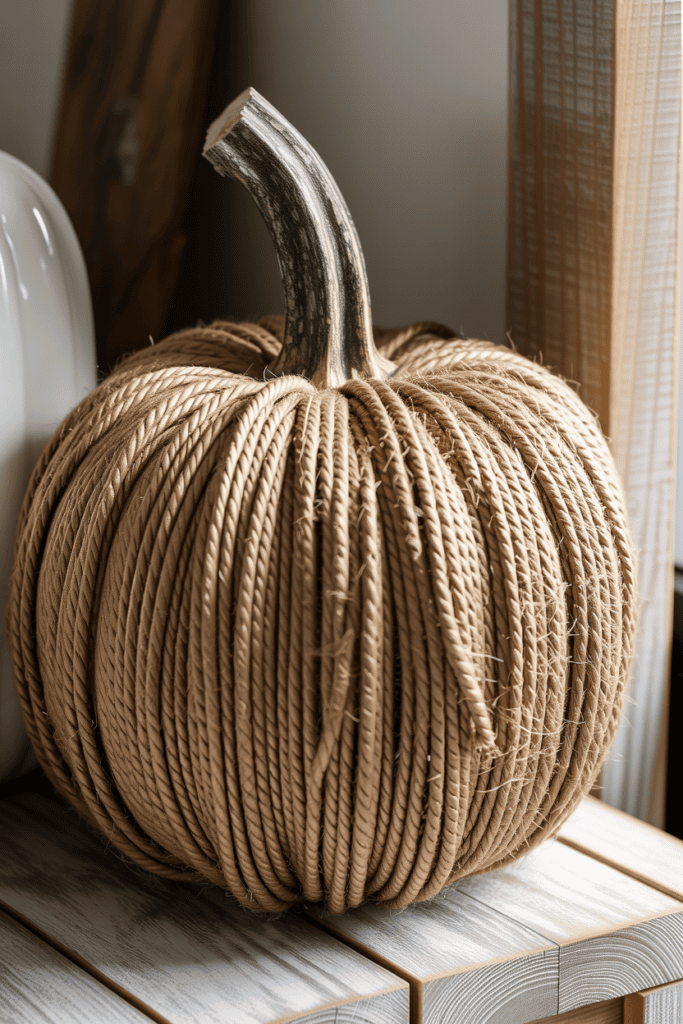
If you prefer a farmhouse aesthetic, grab a massive spool of jute twine and prepare to wrap your worries away. This project takes a little patience, but the final textured look is worth every second.
Wrapping Tips
- Start at the bottom of a foam pumpkin and secure the twine with hot glue.
- Wrap the twine tightly around the pumpkin, running it through the center hole and back up the outside.
- Apply small dots of glue along the ridges to keep the twine from slipping.
- Finish the top with a piece of thick driftwood or a real dried pumpkin stem.
The vertical lines of the twine naturally emphasize the ridges of the pumpkin shape. FYI, using different thicknesses of twine across a few pumpkins creates a lovely, mismatched look on a rustic wooden tray.
7. The Dollar Store Splatter Paint Upgrade
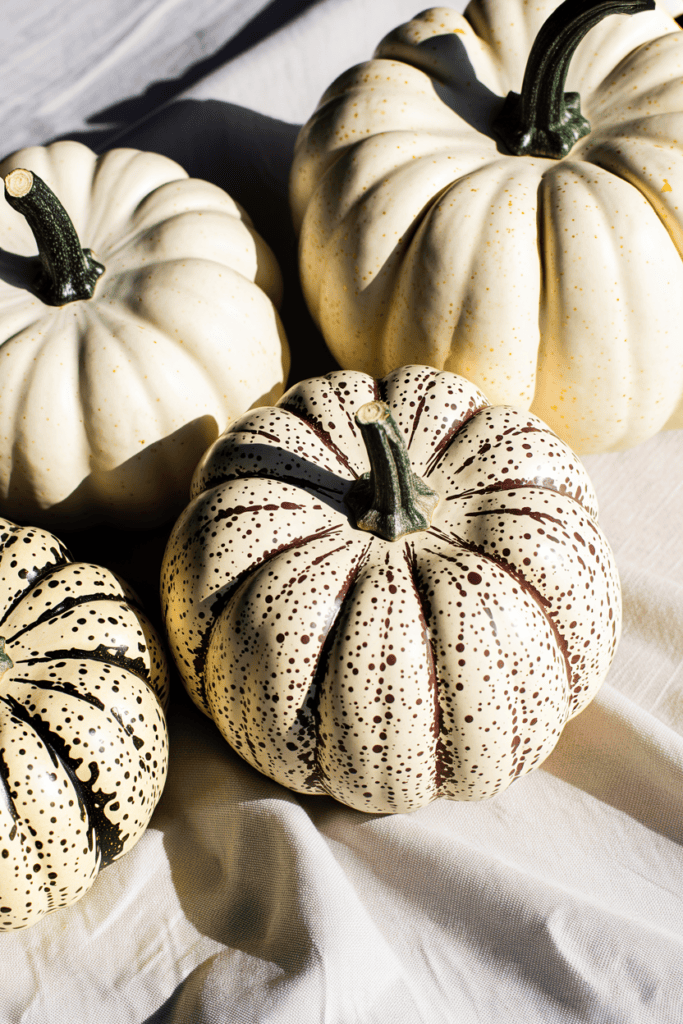
Let us be honest: sometimes you want a craft that takes less than ten minutes and requires zero precision. That is where the splatter paint technique comes in. It is messy, therapeutic, and surprisingly stylish.
Embracing the Mess
Start by painting a few dollar-store plastic pumpkins a solid cream color. Once that base coat dries, dip a stiff paintbrush into dark brown or black acrylic paint. Flick the bristles with your thumb to splatter tiny droplets of paint all over the pumpkin surface.
This technique creates a beautiful, speckled eggshell effect that looks highly organic. Just make sure you lay down plenty of old newspapers before you start flicking paint everywhere, unless you want your kitchen walls to feature permanent autumn speckles.
8. Whimsical Terrazzo Pumpkins
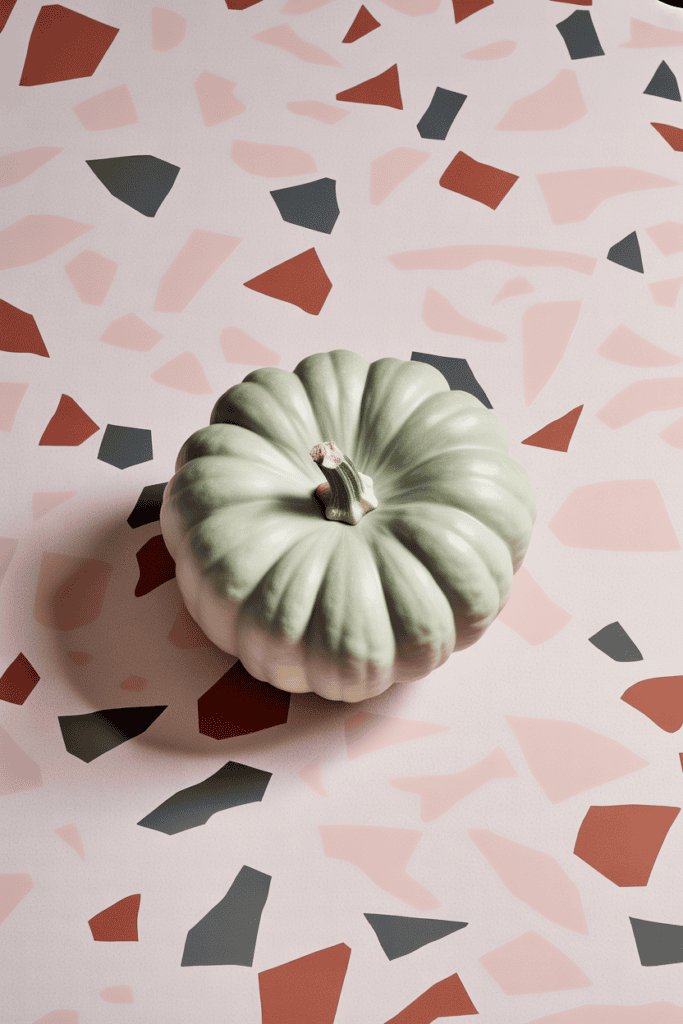
Terrazzo patterns are having a massive moment in interior design right now. You can easily replicate this playful, speckled stone look on a craft pumpkin using basic acrylic paint or leftover polymer clay scraps.
Creating the Pattern
- Paint your pumpkin a soft pastel background color, like blush pink or sage green.
- Cut small, irregular shapes out of different colored sheets of paper or vinyl.
- Glue the irregular “chunks” randomly across the surface.
- Seal the entire pumpkin with a satin varnish to give it a polished stone look.
The beauty of terrazzo is its irregularity, so do not stress about making the shapes perfect. The weirder the shapes, the better the final product looks. It is a fantastic way to break up the traditional, serious fall color palette.
9. Plaid Flannel Fabric-Wrapped Pumpkins
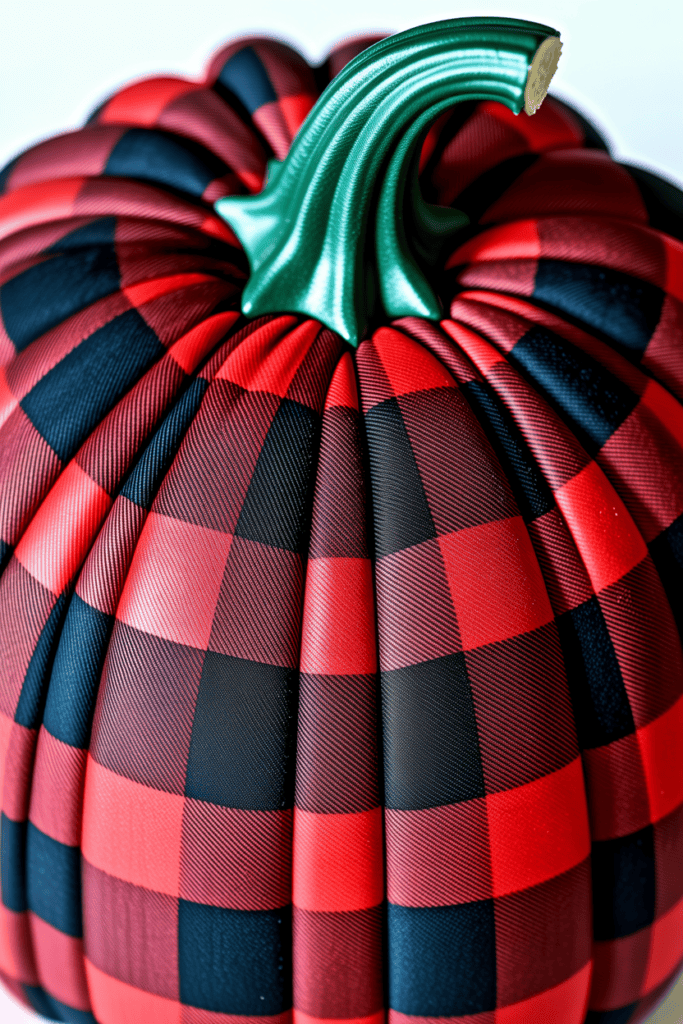
Nothing says autumn quite like a cozy flannel shirt. Instead of wrapping an entire pumpkin in fabric—which can lead to weird, bulky bunches at the top—use the fabric strip method for a clean finish.
The Strip Method
Cut your old flannel shirts into one-inch wide strips. Apply Mod Podge or fabric glue to the vertical ridges of a foam pumpkin, then press the fabric strips into the grooves. Trim the excess fabric at the top and bottom.
This method allows the natural curves of the pumpkin to show through while covering the surface in rich, warm plaid. Wrap the stem in green embroidery floss to add a nice pop of contrasting color.
10. Glamorous Mercury Glass Look
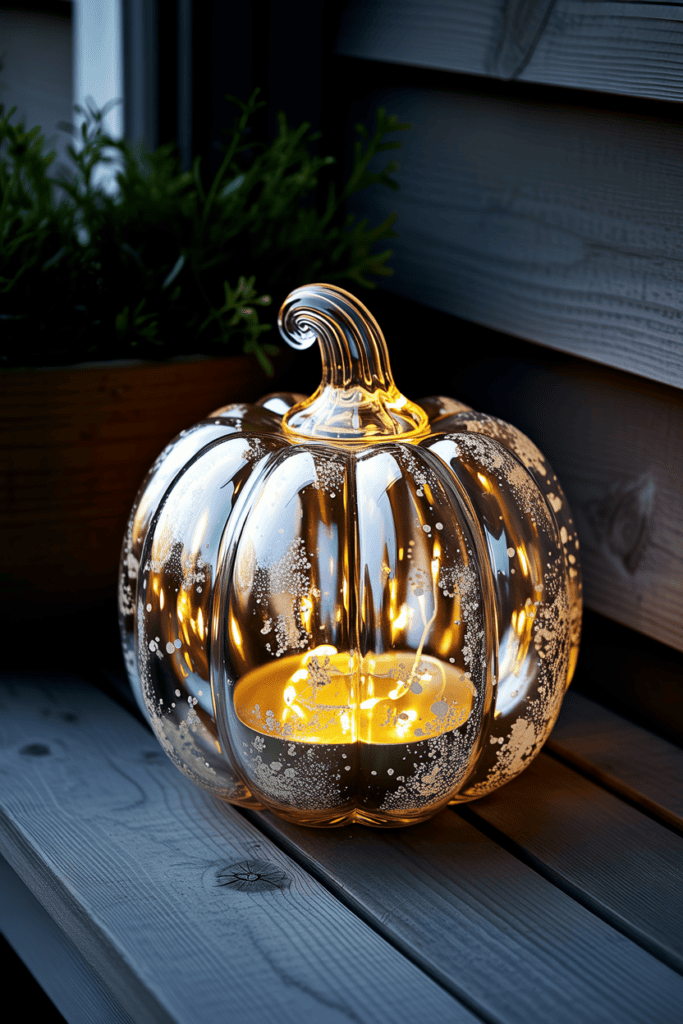
Do you love the reflective, vintage look of mercury glass but hate the antique store price tags? You can mimic this exact look using a can of mirror spray paint and a simple water-and-vinegar mixture.
The Faux Finish Process
- Grab a clear glass pumpkin jar or vase.
- Mist the inside lightly with a 50/50 mix of water and white vinegar.
- Immediately spray a thin coat of Looking Glass spray paint over the water droplets.
- Let it dry for a minute, then gently blot the inside with a paper towel.
The paint resists the water droplets, creating small, realistic imperfections and flakes just like real antique mercury glass. Drop a battery-operated fairy light inside, and the whole thing will glow beautifully on your porch.
11. Colorful Pressed Flower Pumpkins
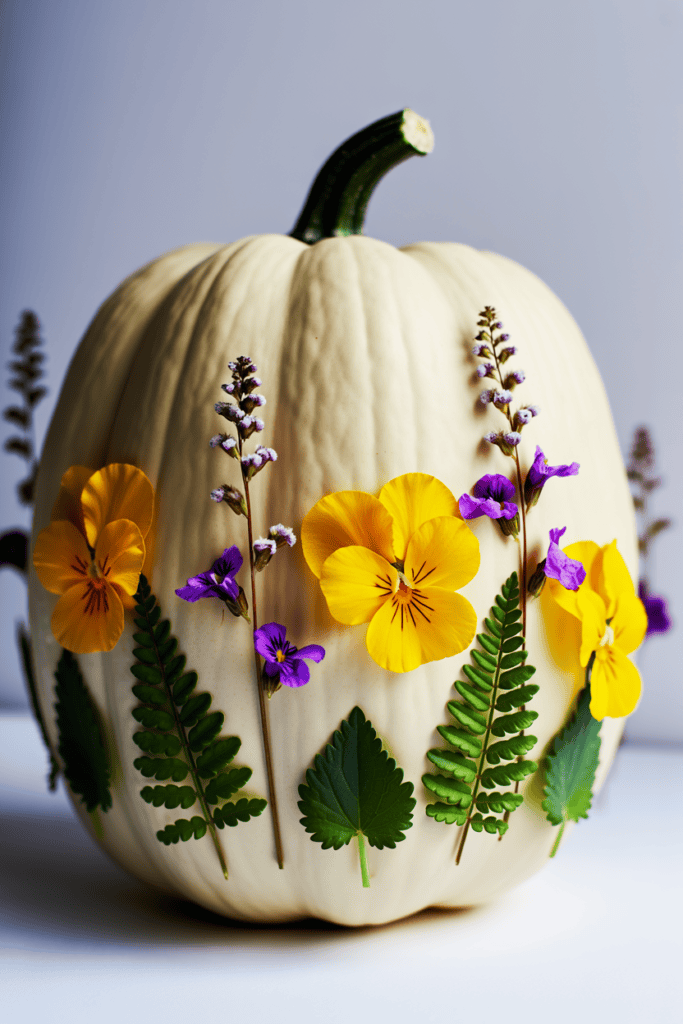
If you spent your summer pressing flowers from your garden, this is the perfect project to display them. White pumpkins provide the ultimate blank canvas for vibrant, dried flower petals.
Arranging Your Design
Use a pair of tweezers to handle the delicate, dried petals. Apply a tiny dot of clear craft glue to the back of a flower, press it gently onto the white pumpkin, and let it dry. I like to arrange the flowers so they look like they are growing upward from the base of the pumpkin.
+------------------+-------------------+--------------------+
| Flower Type      | Pumpkin Color     | Visual Vibe        |
+------------------+-------------------+--------------------+
| Yellow Pansies   | Bright White      | Cheerful & Sunny   |
| Purple Larkspur  | Cream / Ivory     | Dramatic & Elegant |
| Green Fern Leaves| Muted Soft Grey   | Earthy & Woodland  |
+------------------+-------------------+--------------------+
Once your design is complete, coat the entire pumpkin in a clear acrylic sealer. This protects the delicate petals from turning brown or flaking off when the autumn air gets damp.
12. Industrial Hardware Steampunk Pumpkins
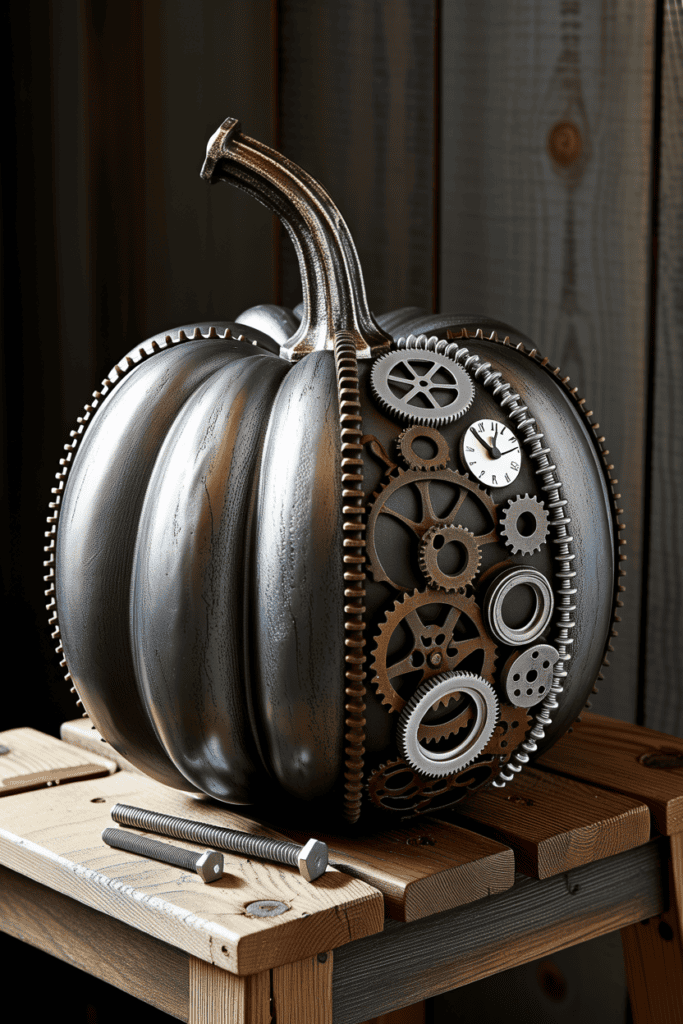
Want something a bit more masculine or industrial? Dig through that random junk drawer in your garage full of old screws, washers, and rusty gears to create a cool steampunk pumpkin.
Assembly Guide
Start with a dark, metallic-painted foam pumpkin as your base. Use a strong adhesive like E6000 to layer washers, old watch gears, and metal clock hands across the surface. You can even use upholstery tacks as faux rivets along the vertical pumpkin seams.
For the stem, use a large, rusty bolt or a piece of old copper piping. This craft looks incredibly unique and acts as a fantastic conversation starter when guests sit down at your dining table.
13. Floating Yarn Pumpkin Garlands
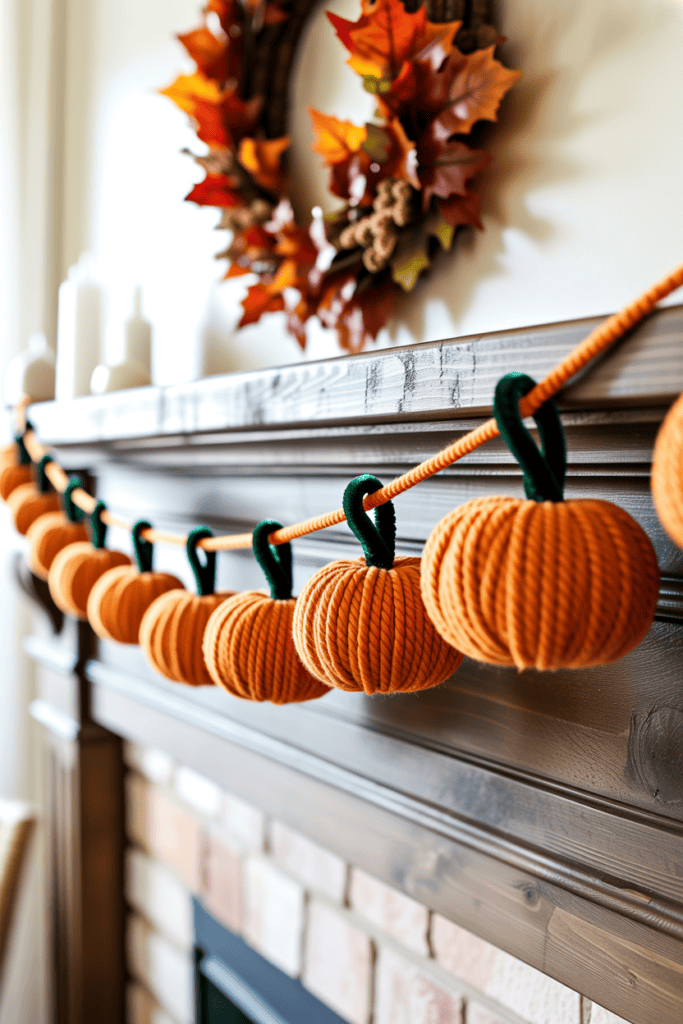
If you run out of table space for three-dimensional pumpkins, look to your walls. You can create adorable, lightweight mini pumpkins using nothing but orange yarn, pipe cleaners, and a bit of school glue.
Creating the Mini Pumpkins
- Wrap orange yarn around your fingers about 50 times to create a thick loop.
- Slide a green pipe cleaner through the center of the loop and twist it to form a stem.
- Tie a separate piece of yarn tightly around the middle of the loop to create the pumpkin ridges.
- String multiple yarn pumpkins onto a long piece of twine to create a garland.
This garland weighs almost nothing, meaning you can hang it across your mantel or window frame with simple tape. It adds a soft, whimsical touch to any room and keeps your cats entertained for hours if you hang it low enough. :/
Bringing It All Together
Pro Tip: Always save the stems from your real carving pumpkins at the end of the season. Let them dry out completely in a sunny window, and you will have a stash of authentic, rustic stems ready for next year’s DIY craft projects!
Creating your own autumn decor does not require a massive budget or expert crafting skills. With a little hot glue, some recycled materials, and a free afternoon, you can build a stunning collection of custom pumpkins that reflect your personal style perfectly. Which of these ideas are you going to tackle first this weekend? Grab your crafting supplies, put on your favorite autumn playlist, and let your creativity run wild!