
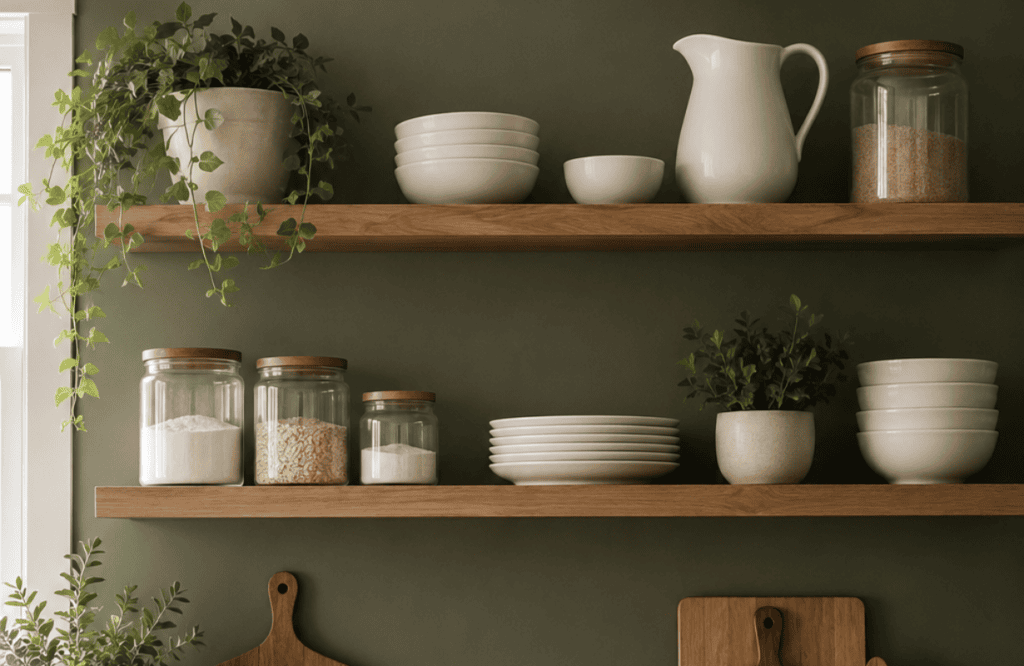
Open shelving turned my kitchen from “meh” into the room everyone lingers in, and I still can’t believe I waited three years to try it. If you’ve been staring at your cabinets wondering whether ripping off a few doors is a genius move or a total disaster waiting to happen, I’ve got you. I’ve tested this out in my own kitchen, made every mistake possible, and I’m handing you the good stuff without the trial and error.
This isn’t a generic “here’s a Pinterest board” post. IMO, most articles on this topic just show pretty pictures without telling you why something works or how to actually pull it off. So let’s fix that. Grab a coffee, because we’re about to go through 14 real, doable open shelving ideas that’ll make your kitchen look intentional instead of like you ran out of budget for cabinet doors.
Why Open Shelving Actually Works (When Done Right)
Open shelving gets a bad reputation, and honestly? Some of that criticism is fair. Dust collects. Clutter shows. Your questionable mug collection becomes a public exhibit.
But here’s the thing: when you style open shelves with intention, they do something closed cabinets simply can’t. They make a small kitchen feel bigger, they add personality, and they force you to actually curate what you own instead of shoving junk behind a door. Ever wondered why designer kitchens always look so put-together? A lot of it comes down to smart open shelving.
I’ll be honest, my first attempt was rough. I ripped off two cabinet doors on a whim, stood back, and thought, “oh no, this looks like a garage sale.” It took some rearranging, a little patience, and a few of the tricks below before it actually looked good. So if your first pass feels off, that’s completely normal. Nobody nails open shelving on attempt one, no matter what their Instagram grid tries to tell you.
The other thing worth mentioning: open shelving isn’t an all-or-nothing decision. You don’t have to gut your entire kitchen to try it. A lot of the ideas on this list work perfectly well as a single accent shelf, so you can test the concept before committing to a full wall of open storage.
Let’s get into the ideas.
1. Mix Materials for Visual Interest
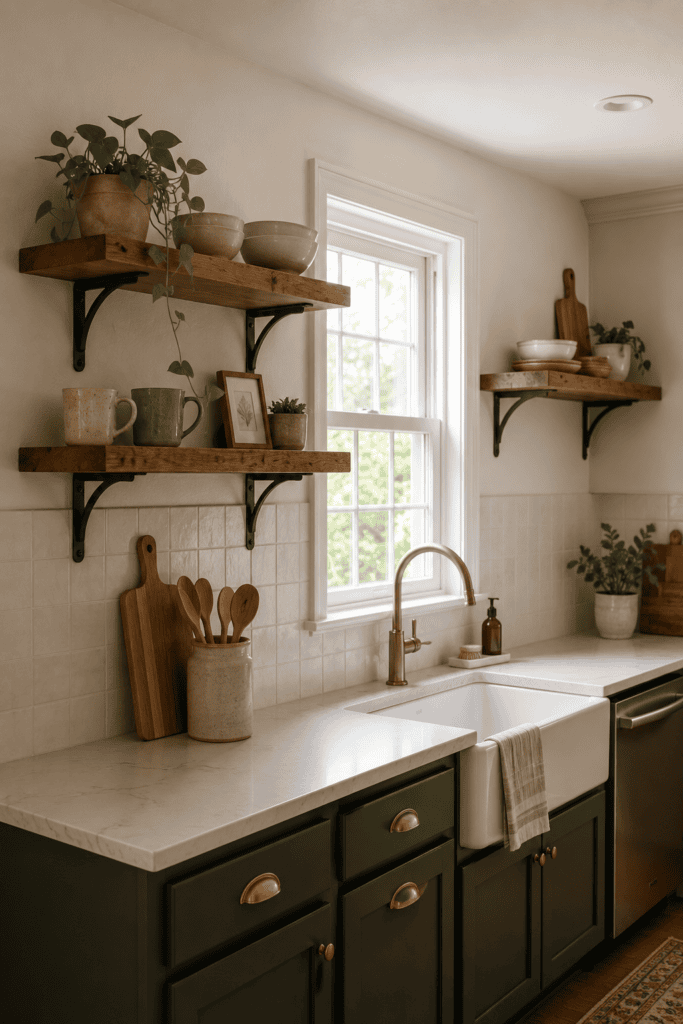
Don’t just slap up plain wood shelves and call it done. Mixing materials like wood, metal brackets, and glass creates depth that flat, matchy-matchy shelving can’t touch.
- Pair a warm wood shelf with black iron brackets for contrast
- Add a glass shelf in one section to break up the visual weight
- Combine matte and glossy finishes for texture
I did this in my own kitchen with reclaimed oak and matte black brackets, and it instantly looked more expensive than it actually was. Funny how a ten-dollar bracket swap can trick people into thinking you hired a designer.
The trick is picking one dominant material and one or two accents, rather than throwing every finish you can find at the wall. If wood is your main material, let metal or glass play a supporting role instead of competing for attention. Too many materials fighting each other just reads as chaotic, and that’s the opposite of what we’re going for here.
2. Go Asymmetrical Instead of Matchy-Matchy
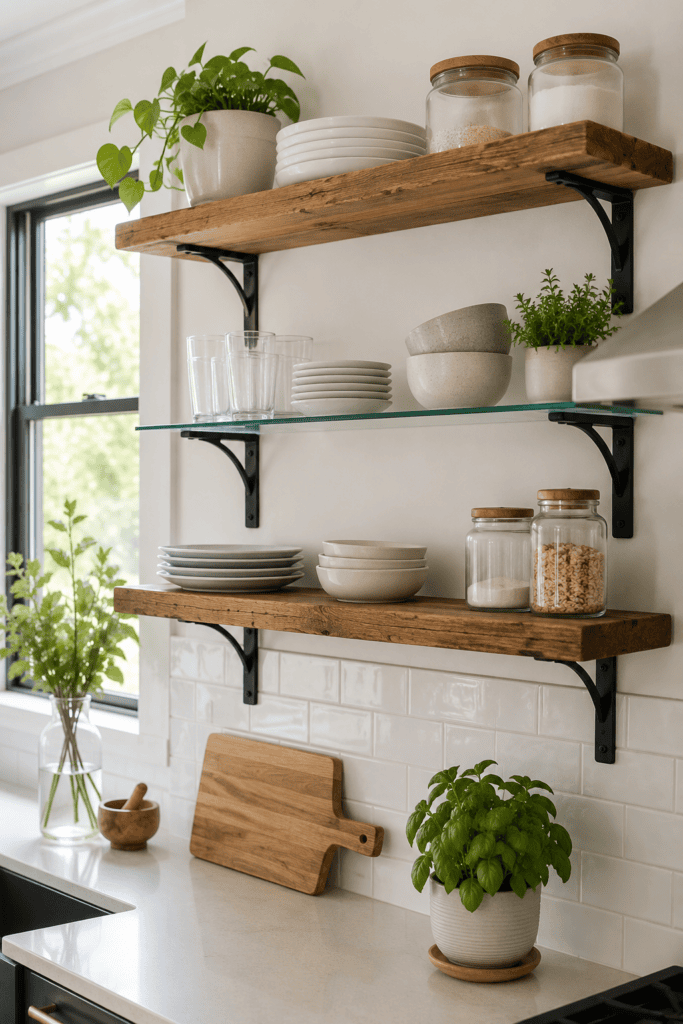
Perfectly even, identical shelves look fine, but they can also look a little… boring. Asymmetrical shelving, where shelves are staggered at different heights or lengths, feels more like a gallery wall than a storage unit.
Try varying the shelf depth on either side of a window or stacking two short shelves on one side and one long shelf on the other. It creates movement, and your eye actually enjoys traveling around the space instead of skimming past it.
This approach also solves an awkward layout problem a lot of kitchens have, like weird corner gaps or an off-center window. Instead of fighting the space, you work with it. I’ve got an oddly placed vent above my stove, and staggered shelving around it actually made the vent look like part of the design instead of an eyesore I was trying to hide.
3. Use Floating Shelves for a Minimalist Look
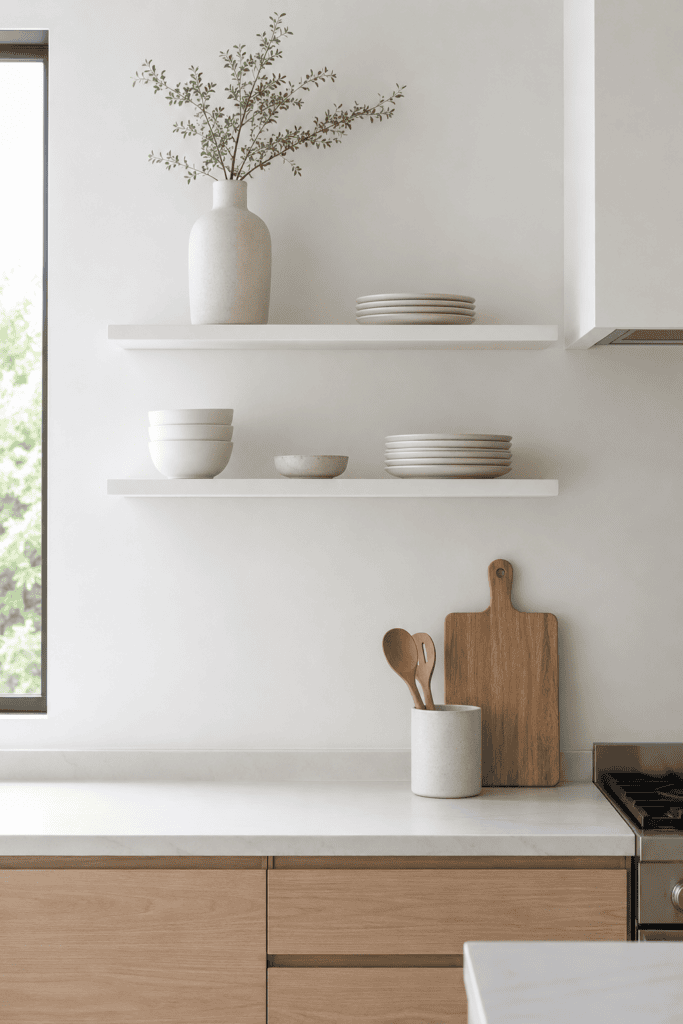
If you want that clean, no-brackets-in-sight aesthetic, floating shelves are your best friend. They’re mounted with hidden hardware, so the shelf appears to hover on the wall.
This works especially well in modern or Scandinavian-style kitchens where the whole point is simplicity. Just don’t overload them—floating shelves have weight limits, and nobody wants a dinner plate avalanche at 7 a.m. Ask me how I know :/
4. Add a Pop of Color with a Painted Backsplash Wall
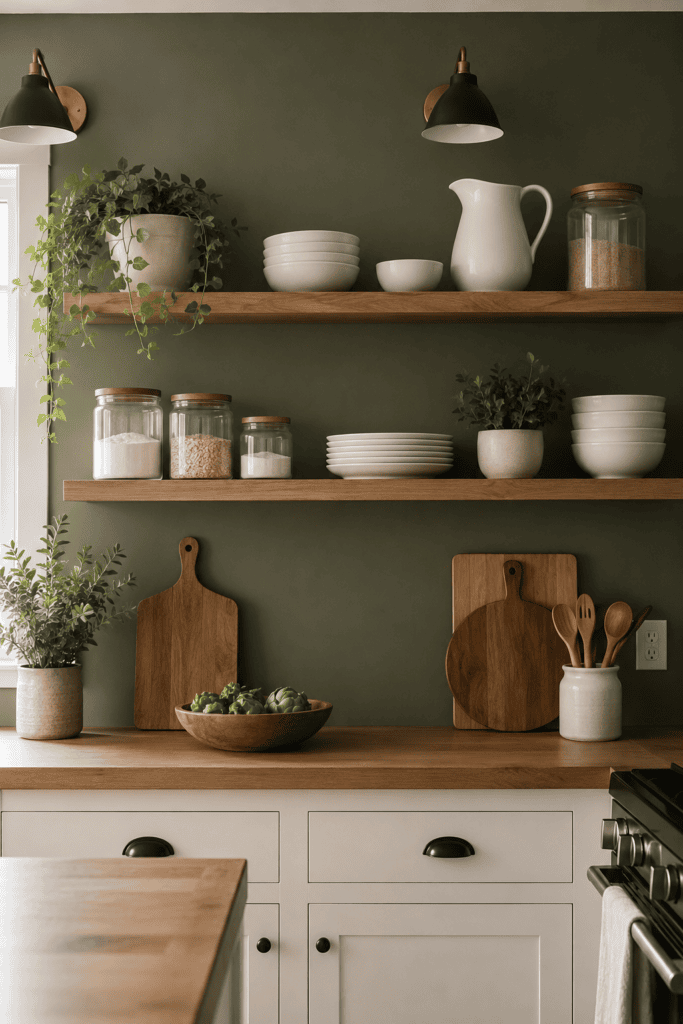
Here’s an easy win: paint the wall behind your shelves a bold color. A colored accent wall behind open shelving turns plain storage into an actual design feature.
Deep green, terracotta, and navy are all having a moment right now, and they make white dishes and glassware pop like crazy. I painted mine a soft sage, and honestly, it’s the compliment I get most from guests. Not the food. The wall.
This is also one of the cheapest upgrades on this entire list. A quart of paint costs way less than new hardware or shelving materials, and you can always repaint if you change your mind in a year. Low risk, high reward. That’s basically my favorite kind of home improvement project.
Choosing the Right Shade
- Go darker than you think for drama
- Test samples in both daylight and evening light
- Stick to matte or eggshell finishes to avoid a shiny, cafeteria-wall vibe
5. Group Items by Color for a Curated Feel
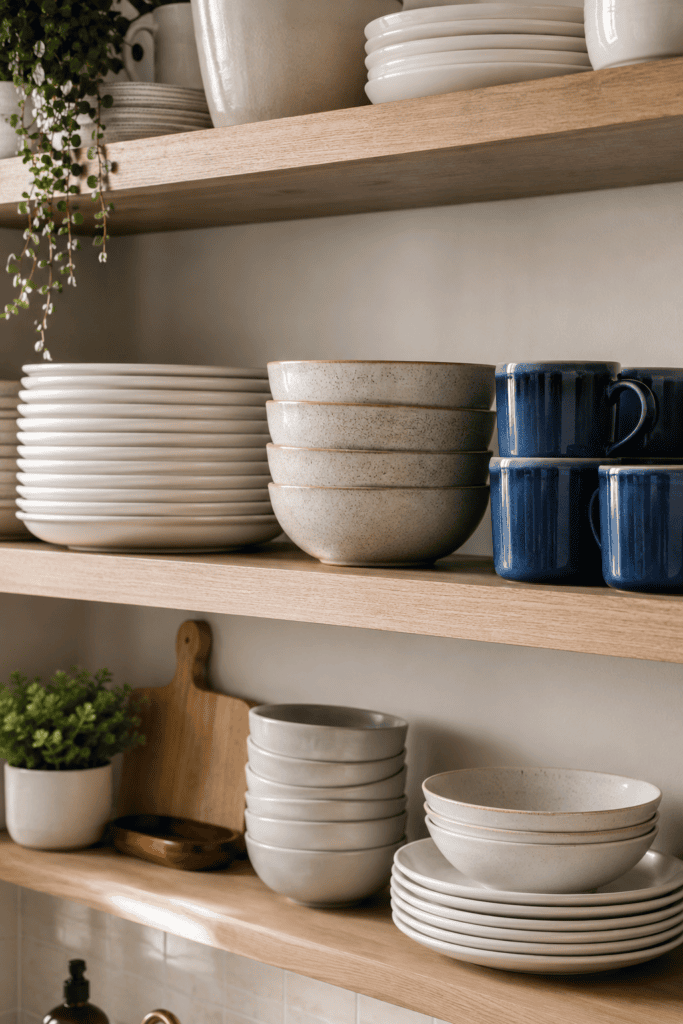
This one’s free, and it’s a total game-changer. Grouping dishware by color instead of by function makes shelves look like a styled display rather than a junk drawer with better lighting.
Cluster all your white plates together, then your neutral bowls, then a small pop of color like blue mugs. It’s the same stuff you already own—you’re just organizing it like you actually care.
Color grouping also makes it way easier to spot what you’re missing. Once everything’s sorted, it’s obvious if you’ve got twelve mismatched mugs and only three matching plates. Consider it a sneaky form of decluttering disguised as decorating.
6. Incorporate Greenery for Life and Texture
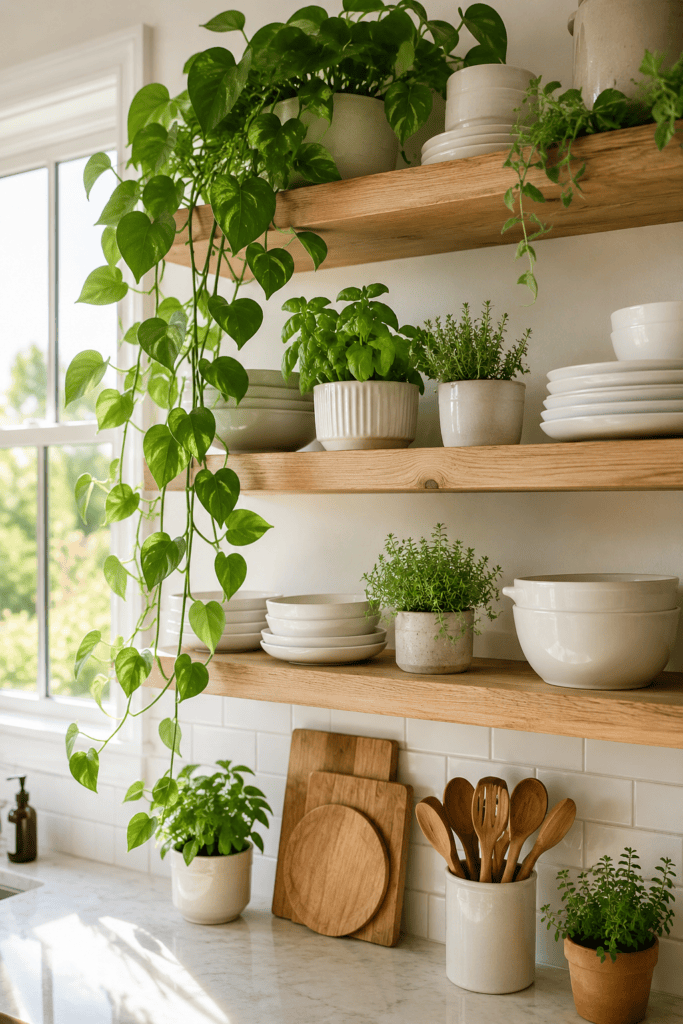
A kitchen without a single plant always feels a little sterile to me. Adding greenery to open shelves softens all those hard lines from dishes and cookware.
- Trailing pothos for a relaxed, cascading look
- Small potted herbs like basil or thyme for function and beauty
- Faux greenery if you, like me, have killed every houseplant you’ve ever owned
Real talk: I’m not a plant person, but even I manage to keep faux eucalyptus alive. It’s basically foolproof.
7. Layer Cookbooks as Décor
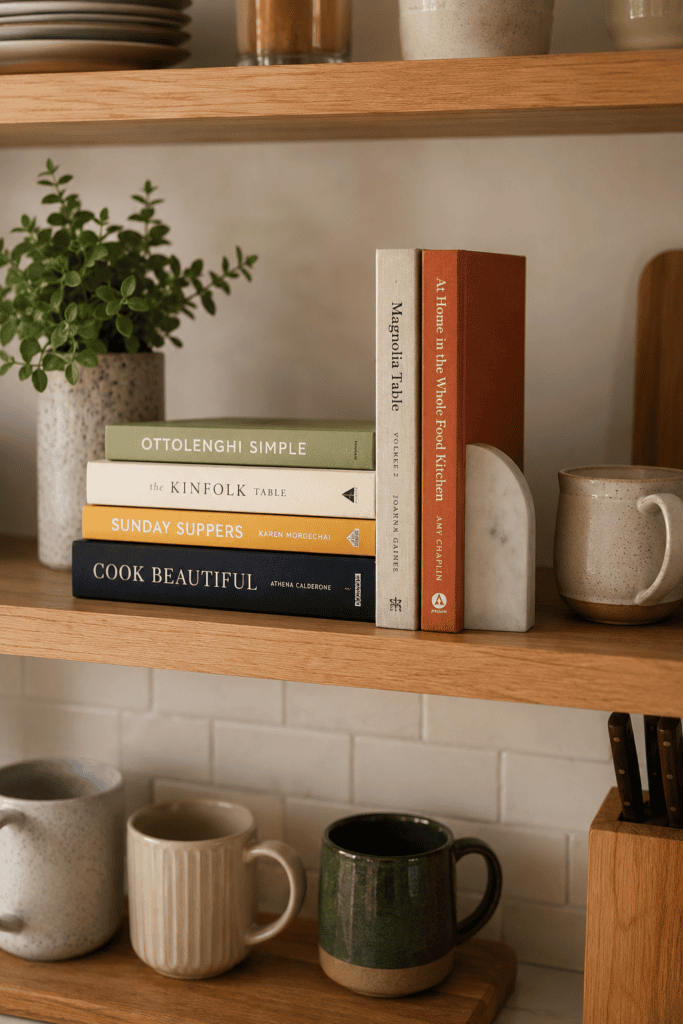
Stop hiding your cookbooks in a drawer. Displaying cookbooks on open shelves adds color, texture, and honestly, a little bit of bragging rights if you’ve got a nice collection.
Stack a few horizontally and prop one or two upright with a bookend. It breaks up the repetitive look of stacked plates and glassware, and it’s genuinely useful when you’re mid-recipe and need to double-check a measurement.
Pick books with covers that actually match your color scheme, and tuck the rest into a cabinet. You don’t need to display all thirty cookbooks you own, just the five or six with covers you actually like looking at. The others can live somewhere less public.
8. Use Baskets for Hidden Storage on Open Shelves
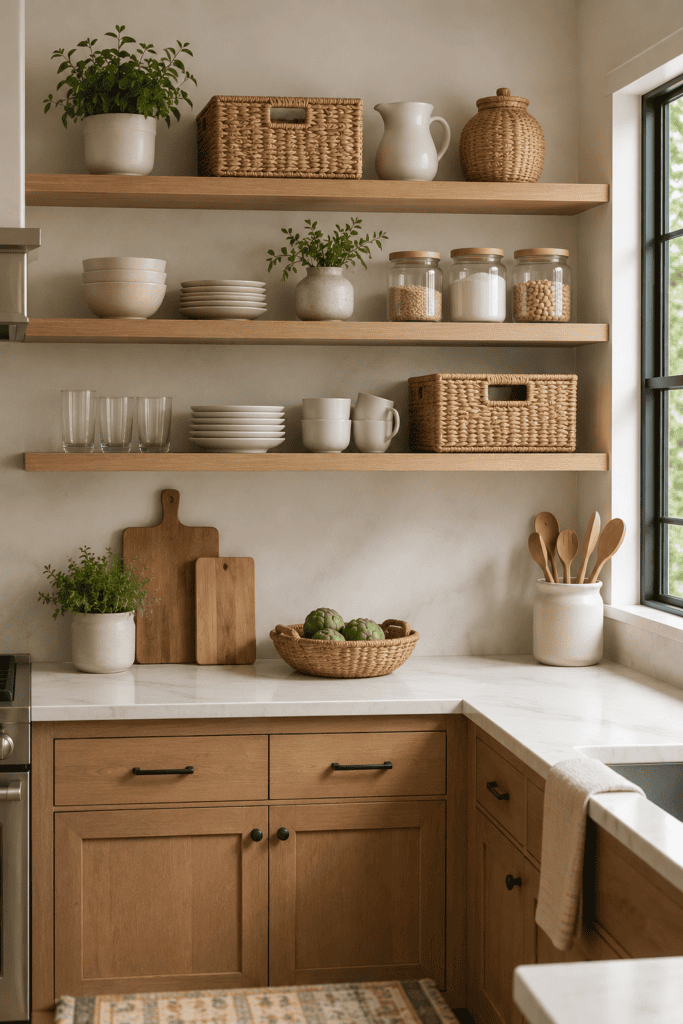
Open shelving doesn’t mean everything has to be on full display. Woven baskets give you a spot to stash the less photogenic stuff, like extra napkins, spare batteries, or that one weird gadget you bought and used exactly once.
This is the trick nobody talks about enough. It gives you the open, airy look while still hiding your kitchen’s messier secrets. Win-win.
9. Highlight a Statement Piece
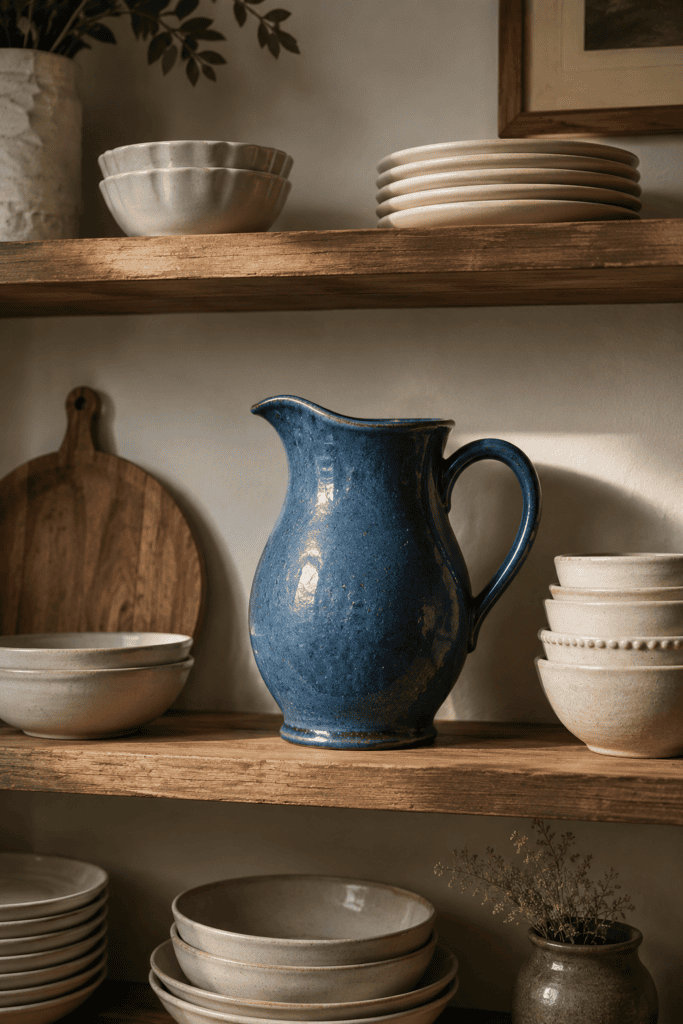
Every great shelf setup needs a hero item. A statement piece, whether it’s a vintage pitcher, a bold ceramic vase, or a unique cutting board, gives the eye somewhere to land.
Place it at the center or on the top shelf where it gets the most visual attention. I found a chipped but gorgeous blue pitcher at a flea market for basically nothing, and it’s become the unofficial centerpiece of my entire kitchen.
Don’t feel pressured to buy something new for this either. Look around your own house first. That vase from your grandma, the weird ceramic bowl you got as a wedding gift and never used, the thrifted candlestick holder collecting dust in a closet—chances are you already own a great statement piece, you just haven’t given it a stage yet.
10. Create Height Variation with Risers and Stands
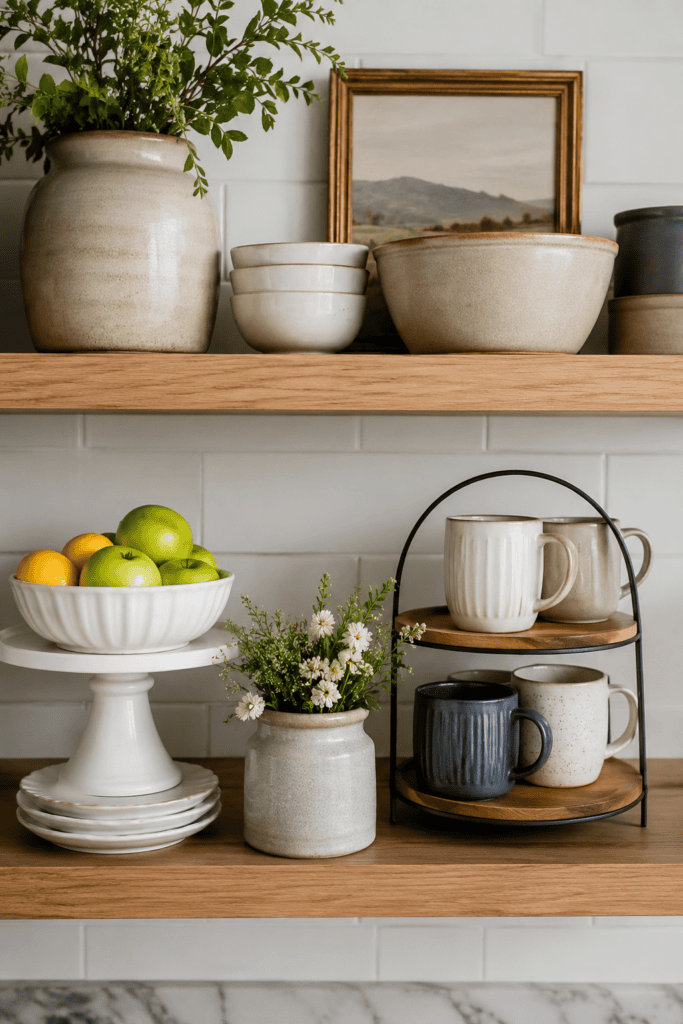
Flat, single-layer shelves can feel a little one-note. Adding risers or small stands creates layers, which makes even a small collection of items look intentional and full.
- Use a cake stand to elevate a bowl of fruit or a small plant
- Stack a riser under mugs to double your usable space
- Vary heights across the shelf so nothing sits at the exact same level
This is one of those tips that sounds minor but makes a huge visual difference. Trust me on this one.
11. Go Bold with Open Shelving Above the Stove
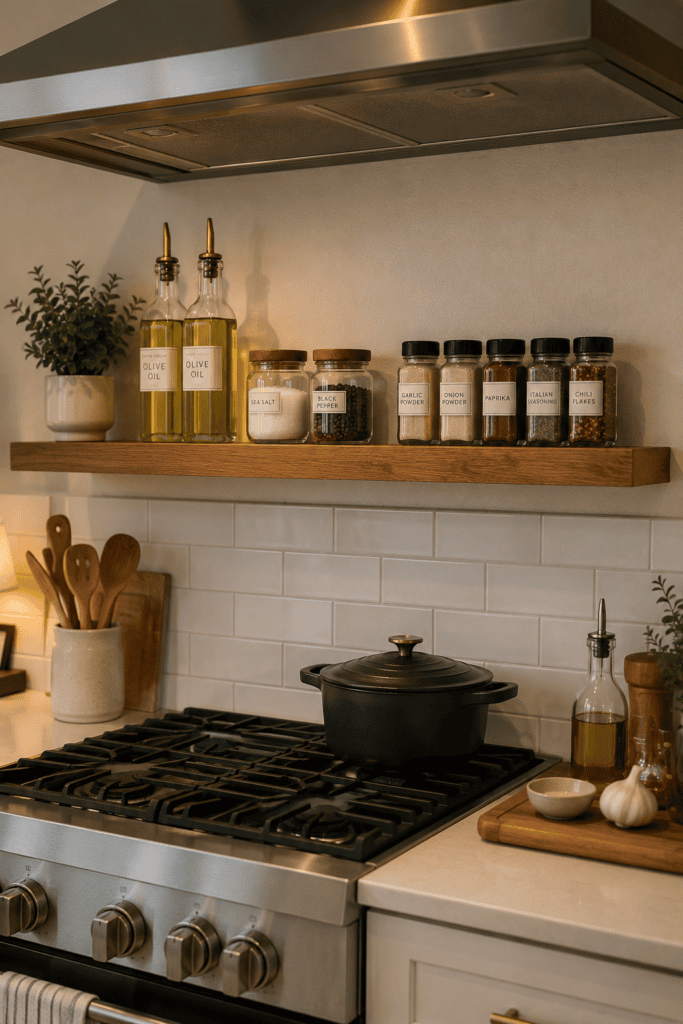
A lot of people avoid shelving directly above the stove because of grease and heat concerns, and fair enough, that’s a valid worry. But if you keep it strategic, open shelving above the stove can work beautifully for frequently used items.
Stick to heat-resistant materials, keep the shelf a safe distance above the range, and store items you use constantly, like olive oil, salt, and your favorite spices, so grease buildup stays minimal simply because things get used and wiped down often.
A quick wipe-down once a week keeps this area looking fresh, and honestly, you should be cleaning around your stove that often anyway. Just skip storing anything porous or fabric-based up there, like wooden spoons you rarely use or linen napkins, since those absorb odors and grease way faster than glass or metal containers do.
12. Use Glass-Front Cabinets as a Hybrid Option
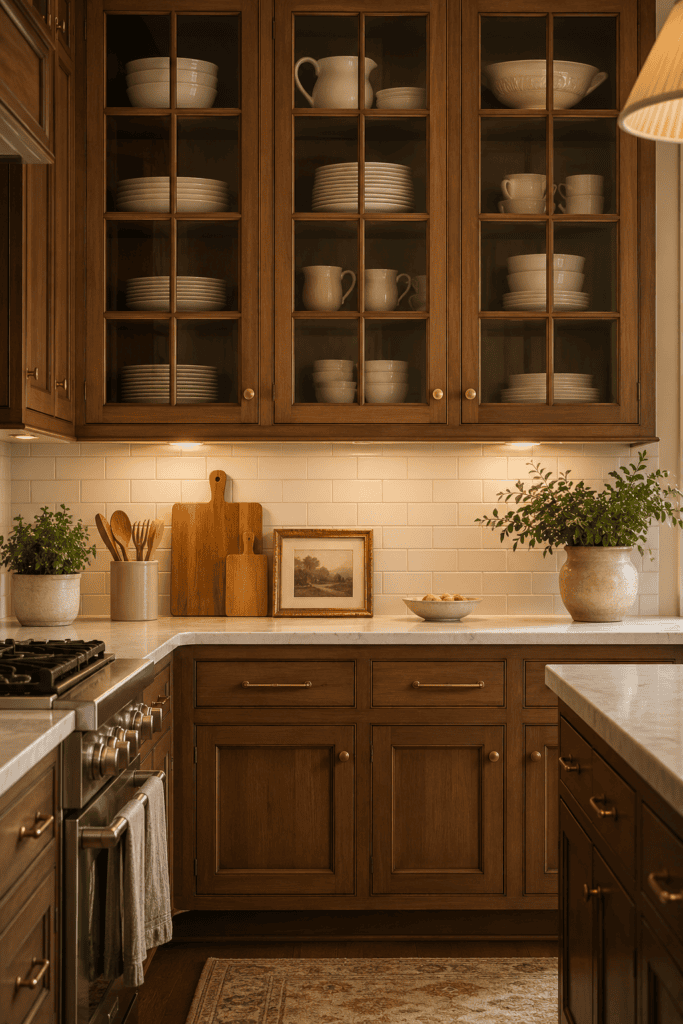
Not fully ready to commit to open shelving? Glass-front cabinets give you that open, airy look while still protecting your dishes from dust and grease.
This is a smart middle ground if you’re renovating on a budget or if you’re just not sold on 100% open storage yet. IMO, it’s the perfect “test the waters” option before going all in.
13. Add Under-Shelf Lighting for Ambiance
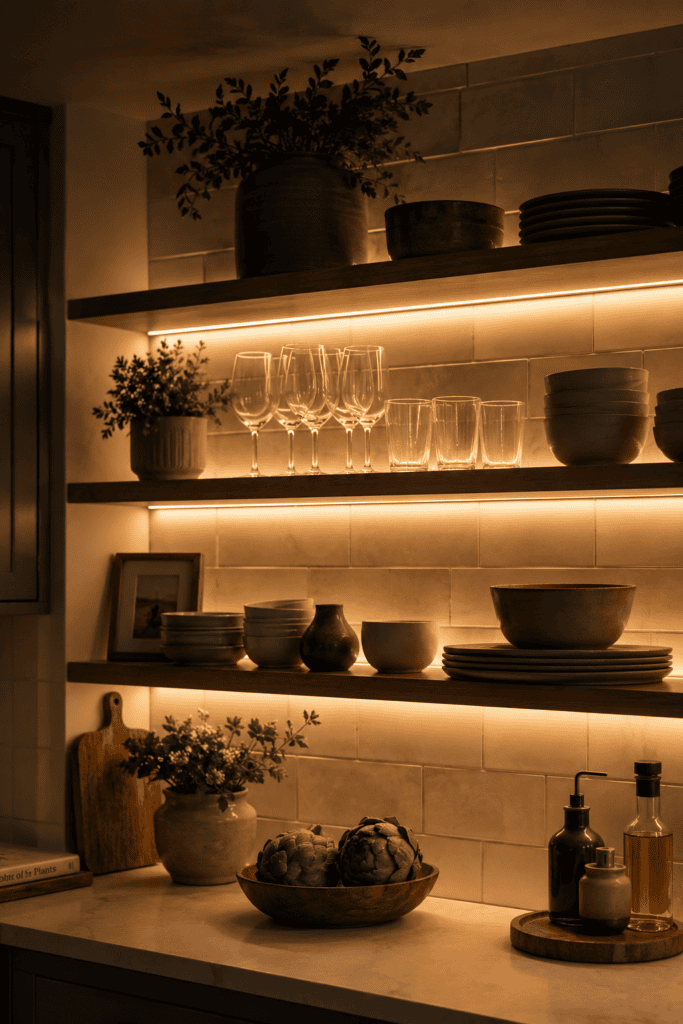
This is the upgrade that makes people ask, “wait, did you hire an electrician?” Under-shelf LED lighting adds warmth, highlights your styling, and makes the whole kitchen feel more finished once the sun goes down.
Battery-operated LED strips are budget-friendly and require zero rewiring, so you don’t need an electrician anyway (unless you want the hardwired version, which looks incredible but costs more).
Where to Place the Lighting
- Along the front edge of the shelf, angled slightly downward
- Underneath the shelf itself for a soft glow on the counter below
- Behind glassware for a subtle backlit effect
14. Rotate Your Décor Seasonally
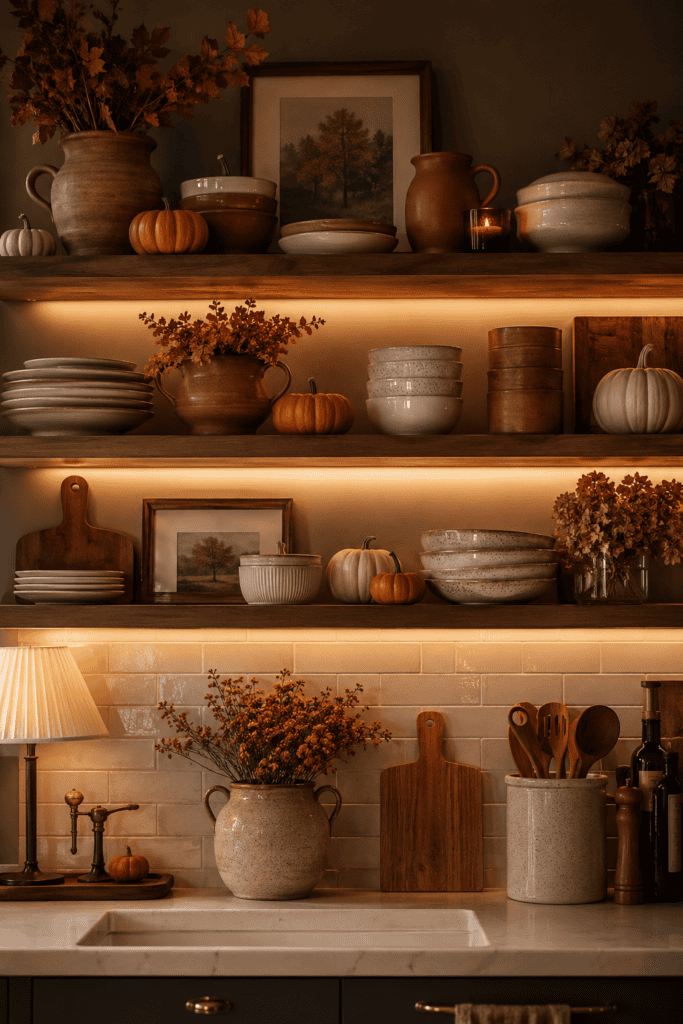
Here’s a tip that keeps your kitchen feeling fresh without spending a dime on new furniture. Rotating your shelf décor seasonally keeps the space from feeling stagnant.
Swap in pumpkins and warm-toned ceramics in fall, pastel florals in spring, or citrus in a bowl during summer. It’s a small habit, but it makes your kitchen feel like it’s actually lived in and cared for, not just decorated once and forgotten.
I keep a small bin in a closet with a handful of seasonal pieces, and swapping them takes maybe ten minutes every few months. Ten minutes for a whole new vibe? That’s a pretty solid return on investment, if you ask me.
Common Mistakes to Avoid with Open Shelving
Before you run off and start drilling holes in your wall, let’s talk about what NOT to do. I learned most of these the hard way, so consider this your shortcut.
- Overcrowding the shelves: More stuff does not equal more style. Give your items breathing room.
- Ignoring weight limits: Floating shelves look sleek, but they’re not invincible. Check the hardware specs before loading up cast iron pans.
- Skipping the wall prep: Patch, sand, and paint that wall before installing anything. You’ll see it every single day, so make it count.
- Forgetting maintenance: Open shelves need dusting more often than closed cabinets. If you’re not up for that, maybe stick to a couple of accent shelves instead of a full wall.
How to Choose the Right Shelving for Your Kitchen
Not every kitchen needs the exact same setup, and honestly, that’s the fun part. Here’s a quick way to figure out what fits your space:
- Small kitchens: Go with floating shelves in a light wood tone to keep things feeling airy and open.
- Farmhouse kitchens: Chunky wood shelves with visible brackets fit right in with that rustic, lived-in look.
- Modern kitchens: Stick to sleek floating shelves, minimal styling, and a monochrome color palette.
- Traditional kitchens: Glass-front cabinets or a mix of open and closed storage tend to look more cohesive.
Final Thoughts
Open shelving isn’t just a trend—it’s a genuinely practical way to make your kitchen feel more like you. Whether you go all-in with a full wall of shelves or just dip a toe in with one accent shelf above the coffee station, the goal is the same: display what makes you happy, hide what doesn’t, and keep things looking (mostly) tidy.
So, what’s stopping you? Pick one or two ideas from this list, grab a drill, and give your kitchen the glow-up it deserves.