
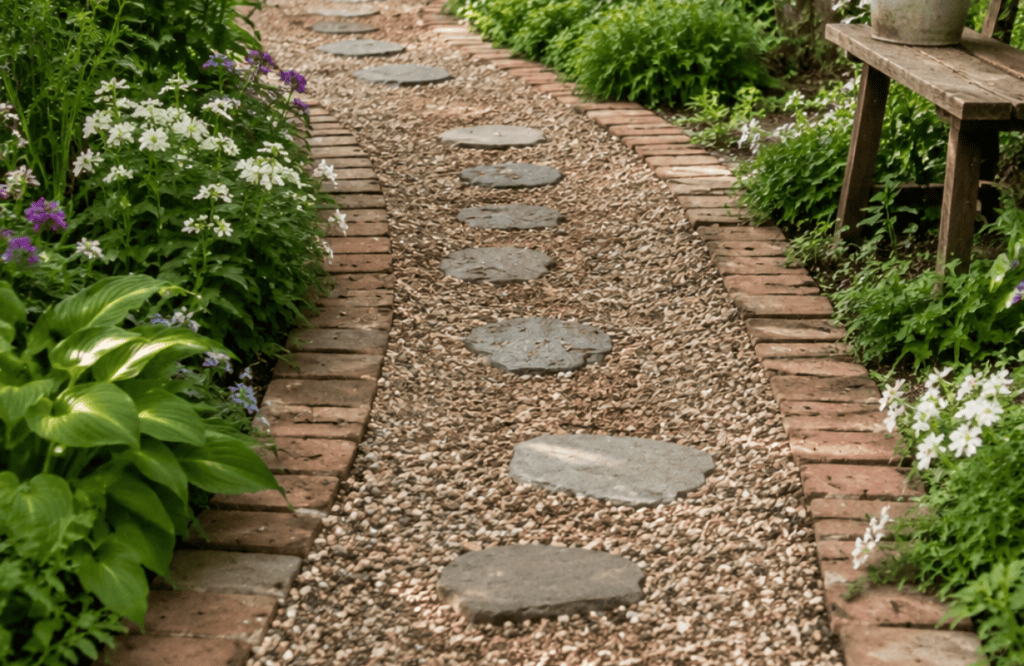
A boring path is a wasted opportunity. That patch of grass or dirt connecting your driveway to your front door does more heavy lifting than most homeowners realize—it sets the tone for the entire yard before anyone even reaches the front steps. Yet somehow, garden paths get treated like an afterthought, something to deal with “eventually,” right up until eventually never actually arrives.
Here’s the truth: a well-designed path isn’t just functional, it’s one of the highest-impact upgrades a yard can get. It guides the eye toward your best plants, creates a sense of flow and intention, and turns an ordinary walk to the mailbox into a small daily pleasure. Skip it, and you’re left with a muddy shortcut that screams “we ran out of budget.”
The good news? There’s a path style for every budget, climate, and aesthetic—from cheap and cheerful gravel to show-stopping bluestone slabs. Below are 17 garden path ideas covering everything from quick weekend projects to weekend-eating labor-of-love installs, so whatever your yard needs, there’s an option worth stealing.
1. Classic Gravel Paths
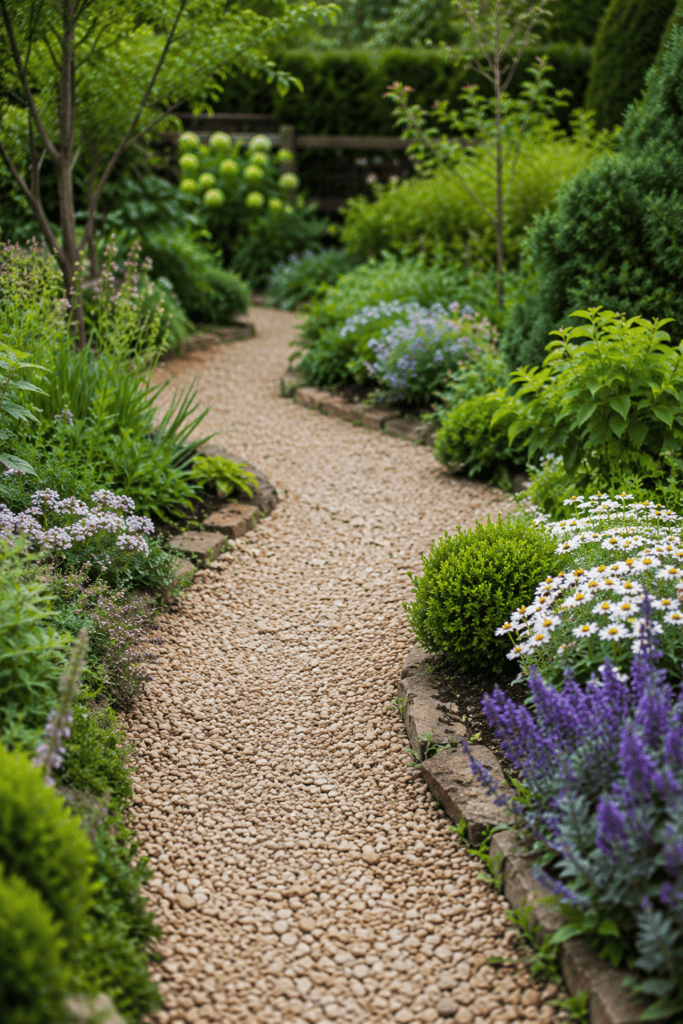
Gravel is the golden retriever of path materials: friendly, low-maintenance, and it gets along with everything. I laid a pea gravel path along the side of my house and it’s held up beautifully for five years now.
Why it works:
- Cheap compared to pavers or stone
- Easy to install yourself in a weekend
- Great drainage, so no more mud puddles
The downside? Gravel migrates. FYI, you’ll be raking stray stones off your lawn every few months whether you like it or not.
A few things I wish someone had told me before I started: not all gravel is created equal. Pea gravel is rounded and comfortable underfoot, while crushed granite locks together tighter and stays put better. I’d also recommend a sturdy edging—metal, plastic, or even stacked stone—to keep the gravel from creeping into your flower beds. Skip the edging and you’ll spend every weekend sweeping gravel back into place, which gets old fast.
2. Stepping Stone Stroll
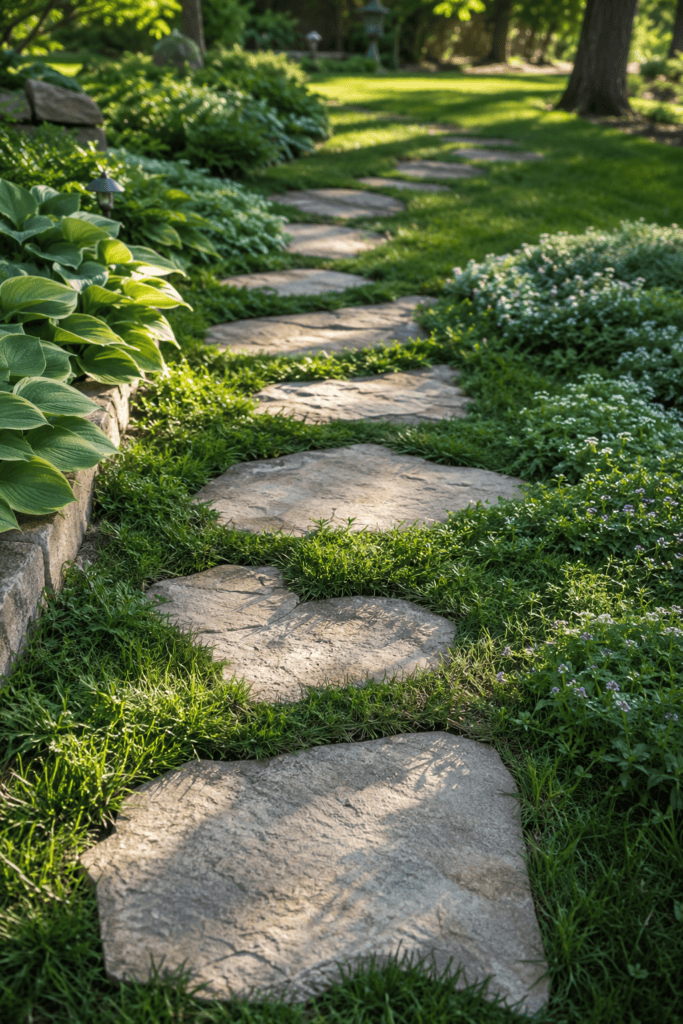
There’s something almost meditative about a stepping stone path, don’t you think? Each stone forces you to slow down and actually notice your garden instead of just barreling through it. I used irregular flagstone for mine, spaced just far enough apart that it feels natural to walk.
Mix up the shapes and sizes for a more organic look. Uniform, evenly spaced stones read as formal and modern, while irregular ones feel like they’ve always belonged there.
Spacing matters more than people realize. Set your stones too far apart and you’ll be doing awkward little leaps every time you walk the path—not exactly a relaxing garden stroll. I aim for a comfortable, natural stride distance, roughly the length of an average step, and I always test it myself before committing to the final layout. Standing water between the stones is another common headache, so make sure the ground slopes slightly for drainage or fill the gaps with gravel or groundcover.
3. Brick Herringbone Pattern
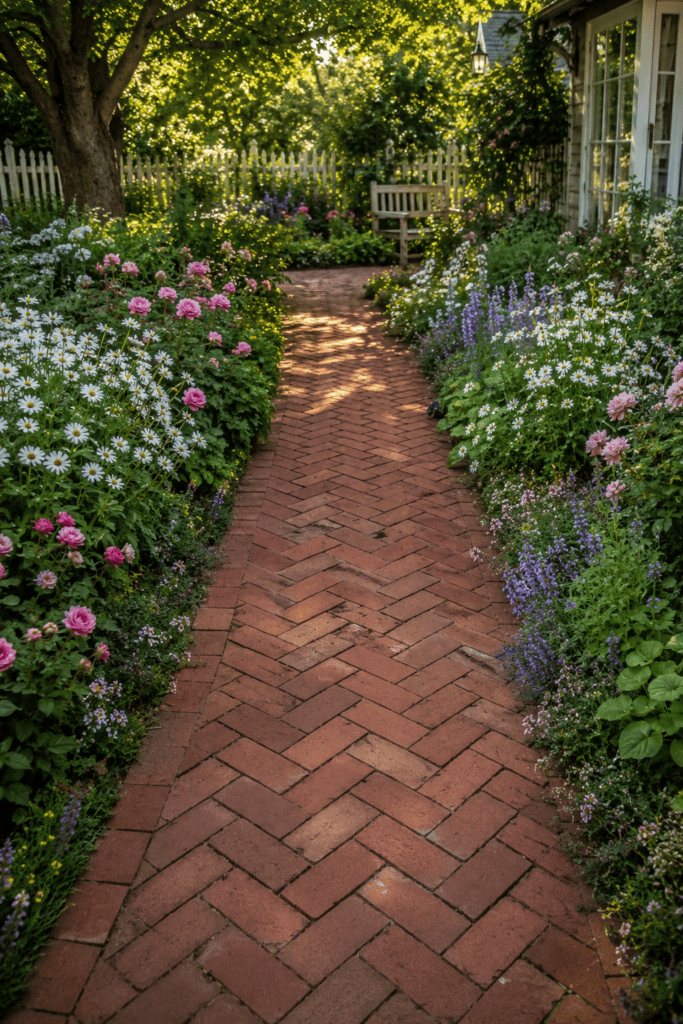
Brick paths bring a timeless, cottage-garden charm that gravel just can’t touch. The herringbone pattern specifically adds visual interest without looking fussy or overdone. I’ve seen this style in century-old English gardens and in brand-new suburban builds, and it works in both.
Here’s the thing about brick, though: it needs a solid base or it’ll shift and heave within a year. Skip the base prep at your own risk. I learned this one the hard way (RIP, my first brick path).
A proper base means compacted gravel topped with a layer of sand, tamped down firmly before a single brick goes in. It’s tedious work, sure, but it’s the difference between a path that lasts twenty years and one that looks like a wave pool after the first hard freeze. If you’re in a climate with real winters, factor in frost heave too—bricks set on a shallow base will pop right out of the ground once the soil freezes and thaws a few times.
4. Mulch and Wood Chip Trails
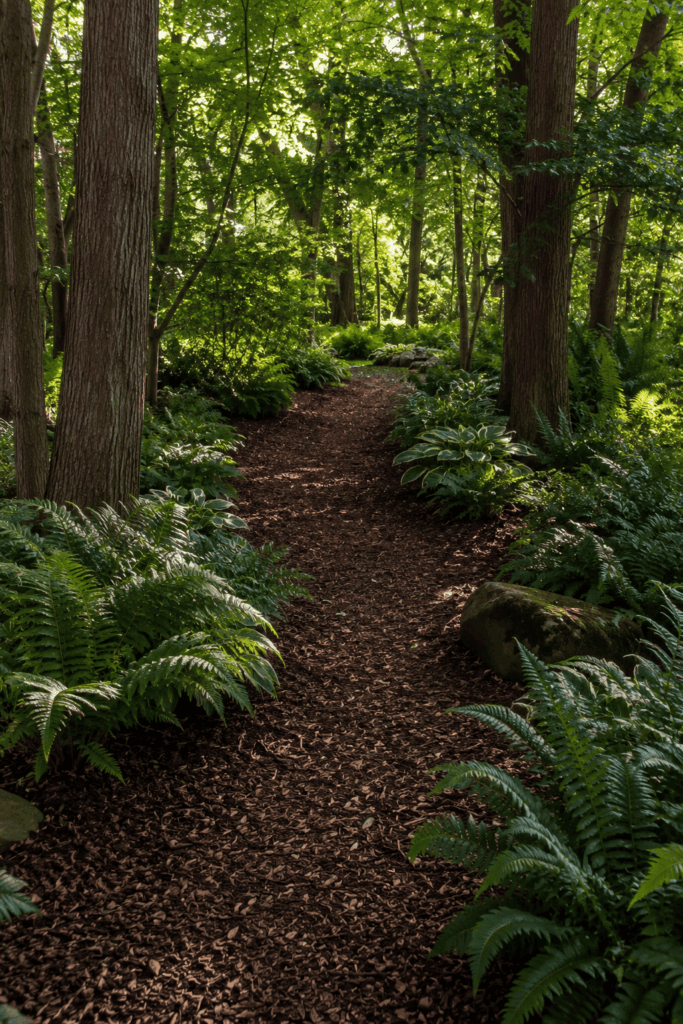
Want the softest, most budget-friendly option on this list? Mulch paths are it. They’re perfect for woodland gardens or that back corner where you don’t need anything fancy.
Quick pros and cons:
- Pro: Costs almost nothing and installs in an afternoon
- Pro: Blends naturally into wooded or naturalistic landscapes
- Con: Needs topping up every year or two as it decomposes
5. Poured Concrete with Texture
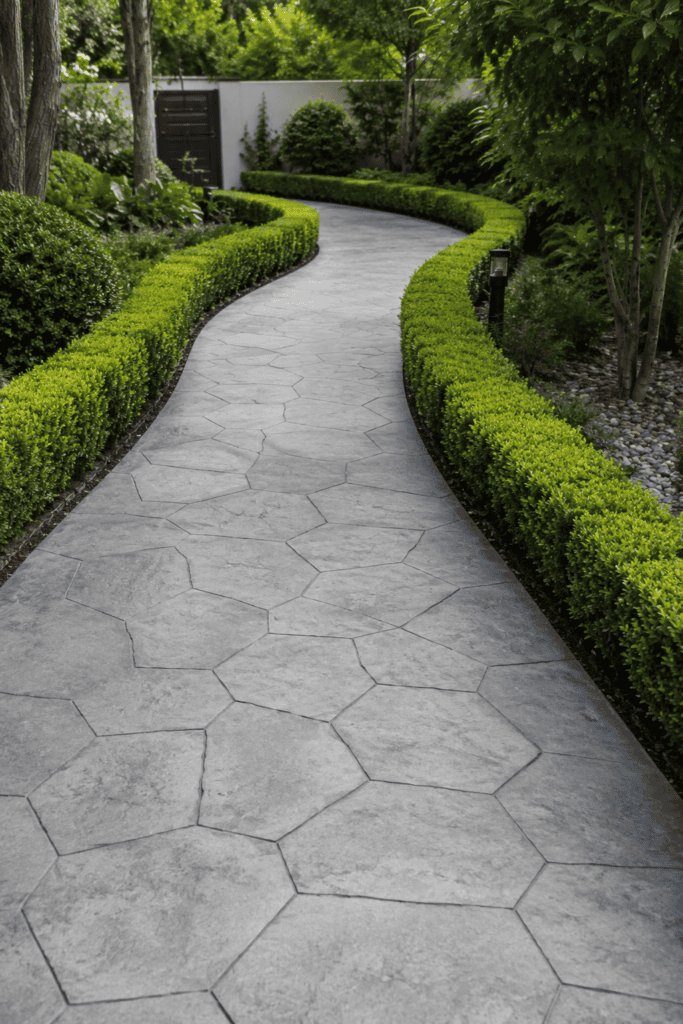
I know, I know—concrete sounds boring. But hear me out: modern concrete paths can be stamped, colored, or textured to look like anything from slate to cobblestone. It’s the chameleon of hardscaping materials.
A textured concrete path gives you the durability of concrete without the sterile, parking-lot vibe. Ever seen those paths that look like natural stone but are actually just really well-done concrete? That’s the move.
6. Curved Pathways for a Softer Feel
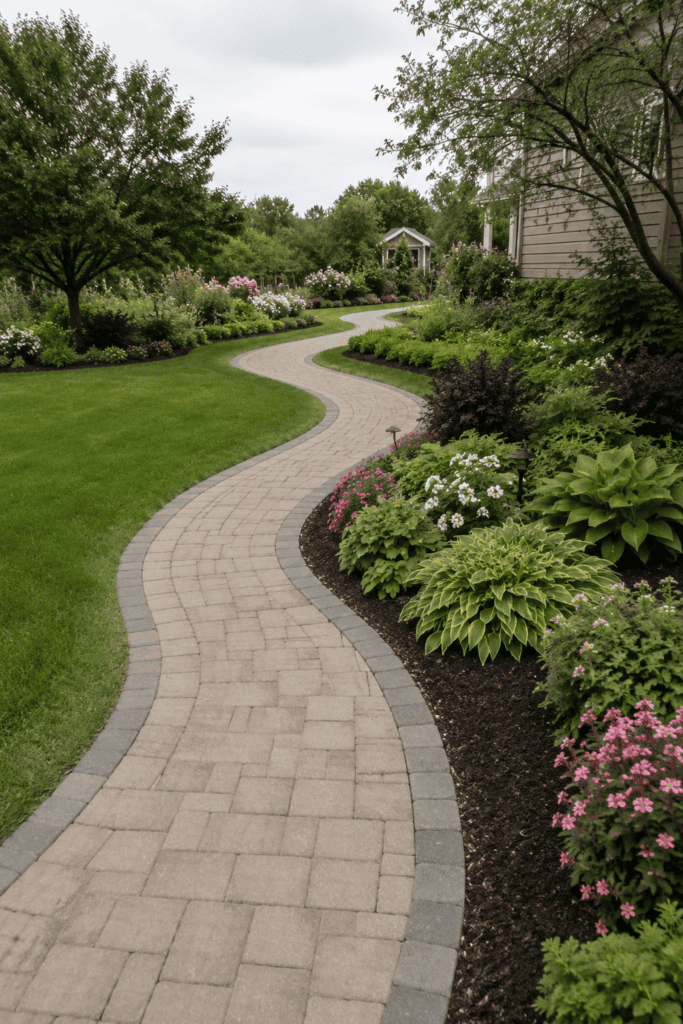
Straight paths get you there faster, sure, but curved ones make the journey feel longer and more interesting. It’s a psychological trick landscape designers use constantly, and IMO it’s one of the easiest ways to instantly upgrade a boring yard.
Why Curves Beat Straight Lines (Sometimes)
A curved path hides what’s around the bend, which creates a little mystery and makes even a small garden feel bigger. I redesigned my front walkway with a gentle S-curve last spring, and neighbors actually stopped to comment on it.
The trick is restraint. One or two gentle curves feel intentional and elegant, while too many bends in a short space just looks like you couldn’t decide on a direction. I always recommend laying out a garden hose along the ground first to visualize the curve before digging anything—it’s a free, low-stakes way to test different shapes until one actually feels right.
7. Formal Straight Paths With Symmetry
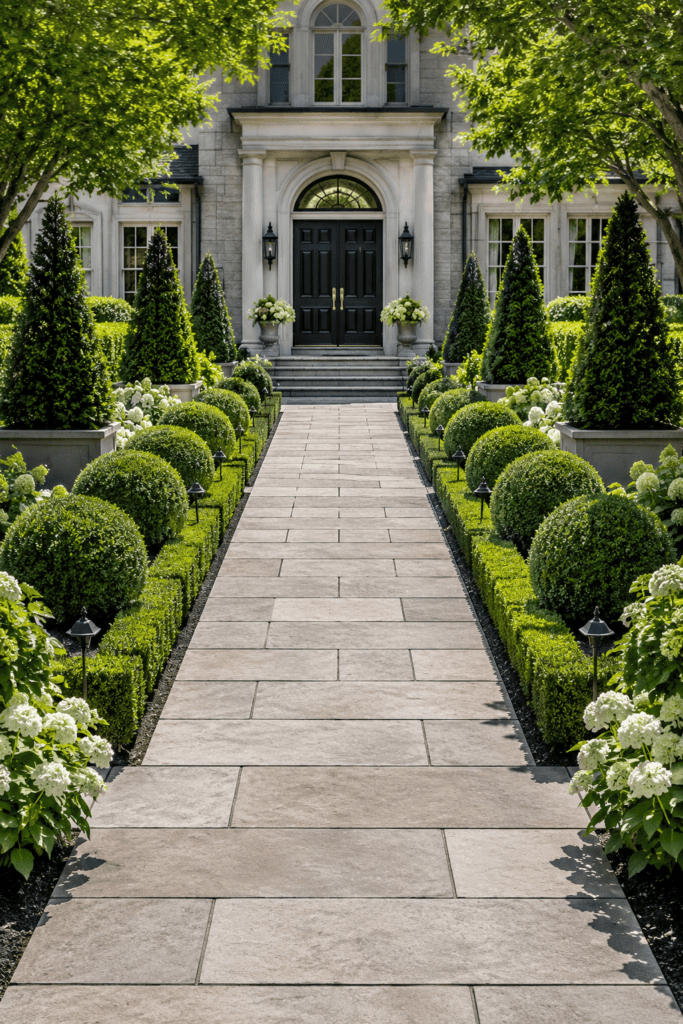
That said, sometimes you want structure, not mystery. A straight, symmetrical path flanked by matching plantings on either side screams formal elegance. Think grand estate entrance, not cottage garden charm.
This style works best when you’ve got a clear architectural focal point—a fountain, a statue, or even just your front door—that the path leads directly toward.
8. Recycled Materials Path
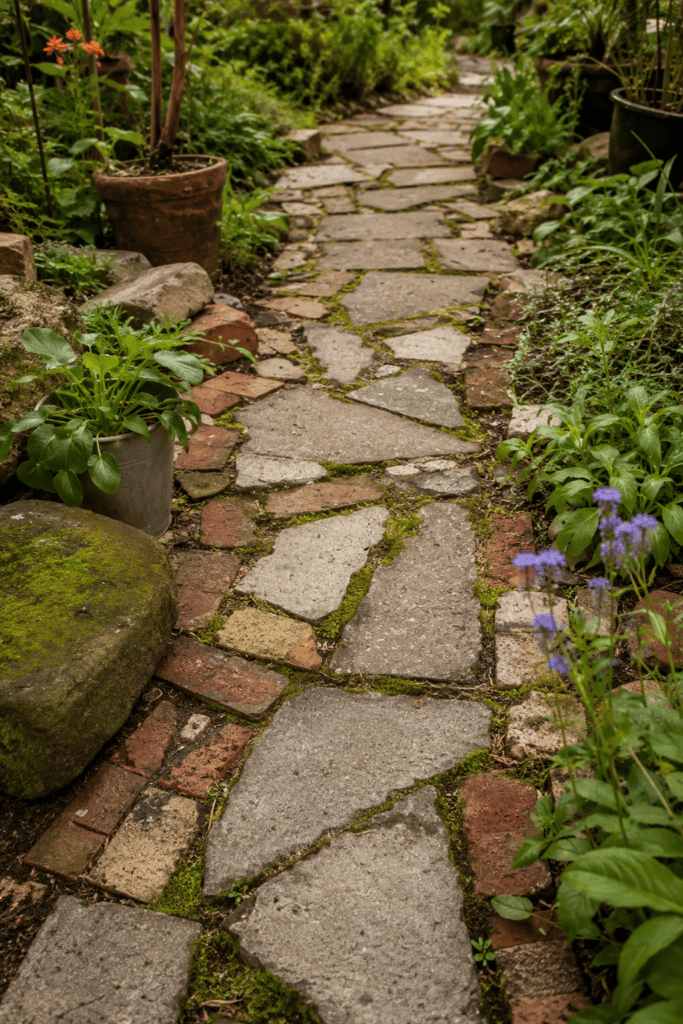
Here’s where you can get genuinely creative. I’ve seen gorgeous paths made from broken concrete slabs (sometimes called “urbanite”), old bricks, reclaimed pavers, and even repurposed wine bottles set neck-down in the soil.
Materials worth scavenging:
- Broken concrete from a demolished patio or driveway
- Salvaged brick from architectural salvage yards
- Old railroad ties (check for creosote treatment first, though)
- Reclaimed cobblestones from renovation sites
Not only does this save money, it keeps usable material out of the landfill. Win-win, honestly.
9. Moss-Covered Stone Path

If you live somewhere shady and damp, don’t fight it—lean into it. A moss path between stepping stones looks like something straight out of a Japanese garden, and moss actually thrives in the exact conditions that make grass struggle.
I tried this in a shady corner where nothing else would grow, and it turned my problem spot into the prettiest part of the yard. Sometimes the solution is working with your yard instead of against it.
Getting moss established takes patience, though. I transplanted small moss patches from other shady spots in my yard, pressed them firmly into damp soil, and kept the area consistently moist for the first several weeks. Skip that watering routine and the moss will just dry out and die before it has a chance to spread. Once it’s established, though, moss practically takes care of itself—no mowing, no fertilizing, nothing.
10. Pebble Mosaic Art
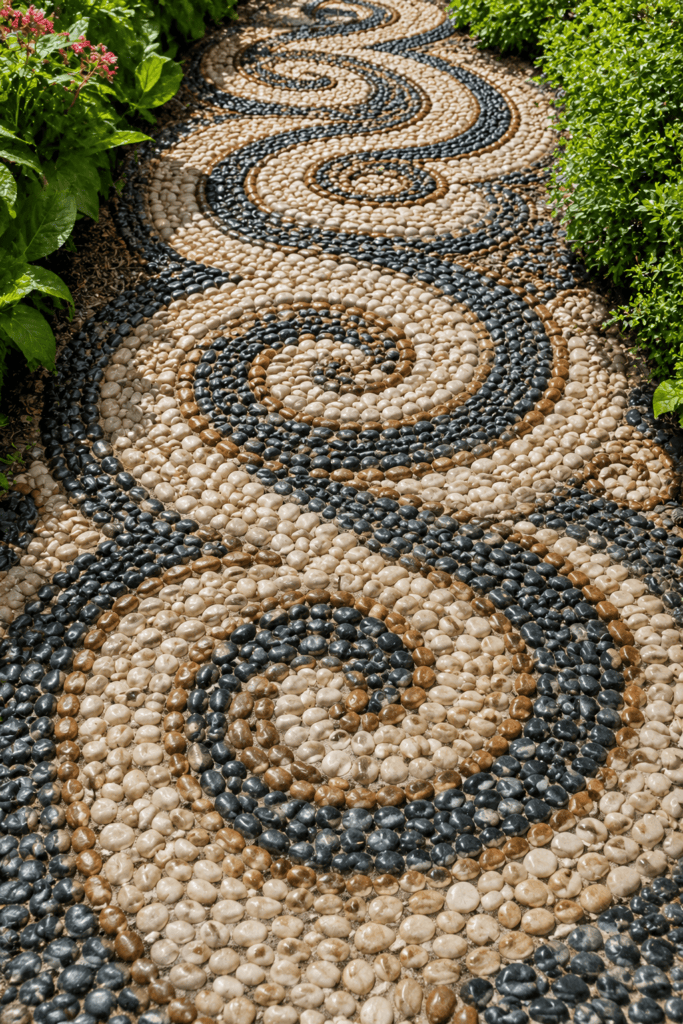
This one’s a labor of love. Pebble mosaics involve setting small stones into mortar in decorative patterns, sometimes even full images. It’s not a weekend project by any stretch, but the payoff is a genuinely one-of-a-kind garden feature.
I wouldn’t recommend this for a main walkway you use daily (too rough underfoot for bare feet), but as an accent path or a decorative border? Absolutely stunning.
11. Rustic Log Slice Path
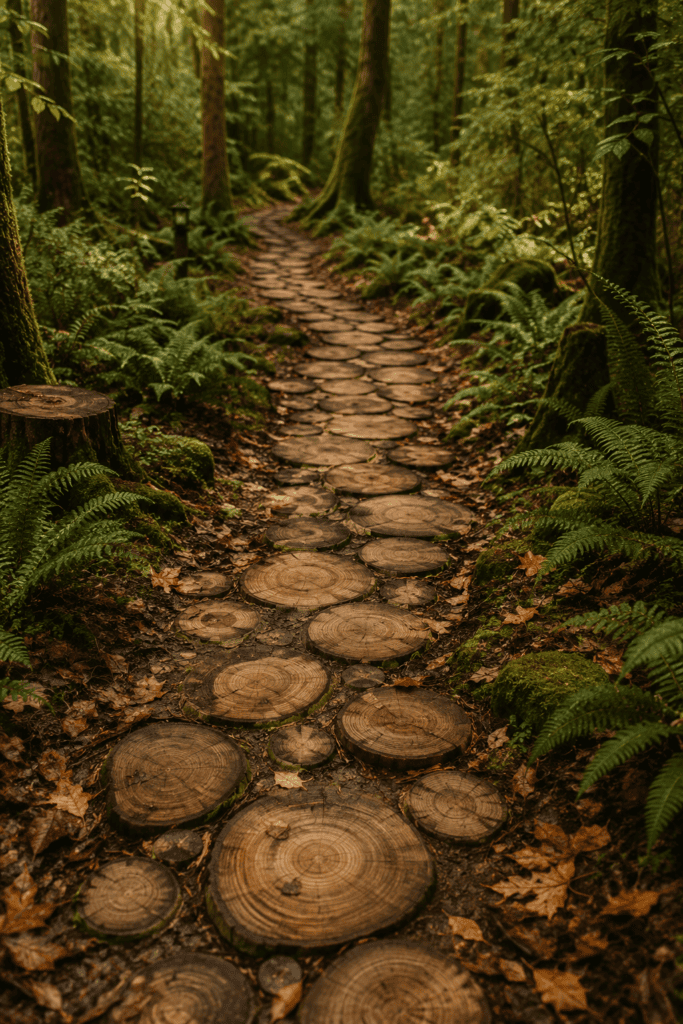
Cut sections of log, laid flat like giant coins, create a woodland path that feels straight out of a fairy tale. They work best in naturalistic settings—think forest gardens or rustic cottage yards, not modern minimalist landscapes.
Just know that untreated wood will eventually rot, especially in wetter climates. Sealing the wood or choosing rot-resistant species like cedar buys you significantly more years.
12. Paver Patterns With Grass Joints
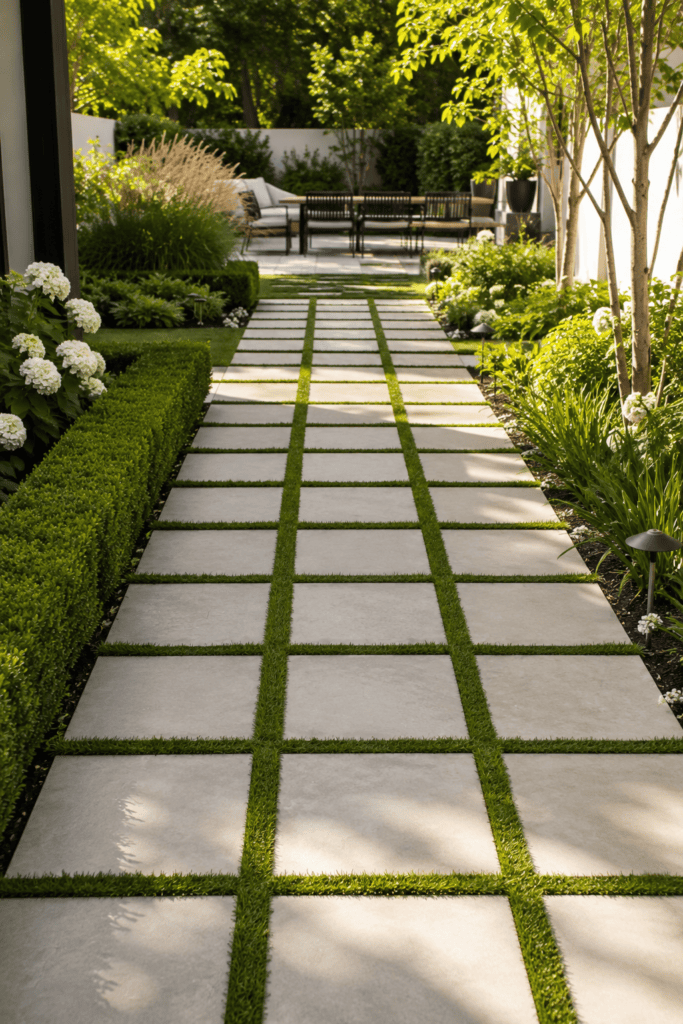
Want something that looks polished but doesn’t feel like a solid concrete slab? Pavers with grass growing between the joints give you the best of both worlds: structure and softness.
This style has genuinely become one of my favorite trends in modern landscaping. It photographs beautifully and lets rainwater soak into the ground instead of running off, which your local watershed will thank you for.
13. Bark Mulch Woodland Trail
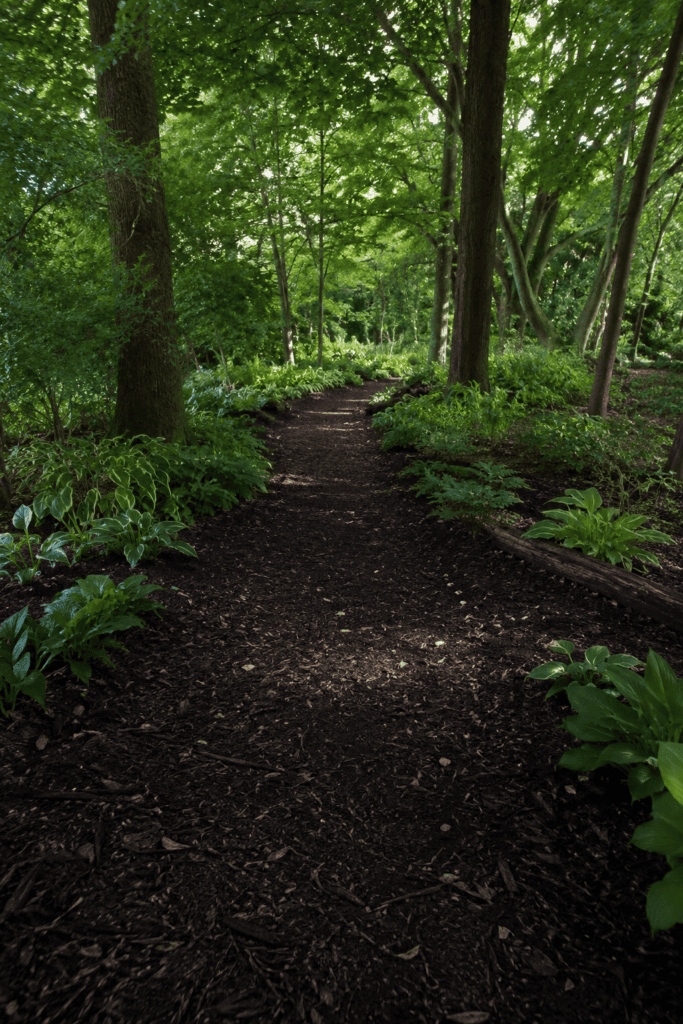
Similar to wood chips but specifically using shredded bark, this option creates a soft, quiet trail perfect for meandering through mature trees. The dark, rich color of bark mulch contrasts beautifully against green foliage.
It’s not the most durable choice on this list, but for a rarely-trafficked woodland walk, does that really matter? Sometimes low-maintenance beats long-lasting.
14. Bluestone Slab Walkway
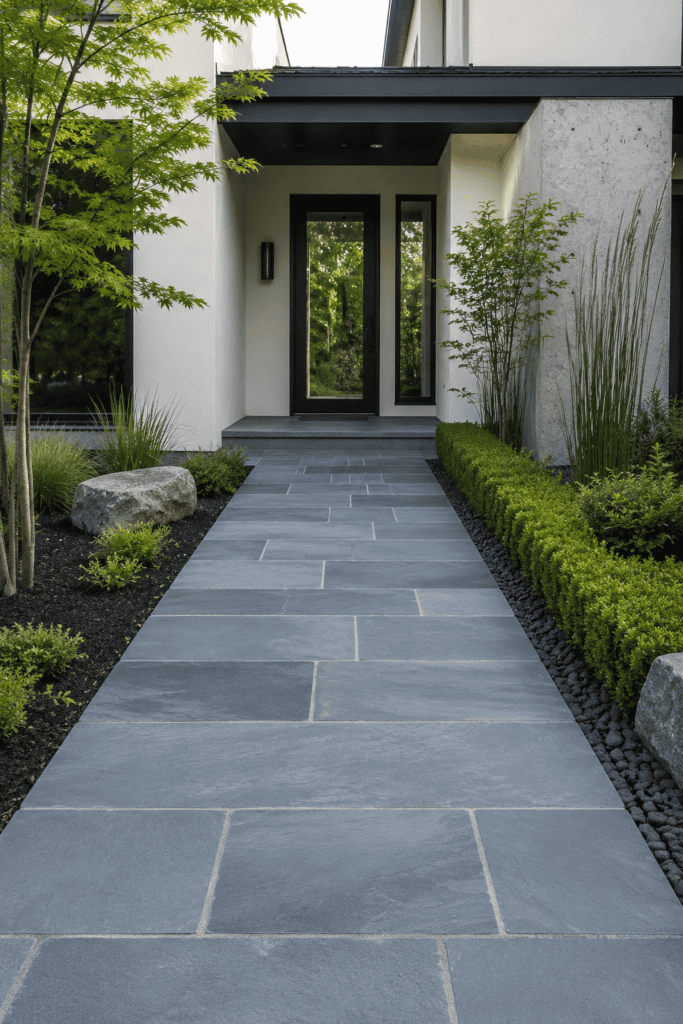
Bluestone brings a cool, sophisticated blue-gray tone that pairs well with almost any home exterior. It’s a premium material, and the price tag reflects that, but the durability and timeless look make a strong case for splurging.
A few reasons bluestone earns its price tag:
- Extremely durable and weather-resistant
- Naturally slip-resistant texture
- Ages gracefully, developing character over decades
I splurged on a small bluestone section outside my back door a few years ago, and it’s honestly the one part of my landscaping I’ve never once regretted. Yes, it cost more than I wanted to spend at the time, but I haven’t touched it since installation—no cracking, no fading, no annual maintenance ritual. If you’re going to spend big on one area of your yard, IMO the entrance everyone sees first is the smartest place to do it.
15. Raised Boardwalk Path
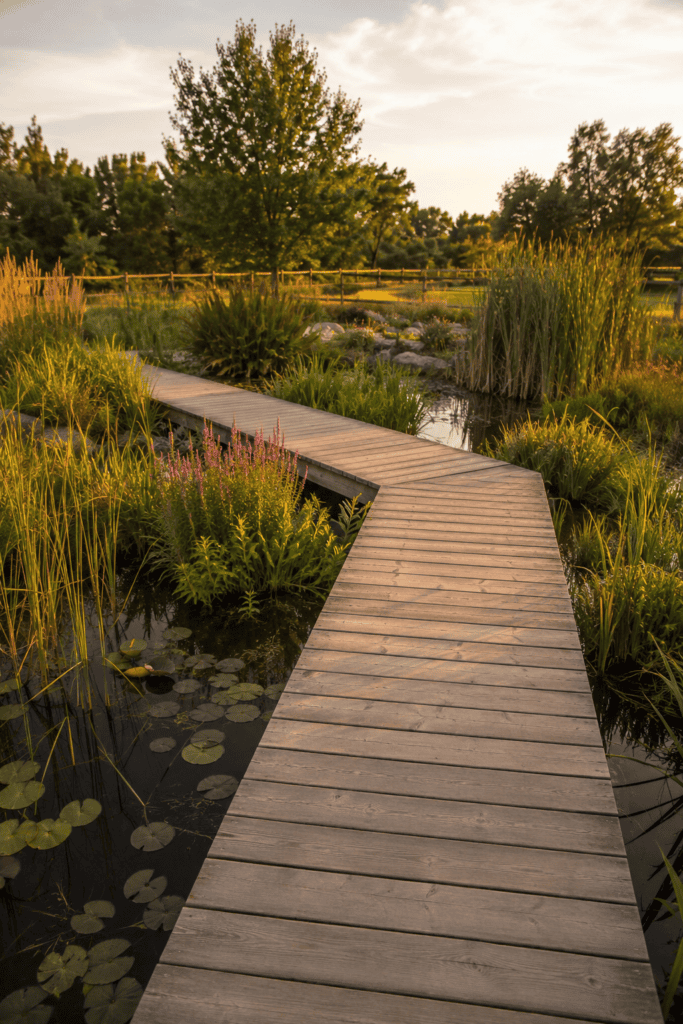
If your yard has drainage issues, a low-slung wetland area, or you just want something architecturally distinct, a raised wooden boardwalk solves practical problems while looking genuinely striking. I’ve seen these work beautifully in coastal gardens and anywhere near a pond.
Materials to Consider
Pressure-treated lumber, composite decking, and cedar all work well here. Composite costs more upfront but skips the yearly sealing routine entirely—something my aching back appreciates.
16. Mixed-Material Path
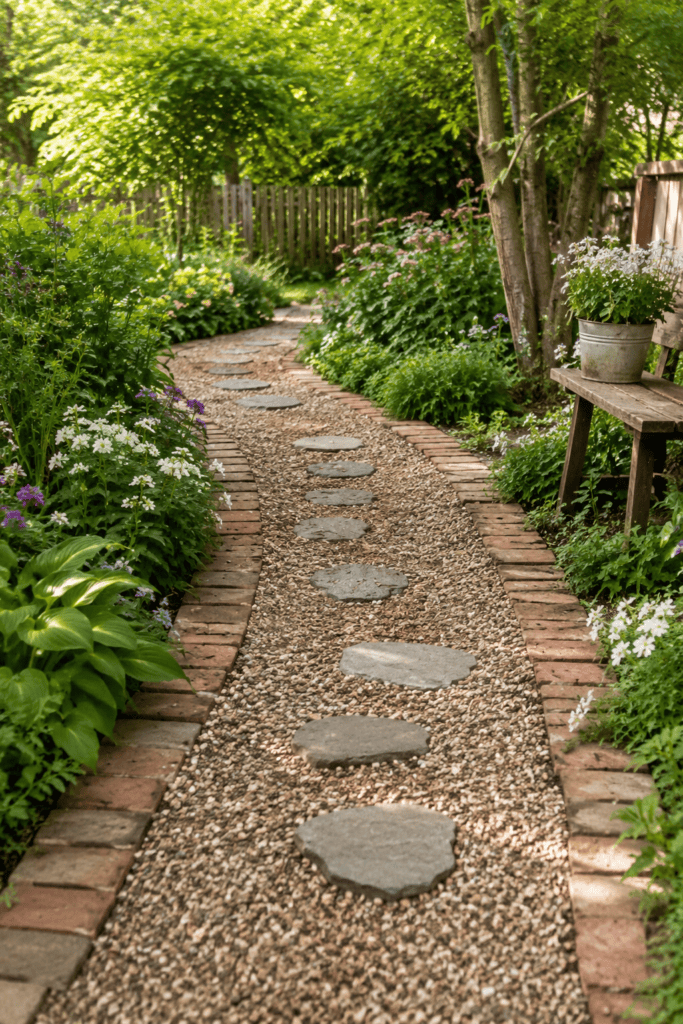
Why commit to just one material when you can combine several? Pairing gravel with stepping stones, or brick borders around a concrete center, creates visual texture and can highlight different zones of your garden.
This approach takes more planning than a single-material path, but the result feels custom-designed rather than store-bought. It’s genuinely one of the more advanced techniques on this list, so maybe don’t start here if it’s your first path project 🙂
17. LED-Lit Pathway
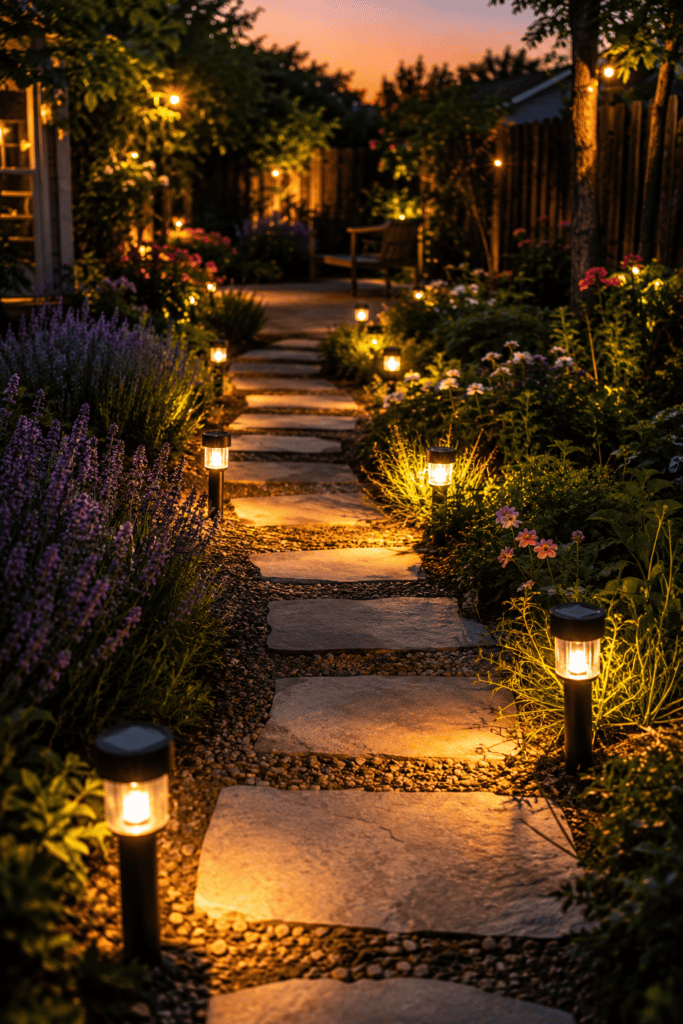
Last but definitely not least: lighting. Solar-powered LED path lights have gotten shockingly good in the past few years, and installing them requires zero electrical wiring. Just stick them in the ground and let the sun do the rest.
A well-lit path isn’t just about aesthetics, either—it’s a safety feature. Nobody wants to twist an ankle stumbling around in the dark because they couldn’t see where the path curved.
Conclusion: Which Path Is Right for You?
Choosing among these 17 garden path ideas really comes down to three questions: what’s your budget, what’s your climate, and what vibe are you going for? A gravel path costs a fraction of bluestone but won’t give you that same premium feel. A moss path thrives in shade but would die in a sunny, dry yard.
My honest advice? Start small. Pick a short stretch of your yard, try one of these ideas, and see how it feels to live with before committing to redoing your entire property. That’s exactly how I ended up loving my current stepping stone path it started as a tiny test section that just kept expanding because I liked it so much.