
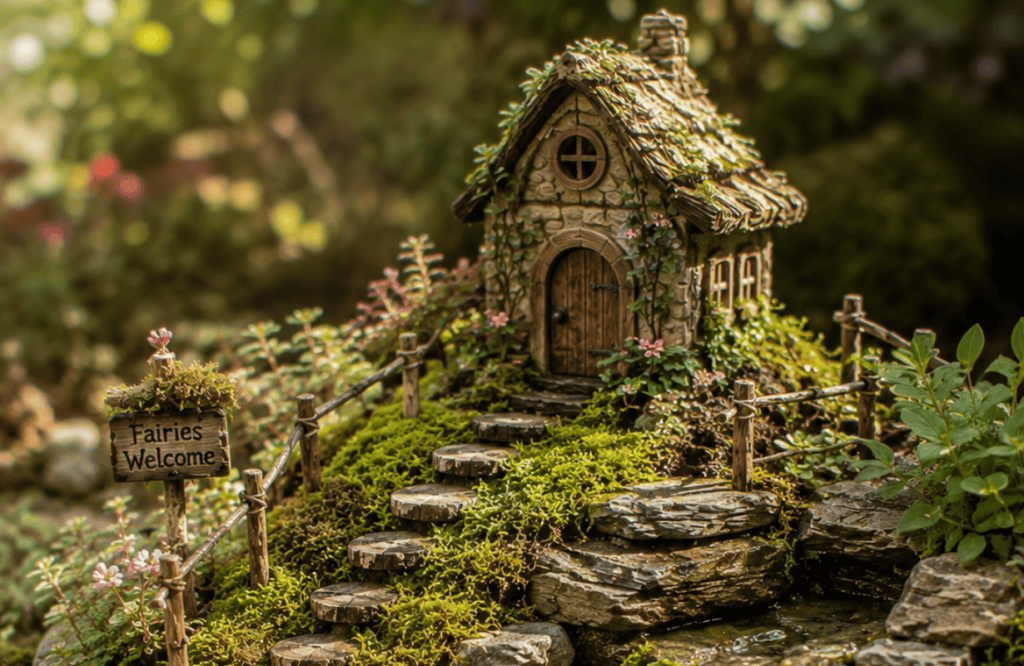
: the first time I tried to build a fairy garden, I stuck a plastic gnome in a pot and called it a day. It looked sad. It looked like a Craigslist ad gone wrong. Fast forward a few years (and a lot of trial and error), and now my patio gets more compliments than my actual house.
If you’re staring at a boring flower pot, an empty patio corner, or a plain container that’s begging for personality, you’re in the right place. I’m going to walk you through 17 fairy garden ideas that actually work no fluff, no impossible Pinterest fantasies that require a woodworking degree. Just real, doable ideas with a little magic baked in.
Ready? Let’s get your garden looking enchanted instead of… neglected.
One quick thing before we start: you don’t need a huge budget or a green thumb to pull this off. Most of these ideas cost under twenty bucks, and a few of them are basically free if you’re willing to raid your junk drawer or your recycling bin. The magic isn’t in how much you spend—it’s in the little details that make the space feel like it belongs to someone (or something) tiny and mischievous.
1. Start With a Miniature Cottage as Your Centerpiece
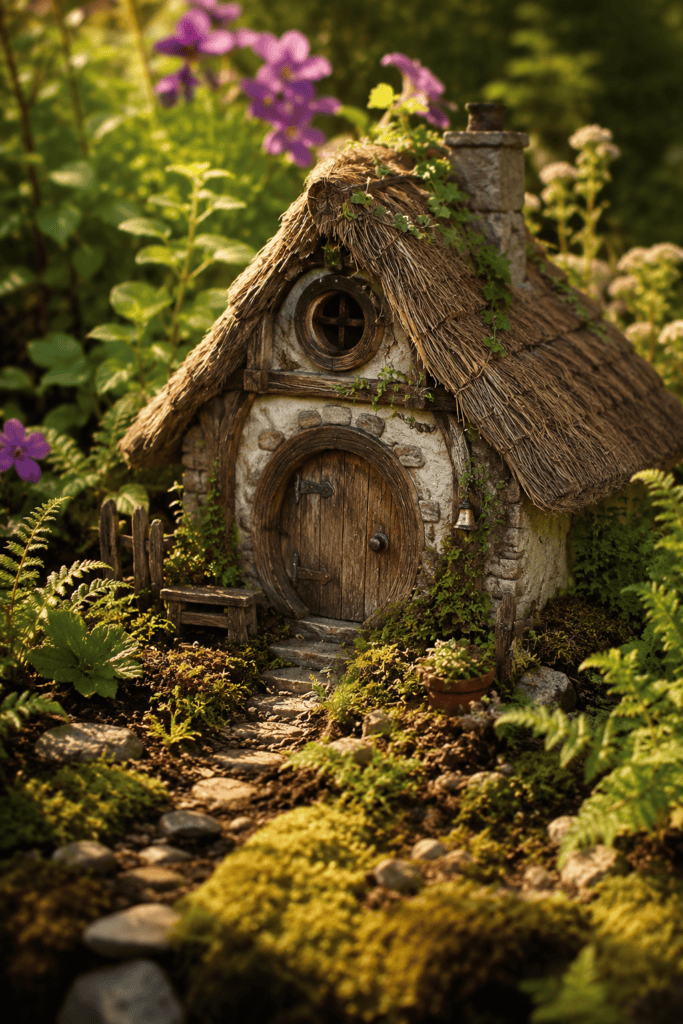
Every good fairy garden needs a focal point, and a tiny cottage does the job better than almost anything else. A small resin or wooden cottage instantly tells the story—this is where the fairies live, obviously.
I went with a weathered-looking cottage for mine because let’s be honest, fairies probably don’t live in anything that looks brand new. Place it slightly off-center rather than dead-center; it looks way more natural that way. Trust me, symmetry is the enemy of “whimsical.”
Size matters here too, so pick a cottage that’s proportional to your space. A giant cottage in a tiny pot looks cramped, and a tiny cottage in a huge yard bed looks lost. I learned this the hard way after buying a cottage that basically swallowed my first container whole.
2. Build a Pathway With Pebbles or Crushed Shells
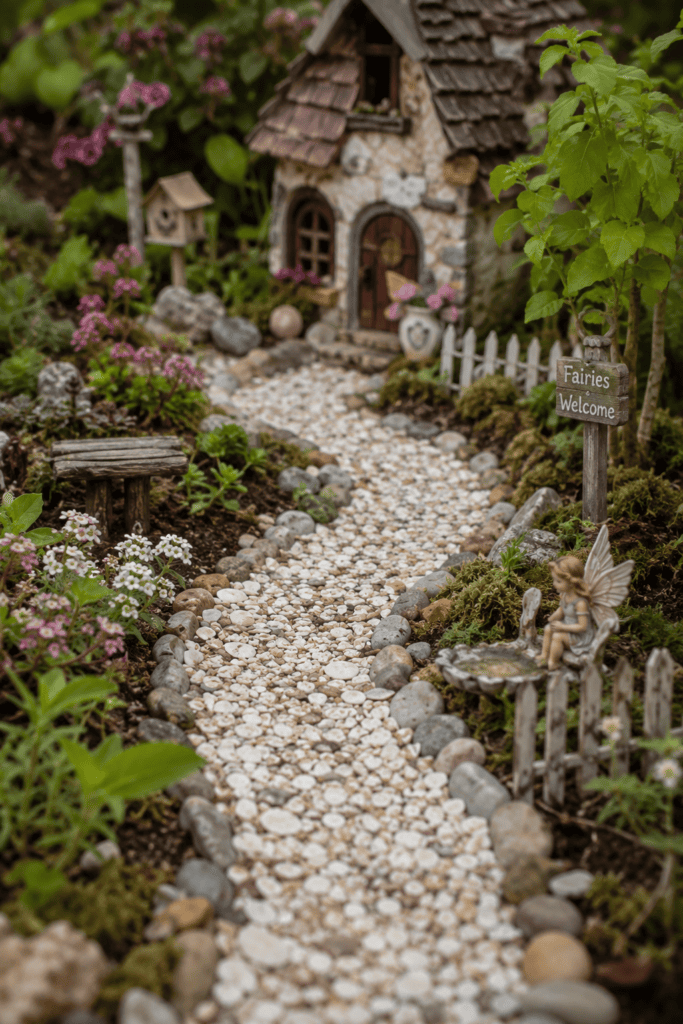
Nothing says “someone lives here” like a little path leading up to the door. Crushed shells, small pebbles, or even broken pottery pieces create a walkway that feels intentional.
IMO, this is one of the cheapest upgrades you can make with the biggest visual payoff. Curve the path instead of making it straight—straight paths look like sidewalks, and sidewalks aren’t magical. Curved paths look like someone actually wandered through on their way home.
If you really want to level this up, vary the size of your pebbles along the path. Bigger stones near the “entrance” and smaller ones as the path winds toward the cottage give it a sense of perspective, almost like the path is receding into the distance. It’s a small trick, but it works surprisingly well in a space that’s only a couple feet wide.
3. Add a Tiny Working (or Fake) Water Feature
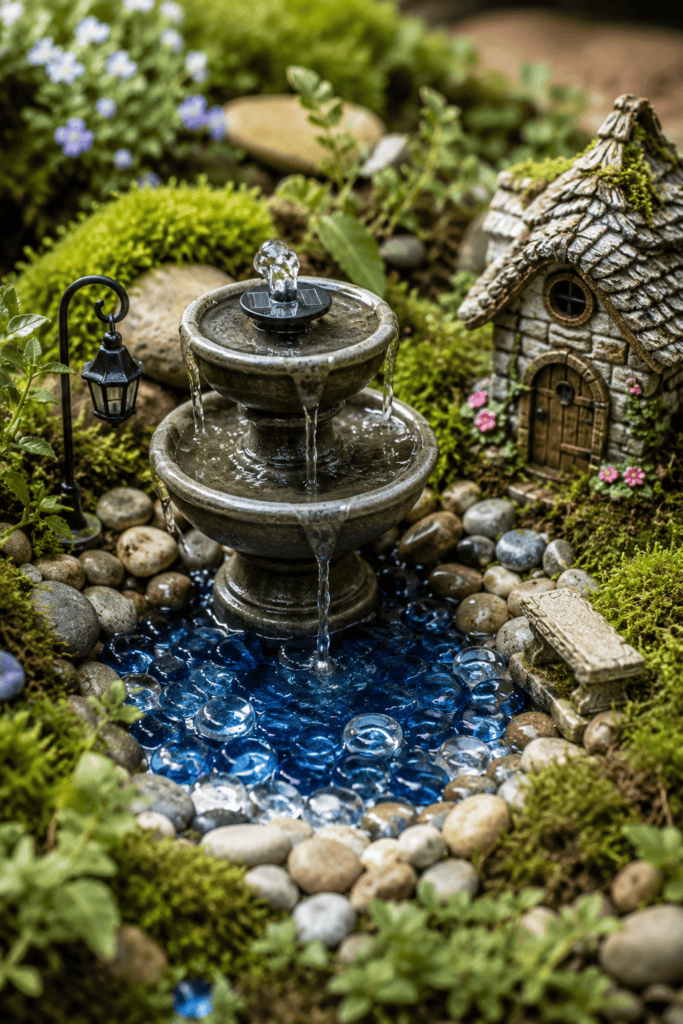
Water features add movement, sound, and a strange amount of credibility to a fairy garden. You don’t need anything elaborate here.
- A small solar-powered fountain for real movement
- A mirror or blue glass “pond” for a fake-it-till-you-make-it approach
- A miniature waterfall kit if you want to go big
I went with the mirror pond trick in my first setup because I didn’t want to deal with pumps and cords. It looked shockingly convincing once I added a few pebbles around the edge.
If you do go the solar fountain route, place it somewhere that actually gets sunlight for most of the day. I made the rookie mistake of tucking mine under a shaded fern, and it sat there completely dead for a week before I figured out why. Lesson learned: even fake magic needs real sunlight sometimes.
4. Use Moss as Your Natural Carpet
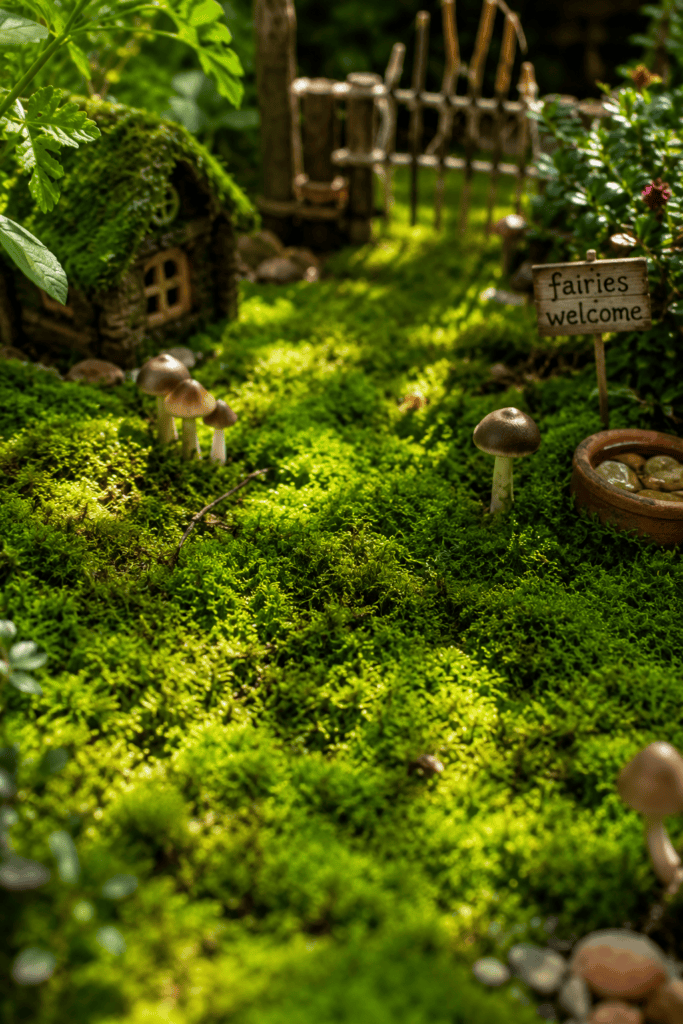
Moss is criminally underrated in garden design. It’s soft, green year-round in shaded areas, and instantly ages your setup by about ten years (in a good way).
Ever wonder why professional fairy garden designers always seem to have that lush, established look? It’s moss. Just moss. Pick some up from a garden center or, if you’re feeling adventurous, transplant a small patch from a shady spot in your yard.
Keep in mind moss likes moisture and shade, so if your fairy garden sits in full sun all day, it might dry out and turn crunchy. A light misting every couple of days keeps it looking plush instead of like dead grass clippings. It’s a tiny bit of upkeep for a huge visual reward.
5. Incorporate a Tiny Bridge
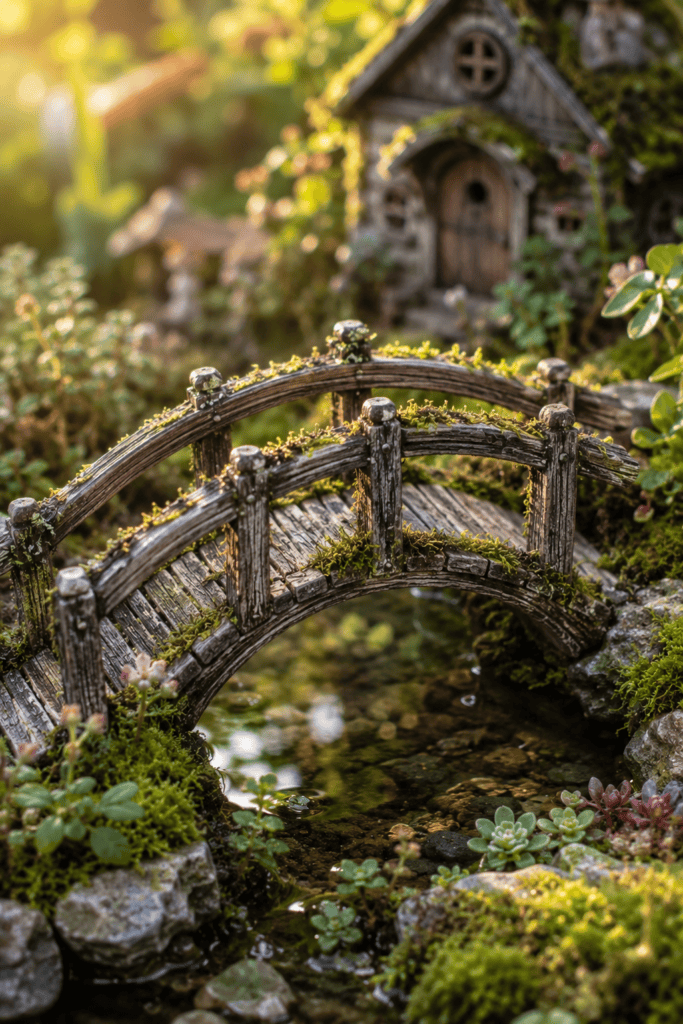
A little bridge over your fake pond or path adds instant storybook energy. Wooden bridges look rustic; stone-look resin bridges look older and more established.
I’ll be honest, I bought a five-dollar bridge from a craft store and it’s held up better than furniture I paid actual money for. Sometimes the cheap stuff wins. Don’t overthink this one.
You can also make your own bridge with a couple of popsicle sticks and some wood glue if you’re the crafty type. It won’t hold any real weight, obviously, but neither will actual fairies, so you’re fine. Paint it a weathered gray or brown for extra realism.
6. Plant Dwarf and Miniature Varieties
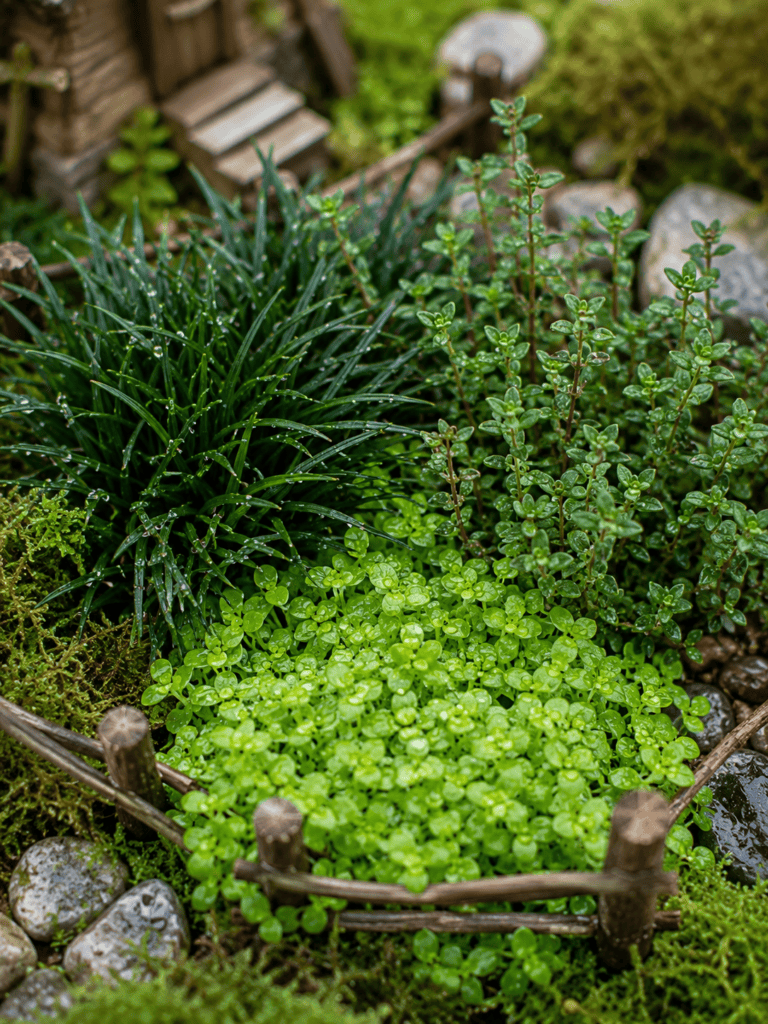
This is where a lot of beginners mess up—they use full-sized plants that overwhelm the whole scene within a month. Stick to dwarf or miniature plant varieties so the scale stays consistent.
Good options include:
- Dwarf mondo grass for a lawn-like effect
- Baby tears (Soleirolia soleirolii) for ground cover
- Miniature hostas for shade areas
- Thyme varieties for a fragrant, low-growing option
Skip anything labeled “fast-growing” unless you enjoy re-landscaping every three weeks.
I also recommend checking your local climate zone before you commit to any of these. A plant that thrives in a shady, humid spot might just shrivel up in a hot, dry patio setup. A quick search for your USDA zone saves you from replacing dead plants every single month, which gets old fast.
7. Add Fairy Furniture for Everyday Life Details
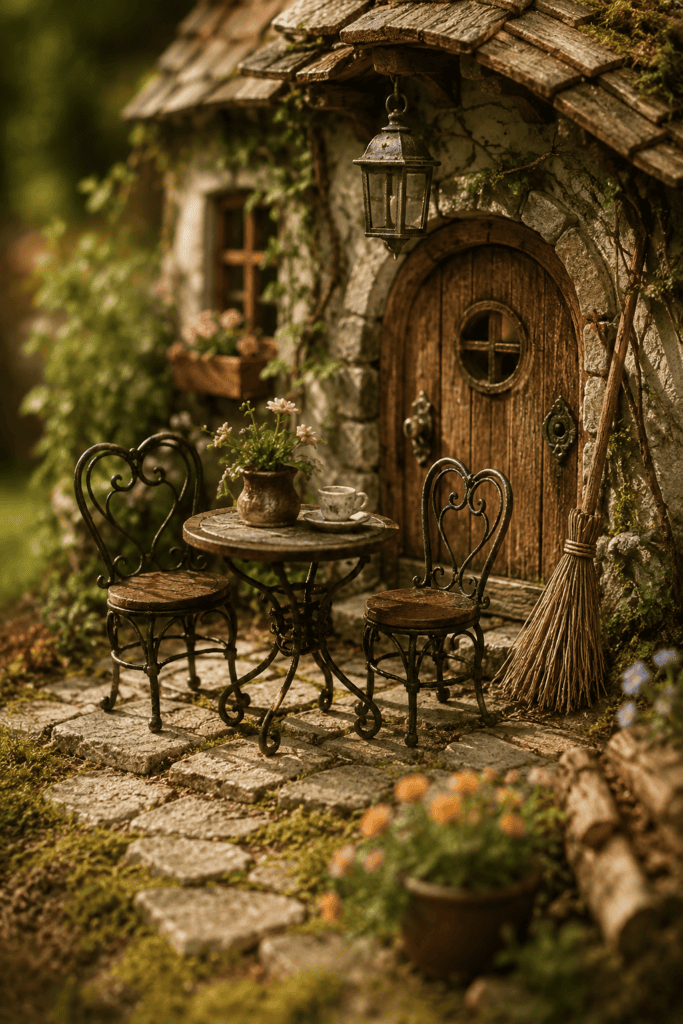
A house is one thing, but a life is another. Tiny chairs, benches, and tables make the space feel lived-in rather than staged.
I added a small bistro set to mine, and I swear it changed the whole vibe. Suddenly it wasn’t just a decoration—it looked like somewhere someone actually hangs out. Little details like this do more heavy lifting than people expect.
Don’t stop at just one piece either. Add a tiny broom leaning against the cottage door, or a small basket sitting on a bench like someone just set it down mid-errand. These little “in-progress” touches sell the illusion way better than a perfectly staged scene ever could.
8. Create a Mini Herb or Vegetable Patch
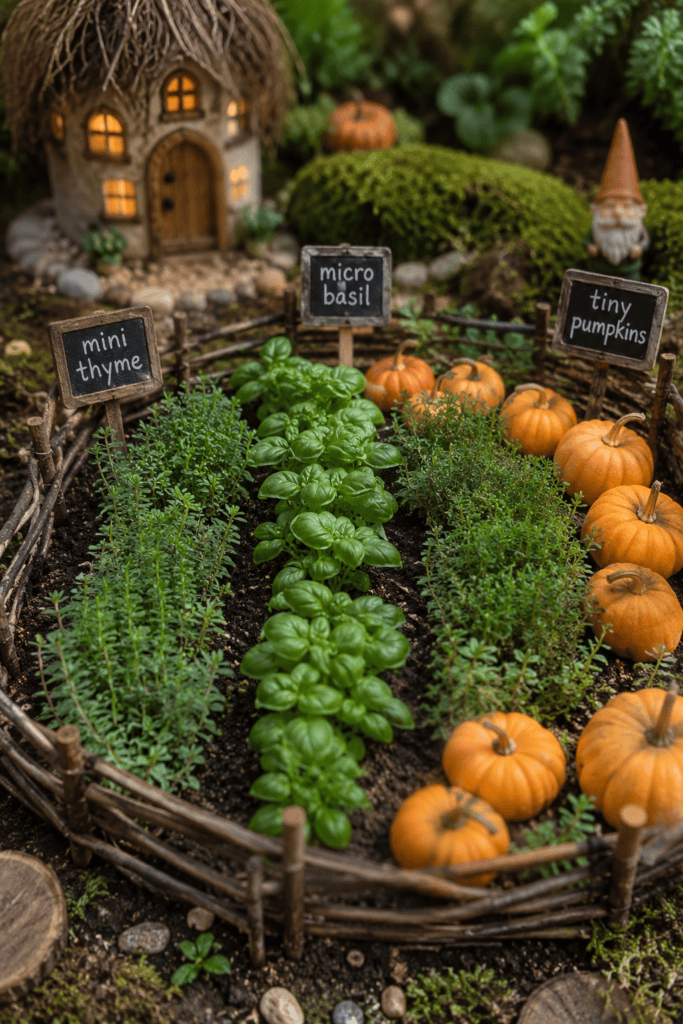
Fairies gotta eat too, right? A tiny raised bed with miniature “crops” (or actual small herbs) adds a functional storyline to your garden.
You can use small twigs to create a fence around a mini garden bed, then fill it with thyme, micro basil, or even small succulents arranged in rows. This section always gets the most questions from neighbors. People love a garden within a garden.
If you’re not into gardening upkeep, fake mini vegetables work just as well and never wilt. I mixed real thyme with a couple of fake miniature pumpkins in mine, and honestly, nobody’s ever called me out on the swap. Not that I’m encouraging deception, but hey, it works.
9. Use Vertical Elements Like Tiny Ladders or Trellises
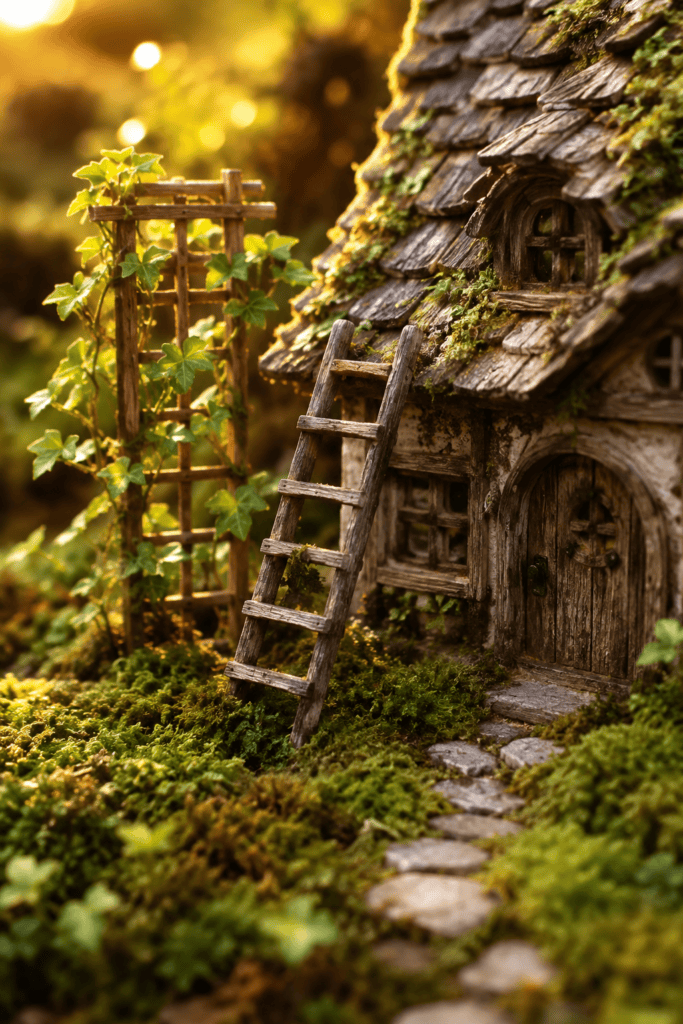
Don’t let your fairy garden stay flat—flat is boring, and boring doesn’t belong here. A miniature ladder leaning against a tree or a small trellis with climbing “vines” adds height and visual interest.
I used a bit of twine and small artificial ivy to create a climbing vine effect on a tiny trellis, and it instantly made the whole setup look three-dimensional instead of like a diorama glued to a table. Height changes everything.
A miniature ladder propped against the cottage roof also implies a story—maybe someone’s fixing the chimney, maybe they’re just stargazing from up there. Either way, it gives the eye a reason to travel upward instead of staying flat on the ground the whole time.
10. Add Solar Lights for Nighttime Magic
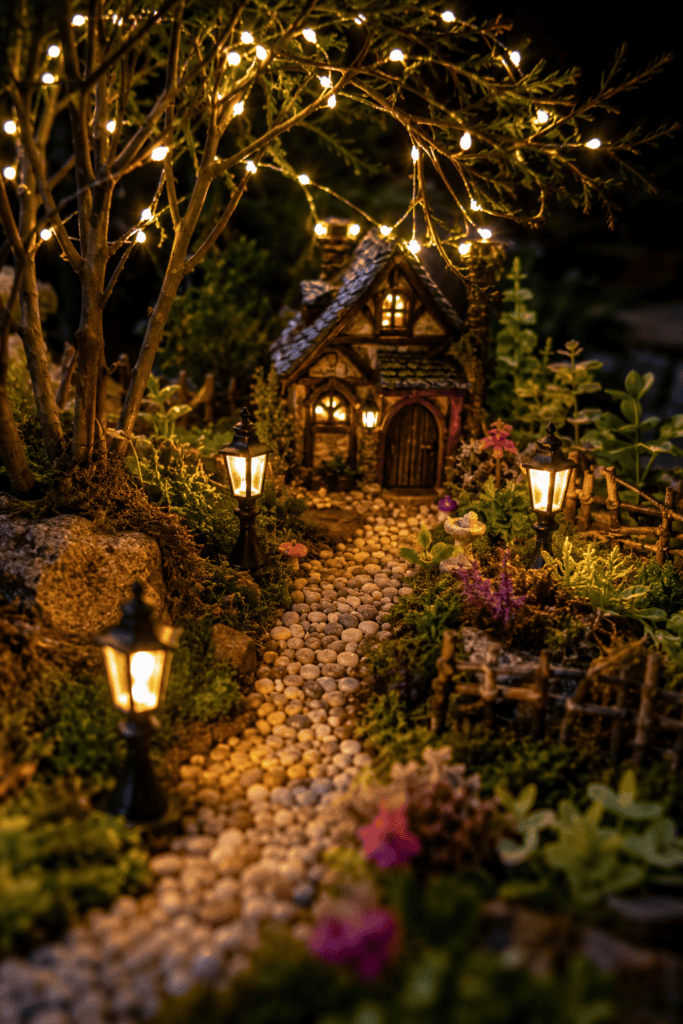
This one’s non-negotiable IMO. Tiny solar-powered fairy lights or lanterns transform your garden from “cute in daylight” to “genuinely magical at night.”
- String lights woven through branches or moss
- Miniature lantern posts along the pathway
- Glow-in-the-dark stones scattered near the cottage
I didn’t add lighting to my first garden and honestly regretted it. Once the sun goes down, an unlit fairy garden just disappears. Don’t make that mistake.
Solar lights are ideal because you never have to think about them again once they’re installed. Just make sure the panel itself gets a few hours of direct sun, or you’ll end up with lights that barely flicker come nightfall. It’s a small detail, but it’s the difference between “magical glow” and “sad, dim disappointment.”
11. Include a Fairy Door on a Nearby Tree

If you have a tree trunk anywhere near your garden, slap a tiny door on it. Fairy doors on tree bases are one of those details that make kids (and honestly, adults) lose their minds a little.
Ever seen a kid’s face light up at a tiny door on a tree? It’s priceless, and it costs about six bucks. This is peak effort-to-payoff ratio.
Add a tiny welcome mat or a small pair of “shoes” outside the door for an extra layer of storytelling. It sounds silly written out, but in person, these little touches are what make visitors stop and actually look closely instead of just glancing and moving on.
12. Mix Textures With Rocks, Bark, and Sand
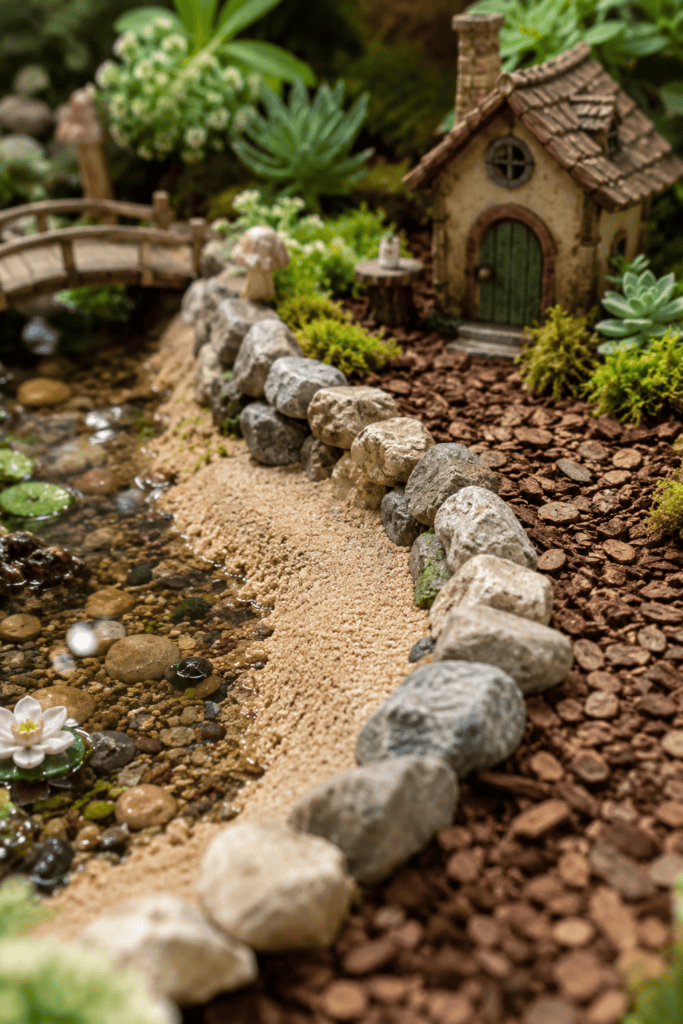
A garden that’s all one texture looks flat and, frankly, a little lazy. Combining rocks, bark chips, and fine sand creates visual zones within your space.
Use sand for a “beach” area near your water feature, bark for a natural forest floor look, and rocks to define borders or create small retaining walls. Variety is what separates an amateur setup from one that looks professionally designed.
Try grouping textures in odd numbers, like three rock clusters instead of two or four. It’s a classic design trick that photographers and landscapers swear by, and it genuinely makes arrangements look more natural and less like they were placed by a robot with a ruler.
13. Add Seasonal Décor to Keep It Fresh

Your fairy garden shouldn’t look identical in July and December. Swap small seasonal accents to keep the space feeling current and cared for.
Try this rotation:
- Spring: tiny flower bulbs, pastel accents
- Summer: bright blooms, small butterflies or bees
- Fall: miniature pumpkins, acorns, warm-toned leaves
- Winter: tiny pinecones, a dusting of fake snow, small lanterns
This is honestly my favorite part of the whole hobby. It keeps things interesting instead of static.
I keep a small shoebox of seasonal fairy garden accents so I’m not scrambling every time the season changes. It takes maybe ten minutes to swap things out, and it makes the whole space feel like it’s actually being tended to rather than just sitting there collecting dust and cobwebs.
14. Use a Container Instead of Ground Space
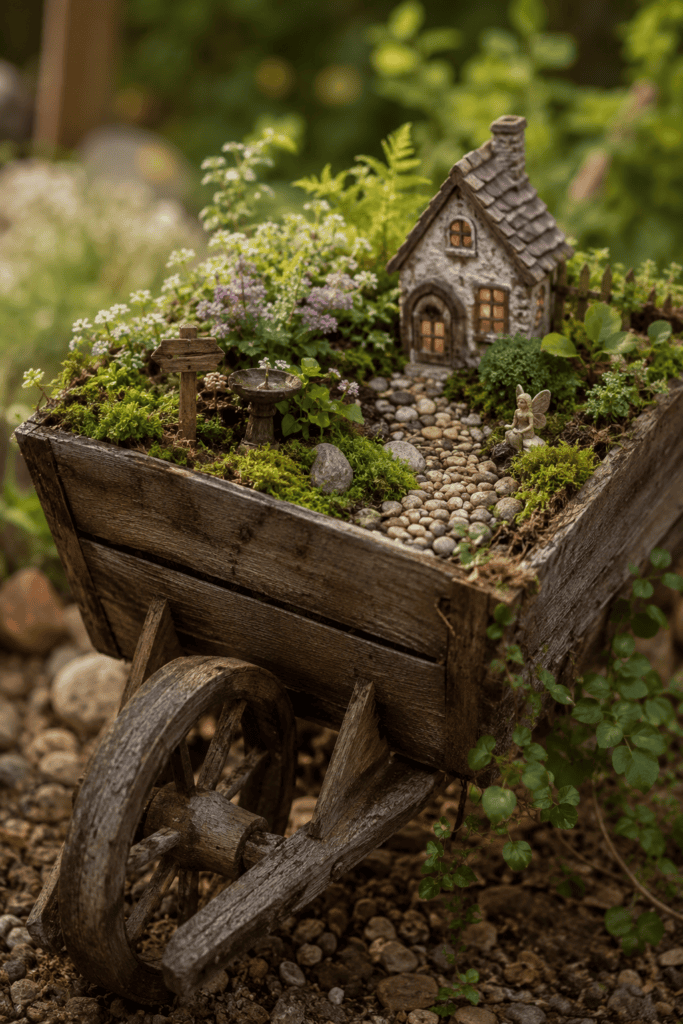
Don’t have outdoor ground space to work with? No problem. A large shallow container, old wheelbarrow, or even a tree stump planter works just as well as an in-ground setup.
I built my first fairy garden in a broken wheelbarrow I was about to throw out, and it turned into the best-looking piece on my patio. Sometimes your “trash” is just an unfinished project. Look around before you buy anything new.
Just make sure whatever container you use has drainage, especially if you’re planting real greenery in it. I skipped this step once, ended up with a swampy mess after one rainstorm, and had to redo the whole thing from scratch. Drill a few holes in the bottom before you plant anything—future you will thank present you.
15. Add a Tiny Swing or Hammock
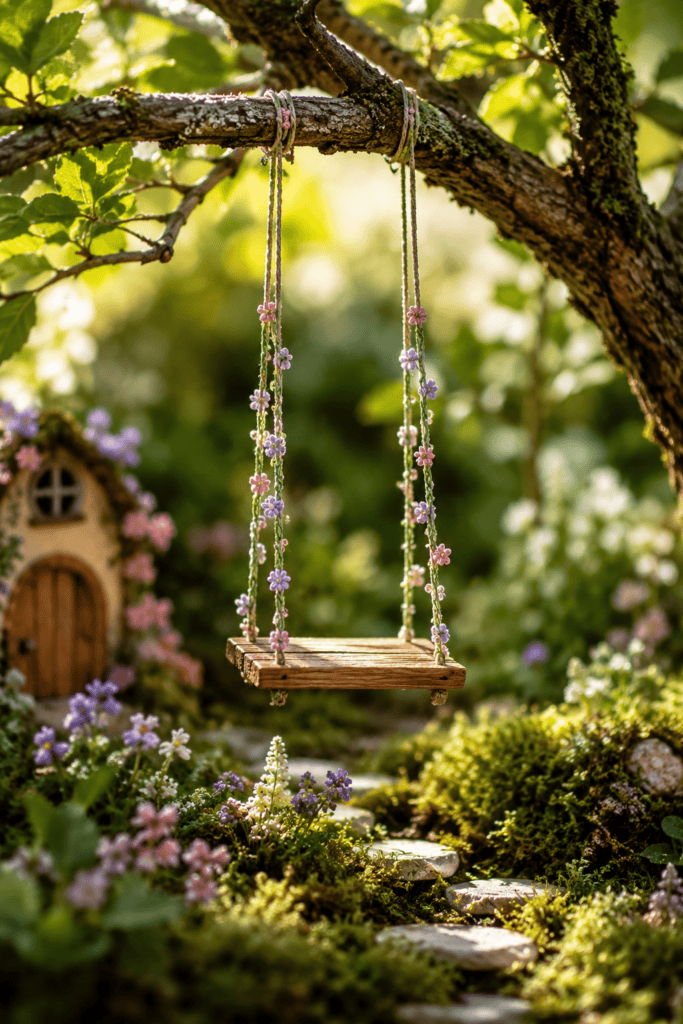
This detail feels almost too simple, but it works every time. A small swing hanging from a branch or a miniature hammock strung between two stakes adds personality and a sense of leisure to the scene.
It also gives the eye somewhere unexpected to land. Most people put all their effort into the cottage and forget the surrounding “lifestyle” details—don’t be most people.
You can make a simple swing with a small wooden dowel and a bit of embroidery thread tied to a sturdy branch. It takes about five minutes and adds a level of charm that’s honestly out of proportion to the effort involved. It’s one of those cheap wins I mentioned earlier.
16. Incorporate Multiple Levels or Elevation Changes
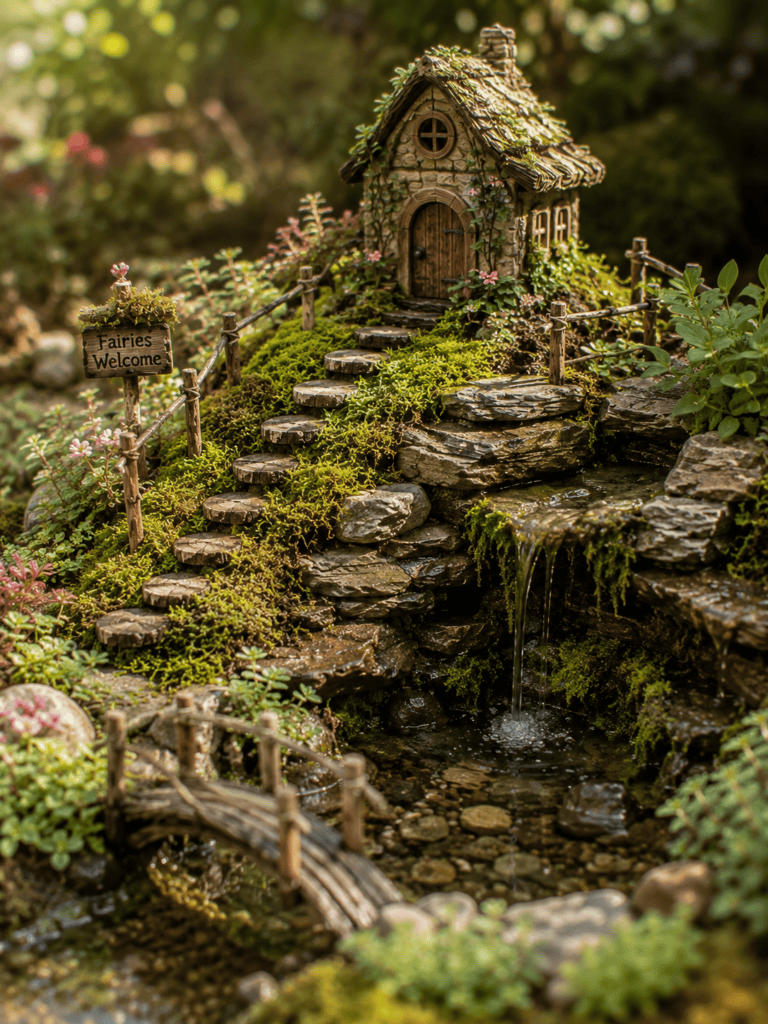
Flat gardens look fine. Layered gardens look intentional. Use small rocks, stacked logs, or tiered planters to create elevation changes throughout your space.
A little hill leading up to the cottage, or a small rock “cliff” near the pond, adds depth that a flat surface just can’t match. IMO this is the single biggest upgrade from “beginner” to “this person clearly knows what they’re doing.”
You can create a simple hill using nothing more than a mound of potting soil covered in moss or ground cover. It settles a bit over the first couple weeks, so don’t panic if your “mountain” turns into more of a “gentle slope.” Just add a bit more soil and keep going.
17. Personalize It With a Theme
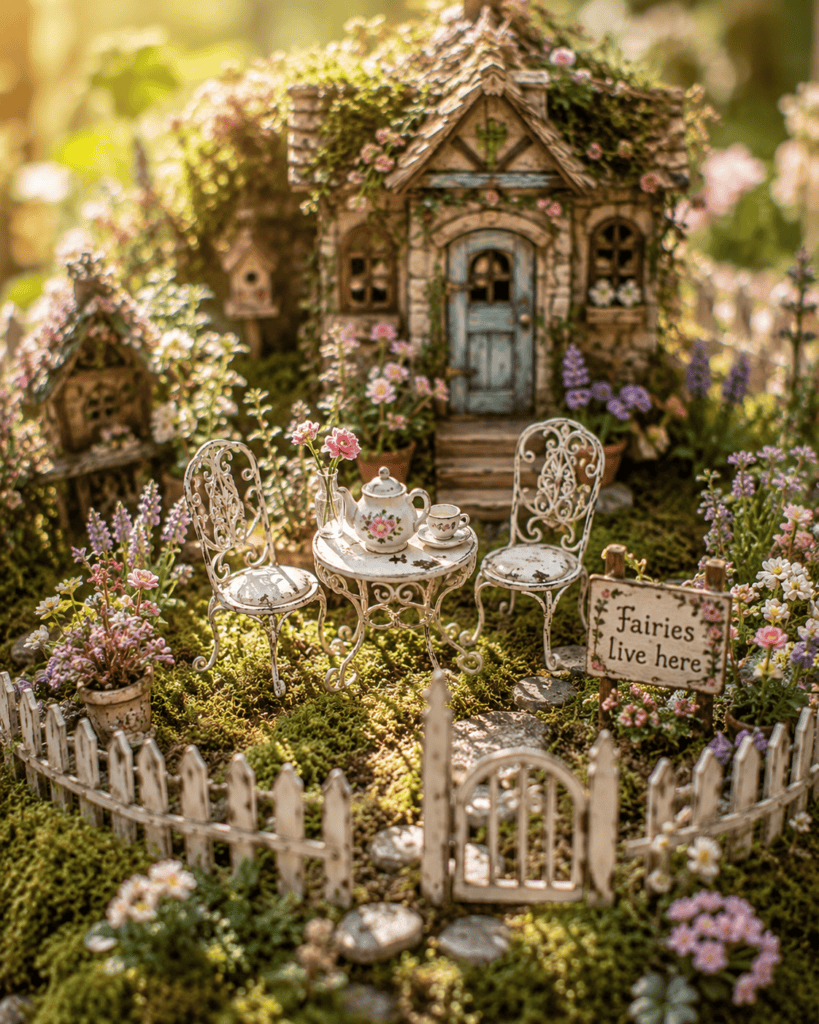
Generic fairy gardens are fine, but themed ones are memorable. Pick a direction and commit:
- Woodland theme: natural wood, moss, muted tones
- Beach theme: sand, shells, tiny driftwood pieces
- Cottagecore theme: pastel flowers, tiny picket fences, vintage-style furniture
- Enchanted forest theme: dark greenery, mushrooms, glowing accents
My current setup leans heavily cottagecore because, well, I have a personality and it shows up in my garden decor apparently. Pick something that reflects you rather than copying a random Pinterest board pixel for pixel 🙂
Once you’ve picked a theme, stick with it when buying new pieces down the road. It’s tempting to grab every cute mini item you see at the store, but a woodland-themed garden with a random beach umbrella thrown in just looks confused. Consistency is what makes a themed garden read as intentional instead of thrown together.
A Few Quick Maintenance Tips So It Doesn’t Fall Apart
Building the garden is the fun part, but keeping it looking good is where a lot of people quietly give up. A little regular upkeep goes a long way, and none of it takes more than a few minutes at a time.
- Check for weeds weekly if your garden includes real soil—they sneak in fast and ruin the miniature scale.
- Wipe down resin figures every so often since dust and pollen build up quicker than you’d think.
- Reposition pieces after rain or wind, since lightweight decor items love to tip over at the worst times.
- Refresh mulch or bark once a season so it doesn’t fade or get patchy.
None of this is complicated, but skipping it for a few months is exactly how a charming fairy garden turns into a forgotten pile of decorations. A little consistency keeps the magic alive.
Wrapping This Up
Building a fairy garden isn’t about spending a fortune or having a green thumb the size of a professional landscaper’s. It’s about layering small details—moss, lighting, a tiny bridge, a door on a tree—until the whole thing feels like it has its own little world going on.
Start with two or three ideas from this list, not all seventeen at once (unless you really love yourself a weekend project). Add a cottage, some moss, and a light source, then build outward from there. Before long, you’ll have neighbors asking who your “landscaper” is, and you get to smugly say it was just you and a hot glue gun.