

Let’s talk about the shoe pile. You know the one. It’s right by your front door, it’s grown a mind of its own, and every time someone rings the doorbell you do that frantic kick-everything-into-a-corner move. Maybe you’ve bought a shoe rack or two. Maybe you’ve got a basket that’s supposed to “corral” things but just becomes its own mess. If you’re anything like me, you’ve tried every quick fix on Pinterest and none of them actually solved the problem, because the real issue was never storage. It was that your entryway needed furniture that does double duty.
A DIY entryway bench with hidden shoe storage is the fix that actually sticks, because it doesn’t ask you to change your habits it works with them. You walk in, you sit down, you take your shoes off, and they disappear into the bench you’re literally sitting on. No extra steps, no separate “shoe zone” you have to remember to use. That’s the whole trick, and it’s why this project is worth the weekend it takes to build.
Why Most Entryway Storage Solutions Fail (And This One Doesn’t)
Here’s the thing most entryway storage fails for one simple reason: it adds a step. A shoe rack across the room, a basket by the closet, a tray tucked under a console table. All of these require you to walk somewhere, bend down, and place your shoes in a designated spot that’s separate from where you actually take them off. In theory it works. In practice, humans are lazy about the last five feet, and shoes end up on the floor next to the rack instead of in it.
A bench solves this because sitting down to remove your shoes is already the natural motion. If the storage is built into the seat itself, there’s zero extra travel involved. You’re not asking anyone to develop a new habit — you’re just making the existing habit more efficient. That’s a completely different design philosophy than “buy a container and hope people use it,” and it’s why furniture-based storage solutions consistently outperform standalone organizers in small entryways.
The Mistake People Make With Bench Height
A lot of people building their first entryway bench go straight to Pinterest, copy a photo, and end up with a bench that’s either too short to comfortably sit on or too tall for kids to use. Standard bench seating height is 17 to 19 inches, which mirrors a typical dining chair. Go lower than that and you’ll feel like you’re squatting; go higher and your feet won’t touch the ground, which sounds minor until you’re the one trying to yank off a boot at an awkward angle.
If your household includes kids, consider dropping to around 15 inches, or building a two-tier version with a small step. It sounds fussy, but the difference between “comfortable daily use” and “that bench we never actually sit on” often comes down to an inch or two.
Planning: What Actually Matters Before You Cut Any Wood
Measure Twice, Because Your Entryway Is Weirder Than You Think
Most entryways aren’t perfectly rectangular. There’s a radiator, a light switch at an inconvenient height, a door that swings wider than you remember, or a wall that’s not quite as straight as it looks. Before you even sketch a design, measure the full width of your space, then subtract at least 3 inches for clearance — you don’t want the bench edge clipping the door swing or blocking a heating vent.
What actually works is taping the exact footprint onto your floor with painter’s tape before you build anything. It sounds excessive, but it’s the fastest way to catch a sizing mistake before it’s permanent. I’ve seen people build a gorgeous 48-inch bench only to realize their entry is 44 inches wide once you account for the baseboard trim.
Choosing Materials: Don’t Overspend on the Wrong Thing
You don’t need furniture-grade hardwood for this. Entryway benches take a beating wet boots, dropped keys, kids climbing on and off so plywood with a solid wood face frame is genuinely the smarter choice over solid lumber for the main box. Here’s why: plywood is dimensionally stable, meaning it won’t warp or cup the way solid boards can when they’re exposed to the humidity swings that happen right by a front door. Save the solid wood for the top (the part people will actually touch and see) and the visible face frame.
A ¾-inch cabinet-grade plywood (birch or maple-veneer) for the box, paired with a solid wood or a butcher-block-style top, gives you durability where it counts and a nicer finish where it’s visible. This combo also keeps costs down significantly compared to building the whole thing from solid hardwood.
Step-by-Step: Building the Bench
Step 1: Build the Basic Box Frame
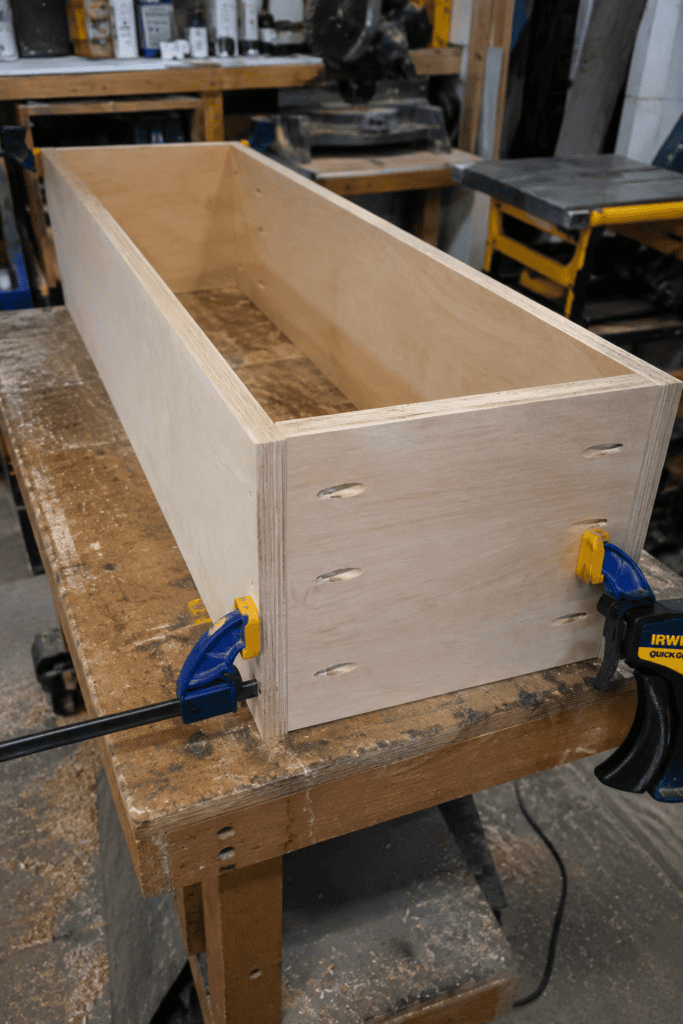
Start with the two side panels, then the bottom panel that will support whatever storage mechanism you choose (lift-top or drawers — more on that below). Pocket-hole screws are genuinely the easiest joinery method here if you’re not experienced with woodworking; they’re strong enough for this application and don’t require specialized clamping setups. Glue the joints in addition to screwing them — glue handles the shear stress, screws handle the pull-apart stress, and together they outlast either one alone.
Step 2: Decide Between a Lift-Top or Drawer-Style Storage
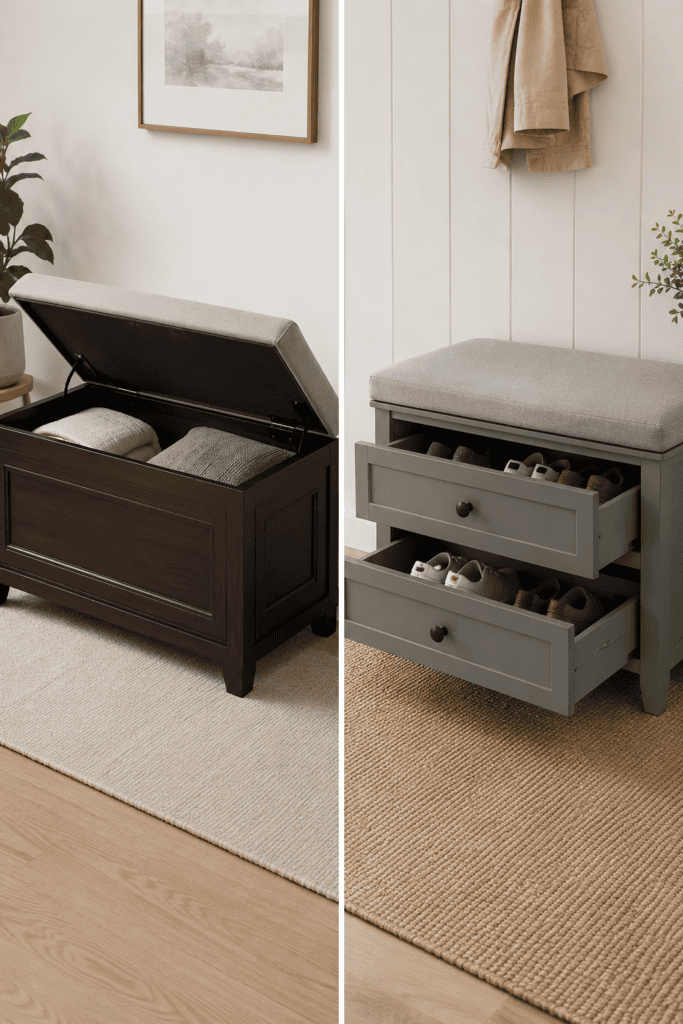
This is the decision that shapes your whole build, so don’t rush it.
Lift-top storage (a hinged seat that opens upward) gives you the most storage volume and is simpler to build — you’re basically making a box with a hinged lid. The tradeoff is that you can’t access your shoes while someone’s sitting on the bench, and you need enough clearance behind the bench for the lid to swing open fully.
Drawer-style storage (pull-out drawers underneath a fixed seat) is more convenient for daily use since the bench stays sittable at all times, but it requires drawer slides, which adds cost and a bit more precision to your build. If your household is in and out constantly — multiple kids, a dog walker, whoever — drawers tend to win out because nobody has to stand up and lift a lid just to grab their sneakers.
My honest take: if this is your first furniture build, start with a lift-top. It’s far more forgiving of small measurement errors, and piano hinges (a continuous hinge that runs the full width of the lid) distribute weight evenly so the lid doesn’t sag or warp over time the way two small hinges sometimes will.
Step 3: Add Internal Dividers If You’re Going the Shoe-Specific Route
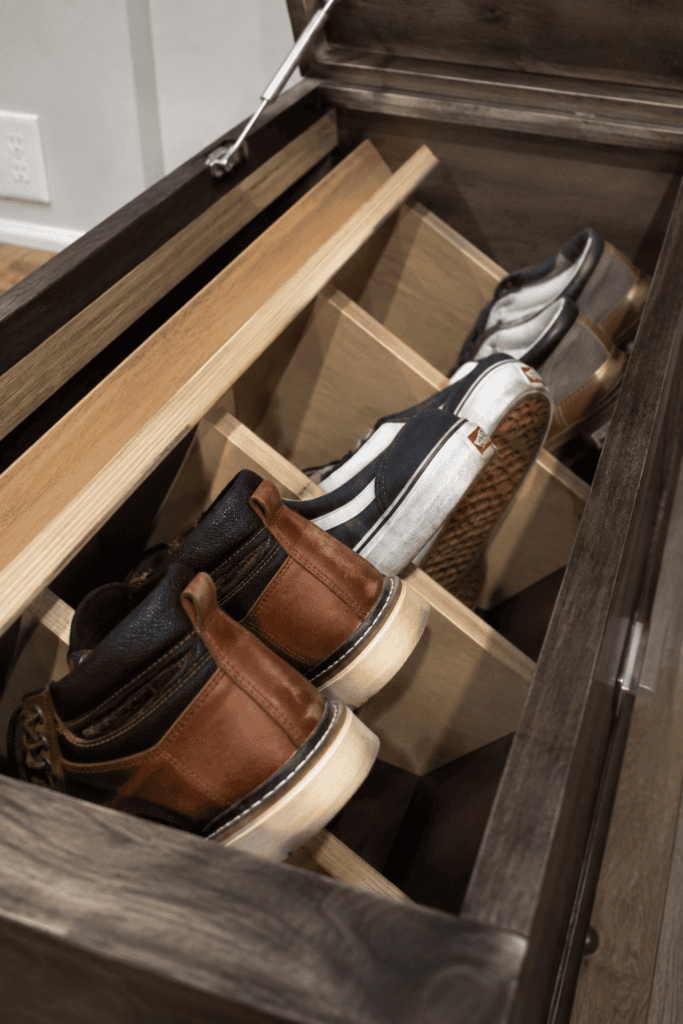
If you want the hidden storage to function specifically as a shoe organizer rather than a general catch-all bin, add angled internal shelving. Shoes store more efficiently on a slight incline (around 15 to 20 degrees) because it uses the vertical space more effectively — you can fit a shoe toe-down in less depth than you’d need for it lying flat. This is the same principle shoe cabinets use, and it’s the difference between fitting 6 pairs and fitting 10 in the same footprint.
Step 4: Attach the Face Frame and Top
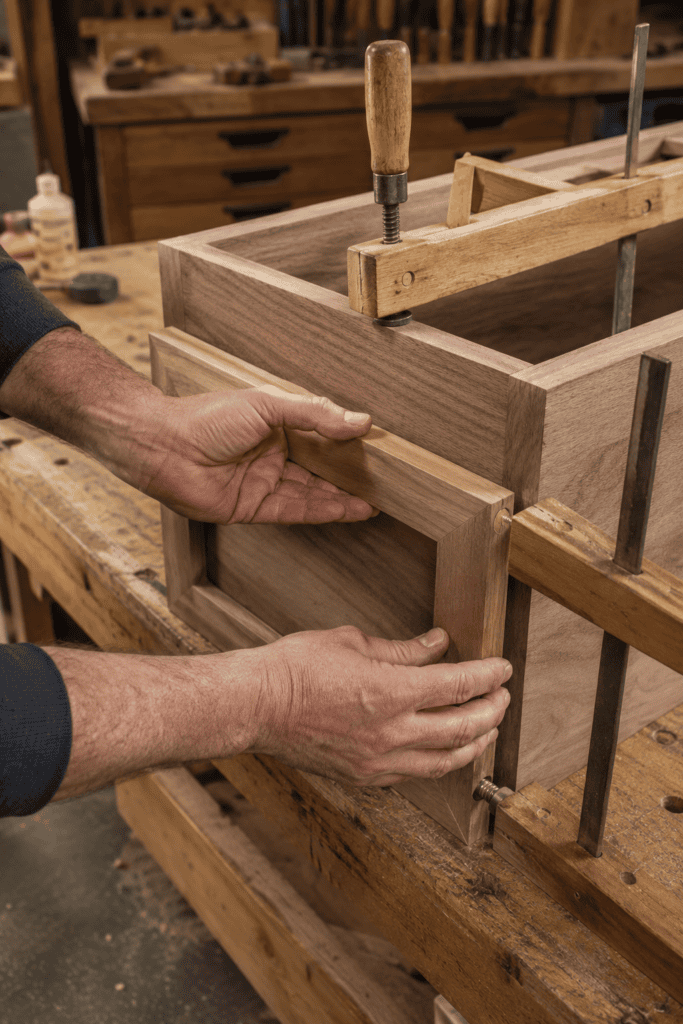
The face frame (the visible trim around the front of the box) is what makes this look like real furniture instead of a plywood crate. Miter the corners at 45 degrees for a seamless look, or use simple butt joints with wood filler if you’re less confident with a miter saw — either works, but the miter looks noticeably more finished.
For the top, this is where solid wood earns its keep. A ¾ to 1-inch thick solid board (poplar, oak, or a pre-made butcher block panel from a hardware store) gives you a surface that can handle years of sitting, bag-dropping, and the occasional kid standing on it.
Step 5: Sand, Finish, and Hardware
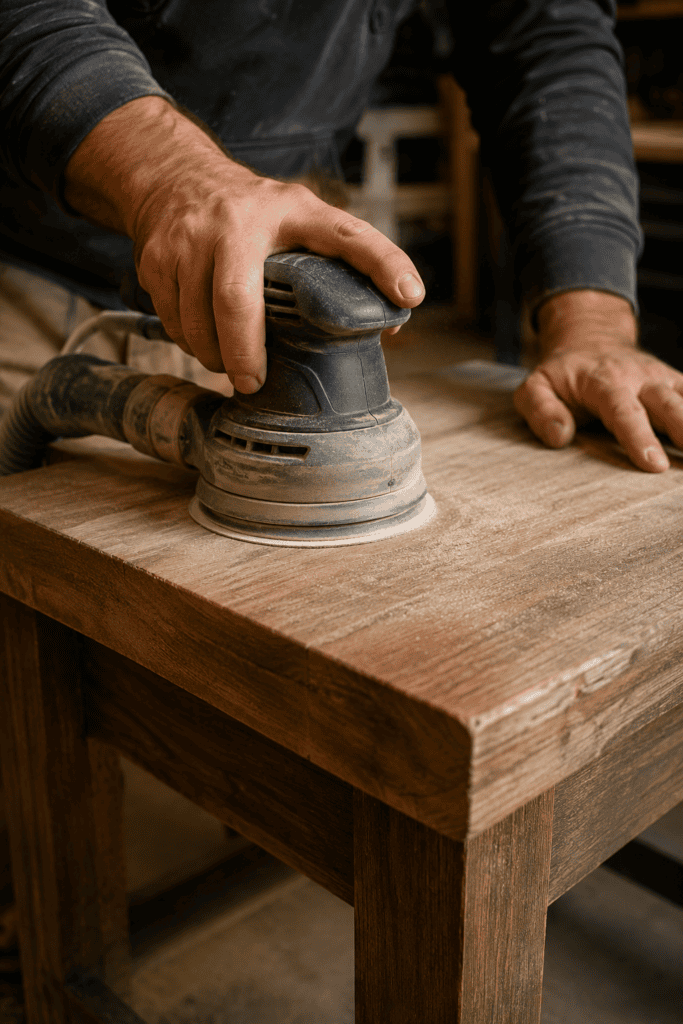
Sand through progressively finer grits — 120, then 180, then 220 — because skipping grits leaves swirl marks that show up badly once you apply stain or paint. For finish, a water-based polyurethane over paint or stain holds up better near an entryway than an oil-based finish, since it dries harder and resists scuffing from shoes and boots better over time.
Practical Tips That Actually Make a Difference
- Add a lip or stop to the lift-top lid. Without one, the lid can slam shut on fingers — a small strip of wood or a soft-close hinge kit solves this cheaply.
- Line the bottom with a washable mat or tray, especially if you live somewhere with real winters. Wet, salty boots will eventually damage bare wood or plywood, and a $10 rubber liner saves you from refinishing the interior in two years.
- Leave a gap under the bench if you have space — a 3 to 4 inch toe-kick lets shoes tuck underneath for overflow, and it makes the whole piece look more intentionally designed rather than just a box on the floor.
- Don’t skip the coat hooks above it. A bench alone still leaves coats on chairs. Pairing it with wall-mounted hooks at a height of about 60 inches (adjust lower for kids) turns your entryway into an actual system instead of one solved problem next to three unsolved ones.
Final Thoughts
A DIY entryway bench with hidden shoe storage isn’t just a cute weekend project it’s one of those rare builds that genuinely changes how your family moves through the front door every single day. The key is designing around your actual habits: the right seat height, the right storage type for how often you’re in and out, and materials that can handle wet boots without falling apart in a year.