
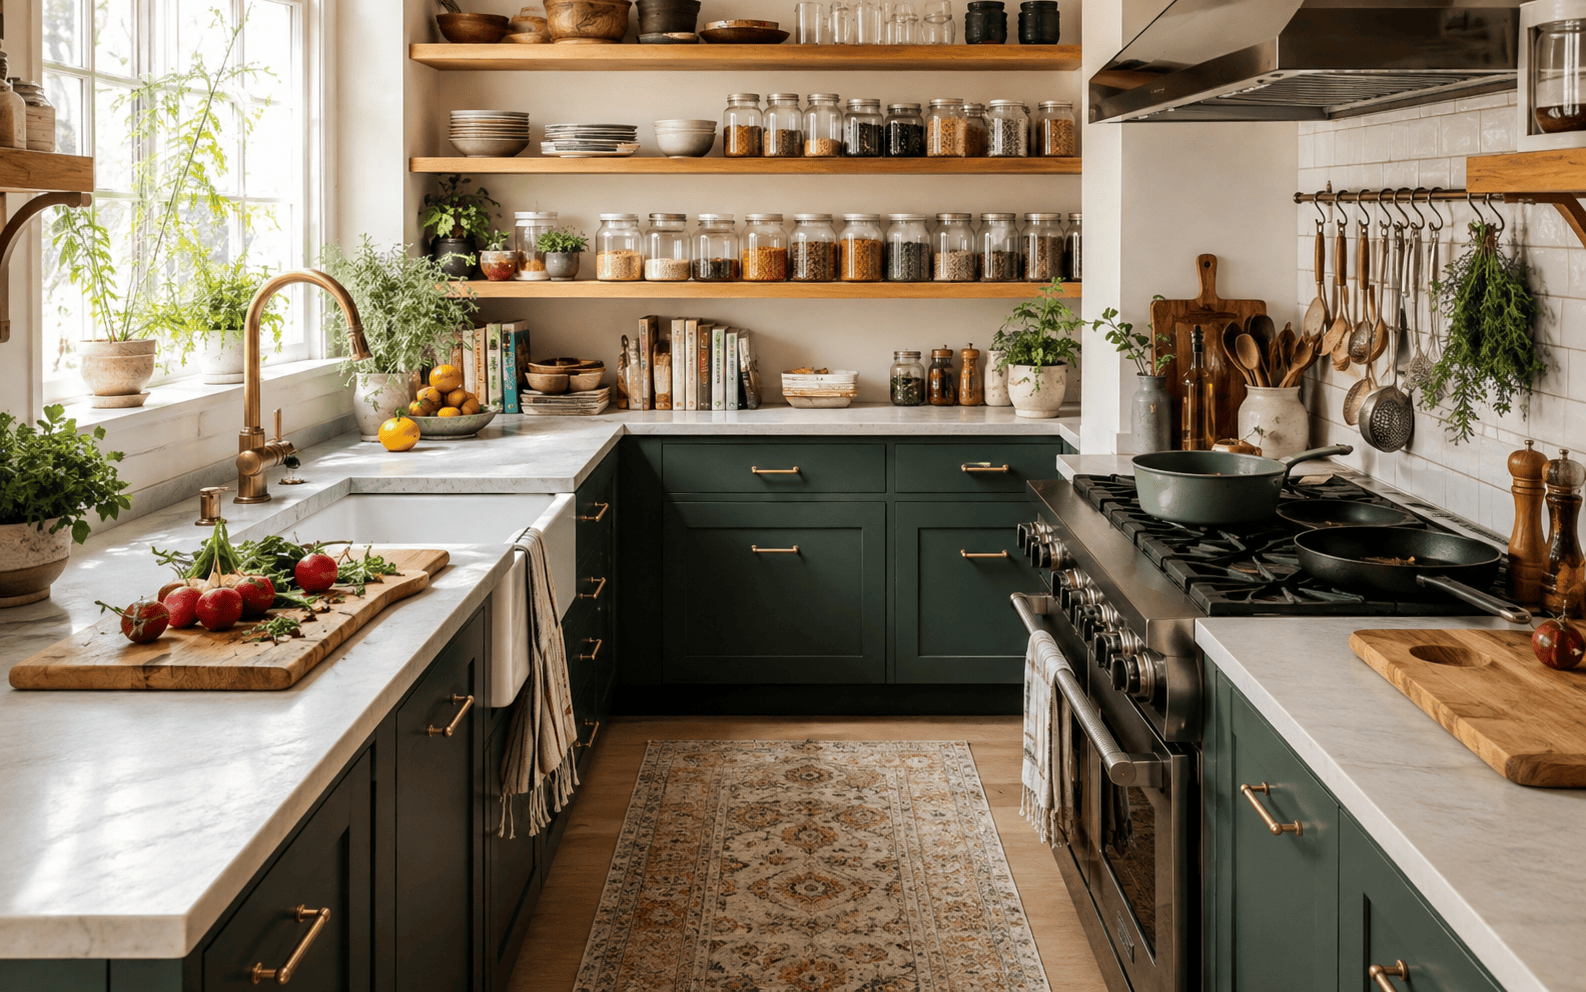
If you’ve ever stood in your kitchen holding a hot pan with nowhere to put it, or dug through three drawers looking for a can opener that lives in none of them, you already know your kitchen isn’t working for you. It’s not a “you” problem. It’s a layout problem.
Most kitchens get organized by category all the plates together, all the spices together, all the pots stacked in one cabinet — because that’s how we were taught to tidy as kids. Put like with like. Sounds logical. But it completely ignores how you actually move and cook in the space, which is why you can have a “clean” kitchen that still feels like chaos every single time you cook dinner.
That’s where work zones come in. Instead of organizing by object type, you organize by activity: what happens where, in what order, and what you need in that exact spot to make it happen. It sounds like a small mental shift, but it changes everything about how your kitchen feels to use. Let’s get into how to actually do this, not just the theory.
Why Category-Based Organizing Fails You
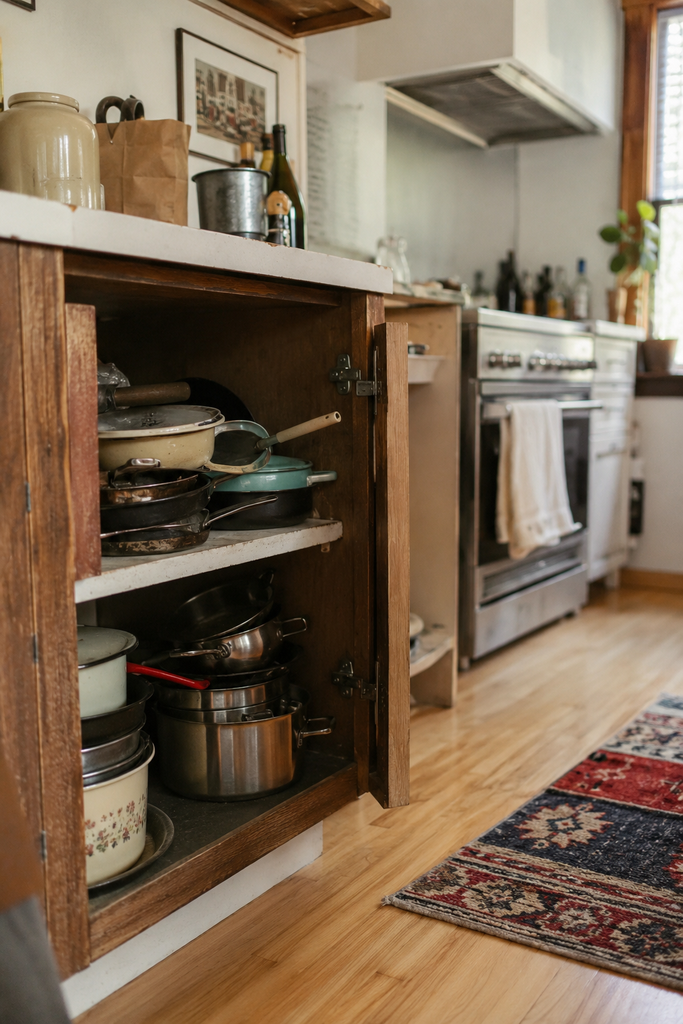
Here’s the thing — organizing by category feels tidy, but it forces you to walk across the kitchen multiple times to complete one task. Think about making pasta: you need a pot near the stove, but if your pots live in a cabinet by the fridge because “that’s where pots go,” you’re walking across the kitchen before you’ve even turned on the burner.
Most people get this wrong because they organize a kitchen like a museum display instead of a workspace. It looks nice when the cabinet’s open, but it doesn’t account for motion. And a kitchen is 100% about motion — you’re constantly moving between prepping, cooking, cleaning, and storing, often in the same five minutes.
The fix isn’t more storage or fancier containers (though sure, those help). It’s rethinking what “organized” even means. Organized should mean efficient, not just neat.
What “Work Zones” Actually Means
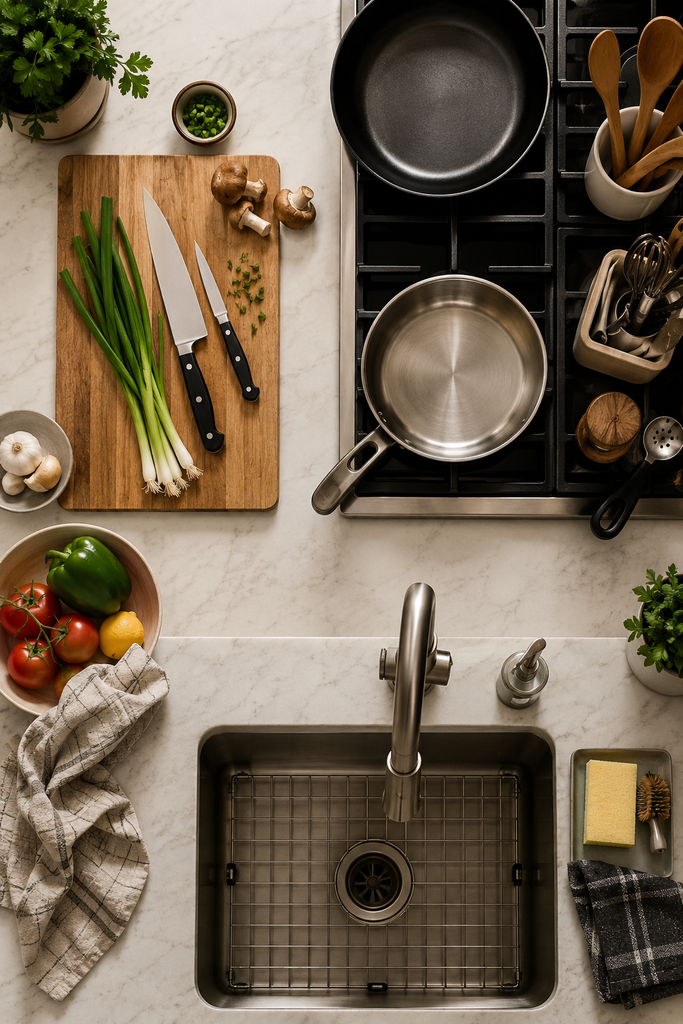
A work zone is a section of your kitchen dedicated to one specific task, stocked with everything you need to complete that task without leaving the spot. Think of it like mise en place, but for your whole kitchen instead of just your cutting board.
The five zones that matter most in almost every home kitchen are:
1. The Prep Zone
This is your cutting, chopping, mixing, measuring area — usually near the sink since you’re rinsing produce and washing hands constantly here. Cutting boards, knives, mixing bowls, measuring cups, and your everyday utensils belong here, not scattered across three different drawers.
2. The Cooking Zone
Right around your stove and oven. Pots, pans, oven mitts, cooking utensils (spatulas, tongs, ladles), and your most-used spices should live within arm’s reach — ideally in a drawer or on a rack right next to the stove, not in a cabinet on the other side of the room.
3. The Cleaning Zone
Centered on your sink and dishwasher. Dish soap, sponges, dish towels, trash and recycling, and everyday cleaning supplies go here. This is also where drying racks and dish drainers make sense — not tucked into a random cabinet you forget exists.
4. The Storage Zone
Your pantry, fridge, and food storage containers. This zone is about keeping ingredients accessible and visible so you actually use what you buy instead of rediscovering it moldy six months later.
5. The Serving/Consumption Zone
Plates, bowls, glasses, cutlery, and anything you use to actually eat. This works best near the dining area or table, not buried next to the stove where you’d never think to look when setting the table.
Once you see your kitchen this way, the disorganization starts making sense. You’re probably storing things based on what “category” they belong to instead of what task they support — and that mismatch is exactly why your kitchen feels harder to use than it should.
The Real Principle Behind Zone-Based Organizing
Here’s what actually works, and why: items should live as close as possible to where they’re first used in a task, and no farther than one or two steps away. That’s it. That’s the whole principle.
This matters because every extra step you take while cooking adds friction, and friction is what makes cooking feel like a chore instead of something you can do without thinking. When your olive oil is next to the stove instead of in a pantry across the room, you use it more naturally, you spill less because you’re not carrying it as far, and cooking starts to feel more automatic.
This is also why “aesthetic” kitchen organizing — the kind you see in photos with matching labeled jars — sometimes actually makes things worse. If it prioritizes how the shelf looks over how the zone functions, you’ll end up with a gorgeous pantry and a chaotic cooking process, because the jars look pretty but aren’t placed where you actually reach for them.
Step-by-Step: How to Set Up Zones in Your Own Kitchen
Step 1: Watch yourself cook for a few days. Don’t reorganize yet. Just notice where you naturally reach, where you get frustrated, and where you find yourself walking back and forth. This is the single most skipped step, and it’s the most important one. You can’t fix a workflow you haven’t actually observed.
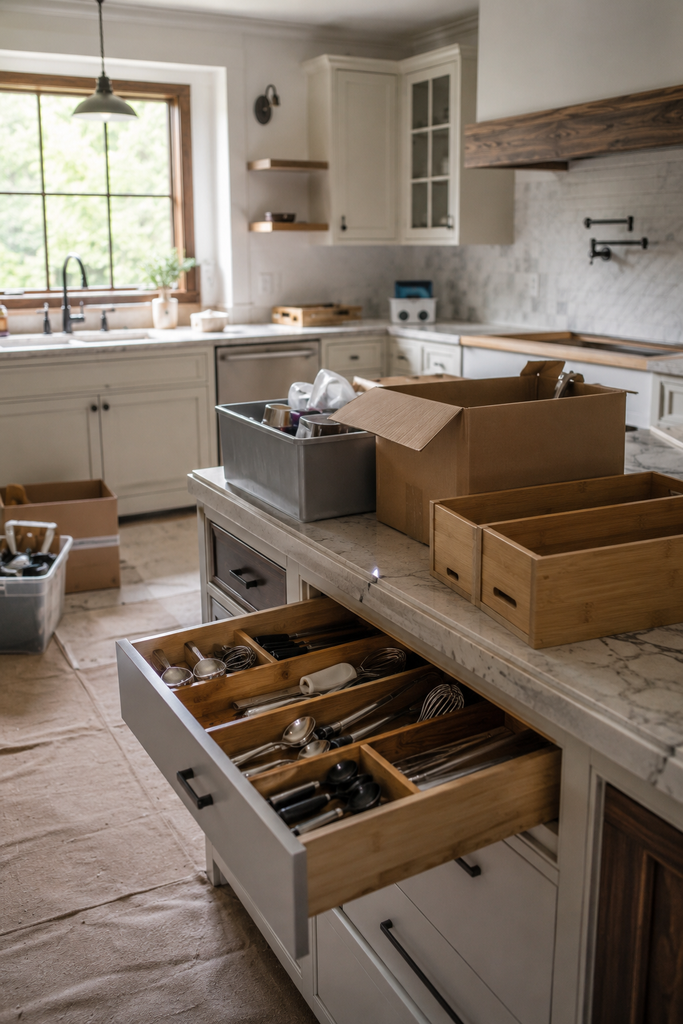
Step 2: Empty one zone at a time — not the whole kitchen at once. Trying to overhaul your entire kitchen in one afternoon usually ends with everything in a pile on the counter and you giving up by hour three. Start with the zone that annoys you most (for most people, it’s the cooking zone) and get that one right before moving to the next.
Step 3: Group by task, not type. This is the mental shift that trips people up. Your spatula and your can opener might both be “utensils,” but if you only use the can opener for pantry stuff and the spatula for stovetop cooking, they don’t belong in the same drawer. Ask “when do I use this?” not “what category is this?”
Step 4: Prioritize prime real estate for daily-use items. The drawer right next to the stove, the shelf at eye level, the hook right by the sink — these are prime spots. Reserve them for things you use constantly (your everyday pan, your go-to knife) and push the occasional-use stuff (the turkey roaster, the fondue set) to harder-to-reach spots like top shelves or the back of the pantry.
Step 5: Test it for a week before committing. Once you’ve set up a zone, actually cook in your kitchen a few times before buying organizers, labels, or bins. You’ll notice things that don’t quite work — maybe your cutting boards ended up too far from the trash can for scraps — and it’s way easier to adjust before you’ve spent money making it “permanent.”
Practical Tips That Actually Make a Difference
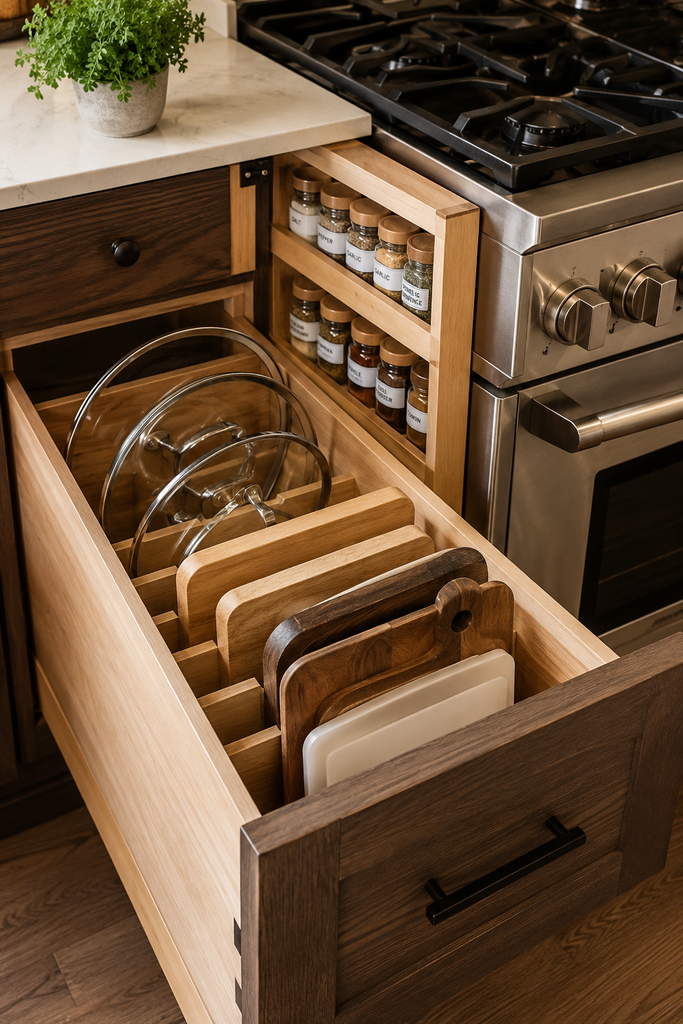
- Use drawer dividers near the stove, not just in the junk drawer. Vertical dividers for lids and cutting boards near your cooking zone save way more time than people expect, because you stop unstacking a pile just to grab the one pan lid you need.
- Keep a small “grab and go” spice rack right by the stove with your 8–10 most-used spices, and store the rest in the pantry. You genuinely don’t need cardamom within arm’s reach if you use it twice a year.
- Store trash and cutting boards near each other. Scraping vegetable peels or trimmings directly into the trash instead of onto a plate you’ll need to wash later saves cleanup time and keeps your prep zone from turning into a pile of compost.
- Put a caddy or lazy Susan for oils and vinegars right next to (not under) your stove. Bending down to a low cabinet mid-cooking, especially with something hot on the burner, is both annoying and a little unsafe.
- Rethink your “everyday dishes” placement based on who unloads the dishwasher. If it’s a shared task, put plates and glasses at a height that works for everyone in the house, near the dishwasher itself, so putting dishes away doesn’t become its own chore nobody wants to do.
- Don’t zone your junk drawer. Every kitchen needs one catch-all spot for the odds and ends that don’t fit a task — twist ties, spare batteries, the manual for your blender. Fighting this is a losing battle. Give it a drawer and move on.
Conclusion
Organizing your kitchen by work zones isn’t about buying more bins or making your shelves Pinterest-worthy — it’s about matching your storage to how you actually move and cook. When everything you need for a task is within arm’s reach of where that task happens, cooking stops feeling like an obstacle course and starts feeling like something you can do without thinking twice.
Start with just one zone this week probably the one that frustrates you most and actually use it for a few days before you touch anything else.