
If your garden tools are currently leaning in a corner of the garage, piled behind the lawn mower, or somehow falling over every time you grab a rake, you’re definitely dealing with a storage problem not a lack-of-space problem.
Long-handled tools are surprisingly awkward to organize. Shovels, rakes, hoes, cultivators, and brooms take up very little actual floor space, but when they’re stored badly, they can make an entire garage or shed feel cluttered.
That’s exactly why I like a DIY garden tool storage rack. Instead of buying another freestanding organizer that eats up valuable floor space, you can use an empty section of wall and build something specifically around the tools you already own.
And it doesn’t need to look like a complicated woodworking project.
A few boards, sturdy hooks or tool clips, decent wall anchors, and some thoughtful spacing can turn a messy tool corner into storage that actually works. The important part isn’t making the fanciest rack. It’s building one that makes your tools easy to grab, easy to return, and difficult to knock over.
Why Wall-Mounted Garden Tool Storage Works So Well
Here’s the thing: most garden tools are tall but relatively narrow.
That makes vertical wall space much more useful than floor space.
A shovel sitting upright might only need several inches of wall width. Put the same shovel in a crowded corner with six other tools, though, and suddenly you have handles crossing, rake heads catching on everything, and tools sliding onto the floor.
A wall-mounted garden tool rack gives every tool a defined position.
It also keeps the floor clear, which matters in a small garage or garden shed where you’re already storing bags of soil, outdoor equipment, bikes, buckets, and possibly a lawn mower.
There’s another practical advantage: visibility. When everything is hanging separately, you can immediately see whether you need the garden rake, leaf rake, spade, or hoe instead of digging through a pile.
Common Garden Tool Storage Mistakes
Trying to Fit Every Tool Into One Tiny Area
Most people get this wrong because they focus on fitting as many tools as possible onto the rack.
More hooks don’t automatically mean better storage.
If your tools are packed shoulder-to-shoulder, you’ll have to remove one tool to reach another. Wide rake heads can overlap, shovel handles can cross, and tools will eventually stop being returned to their designated spots.
Give each tool enough clearance to come straight off the wall.
For bulky tools, that might mean leaving 8–12 inches between hanging points rather than squeezing hooks every few inches apart.
Mounting the Rack Without Considering Tool Length
Before drilling anything, hold your longest shovel or rake against the wall.
You want the rack high enough that long handles aren’t sitting heavily on the floor, but not so high that you have to lift tools over your head.
Also check what sits below the rack. Hanging a rake directly above your lawn mower might look efficient until you realize you have to move the mower every time you want the rake.
Relying on Weak Anchors
A wooden board filled with steel garden tools becomes heavier than you might expect.
What actually works is securing the rack directly into wall studs whenever possible.
Drywall anchors can work for lighter storage, but I wouldn’t trust a couple of basic plastic anchors with several shovels, hoes, and heavy digging tools.
Plan Your DIY Garden Tool Storage Rack First
Before buying hardware, lay your garden tools on the garage or shed floor.
Group them roughly by size and frequency of use.
You might have:
- Shovels and spades
- Garden and leaf rakes
- Hoes and cultivators
- Brooms
- Post-hole diggers
- Small hand tools
- Pruning equipment
Measure the approximate width of the collection once you’ve left comfortable space between the tools.
For many households, a rack around 4–6 feet wide is plenty. But don’t automatically build a six-foot rack because you found six-foot lumber. Build around your actual collection.
I also like keeping frequently used tools toward the middle of the rack at the easiest grabbing height. Less-used or seasonal tools can go toward the ends.
How to Build a DIY Garden Tool Storage Rack
Step 1: Choose the Right Wall
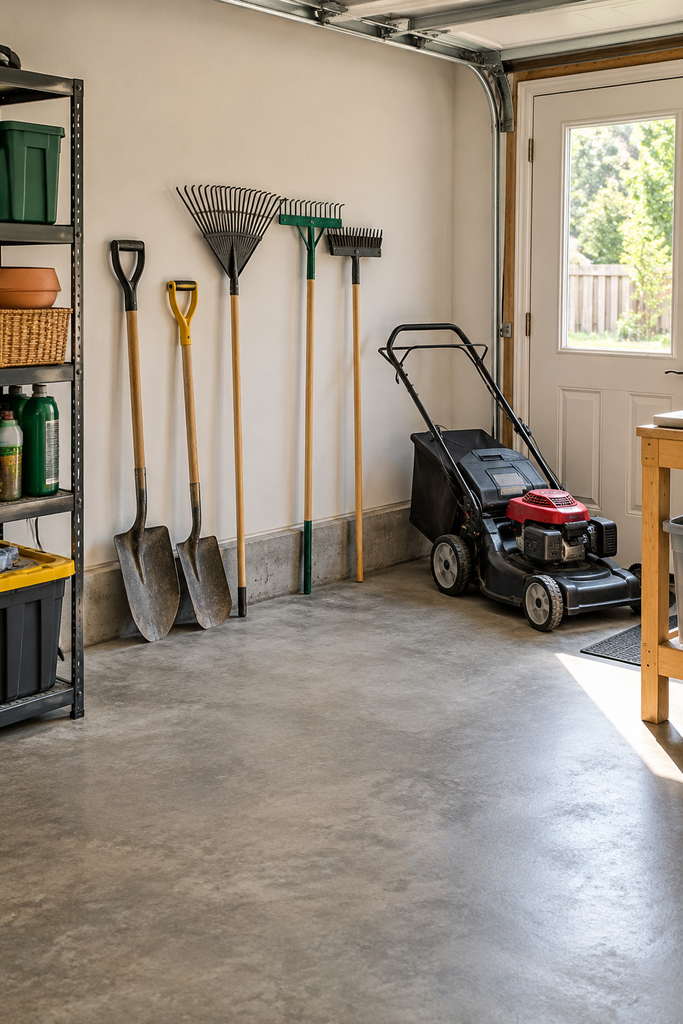
Look for a clear wall near the area where you normally enter the yard.
This small detail makes a surprisingly big difference.
If you have to walk around the car and squeeze behind shelving every time you need a shovel, the organization system becomes annoying. Convenient storage gets used; inconvenient storage slowly turns back into clutter.
Make sure the wall also has enough vertical clearance for your longest tools.
Step 2: Find and Mark the Wall Studs
Use a stud finder to locate the framing behind drywall and mark the stud positions lightly with a pencil.
Your main support board should ideally cross at least two studs.
In a shed with exposed framing, this part is even easier because you can fasten directly into the studs.
Use screws that are appropriate for the wall construction and long enough to securely penetrate the framing.
Step 3: Cut and Prepare the Support Board
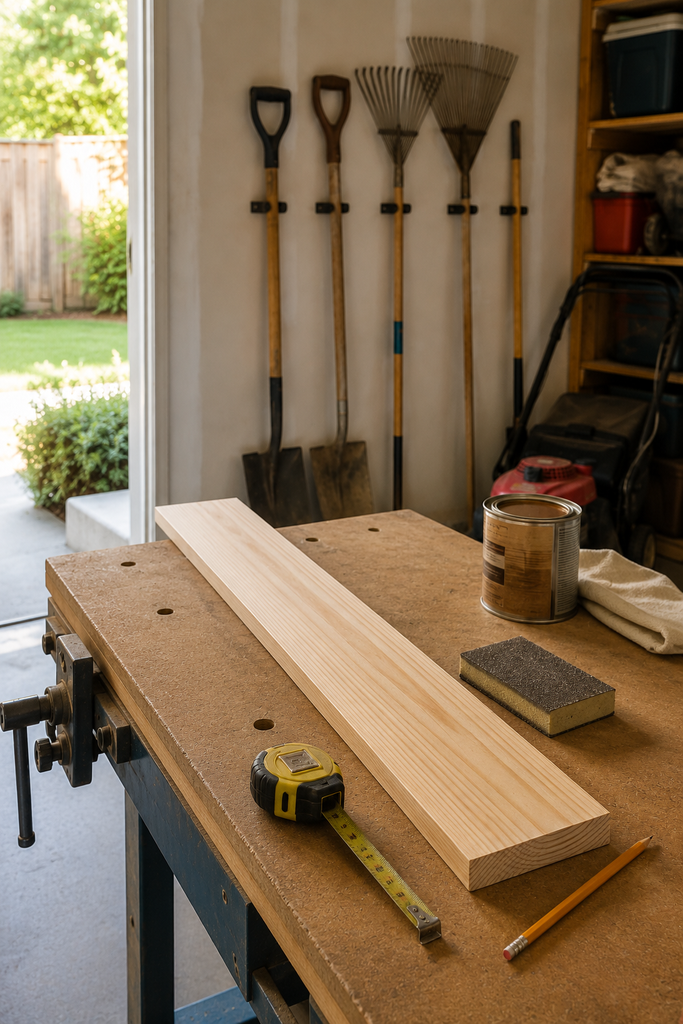
A simple 1×4 or 1×6 board works well as the horizontal mounting rail for a basic rack.
Cut it to your planned length, then sand the edges and corners.
You can leave the wood unfinished in a dry garage, but I prefer adding paint, polyurethane, or another suitable protective finish—especially in a shed where humidity, dirt, and damp tools are more common.
Let the finish dry completely before installing hardware.
Step 4: Lay Out Your Tool Hooks
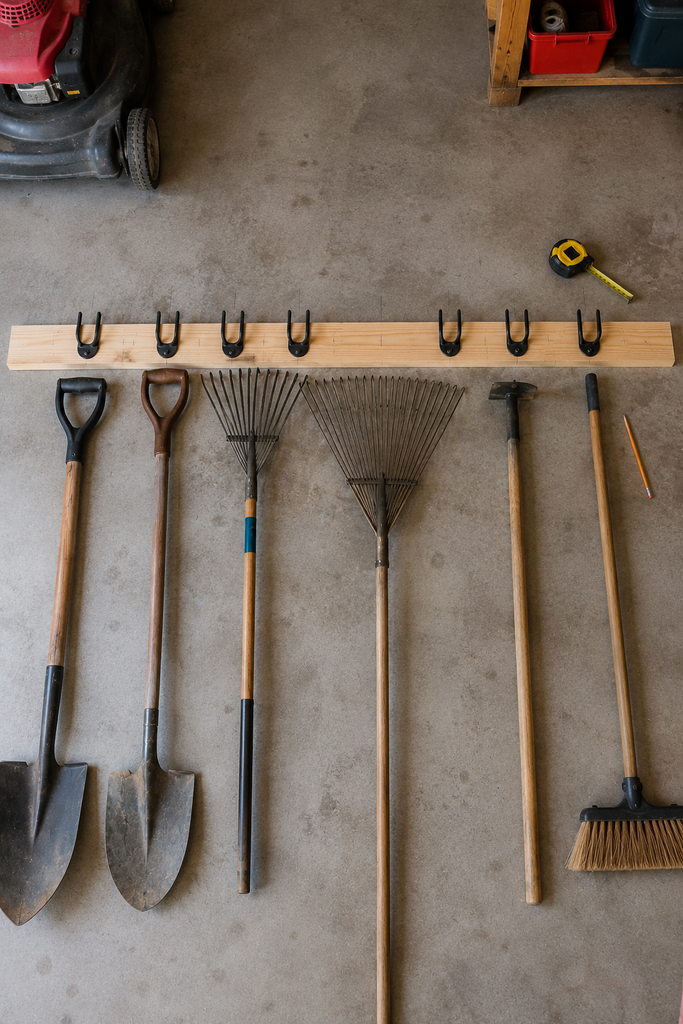
Don’t install hooks based purely on equal measurements.
Instead, place the board on the floor or workbench and arrange your actual tools against it.
A wide leaf rake might need considerably more clearance than a narrow shovel.
Mark each hook location once you find an arrangement that allows neighboring tools to be removed independently.
You can also stagger tools slightly by mounting some hooks higher or lower if their heads would otherwise overlap.
Step 5: Install the Board Securely
Hold the board against your marked wall position and use a level to get it straight.
Pre-drill your mounting holes to reduce the chance of splitting the wood.
Then fasten the board firmly into the studs.
Before adding tools, gently pull on the board and check for movement. If the rail shifts now, fix the mounting before adding weight.
Step 6: Add Hooks or Tool Clips
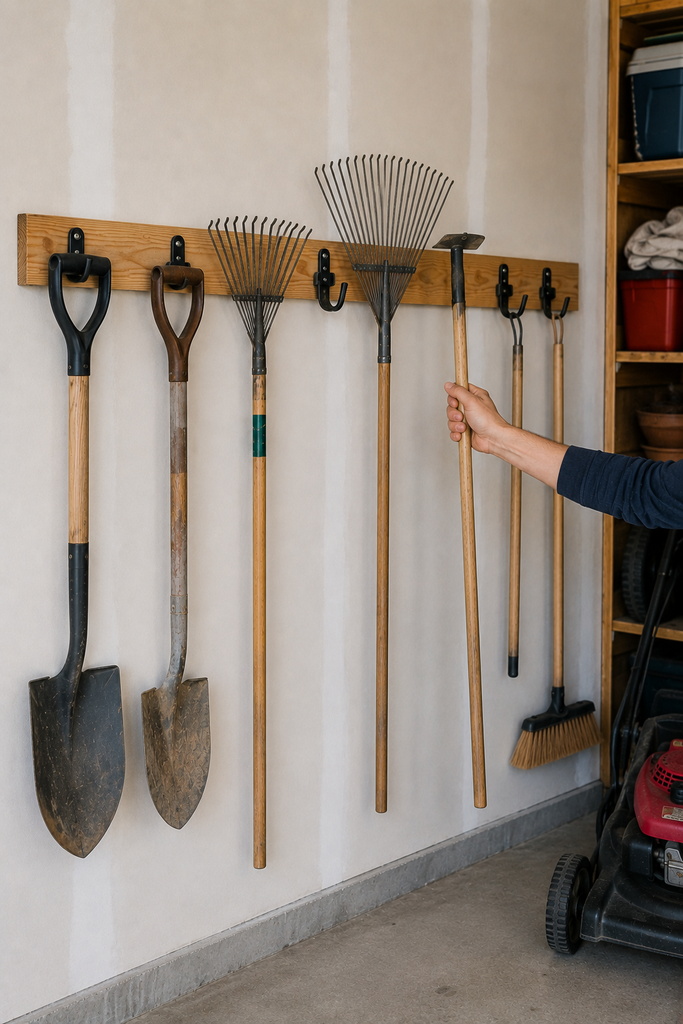
Install heavy-duty utility hooks, rubber-coated hooks, or purpose-made garden tool clips at your marked locations.
Match the hardware to the tool.
A narrow spring clip might work beautifully for a broom handle but poorly for a heavy shovel. A deep utility hook gives heavier or awkwardly shaped tools more support.
Test each position as you go rather than installing every hook and discovering afterward that your rake heads collide.
Step 7: Load the Rack and Adjust
Hang your tools and actually use the rack.
Take each tool down and return it.
If two handles knock together or you have to twist a shovel awkwardly around a rake, change the spacing.
This is one reason I prefer a wooden mounting rail over attaching every hook directly to drywall. Moving a hook later usually means filling a small screw hole in the board rather than repairing multiple holes in the wall.
Make the Rack Work Harder Without Overcomplicating It
Once your long-handled tools are organized, you can add a small second storage zone for lighter gardening supplies.
A narrow shelf above the rack can hold gloves, safety glasses, or small containers. A few smaller hooks can handle hand trowels or pruning shears.
Just resist the temptation to turn the entire wall into storage.
You still need visual and physical breathing room between tools.
If you have children, sharp tools should also be positioned and secured appropriately so they aren’t easily accessible.
And if your collection keeps growing, consider building a second short rack instead of overcrowding the first one.
A Few Details That Make the Rack Better Long-Term
Think about moisture when choosing your location. Wet shovels pushed tightly against drywall or unfinished wood can create grime and eventually damage the surrounding surface. Let muddy tools dry before storing them whenever possible.
I’d also leave some extra capacity.
If you currently own eight long-handled tools, don’t design a rack that physically holds exactly eight. Leaving one or two open positions gives you flexibility when you replace a tool or add something later.
Finally, organize according to how you garden—not according to what looks perfectly symmetrical.
If you use your shovel, rake, and broom constantly, put them in the easiest positions. Storage should reduce friction, not create a prettier version of the same inconvenience.
Final Thoughts
A DIY garden tool storage rack is one of those small weekend projects that can make a garage or shed noticeably easier to use.
You don’t need complicated joinery or an elaborate wall system. A securely mounted wooden rail, properly spaced heavy-duty hooks, and a little planning will handle most everyday garden tools.
The part worth spending time on is the layout. Measure your actual tools, account for wide heads and long handles, secure the rack into solid framing, and leave enough space to grab each tool independently.