
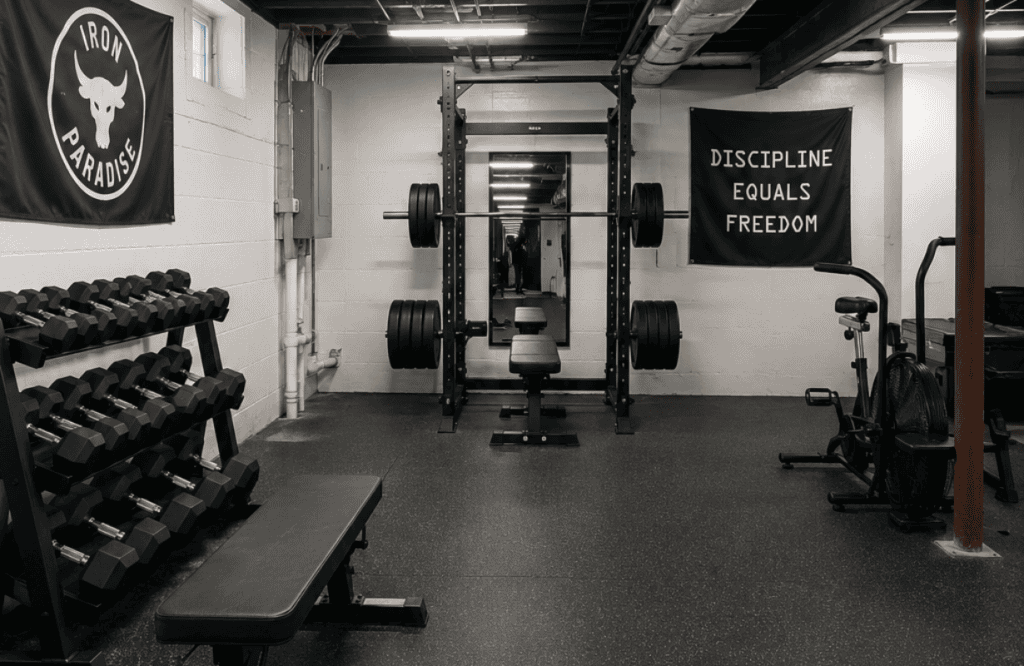
Most basements smell like old cardboard and regret. Mine did too, until I turned mine into a gym that I actually look forward to using every morning. If you’ve been eyeing that dark, unused space under your house and wondering if it could be something more than a storage dump for Christmas decorations, I’m here to tell you — it absolutely can.
I built my own basement gym three years ago after canceling my commercial gym membership (best decision I ever made, and my wallet agrees). Since then, I’ve tested layouts, wasted money on gear I didn’t need, and finally landed on setups that work. So consider this your cheat sheet — no fluff, just real ideas you can actually use.
Basement gyms get a bad reputation for being dark, cramped afterthoughts, but that’s only true if you treat them that way. Give the space a little thought, and it becomes the most convenient training spot you’ll ever own. No commute, no waiting on equipment, no random stranger hovering while you’re chasing a new PR.
1. Rubber Flooring Is Non-Negotiable
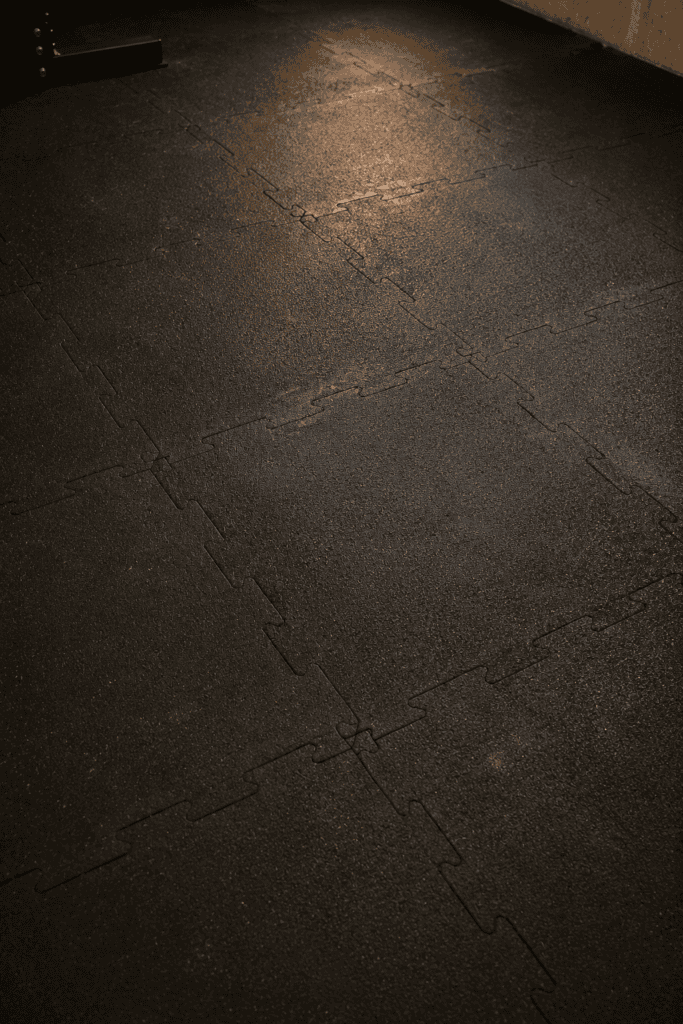
Before you buy a single dumbbell, sort out your floor. Basement concrete is hard, cold, and completely unforgiving if you drop a weight on it.
Rubber gym tiles or roll-out mats protect both your equipment and your foundation. IMO, this is the one upgrade nobody skips without regretting it later. I learned this the hard way after a kettlebell left a dent in my old floor — lesson learned 🙂
- Interlocking tiles are cheap and easy to install piece by piece
- Roll-out mats handle heavy barbells better and don’t shift as much
- Horse stall mats are the budget lifter’s secret weapon — thick and dirt cheap per square foot
I went with stall mats under my rack and tiles everywhere else. Saved a few hundred bucks without sacrificing protection where it counts.
2. A Power Rack as Your Centerpiece
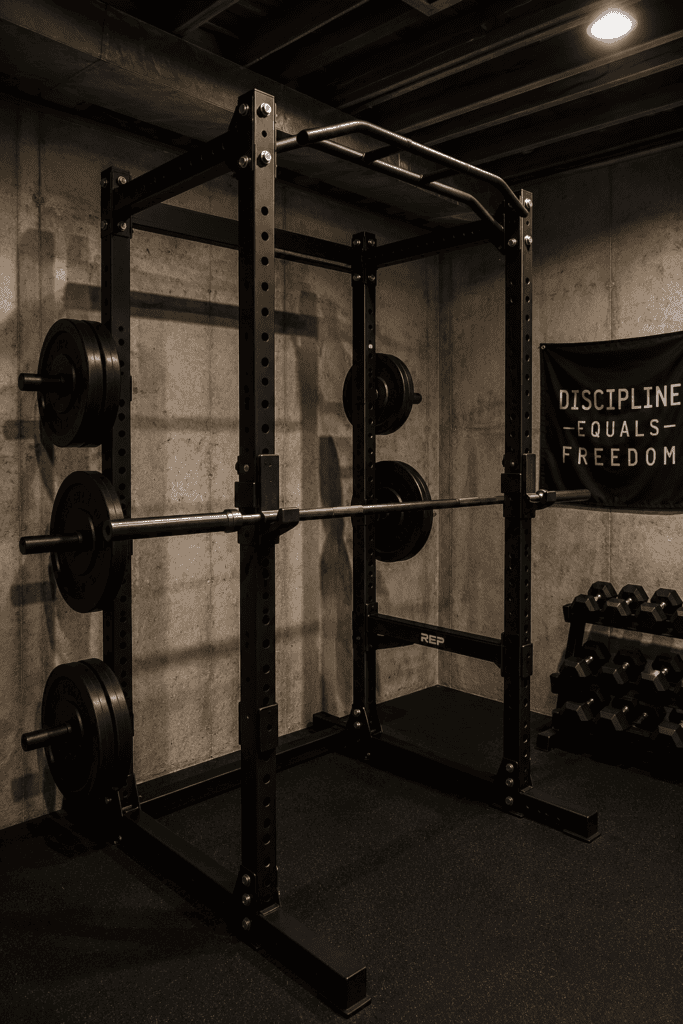
If your basement has decent ceiling height, a power rack should anchor your whole setup. It’s the single piece of equipment that lets you squat, bench, and pull safely without a spotter.
Why it beats a standard squat stand:
- Built-in safety bars catch failed reps automatically
- Pull-up bar usually comes attached, saving you space
- Attachments like dip bars or landmines expand what you can do
I went with a rack over a stand, and I’ve never once regretted the extra footprint it takes up. Just measure your ceiling first, including any ductwork — most racks need at least 7 feet of clearance for the pull-up bar to actually be usable. Bolting it to the floor also adds serious stability if you’re maxing out on squats.
3. Adjustable Dumbbells to Save Space
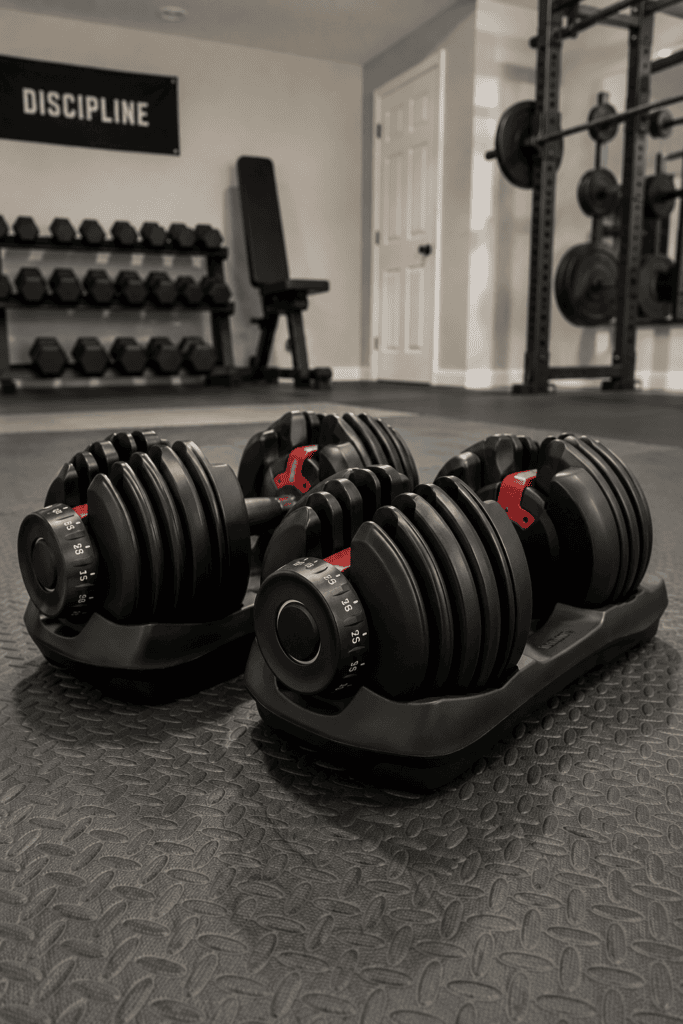
Basements aren’t exactly known for having room to spare. Adjustable dumbbells let you swap out an entire rack of weights for two compact pairs.
Ever wondered why every small-space gym setup online features these things? It’s because they genuinely work. I use mine daily, and they’ve replaced what used to be a corner full of clutter.
- Dial-based versions feel more solid during heavy lifts
- Selector-pin styles adjust faster between sets
- Plate-loaded versions cost less but take longer to switch weights
I went with the dial style after trying a cheaper pin version that rattled annoyingly during curls. Spend a little more here if you can.
4. Mirrors for Form Checks (and Motivation)
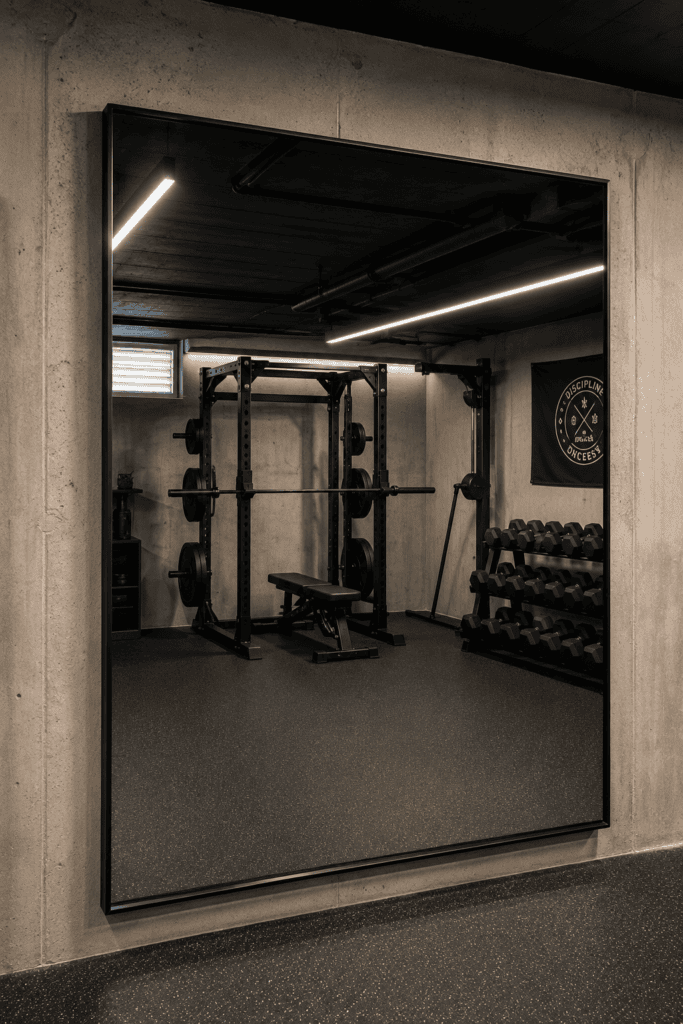
Mirrors aren’t just for vanity — though, sure, that’s a nice bonus. They help you check your form on lifts like squats and deadlifts where posture makes or breaks the exercise.
A basement without natural light can feel like a cave, so mirrors also bounce around whatever light you do have. Double win. Go bigger than you think you need — a mirror that only shows your upper body is basically useless for checking squat depth. Mount it along your main lifting wall, and angle it slightly if you want to check side profile too.
5. Proper Lighting Because Basements Are Basically Caves
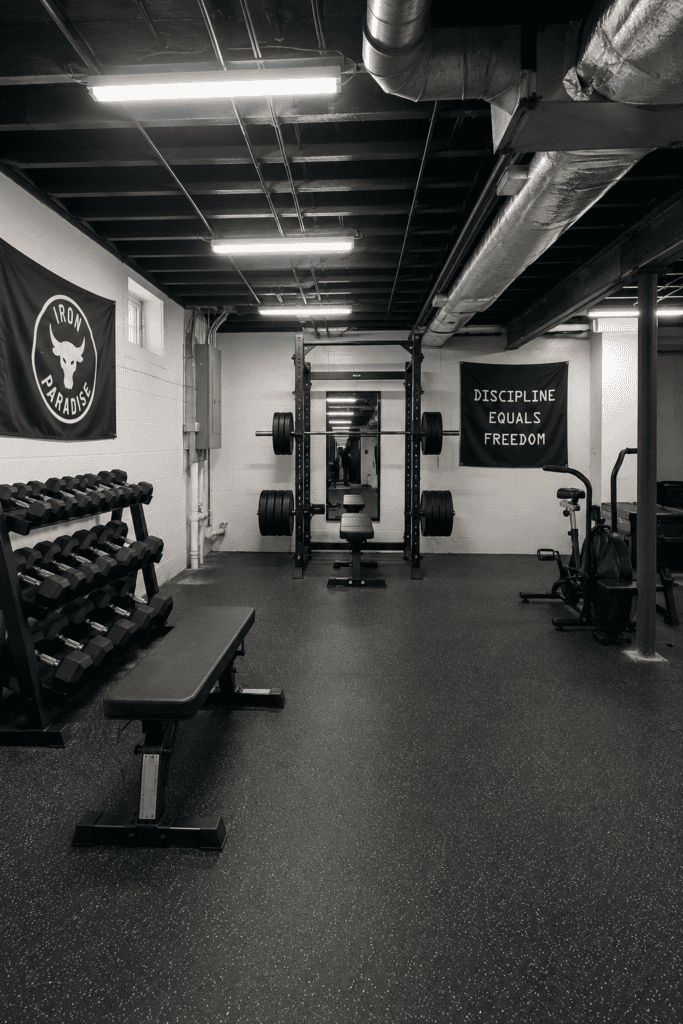
Speaking of light, don’t skimp here. Bad lighting turns a good workout space into a place you’ll avoid entirely.
LED shop lights are cheap, bright, and easy to install yourself. Go for daylight-toned bulbs — the warm yellow ones make your basement gym feel more like a sad man-cave than a training space.
Think in layers instead of one overhead fixture: general overhead panels for even brightness, plus task lighting near your rack or mirror for closer form checks. I added a second row of shop lights after realizing my rack corner was still dim even with the main lights on.
6. A Cardio Corner That Doesn’t Take Over the Room
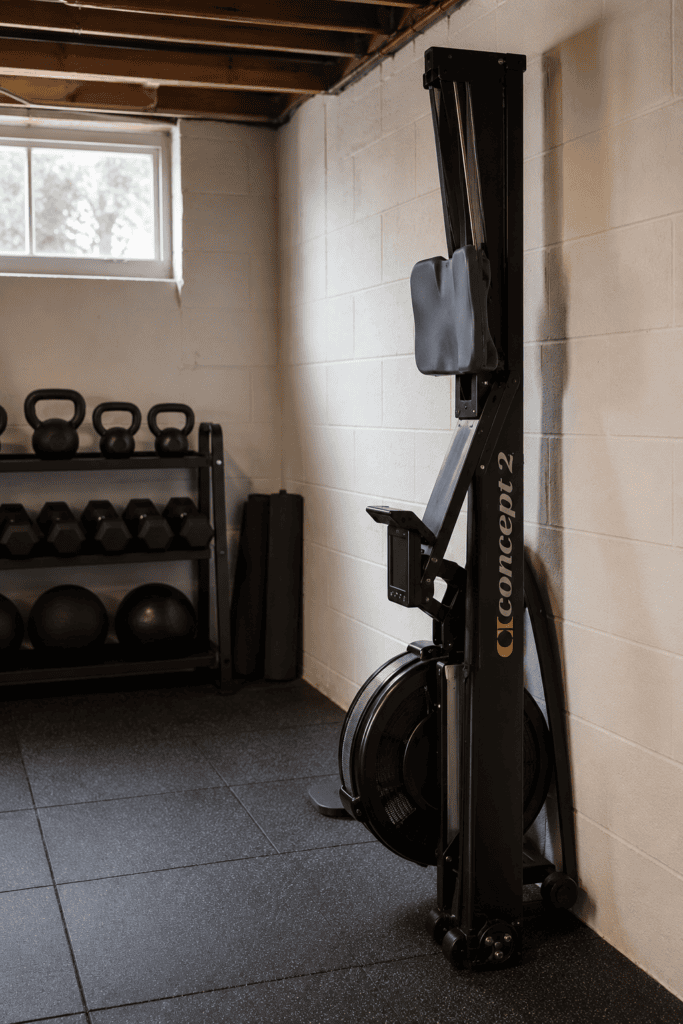
You don’t need a full row of treadmills to get your heart rate up. Pick one or two cardio tools that fit your space and goals.
- A rowing machine folds up and stores against a wall
- A jump rope costs $15 and takes up zero permanent space
- An assault bike is brutal but compact if floor space allows
I went with a rower, and honestly, it’s humbled me more than any barbell ever has. Match your pick to your goals: rowers and bikes protect your joints for low-impact conditioning, while a jump rope wins for quick, portable sessions. Skip the treadmill in a basement — it eats floor space you’ll want for lifting instead.
7. Wall-Mounted Storage for Small Equipment
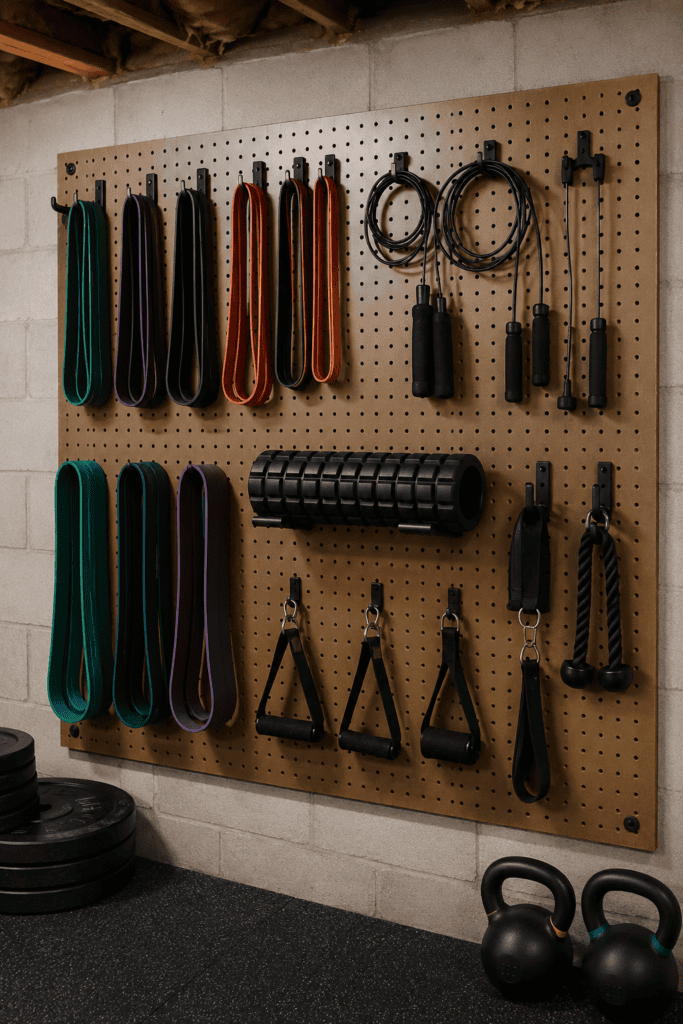
Basements collect clutter faster than anywhere else in the house. Combat this with wall-mounted racks for resistance bands, jump ropes, and foam rollers.
Pegboards work great here too. Everything stays visible, accessible, and off the floor where it’ll just become a tripping hazard. Once I added a pegboard, I stopped tripping over resistance bands mid-workout. Small change, huge quality-of-life improvement.
8. Dehumidifier — Your Equipment Will Thank You
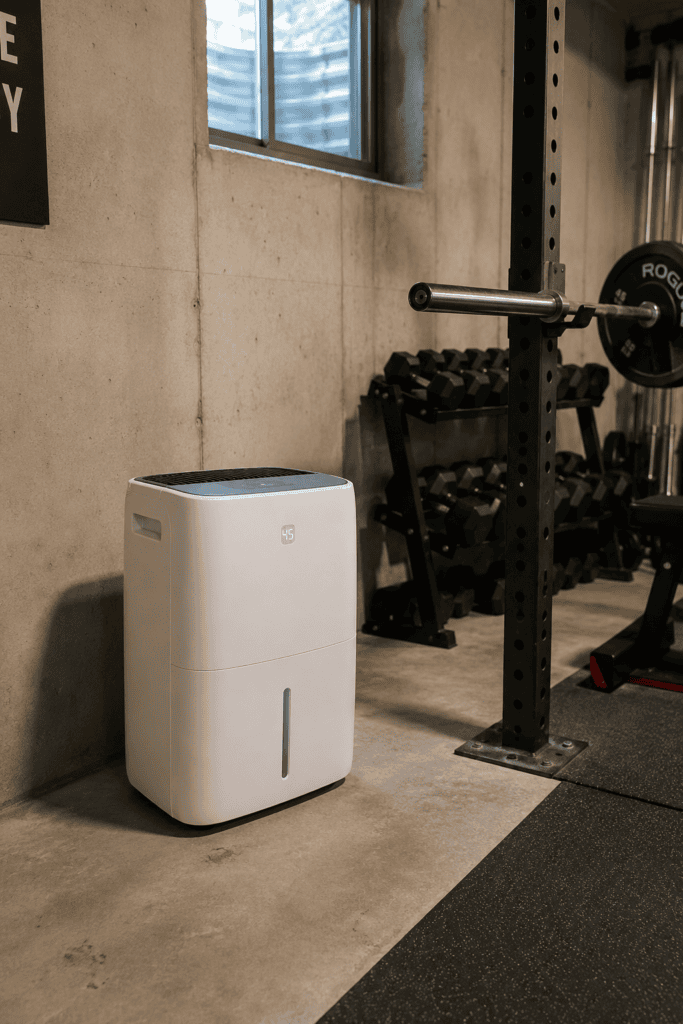
Nobody talks about this enough, but basements trap moisture, and moisture rusts metal fast. A dehumidifier protects your barbell, plates, and rack from turning into a rust bucket within a year.
I skipped this step initially and paid for it — my first barbell started rusting within eight months. Don’t be like me. Smaller basements do fine with a 20-30 pint unit, while larger or damp ones need 50 pints or more. Grab a cheap hygrometer too, so you’re tracking actual humidity instead of guessing.
9. A Sound System That Sets the Mood
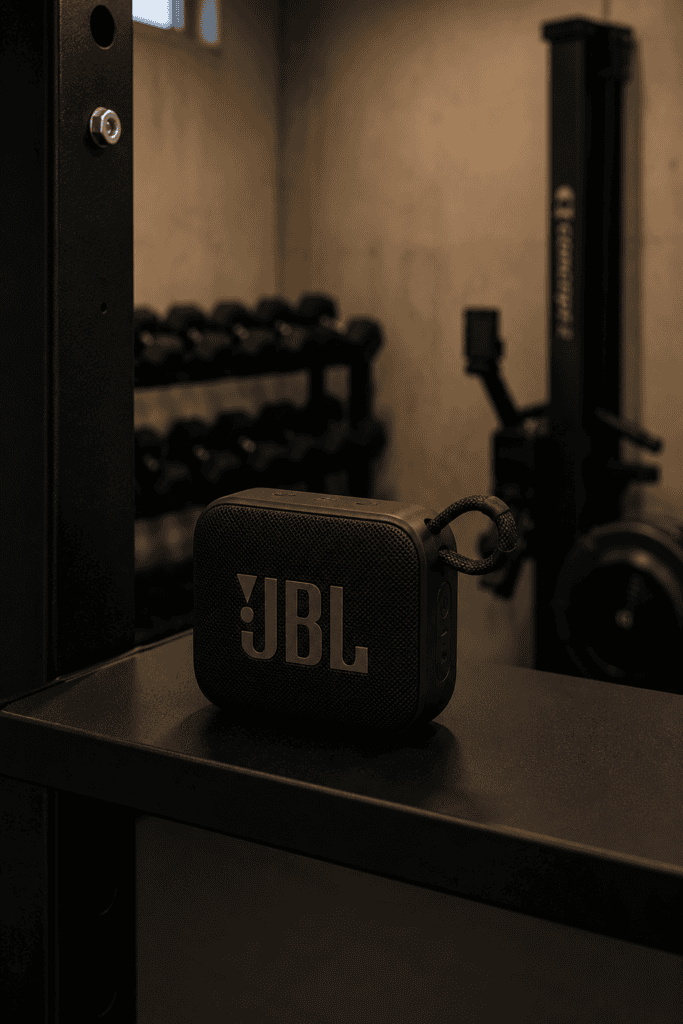
Working out in silence in a basement feels borderline eerie. A Bluetooth speaker or a simple wired setup changes the entire vibe of the room.
FYI, a cheap speaker under $50 does the job just fine. You don’t need a surround sound system to feel pumped during a lifting session. Just know that basements are notorious for weak Bluetooth signal, so if your speaker keeps cutting out mid-set, a wired setup solves that headache for good — trust me, silence during a heavy set is not motivating.
10. Ceiling Height Solutions for Low Basements
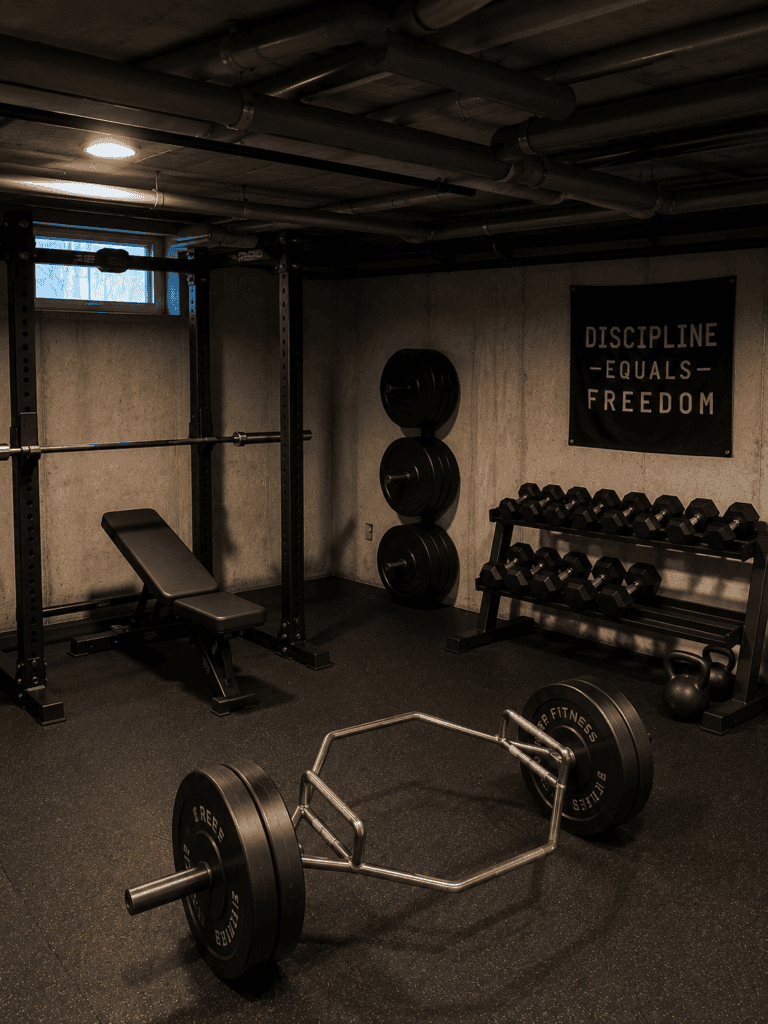
Got a low ceiling? This is probably the most common basement gym complaint I hear. Luckily, there are workarounds.
- Trap bar deadlifts instead of overhead presses
- Landmine attachments for angled pressing movements
- Floor-based cardio like rowing instead of jump rope
Adjust your programming around your ceiling rather than fighting it. I had to relearn my whole routine after moving into a basement with a 7-foot ceiling. Annoying at first, but it forced me to get creative with movements I’d ignored for years.
11. A Designated Stretching or Mobility Zone
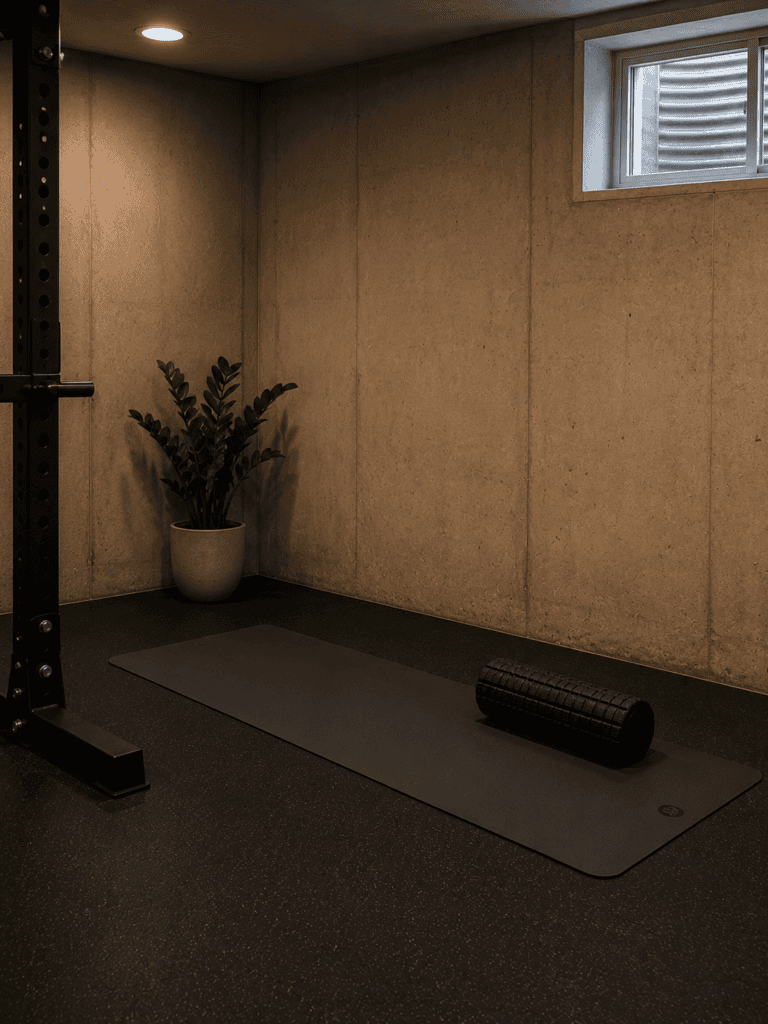
Cramming every square inch with equipment is tempting, but leave room to stretch. A yoga mat and some open floor space go a long way toward injury prevention.
Ever skip your cool-down because there’s simply no room to do it? Yeah, me too, until I carved out a small corner just for this. It doesn’t need to be big — even a 4×6 foot space works, as long as it stays clear and ready so you actually use it.
12. Chalk-Friendly Zones (Without Wrecking Everything)
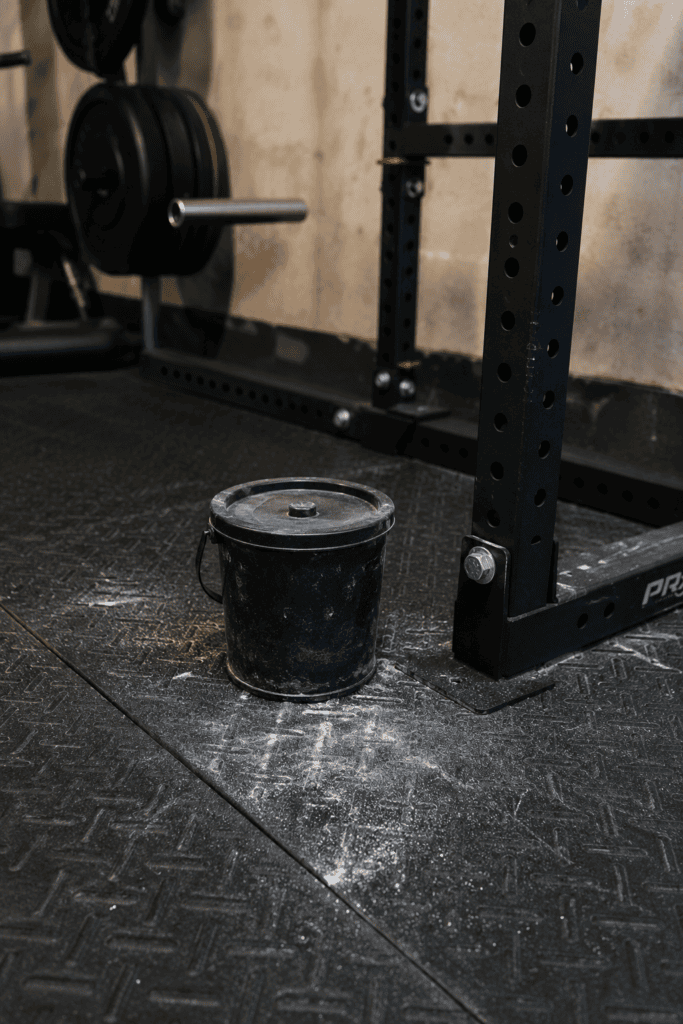
If you lift heavy, you’ll want chalk eventually. But chalk dust and basements don’t always mix well with carpet or fabric furniture nearby.
Designate one specific area for chalk use, ideally near your rack, and keep a small broom or vacuum handy. A chalk bucket with a lid and a small rubber mat underneath keeps most of the mess contained. I switched to liquid chalk for a few months when my basement doubled as a laundry room, and it genuinely solved the dust problem.
13. Multi-Purpose Furniture for Dual-Use Spaces
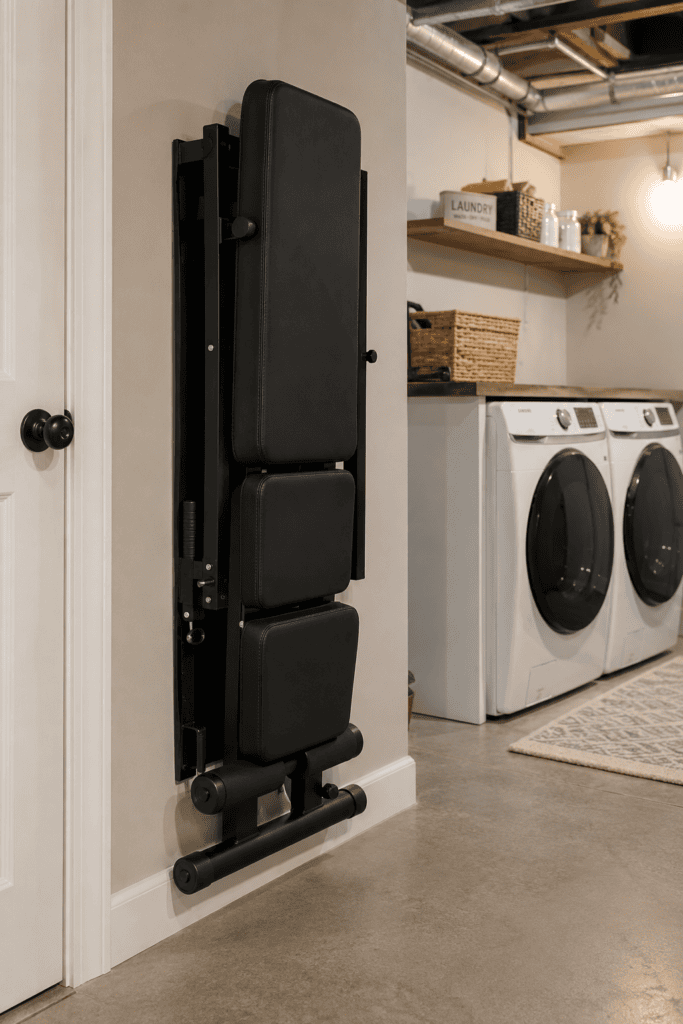
Not everyone gets a basement dedicated entirely to fitness — some of us share the space with a laundry area or a workbench. Foldable benches and collapsible racks let the room serve double duty.
I’ve got a fold-flat bench that tucks against the wall when I need the space for something else. It’s not glamorous, but it’s practical, and practical wins in a basement. Wall-mounted fold-up racks and rolling storage bins on casters help too — anything that disappears fast when the room needs to serve a different purpose.
14. Motivational Wall Art (Yes, Really)
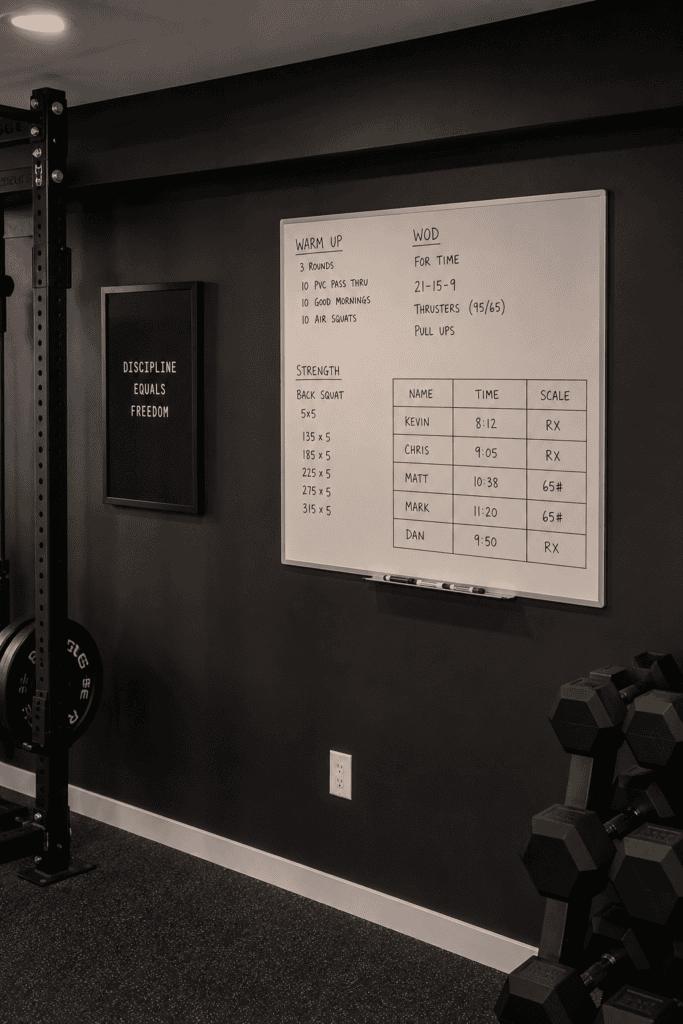
This sounds cheesy, I know. But a blank concrete wall does nothing for your motivation on a rough Monday morning.
A simple poster, a whiteboard for tracking PRs, or even some paint can transform a dull gray box into a space you actually want to walk into. IMO, this matters more than people give it credit for. I painted one wall a deep charcoal and added a simple whiteboard for logging numbers. Cost me maybe $40 total, and it completely changed how the room feels.
15. Ventilation That Doesn’t Leave You Gasping
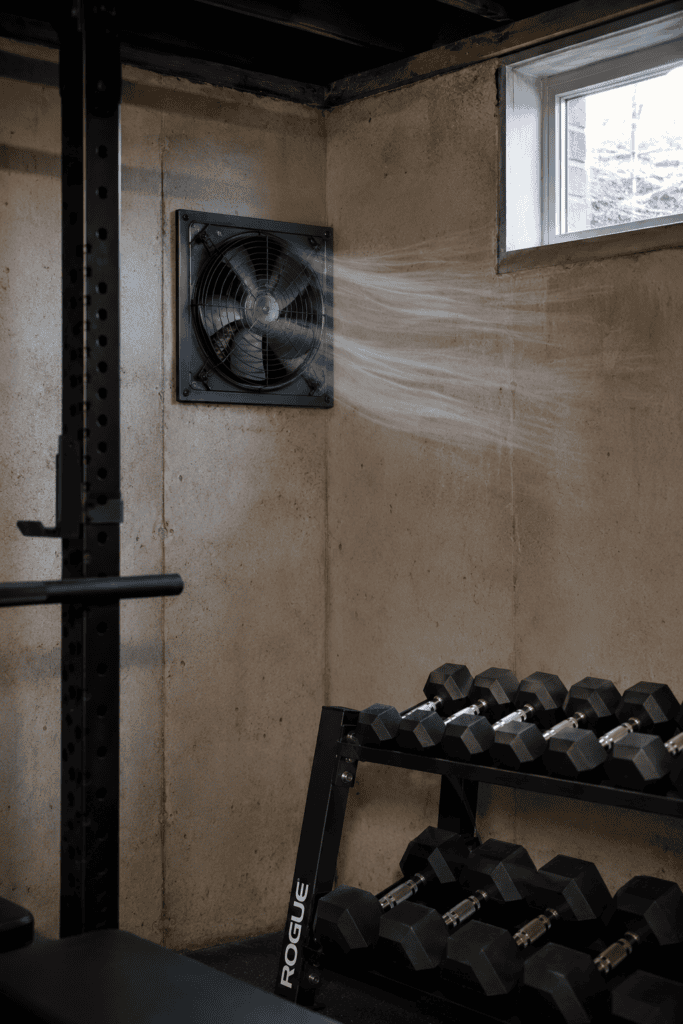
Basements notoriously lack airflow, and nothing kills a workout faster than feeling like you’re breathing through a straw. A simple exhaust fan or an open window (if you’re lucky enough to have one) makes a massive difference.
If neither is an option, a standing fan pointed toward your main lifting area works in a pinch. I added an exhaust fan after one particularly brutal summer leg day left me questioning every decision that led me to that basement. Never again.
Comparing Your Two Main Setup Paths
If you’re still deciding on direction, it usually comes down to two approaches:
The Minimalist Setup
- Adjustable dumbbells, a bench, and resistance bands
- Costs less upfront
- Works great for smaller basements
The Full Home-Gym Setup
- Power rack, barbell, plates, and cardio equipment
- Higher upfront cost but pays off over time
- Requires more square footage and ceiling height
I started minimalist and grew into the full setup over about a year. Honestly, that’s probably the smarter path for most people — no need to drop thousands of dollars before you know your basement gym habit will actually stick. Budget in stages: flooring, lighting, and one main tool in month one, then a rack or barbell once you know you’re sticking with it.
Common Basement Gym Mistakes to Avoid
Before you go, let me save you a few headaches I ran into myself.
- Ignoring moisture problems before installing flooring or equipment
- Overbuying equipment before you know your actual routine
- Skipping electrical outlets near your equipment zone, leaving you with extension cords everywhere
- Underestimating noise — basements carry sound to the rest of the house more than you’d think
I made basically every mistake on this list at some point, so consider this your shortcut past the trial-and-error phase.
Wrapping This Up
A basement gym doesn’t need to be fancy, expensive, or Instagram-worthy to work. It just needs to be functional, safe, and inviting enough that you actually use it instead of avoiding it like that one drawer full of cables you’ll never sort out.
Start with the basics — flooring, lighting, and one or two solid pieces of equipment — then build from there as your needs and space allow.