
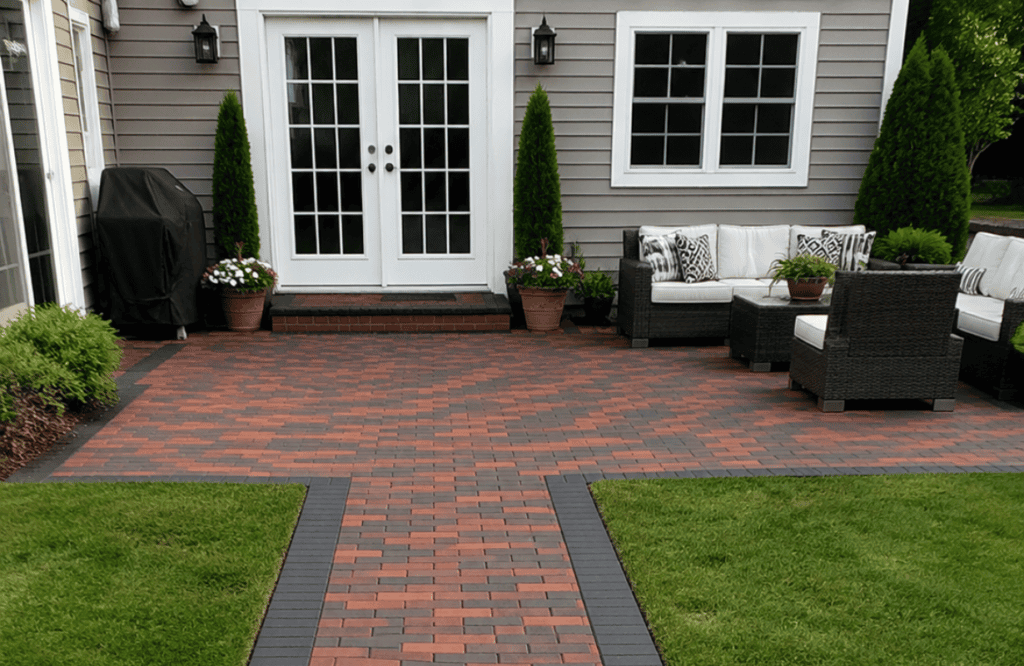
Your backyard has potential. It’s just sitting there, waiting for you to stop scrolling through patio photos and actually do something about it. I’ve spent way too many weekends knee-deep in sand and paver dust, and I’m here to hand you every brick patio idea I wish someone had handed me first.
Brick patios aren’t just pretty they’re workhorses. They handle freezing winters, scorching summers, and the occasional dropped grill lid without complaint. If you want a patio that looks like it belongs in a magazine but actually survives real life, you’re in the right place.
Let’s get into the ideas that’ll turn your plain slab of dirt into the spot everyone wants to hang out on.
1. Classic Herringbone Pattern
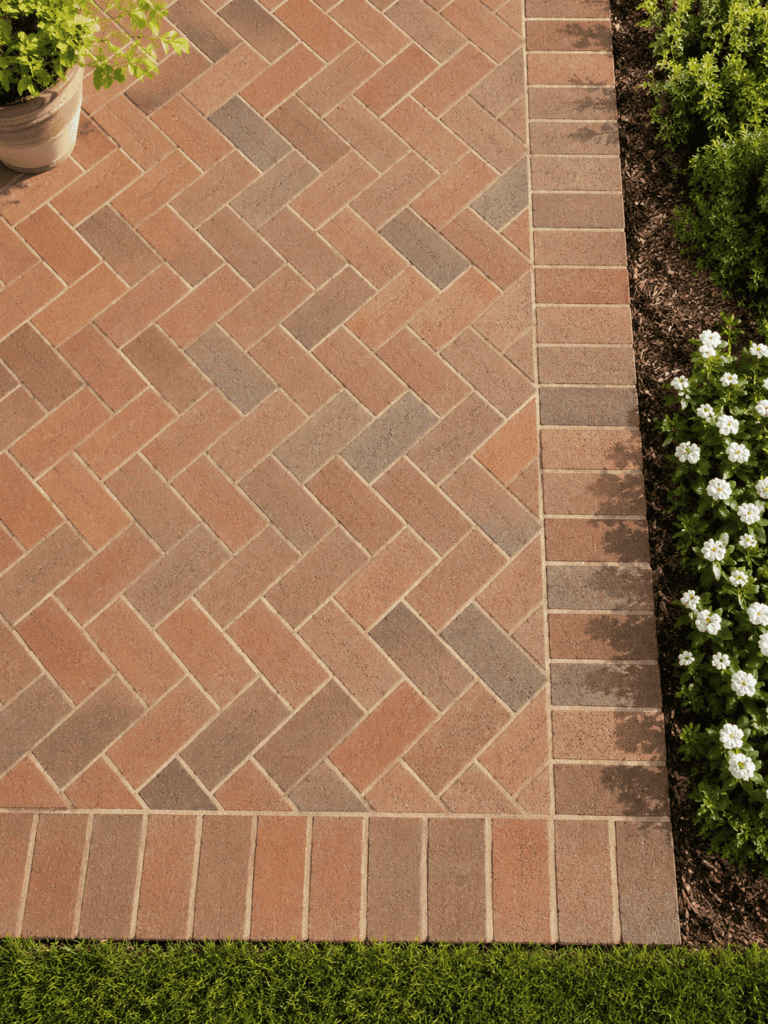
This is the pattern people picture when they hear “brick patio.” The bricks interlock at 90-degree angles, creating a woven look that feels both traditional and surprisingly modern.
I laid a herringbone patio for my own backyard a few years back, and I’m not going to lie—it took longer than I expected. The payoff is a patio that looks intentional and expensive, even if you sourced the bricks from a clearance pallet.
- Works great for high-traffic areas since the interlocking pattern resists shifting
- Pairs well with both modern and colonial-style homes
- Requires more cutting at the edges, so budget extra time
2. Running Bond for Simplicity
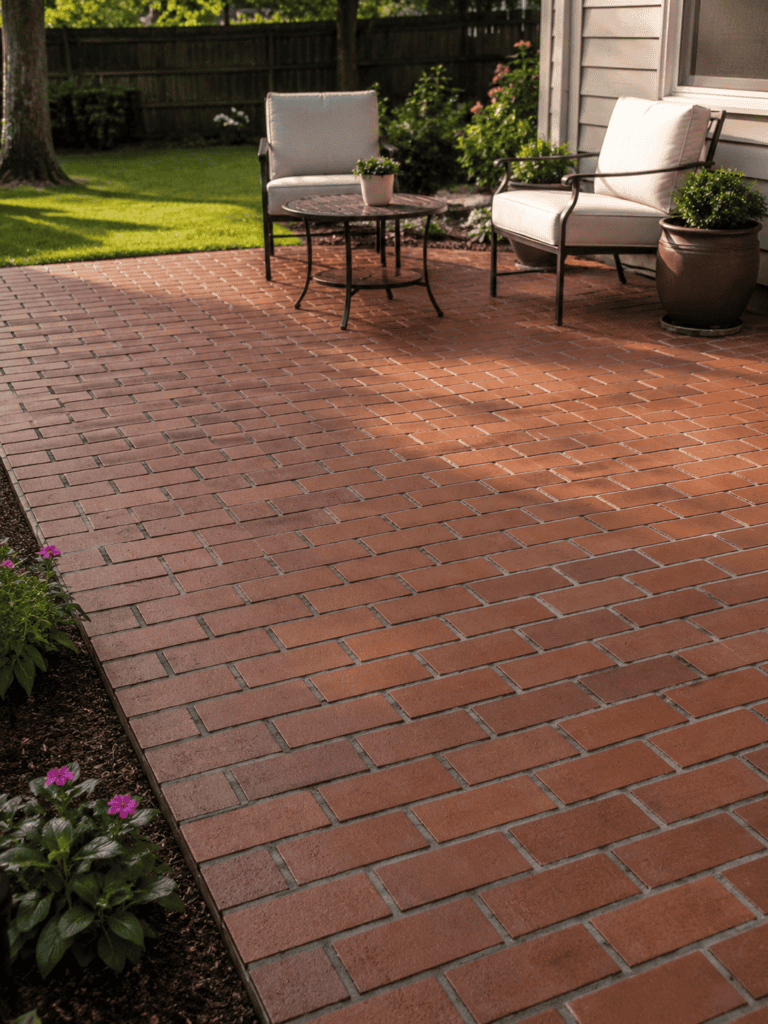
Ever wondered why some patios just look calm? That’s usually running bond doing its thing. Each row of bricks shifts by half a brick length, like a stretched-out brick wall laid flat.
This pattern is the easiest one to DIY, which matters if you’re the type who’d rather spend a Saturday relaxing than wrestling with a wet saw. It’s forgiving, fast, and still looks clean.
3. Basketweave for a Retro Vibe
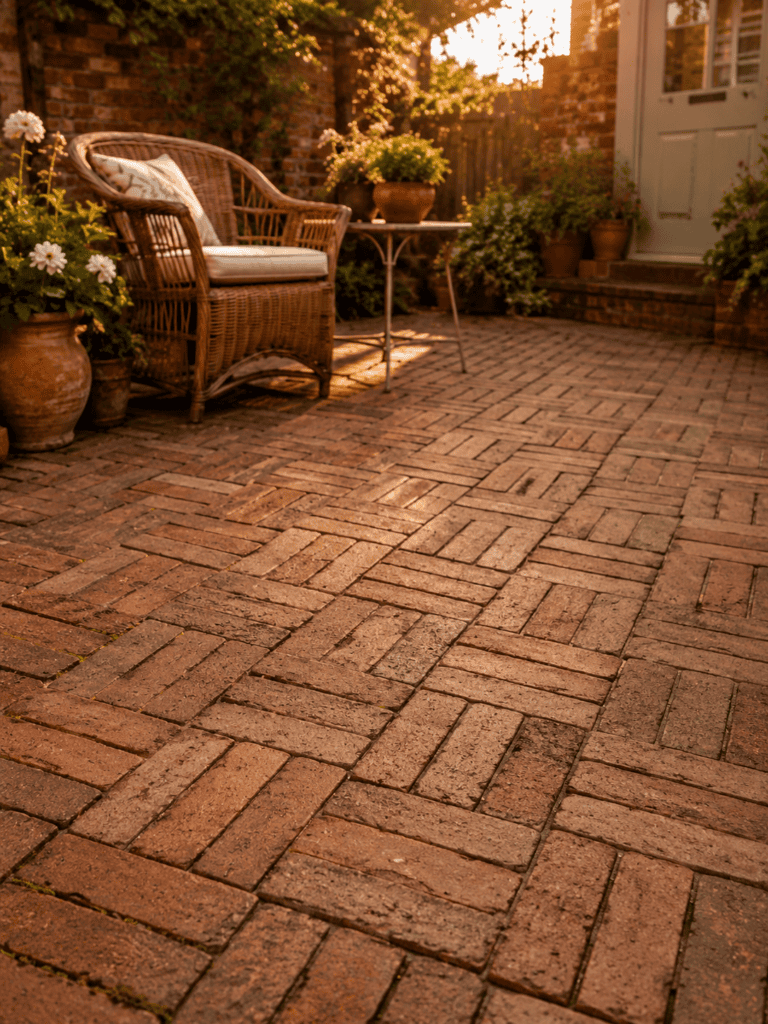
Basketweave patterns group bricks in pairs, alternating horizontal and vertical sets to create a woven basket look. It’s a total throwback, and IMO it deserves a comeback.
I’ve seen this pattern used in older homes from the 1920s, and it still holds up. If you want your patio to have a little vintage character without going full theme-park-colonial, this is your move.
4. Herringbone Meets Border Detail
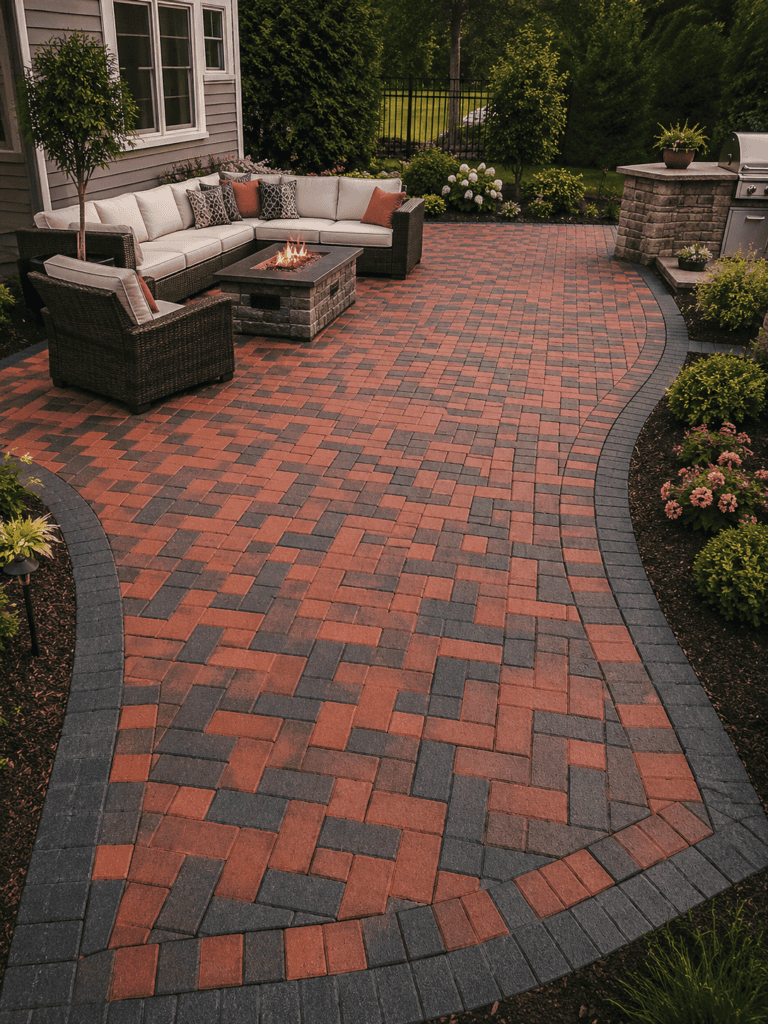
Combine that classic herringbone field with a contrasting border, and suddenly your patio looks custom-designed instead of DIY. A soldier course (bricks standing on end) around the perimeter frames the whole space nicely.
This trick works because the human eye loves a frame. Think of it like matting a picture—the art might be the same, but the frame makes it look finished.
Why Borders Matter More Than You’d Think
A border does more than look nice. It:
- Defines the edge of the patio clearly, especially useful if you’re not adding a raised structure
- Prevents that “where does the patio actually end” confusion
- Gives you a clean transition point into grass, gravel, or mulch
5. Circular Brick Patio Layout
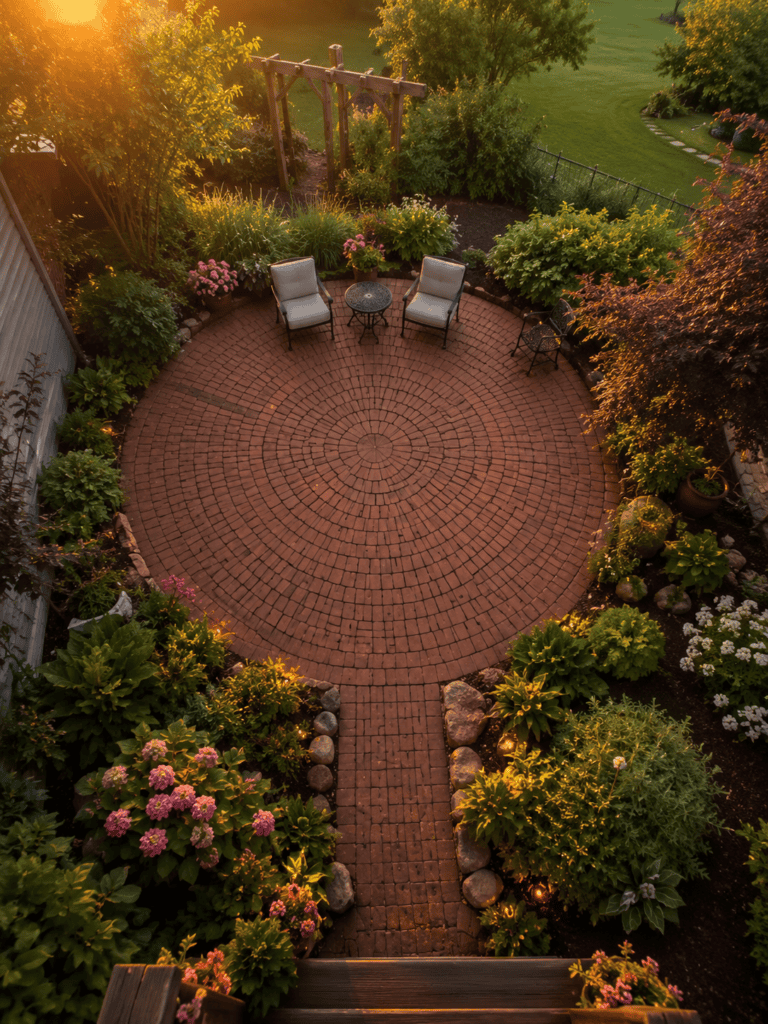
Straight lines aren’t a rule—they’re just the default because they’re easier. A circular patio, built with bricks radiating outward or in concentric rings, softens the whole backyard.
I’ll admit circular patios are trickier to plan (more cuts, more math), but the end result feels like a destination rather than just “the patio.” If your yard has a fire pit or a central tree, this layout draws everything together beautifully.
6. Herringbone with Reclaimed Brick
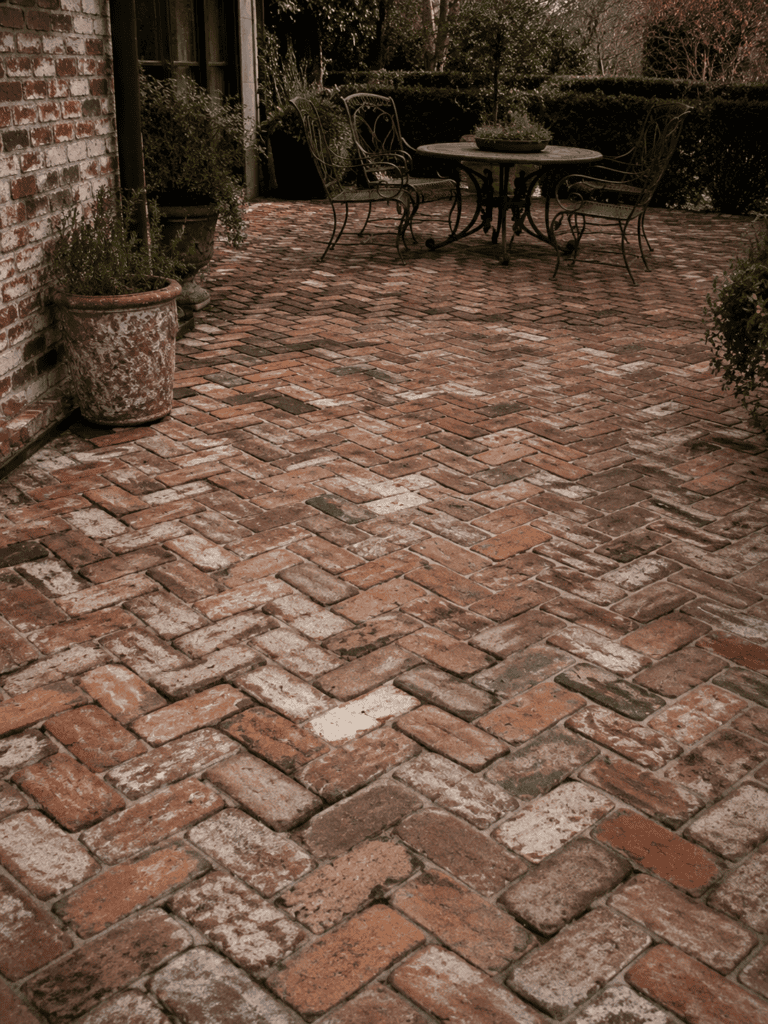
Want character you can’t fake? Use reclaimed brick. Salvaged brick has texture, color variation, and a worn-in look that brand-new pavers just can’t replicate.
Here’s my honest take: reclaimed brick costs more and takes more prep work (cleaning off old mortar is not fun), but the aesthetic payoff is real. New brick looks fine. Reclaimed brick looks like it has a story.
7. Two-Tone Brick Combinations
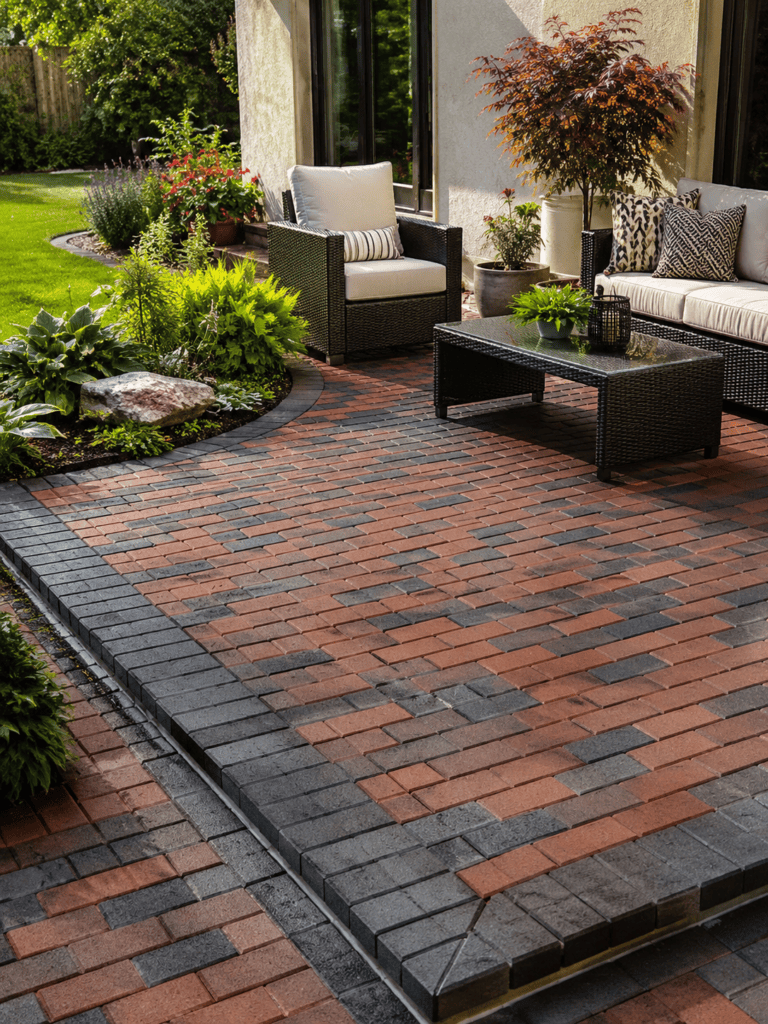
Mixing two brick colors—say, a warm red with a charcoal gray—creates depth without going overboard. You can alternate rows, create a checkerboard, or use one color just for the border.
This is where personal taste really shines. I lean toward subtle contrasts myself, but if you want your patio to make a statement, go bold with the color split. Either way, plan your color ratio before you start laying bricks, not halfway through.
8. Brick Patio with Built-In Fire Pit
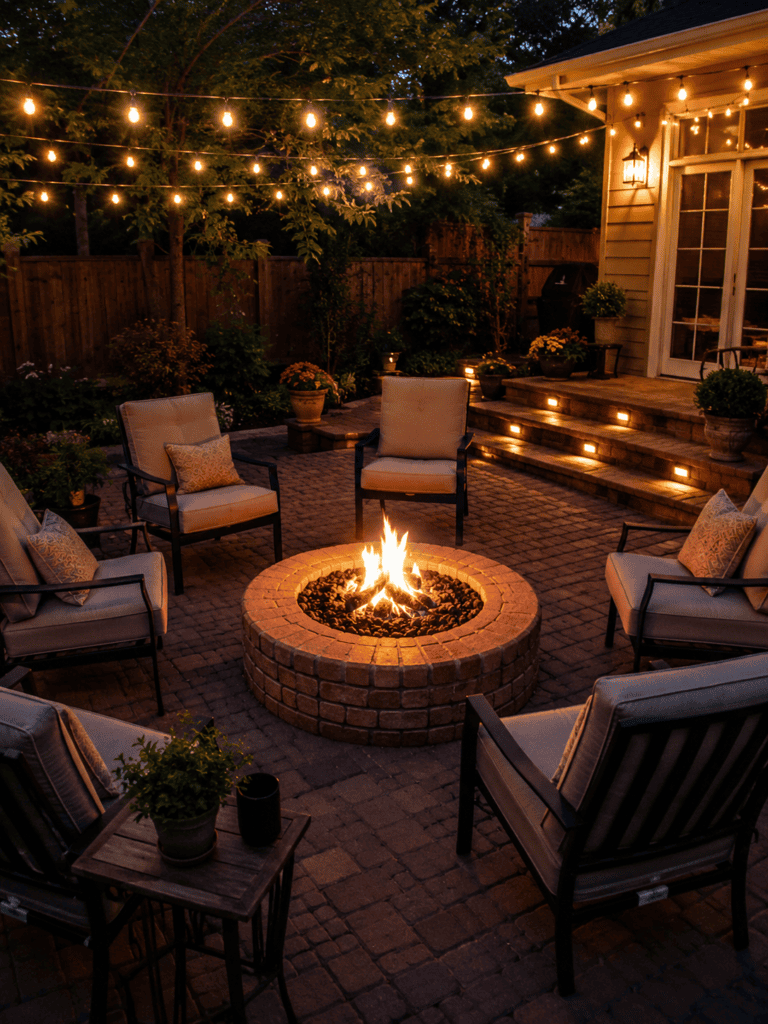
A patio without a fire pit is just a patio. A patio with one becomes the reason your friends stop making excuses to leave early.
Building the fire pit directly into the brick layout, rather than plopping a metal ring on top, gives the whole space a cohesive, custom feel. Just make sure you:
- Use fire-rated brick or a proper liner for the pit interior
- Keep a safe clearance distance from structures and plants
- Check local codes before you commit to a permanent build
9. Pathways That Match the Patio
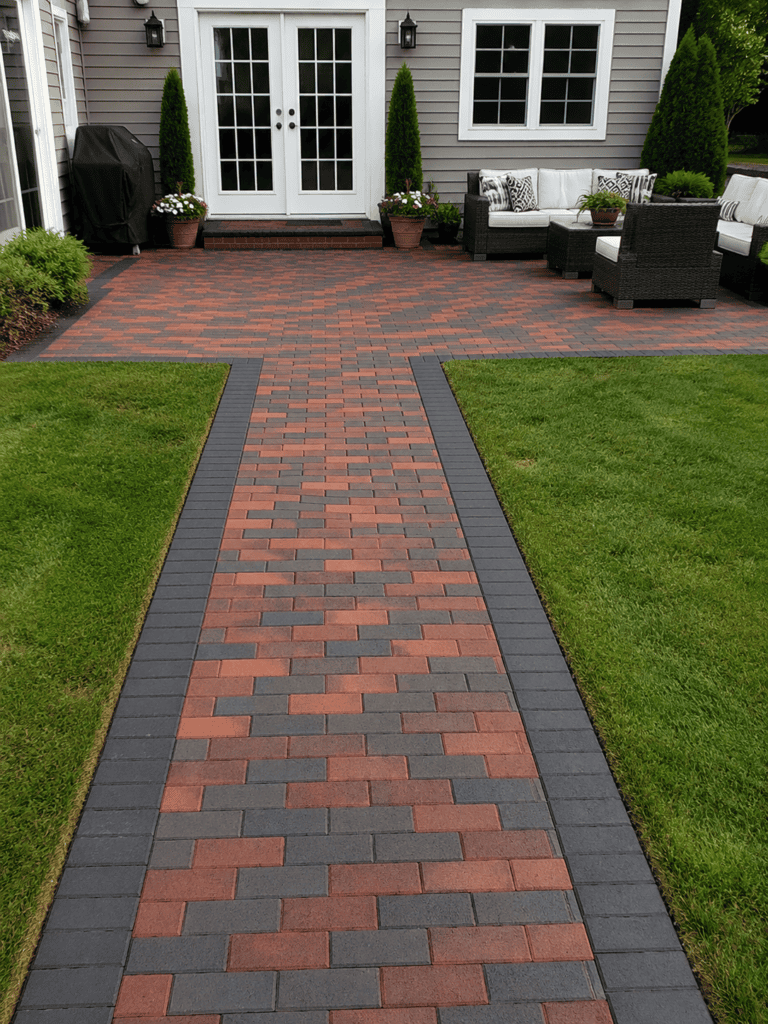
Nothing looks more disjointed than a gorgeous brick patio connected to your house by a random concrete slab. Extending the same brick pattern into a pathway ties the whole yard together.
I made this mistake in my first patio project—mismatched materials made the space feel like two separate afterthoughts instead of one design. Don’t repeat my error.
10. Herringbone Patio Under a Pergola
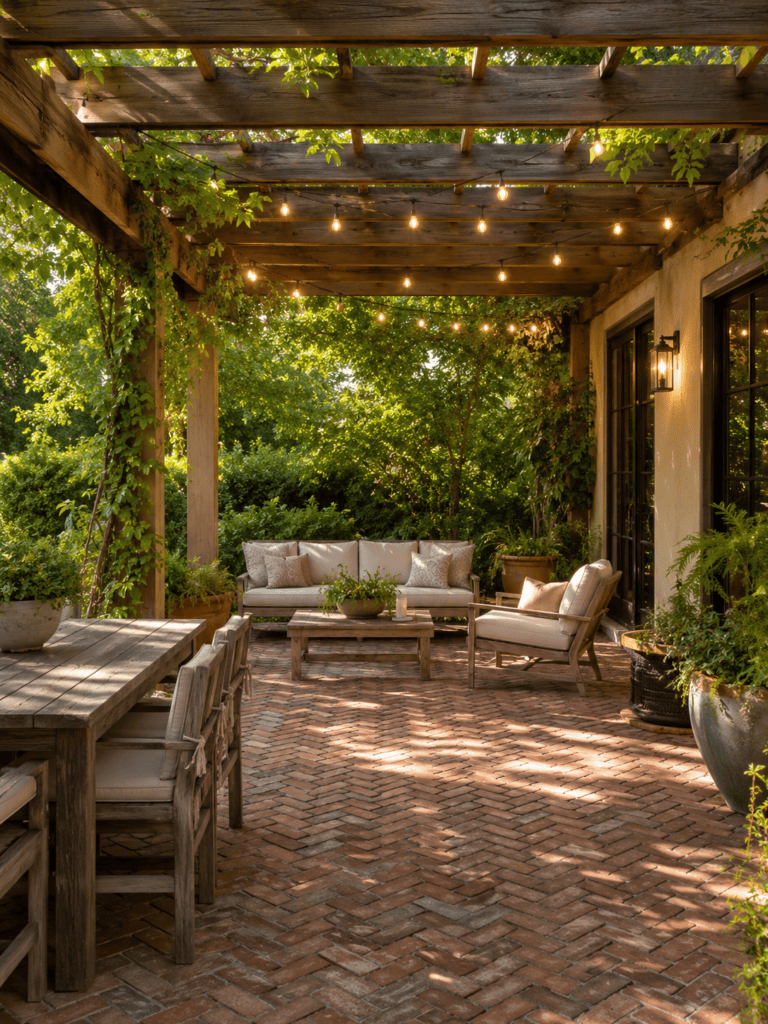
Combine brick underfoot with a wooden or metal pergola overhead, and you’ve got instant ambiance. The structure adds shade, defines the space visually, and gives you something to hang string lights from (because obviously you’re hanging string lights).
This combo works especially well for smaller yards where you want the patio to feel like a distinct “room” rather than an open slab.
11. Stack Bond for a Modern Grid Look
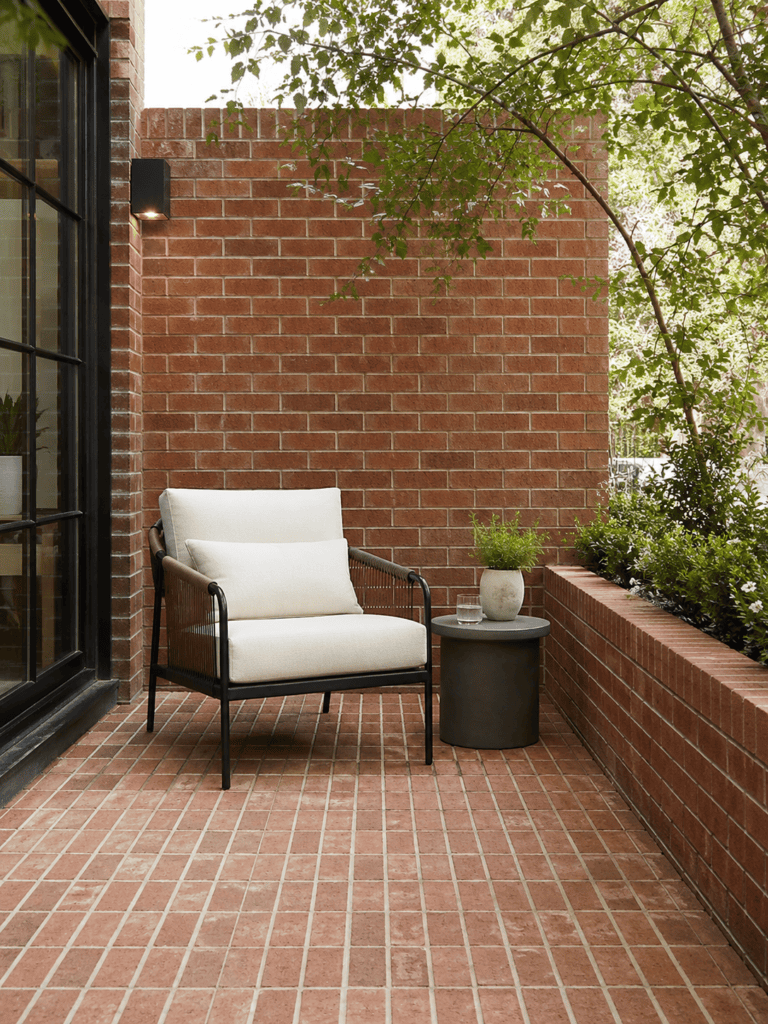
If herringbone feels too busy for your taste, stack bond is the minimalist’s answer. Bricks are laid in straight, aligned rows and columns, creating a clean grid.
This pattern isn’t structurally as strong as running bond or herringbone (less interlock means more potential shifting), so I’d only recommend it for lighter foot-traffic areas like a reading nook or a small seating corner.
12. Brick Patio with Built-In Planters
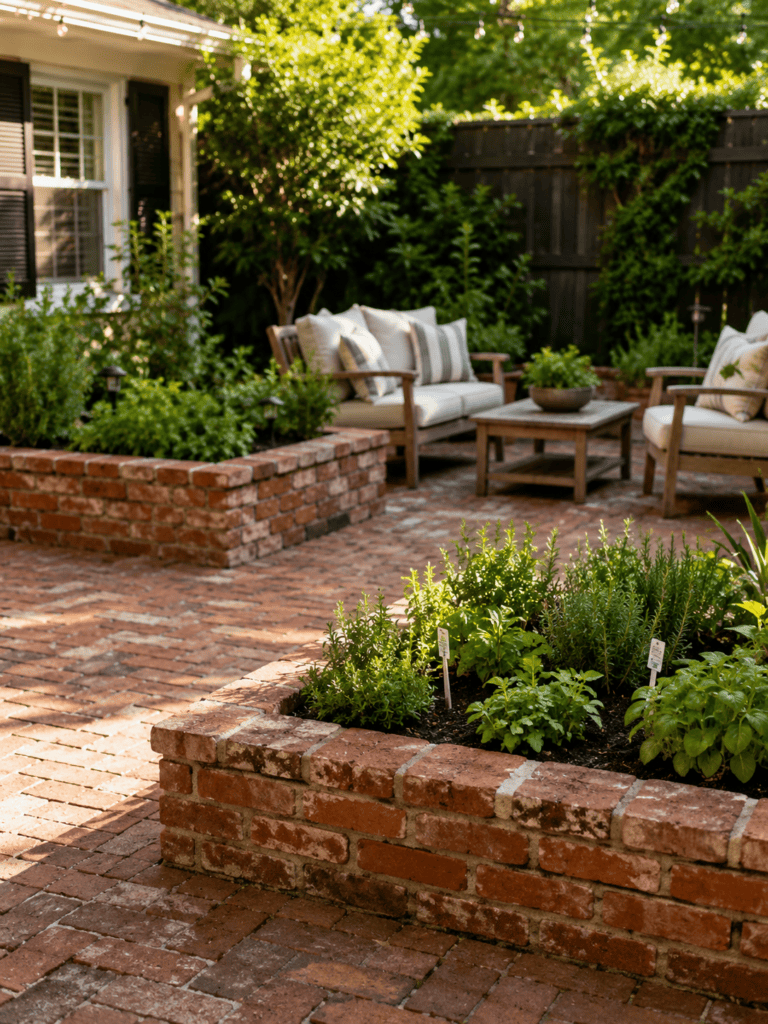
Instead of scattering pots around your patio, build low brick planter boxes directly into the layout. It’s a small design choice that makes a huge visual difference.
- Adds greenery without cluttering the walking surface
- Creates a natural boundary between seating zones
- Gives you a spot to plant herbs within arm’s reach of the grill (10/10, would recommend)
A Quick Word on Drainage
Built-in planters need proper drainage, or you’ll end up with soggy brick and root rot. Include a gravel base layer and drainage holes before you fill anything with soil.
13. Herringbone with a Sunken Seating Area
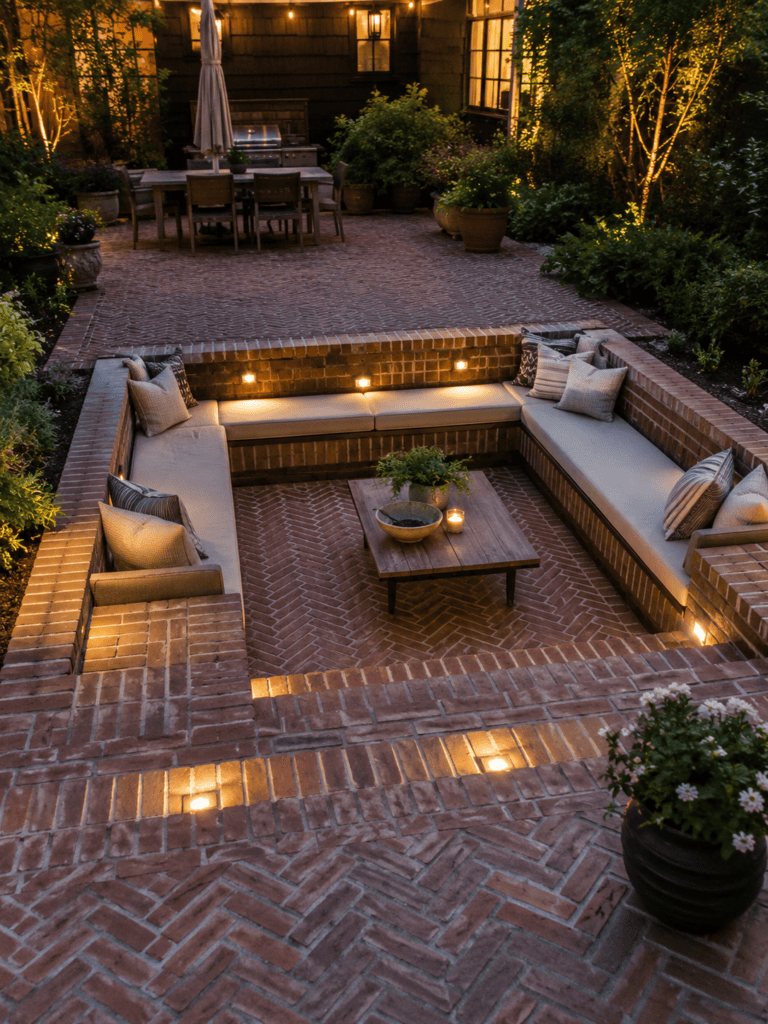
A slightly recessed section, dropped a step or two below the main patio level, creates a cozy conversation pit vibe. Add some built-in bench seating around the edge, and you’ve got a space that practically begs people to sit down and stay a while.
This idea takes more planning (and possibly more budget) than a flat patio, but it’s one of those features that makes visitors say, “Wait, you built this yourself?” 🙂
14. Mixed Materials: Brick and Gravel
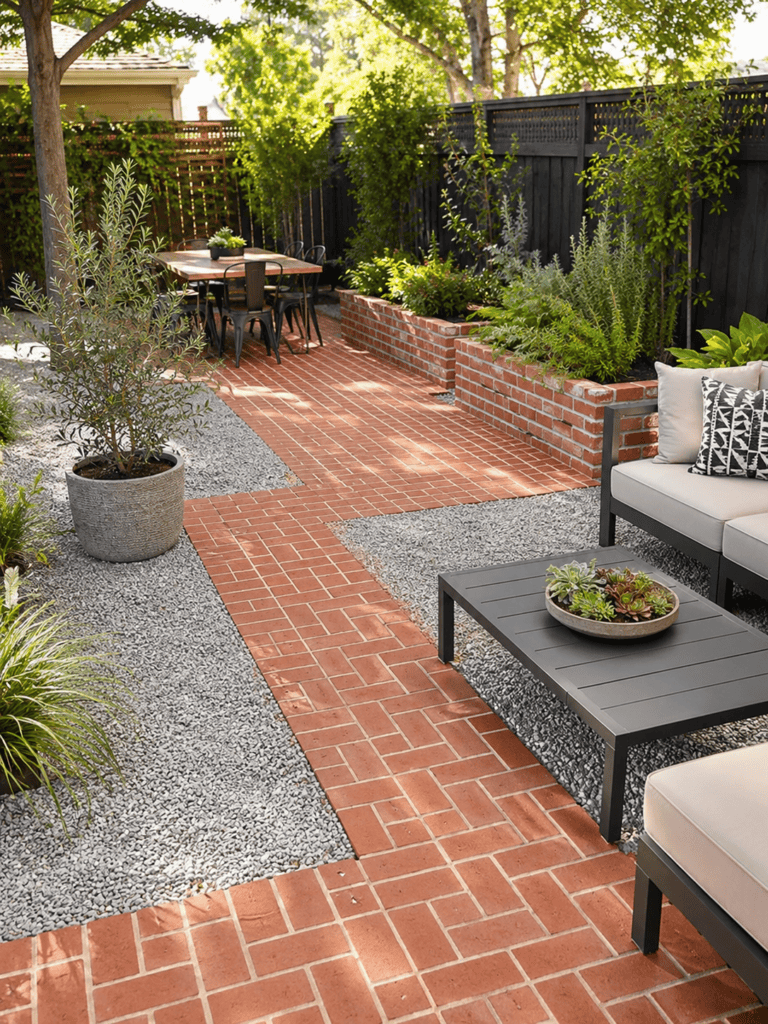
Who says the whole patio needs to be brick? Combining brick pathways or borders with gravel or pea stone infill cuts costs and adds textural contrast.
This approach works particularly well for larger patios where covering the entire area in brick would blow your budget. Use brick for defined pathways and seating zones, then let gravel fill the open space.
15. Brick Patio with a Water Feature
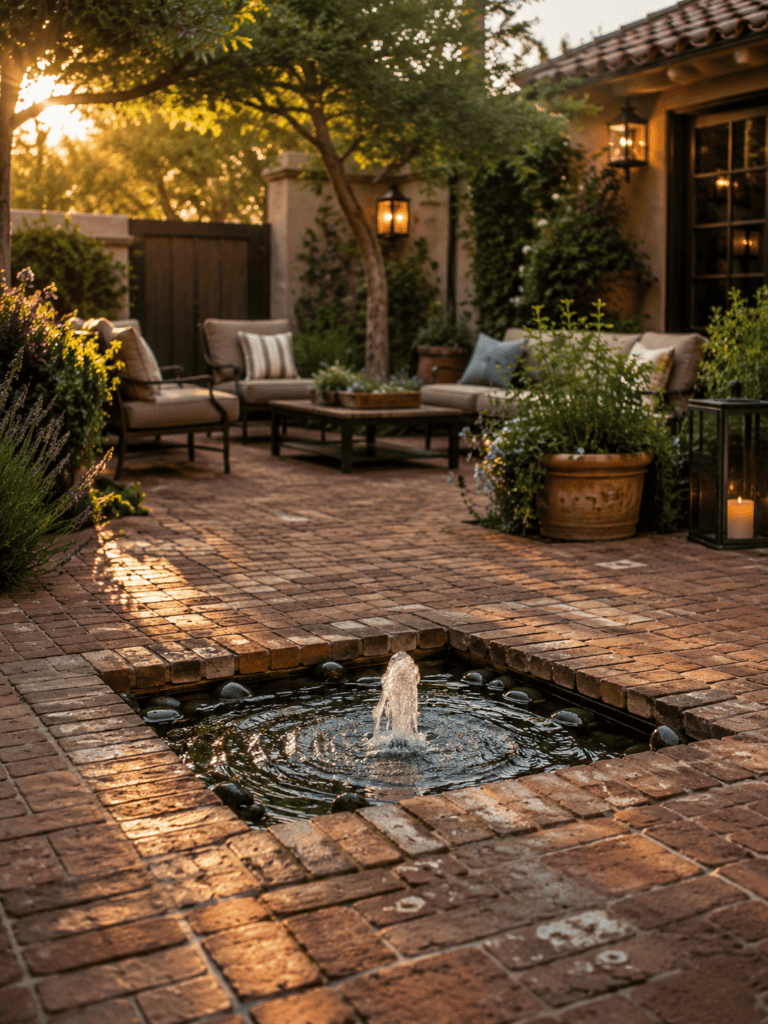
A small fountain or recessed water feature built into your brick patio adds sound and movement to an otherwise static space. Ever notice how the sound of moving water instantly makes a space feel calmer? That’s not a coincidence—it’s basic sensory design.
Keep the water feature modest in scale unless you’re prepared for the maintenance that comes with a larger installation. A small, well-placed fountain does more for ambiance than a giant pond that turns green by July.
Choosing the Right Brick for Your Patio
Not all bricks are created equal, and picking the wrong type can turn your dream patio into a cracked, uneven mess within a few seasons.
Clay brick pavers are the traditional choice—durable, naturally colorfast, and able to handle freeze-thaw cycles without much fading. Concrete pavers, meanwhile, cost less upfront and come in more shapes and colors, though they can fade over time depending on the sealant used.
Here’s a quick breakdown to help you decide:
| Feature | Clay Brick | Concrete Pavers |
|---|---|---|
| Durability | Excellent, resists fading | Good, but color fades faster |
| Cost | Higher upfront | Lower upfront |
| Style options | Traditional, limited colors | Wide variety of colors/shapes |
| Freeze-thaw performance | Excellent | Good, varies by quality |
FYI, if you live somewhere with harsh winters, clay brick is usually the safer long-term investment, even with the higher initial cost.
Installation Tips Nobody Tells You About
Before you grab a shovel and start winging it, know this: a patio is only as good as the base underneath it. Skimping on prep work is the single biggest mistake I see people make.
- Excavate at least 6–8 inches deep for a proper gravel base
- Compact the base thoroughly—rent a plate compactor, don’t just eyeball it
- Add a layer of sand for leveling before laying bricks
- Use edge restraints to keep bricks from shifting outward over time
Is this more work than just laying bricks straight onto dirt? Absolutely. Will your patio last decades instead of falling apart in two years? Also absolutely.
Maintaining Your Brick Patio Long-Term
A brick patio isn’t “set it and forget it.” Weeds creep up through joints, sand settles unevenly, and moss loves damp, shaded brick.
Regular maintenance keeps your patio looking sharp:
- Sweep and rinse the surface every few weeks during high-use seasons
- Reapply polymeric sand every year or two to keep joints locked and weed-free
- Reseal every 2–3 years to protect against staining and fading
- Address any shifting bricks immediately before the problem spreads
I learned the hard way that ignoring a single loose brick leads to an entire section shifting within a season. Don’t be like me—stay on top of the small stuff.
Wrapping It Up
Fifteen ideas, one goal: a brick patio that actually fits your space, your style, and your budget. Whether you go full herringbone with a built-in fire pit or keep it simple with a running bond and a couple of planters, the key is picking a design you’ll still love five years from now.
So which idea’s calling your name? Grab a notebook, sketch out your yard, and start figuring out where your bricks are going to land. Your future self, sitting out there with a drink in hand, will thank you.