
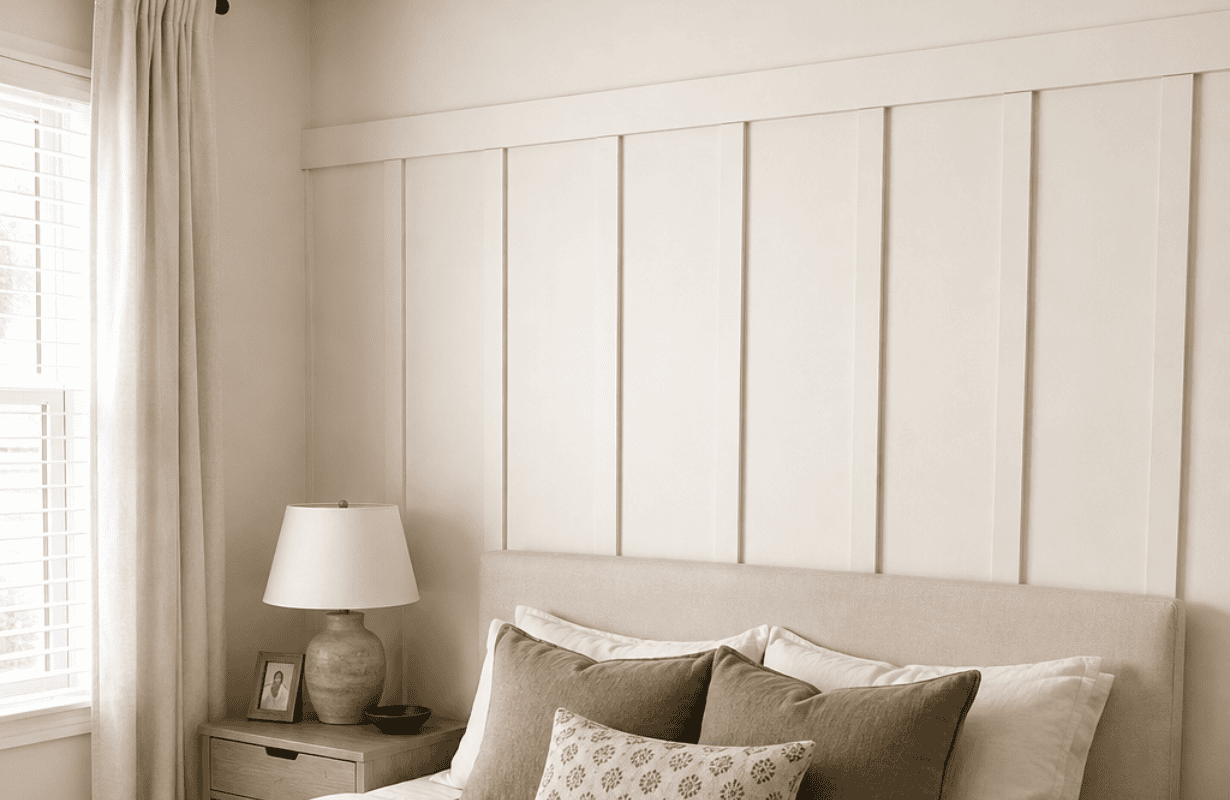
A blank wall can make an otherwise finished room feel like something is missing. You add furniture, hang a couple of pictures, maybe move the lamp around three times…and the wall still looks flat.
That’s exactly why board and batten is such a useful DIY project. It adds architectural detail without requiring you to rebuild anything, and it works surprisingly well in ordinary homes—not just those perfectly styled rooms you see online.
The good news is that a DIY board-and-batten wall for beginners is much more manageable than it looks. You don’t need advanced woodworking skills or a garage full of expensive tools. What you do need is careful measuring, a decent plan, and enough patience not to start nailing boards to the wall before checking your layout.
Here’s the thing: installing the boards is usually the easy part. Getting the spacing, proportions, edges, and finish right is what makes the final wall look intentional.
Here’s how I’d approach it.
First, Decide What Your Board-and-Batten Wall Should Look Like
Before buying lumber, figure out the overall design.
Board and batten can cover an entire wall from floor to ceiling, but a partial-height treatment is often easier for a first project. It works especially well in bedrooms, entryways, dining rooms, hallways, and home offices.
For a half or two-thirds-height wall, somewhere around 48 to 60 inches high often looks balanced, depending on your ceiling height and furniture.
Don’t choose the height randomly.
If you’re installing it behind a bed, for example, consider how the top rail will relate to the headboard. In a dining room, look at chair backs and nearby windows. You want the new horizontal line to feel connected to the room instead of awkwardly cutting through existing features.
Plan Around Outlets and Switches
This is something pretty inspiration photos rarely show.
Measure every outlet, switch, vent, and wall-mounted fixture before deciding where your vertical battens will go. Moving one batten an inch or two during the planning stage is much easier than trying to notch a board around an electrical outlet later.
Choose Beginner-Friendly Materials
You don’t necessarily need traditional solid wood boards.
For an interior decorative wall, MDF is popular because it’s smooth, straight, relatively inexpensive, and easy to paint. Primed pine or other trim boards can also work well.
A simple setup might include:
- Thin MDF or wood strips for the vertical battens
- A wider board for the top horizontal rail
- Construction adhesive
- Finish nails
- Paintable caulk
- Wood filler
- Sandpaper
- Primer and paint
- Measuring tape and level
- Miter saw or circular saw
- Brad or finish nailer
One important consideration is your existing baseboard.
If your battens are considerably thicker than the top edge of the baseboard, they’ll stick out awkwardly where the two meet. You can replace the baseboard, modify the bottom of each batten, or choose thinner material.
This little detail makes a surprisingly big difference.
How to Calculate Board-and-Batten Spacing
Most people get this wrong because they calculate the empty spaces without accounting for the width of the boards themselves.
Start by measuring the usable width of your wall.
Then decide approximately how many vertical battens you want. Rather than immediately cutting anything, use painter’s tape to recreate the design directly on the wall.
Stand across the room and look at it.
Does one section look strangely narrow? Is a batten almost touching an outlet? Does the layout look centered around the bed or another important piece of furniture?
What actually works is adjusting the design visually first and doing the final math afterward.
Keep the Spaces Consistent
Once you’re happy with the approximate layout, calculate equal spacing.
A useful formula is:
Wall width – total width of all battens = remaining space
Then divide that remaining measurement by the number of spaces between your battens.
For example, if your usable wall is 144 inches wide and your battens together occupy 24 inches:
144 – 24 = 120 inches.
If your layout creates six equal spaces:
120 ÷ 6 = 20 inches between battens.
Measure twice before committing. Seriously. A small spacing error becomes much more noticeable after you’ve installed several boards.
Step-by-Step: Installing a DIY Board-and-Batten Wall
Once the layout makes sense, the actual installation moves fairly quickly.
Step 1: Prep and Paint the Wall
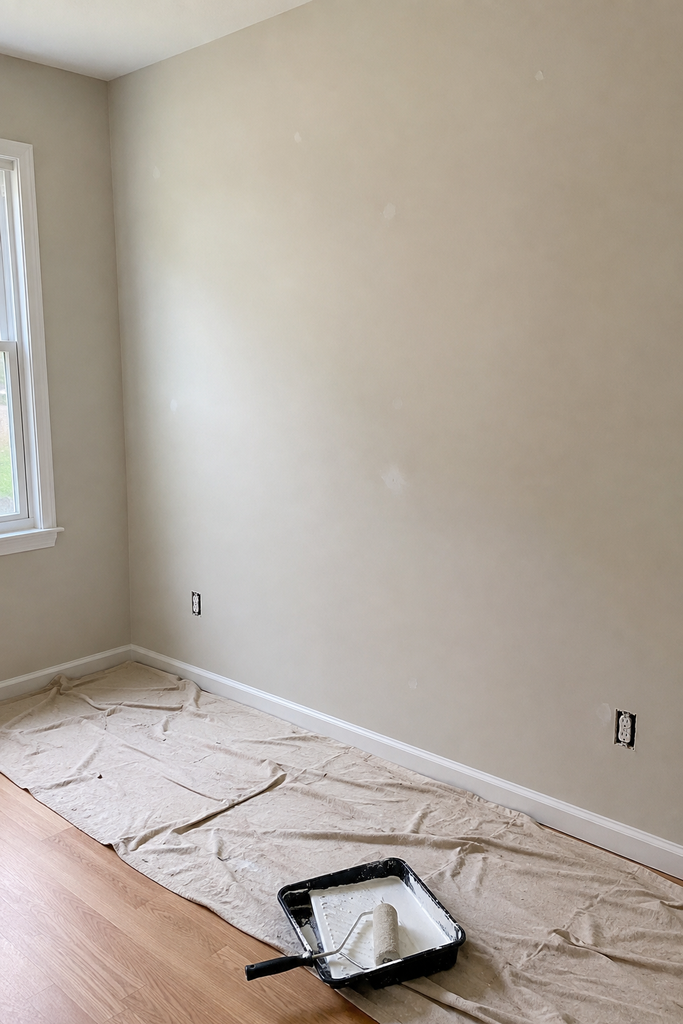
Remove outlet covers and fill obvious holes or damage.
If you’re changing the wall color significantly, I prefer painting the wall before installing the trim. Getting a roller between narrow battens later is annoying.
You don’t necessarily need the perfect final coat yet. The goal is simply to establish a consistent base color.
Step 2: Mark the Entire Layout
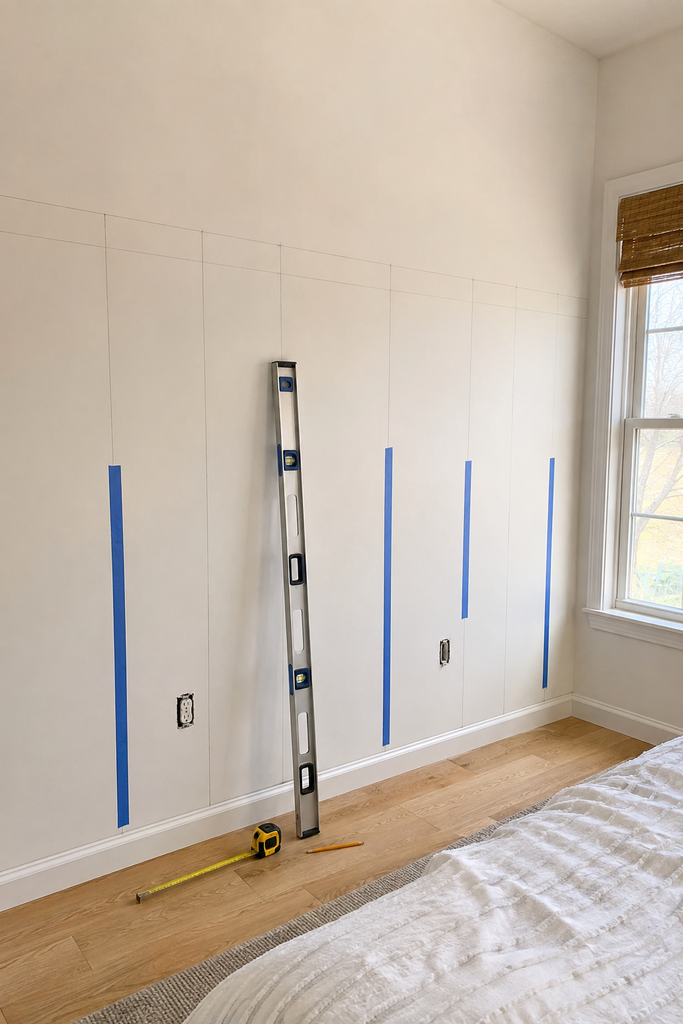
Use a pencil and level to mark your top rail and vertical batten locations.
Don’t trust your floor, ceiling, or wall corners to be perfectly straight. Houses aren’t nearly as square as they look.
A level gives you a consistent reference even when the surrounding architecture is slightly off.
Step 3: Install the Horizontal Rail
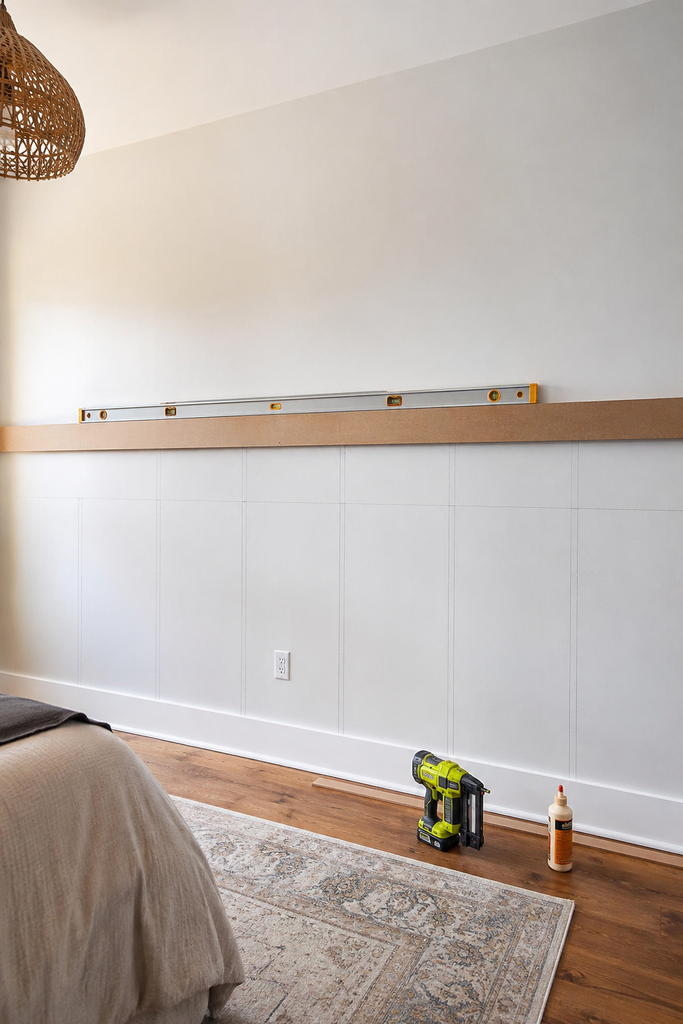
Cut your top board to length and place it along your marked level line.
Secure it using finish nails into studs where possible. Construction adhesive can provide additional support, particularly when studs don’t line up conveniently with the design.
Check the level again before completely securing the board.
This top rail becomes a strong visual line, so even a slight slope can be obvious across a long wall.
Step 4: Cut and Install the Vertical Battens
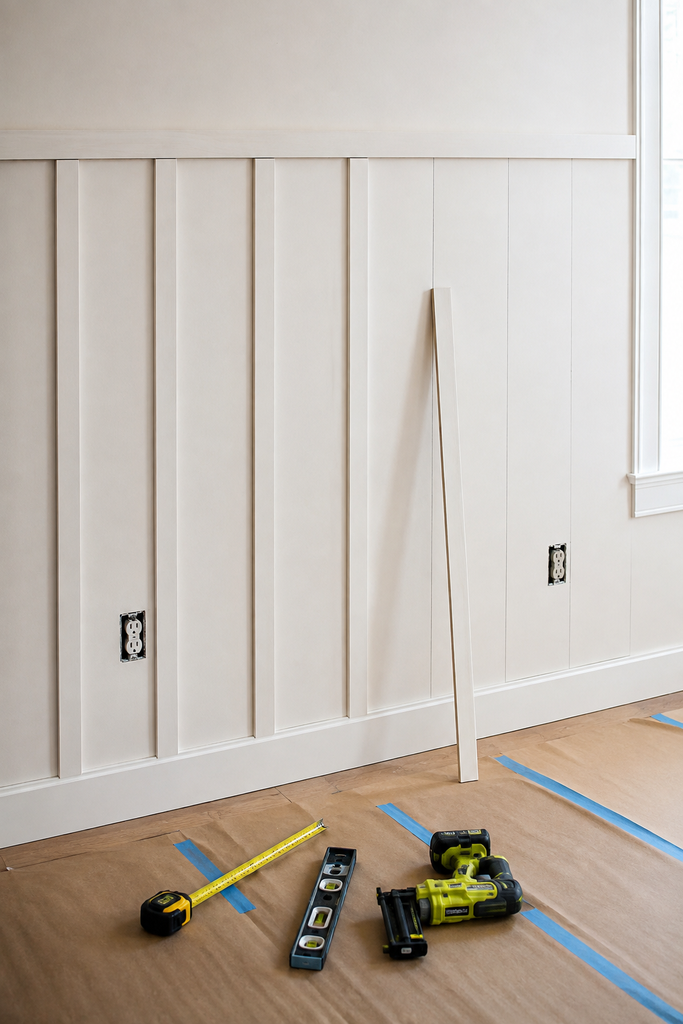
Measure each vertical board individually.
Don’t assume they’re all exactly the same length. If the baseboard or floor is slightly uneven, measurements can vary across the wall.
Cut your first batten, test-fit it, check it with a level, and then attach it.
Continue across the wall while regularly checking spacing.
I wouldn’t cut every piece in advance unless you’re absolutely certain the measurements are identical. Cutting as you go takes slightly longer, but it can save you from wasting material.
Step 5: Fill the Nail Holes
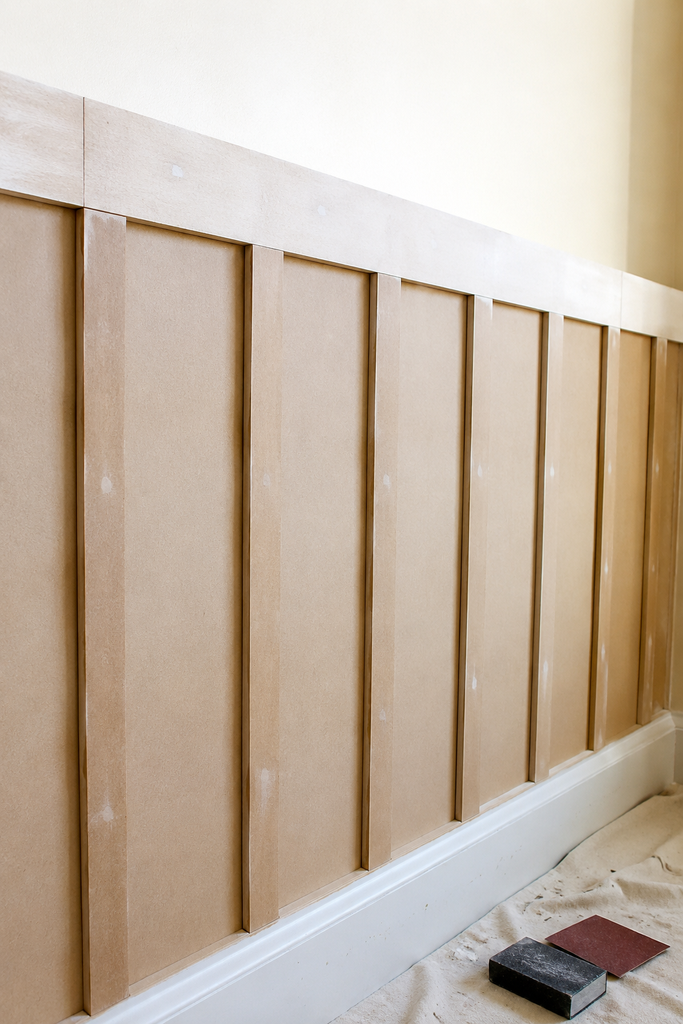
Once everything is secure, fill nail holes with wood filler.
Let it dry and sand those areas smooth.
Run your hand over the surface afterward. Your fingers often notice small bumps and depressions that your eyes miss.
Those imperfections become much easier to see once paint goes on.
Step 6: Caulk the Seams
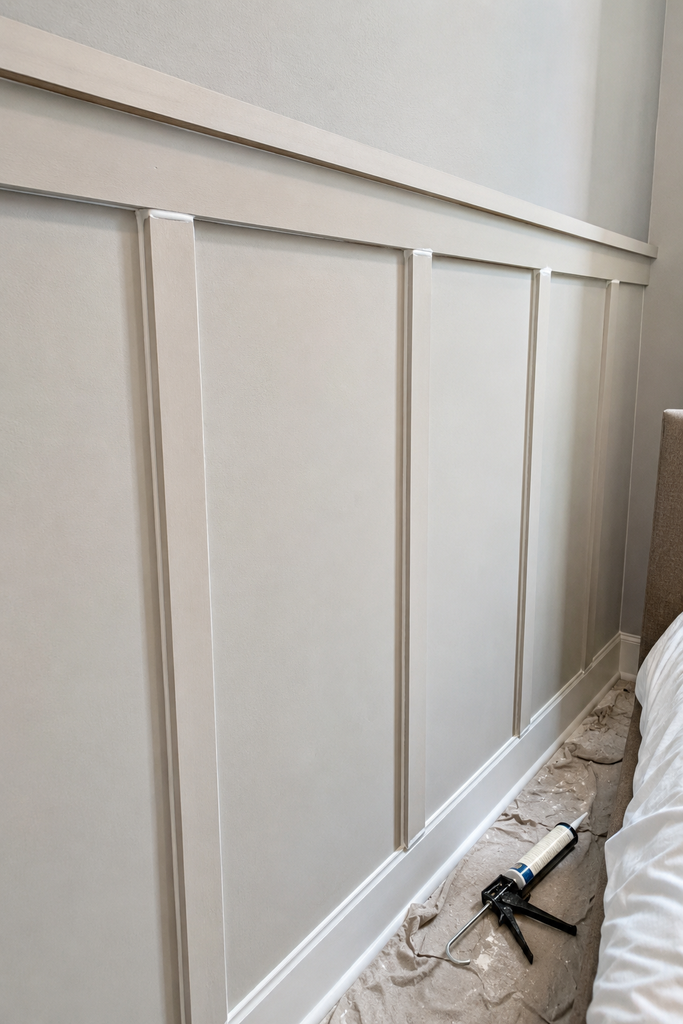
This is where the project starts looking built-in rather than attached to the wall.
Apply a thin bead of paintable caulk where the boards meet the wall and where appropriate trim pieces meet each other.
Don’t use huge amounts.
Too much caulk creates thick, rounded edges that can actually make the finished work look messier. A small, smooth bead is usually enough to hide minor gaps and create a clean transition.
Step 7: Prime and Paint Everything
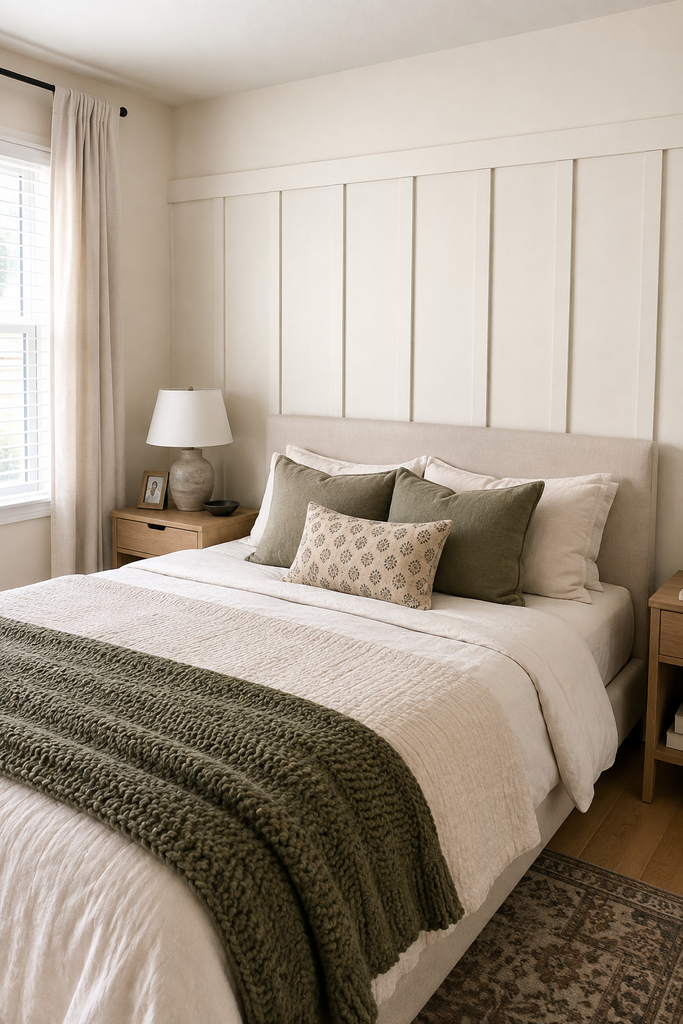
Prime any unfinished MDF or wood, especially exposed cut edges.
Then paint the battens and wall.
Using the same color across the trim and wall creates that classic architectural look. Satin or eggshell finishes are practical for many rooms because they’re easier to wipe clean than completely flat paint.
Expect at least two light coats for an even finish.
Common Board-and-Batten Mistakes to Avoid
The biggest mistake is rushing directly into installation.
A board-and-batten wall with slightly imperfect cuts can still look great after filling and caulking. A wall with obviously uneven spacing is much harder to disguise.
Another common problem is using the wrong thickness of material against existing baseboards. Check that connection before buying all your boards.
And don’t skip the painter’s-tape mockup.
A layout can work perfectly on paper and still look strange once you see it at full scale. Spending 15 minutes testing the design can prevent hours of correction later.
How to Make the Finished Wall Look More Professional
Keep the styling around your new feature wall fairly simple.
Board and batten already adds lines, shadows, and texture. Covering it immediately with lots of small artwork and accessories can compete with the architectural detail you just spent hours creating.
Also pay attention to your finishing work. Straight boards matter, but smooth filler, clean caulk lines, sanded edges, and even paint are what people actually notice up close.
Take your time during that final 20 percent of the project.
Final Thoughts
A DIY board-and-batten wall for beginners is one of those projects that looks more intimidating before you start than it actually is.
The key isn’t complicated carpentry. It’s planning.
Mock up the pattern with painter’s tape, calculate your spacing carefully, work around outlets and existing trim, and check every board with a level as you install it. Then give the filling, sanding, caulking, and painting stages the attention they deserve.
You don’t need every cut to be woodworking-shop perfect. Small gaps can usually be corrected during finishing.
Start with one manageable wall—maybe behind a bed, in an entryway, or along a dining area. Once you see how much dimension a few simple strips of trim can add, that plain wall won’t feel quite so intimidating anymore.