
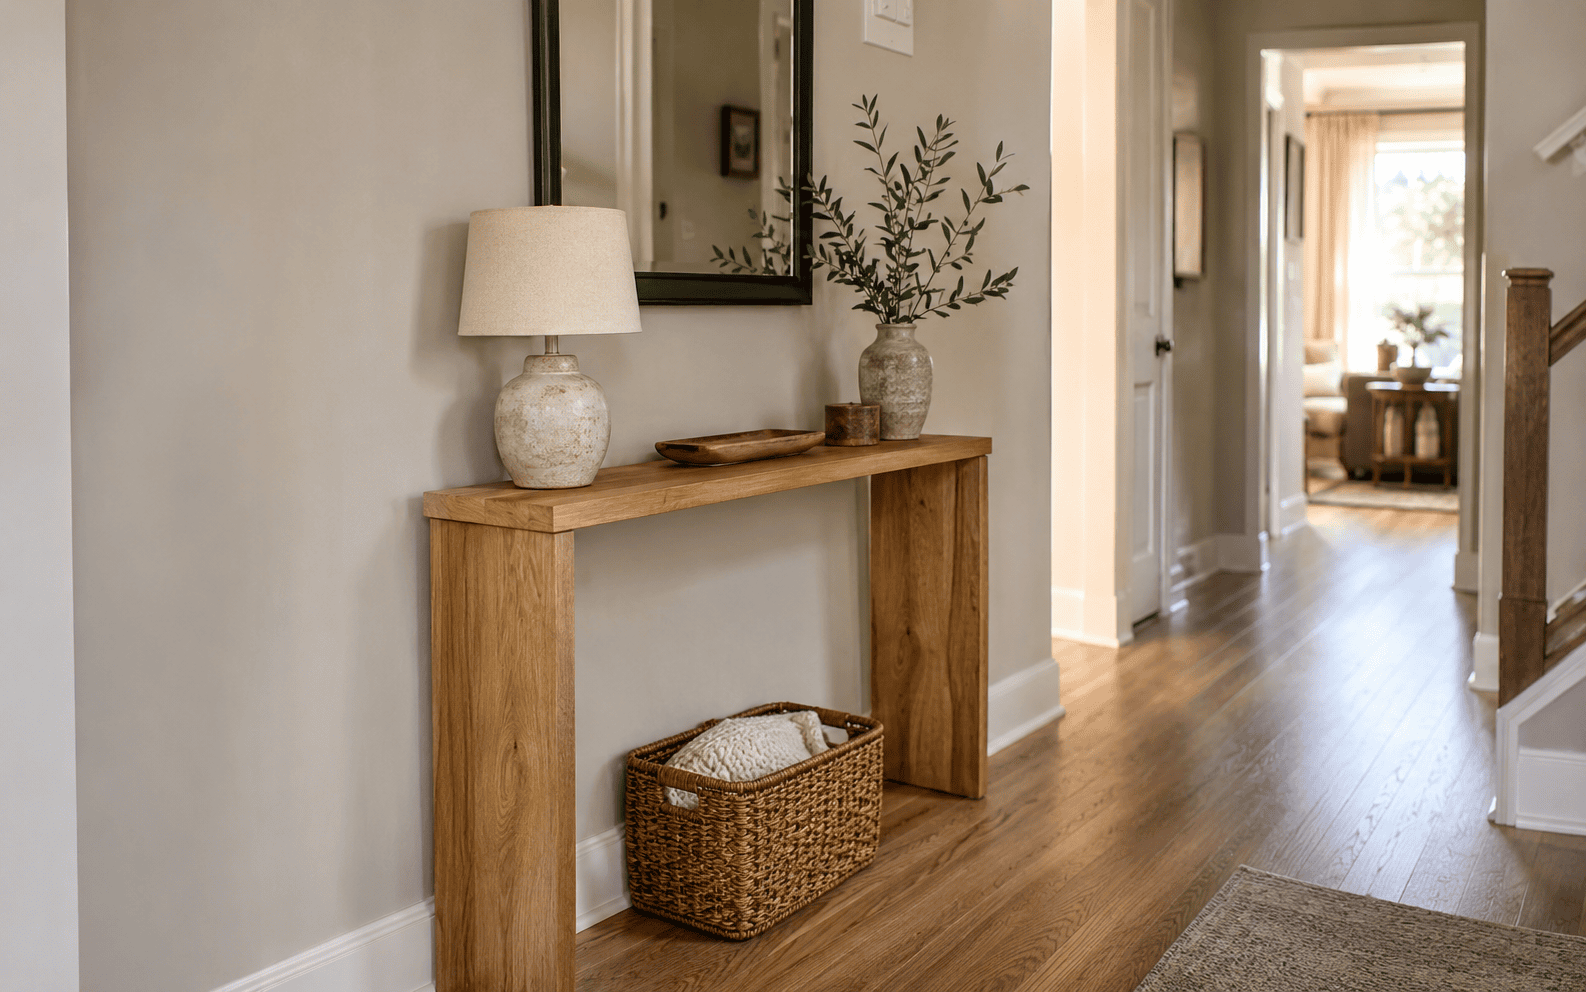
A narrow hallway is one of those spaces that seems like it should be easy to decorate until you actually try to put furniture in it. A regular console table sticks out too far, a small cabinet makes the walkway feel cramped, and leaving the wall completely empty can make the hallway feel unfinished.
That’s exactly why a DIY narrow console table for a hallway makes so much sense. You get to control the depth, width, height, finish, and even the amount of storage instead of trying to squeeze a standard-size piece into a space it wasn’t designed for.
And you don’t need to build anything complicated.
Here’s the thing: for a hallway, simpler is usually better. A slim wood top, sturdy legs or side panels, and the right proportions can give you a useful landing spot for keys, mail, a lamp, or a small decorative piece without stealing valuable walking space.
The trick is building the table around your hallway not building a table first and hoping it fits.
Before You Build, Figure Out How Narrow the Table Really Needs to Be
Most people get this wrong because they measure the empty wall instead of thinking about the actual walkway.
A hallway may technically have enough room for a 14-inch-deep console, but that doesn’t necessarily mean you should build one that deep.
Start by measuring the total hallway width. Then think about doors, trim, traffic flow, and anything that swings into the space.
For a genuinely tight hallway, I usually like a console that’s roughly 8 to 12 inches deep. In a slightly wider hallway, you may be able to push that closer to 14 inches.
Test the Depth With Painter’s Tape
Before cutting lumber, mark the proposed table footprint on the floor with painter’s tape.
Even better, stack a few cardboard boxes or place something approximately the same depth against the wall for a day.
Walk past it carrying laundry. Open nearby doors. Come through with grocery bags.
That tells you far more than a measurement alone.
What actually works is choosing the shallowest depth that still gives you enough surface area for how you plan to use the table.
Choose a Simple Console Table Design
A narrow console doesn’t need elaborate joinery or a complicated base. In fact, those details can work against you in a tight hallway.
One of the easiest designs is essentially a long, shallow top supported by two wood side panels. You can also use four simple legs with support rails underneath.
For a beginner-friendly build, I prefer the side-panel version because it’s straightforward and visually clean.
A Practical Starting Size
Your measurements should ultimately depend on your hallway, but a useful starting point is:
- Width: 36–48 inches
- Depth: 8–12 inches
- Height: 30–34 inches
A 42-inch-wide by 10-inch-deep console, for example, provides enough room for a small lamp, catchall tray, and decorative object without behaving like a full-size piece of furniture.
If your hallway is especially narrow, don’t be afraid to go down to 8 inches deep. That’s still enough for keys, framed photos, a narrow vase, or a small basket.
Materials and Tools You’ll Need
You can adjust the materials depending on the style you’re after, but you don’t need an enormous shopping list.
For a simple DIY hallway console, you’ll typically need:
- 1×10 or similar board for the top
- Wood boards or panels for the legs/sides
- Wood screws
- Wood glue
- Sandpaper in medium and fine grits
- Wood filler
- Stain, paint, or clear protective finish
- Measuring tape
- Pencil
- Speed square or carpenter’s square
- Drill/driver
- Saw
- Level
- Stud finder and wall anchors or brackets for securing the finished table
You can use inexpensive pine if you’re painting the console. If you want a natural wood finish, spending a little more on a board with attractive grain can make the finished project look noticeably better.
Step 1: Measure and Plan Every Piece Before Cutting
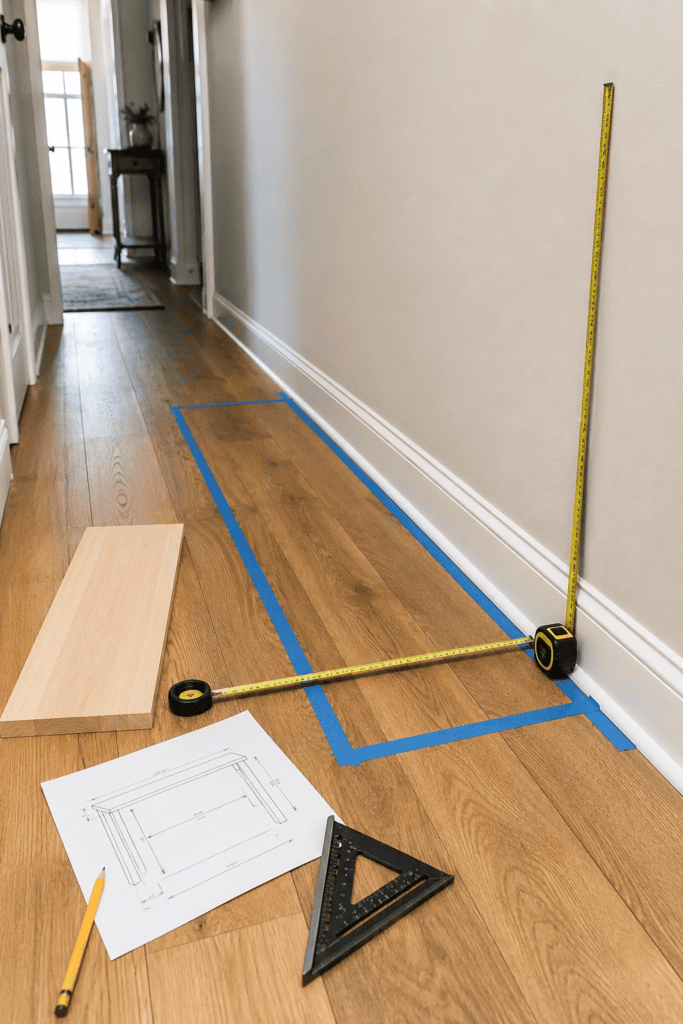
Don’t start with the saw.
Sketch the table first and write the measurements directly beside every piece.
Let’s say you’re building a console approximately 42 inches wide, 10 inches deep, and 32 inches high. Your top would be around 42 by 10 inches, while the side pieces would be cut to create your desired finished height after accounting for the thickness of the tabletop.
Measure the actual thickness of your lumber rather than assuming what’s printed on the label is the exact dimension.
Check Your Baseboards Too
This is a small detail that causes surprisingly annoying problems.
If your hallway has thick baseboards, a straight-sided console may not sit flush against the wall. You can either notch the back of the side panels around the baseboard or intentionally leave a small gap behind the table.
Plan for this now rather than discovering it after assembly.
Step 2: Cut the Tabletop and Supports
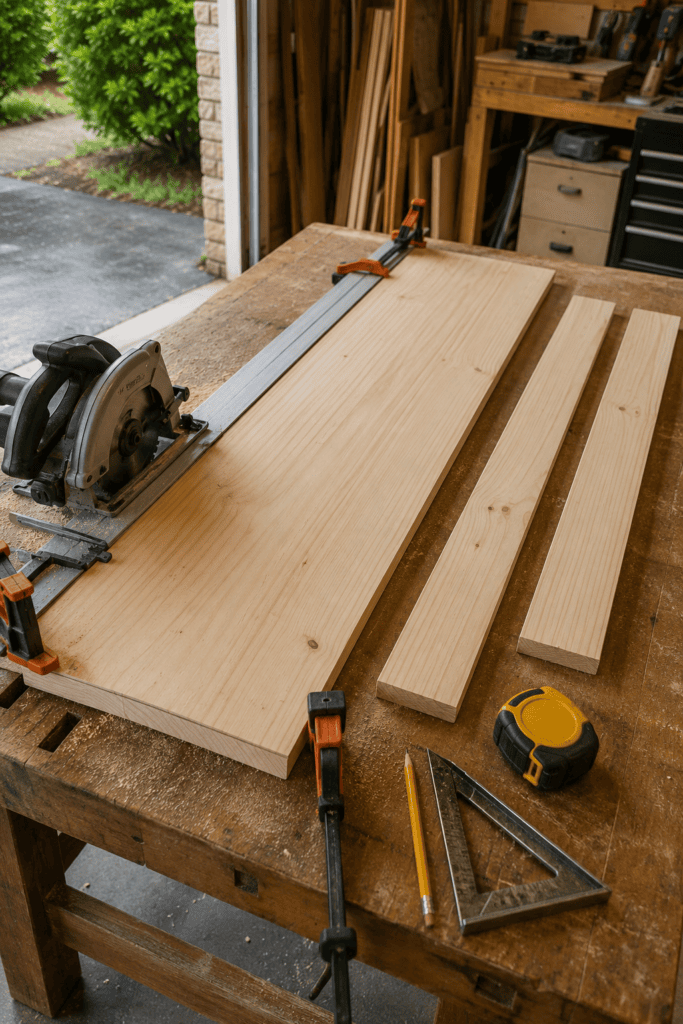
Once your measurements are confirmed, cut the tabletop and side pieces.
Keep your cuts as square as possible. With a narrow console table, even a slightly uneven leg becomes obvious because the furniture has such a simple shape.
If you’re using four individual legs instead of solid side panels, cut all four at the same time and compare their lengths before moving on.
Don’t worry about making everything look finished yet. You’re still creating the basic structure.
Step 3: Sand Before Assembly
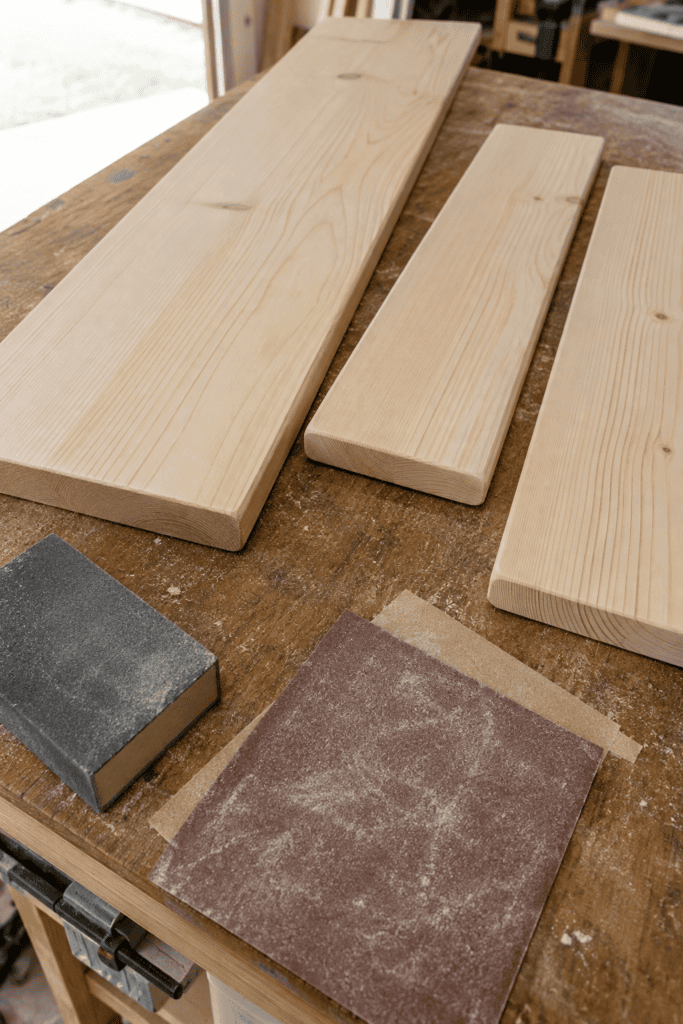
Yes, you can sand after assembling the table. But sanding the individual pieces first is much easier.
Start with a medium-grit sandpaper to smooth rough areas and saw marks, then move to a finer grit.
Pay extra attention to the front edge of the tabletop because that’s the part you’ll touch and see most often.
Slightly softening sharp corners is also worthwhile in a hallway. People will be walking close to this table every day, so razor-sharp wood corners aren’t particularly practical.
Remove all sanding dust before assembly.
Step 4: Assemble the Console and Keep It Square
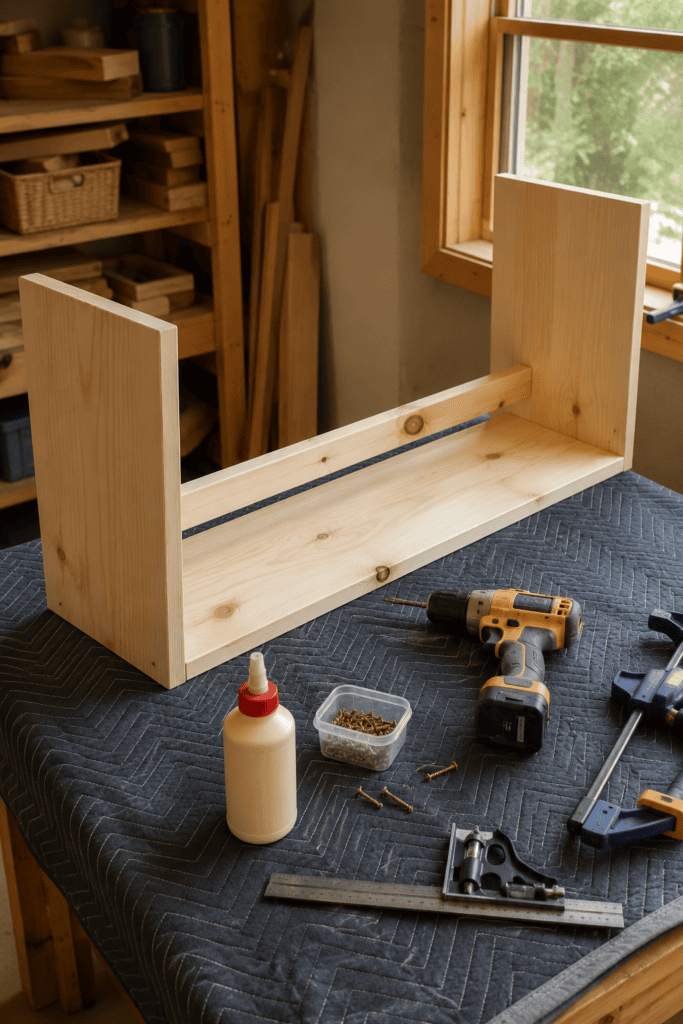
Apply wood glue where the supports meet the tabletop, then secure the pieces with screws according to your design.
This is where a carpenter’s square becomes important.
Check each connection before tightening everything completely. A table that’s slightly out of square may wobble or look crooked against the long straight line of a hallway wall.
For additional stability, you can add a narrow support rail across the back between the side panels or legs.
That back rail doesn’t need to be bulky. Even a relatively small support can reduce side-to-side movement considerably.
Step 5: Fill, Sand, and Finish the Wood
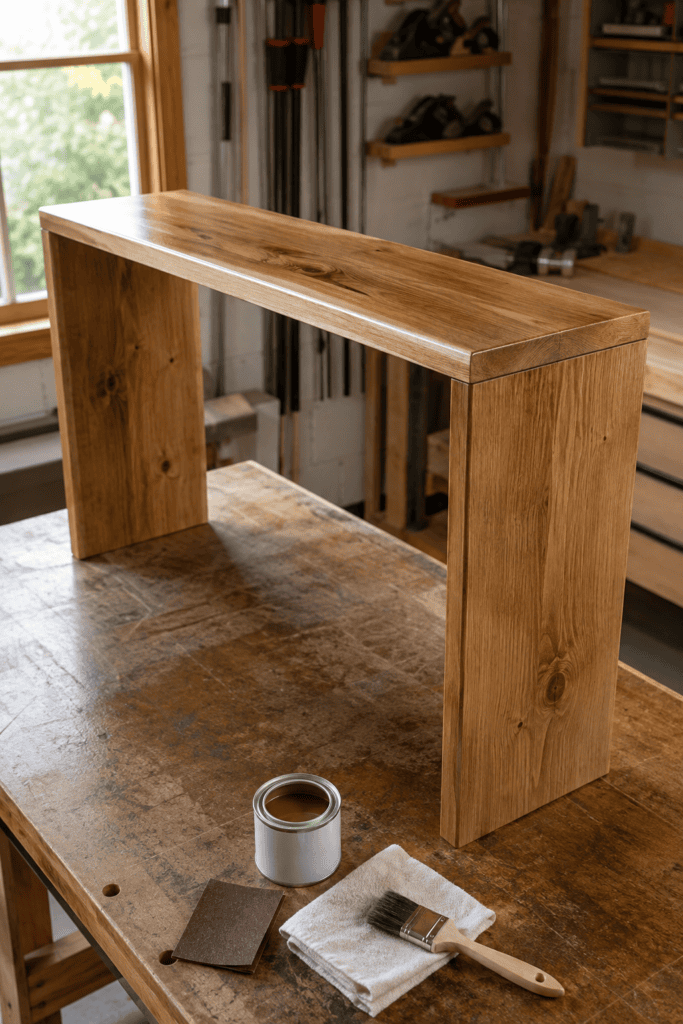
Once the structure is assembled, fill visible screw holes or small imperfections with wood filler.
Let it dry and lightly sand those areas smooth.
Now you can decide what personality you want the table to have.
For a brighter hallway, warm natural wood or a light stain keeps the furniture visually soft. Black or deep charcoal creates stronger contrast, while an off-white or muted beige painted finish can almost blend into the wall.
Here’s the thing: narrow spaces already contain plenty of visual lines. I wouldn’t make the finish unnecessarily complicated.
A simple finish usually makes a DIY console look more expensive.
If you’re staining the table, test the stain on a scrap of the same wood first. Different species—and sometimes different boards of the same species—can absorb stain very differently.
Step 6: Secure the Console to the Wall
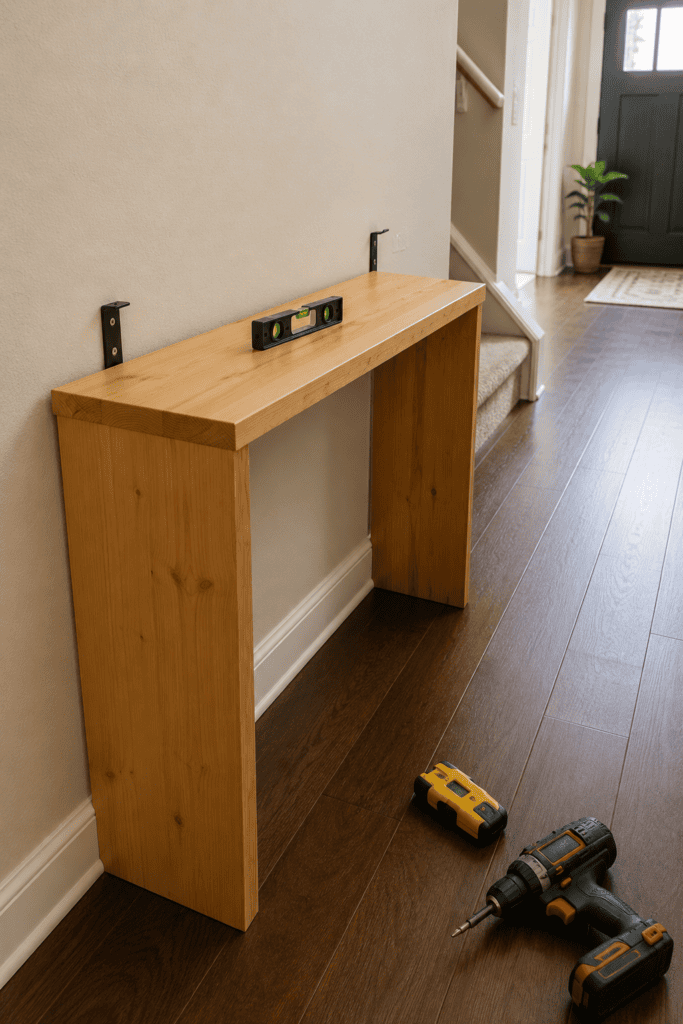
Don’t skip this part just because the table seems stable.
A narrow console has a relatively small footprint, which can make it easier to tip than deeper furniture.
Use appropriate furniture brackets, anti-tip hardware, or another suitable anchoring method to secure the console to wall studs where possible. Follow the hardware manufacturer’s installation instructions for your wall type.
This becomes especially important if you have kids or if the hallway gets a lot of traffic.
Once secured, use a level to make sure the tabletop sits straight.
Common Mistakes That Make a Narrow Console Less Useful
The biggest mistake is making it too deep.
It’s tempting to grab a standard 1×12 board and use the full depth simply because it’s convenient. But if trimming an inch or two makes the hallway noticeably easier to walk through, make the cut.
Another problem is adding too much underneath.
Large shelves, bulky baskets, cross braces, and decorative supports can turn a visually lightweight table into a surprisingly heavy piece of furniture.
Storage isn’t automatically useful if it makes the hallway harder to navigate.
And finally, don’t build the table based purely on decorative proportions. Think about what will actually sit there.
If you only need a spot for keys and mail, an 8- or 9-inch depth may be plenty.
How to Style a Narrow Hallway Console Without Cluttering It
Once you’ve spent all that time creating a slim piece of furniture, don’t bury it under accessories.
Start with one practical item. That might be a small catchall tray for keys or a compact table lamp if the hallway needs extra light.
Then add height with one piece, such as a framed print, mirror, or narrow vase.
That’s often enough.
If there’s room underneath, one small basket can provide concealed storage. Just make sure it fits completely beneath the console rather than sticking into the walkway.
A mirror above the table works particularly well in a narrow or darker hallway because it gives the wall a purpose without requiring additional floor space.
Keep the arrangement slightly restrained. In a tight hallway, negative space is part of the design.
Make the Design Work for Your Specific Hallway
The real advantage of a DIY narrow console table for a hallway isn’t that it’s cheaper than buying furniture. Sometimes it is, sometimes it isn’t.
The bigger advantage is getting the dimensions right.
Maybe your hallway needs a weird 9-inch depth. Maybe the available wall is only 34 inches wide. Maybe you need the table slightly taller so it sits properly underneath an existing mirror.
Those awkward measurements are exactly where DIY furniture becomes useful.
Don’t feel like your console has to match standard furniture dimensions. Build for the space you actually have.
Final Thoughts
A narrow hallway doesn’t need much furniture, but one properly sized piece can make the entire space feel more intentional.
The key to building a DIY narrow console table for a hallway is resisting the urge to make it bigger or more complicated than necessary. Measure the walkway first, test the depth before cutting, keep the structure simple, and secure the finished table properly.
Once it’s in place, keep the styling just as thoughtful. A tray, lamp, mirror, or small vase may be all you need.
That’s the nice thing about this project: you’re not trying to squeeze normal furniture into an awkward hallway.