
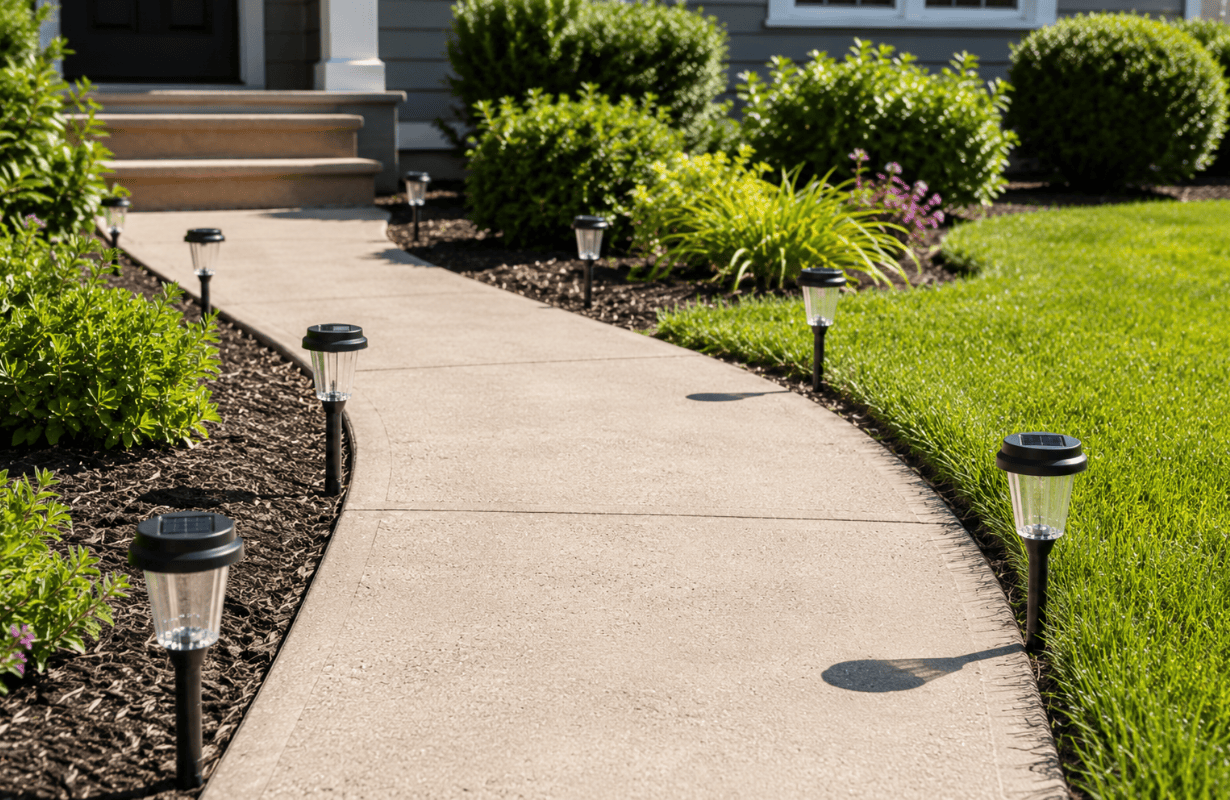
Solar path lights seem like one of those outdoor projects that should take about ten minutes. Push a few stakes into the ground, switch them on, and you’re done. Then nighttime comes and suddenly half the walkway is dark, one light is practically glowing inside a shrub, and the whole setup looks more like an airport runway than a thoughtfully lit yard.
The problem usually isn’t the lights themselves. It’s the placement.
A good DIY solar path lighting installation is less about installing as many lights as possible and more about figuring out where light is actually useful. You need enough sun to charge the panels, enough illumination to make walking safer, and enough restraint that your yard still feels warm and inviting after dark.
The good news is that this is one of the most approachable outdoor upgrades you can tackle yourself. There’s no electrical wiring to bury and no transformer to install. But a little planning before you start pushing stakes into the lawn makes a surprisingly big difference.
Start With the Path, Not the Solar Lights
Here’s the thing: most people start this project by opening the box and immediately deciding where each light should go.
I’d do the opposite.
Walk your path in the evening before installing anything. Notice the places where you naturally slow down, turn, step up, or have trouble seeing the edge.
Those are your priority areas.
Decide What the Lighting Actually Needs to Do
Solar path lighting can serve several purposes:
- Make a walkway safer after dark
- Define the edge of a driveway or garden path
- Highlight landscaping
- Guide guests toward an entrance
- Add gentle ambient lighting around a patio or backyard
Your goal determines your placement.
For example, a straight front sidewalk probably doesn’t need a light every few feet. A curved garden path with stepping stones may need more strategic lighting around bends and changes in elevation.
What actually works is lighting the experience of walking through the space, rather than simply creating a perfectly symmetrical row.
Check Sun Exposure Before You Install Anything
This is probably the most overlooked part of DIY solar path lighting installation.
Solar lights need sunlight. Obvious, right?
Except the spot that looks sunny at noon might be completely shaded for most of the afternoon by your house, fence, trees, or landscaping.
Before committing to locations, watch how sunlight moves through the yard.
Most solar lights perform best when their panels receive several hours of direct sunlight during the day. Always check the manufacturer’s recommendations because charging requirements vary between products.
Watch Out for Seasonal Shade
That sunny summer location may behave differently during fall or winter when the sun sits lower in the sky.
Large trees create another issue. A light underneath a leafy canopy may look fantastic beside your path but struggle to charge properly.
If a particular section is heavily shaded, don’t force solar lighting into it. You may need a different location or another outdoor lighting solution there.
Plan Your Solar Path Light Spacing
Most people get this wrong by assuming more lights automatically look better.
Usually, they don’t.
Too many small solar lights lined up at identical intervals can make a residential walkway look overly rigid. You want enough illumination to understand where the path goes without turning the yard into a brightly outlined corridor.
Try Staggering Instead of Creating Two Rows
For a walkway, try alternating lights from one side to the other.
You might place one on the left, move several feet forward, then place the next on the right.
This creates overlapping pools of light while keeping the design relaxed.
Spacing depends heavily on how bright and wide each fixture casts light, so don’t rely entirely on a universal measurement. Start farther apart than you think you need. You can always add another light after testing the layout.
Do a Nighttime Test Before Installing the Stakes
This extra step can save you from reinstalling half the project.
Place the assembled solar lights approximately where you think they should go without permanently pushing them into the soil.
Allow them to charge according to the manufacturer’s directions, then come back after dark.
Walk the path.
Are there dark spots around steps? Are two lights creating an unnecessarily bright patch? Does one fixture shine awkwardly toward a seating area?
Move them around.
It’s much easier to experiment now than after you’ve firmly installed every stake.
How to Install Solar Path Lights Properly
Once you’re happy with the layout, installation is usually straightforward.
Step 1: Mark Your Final Locations
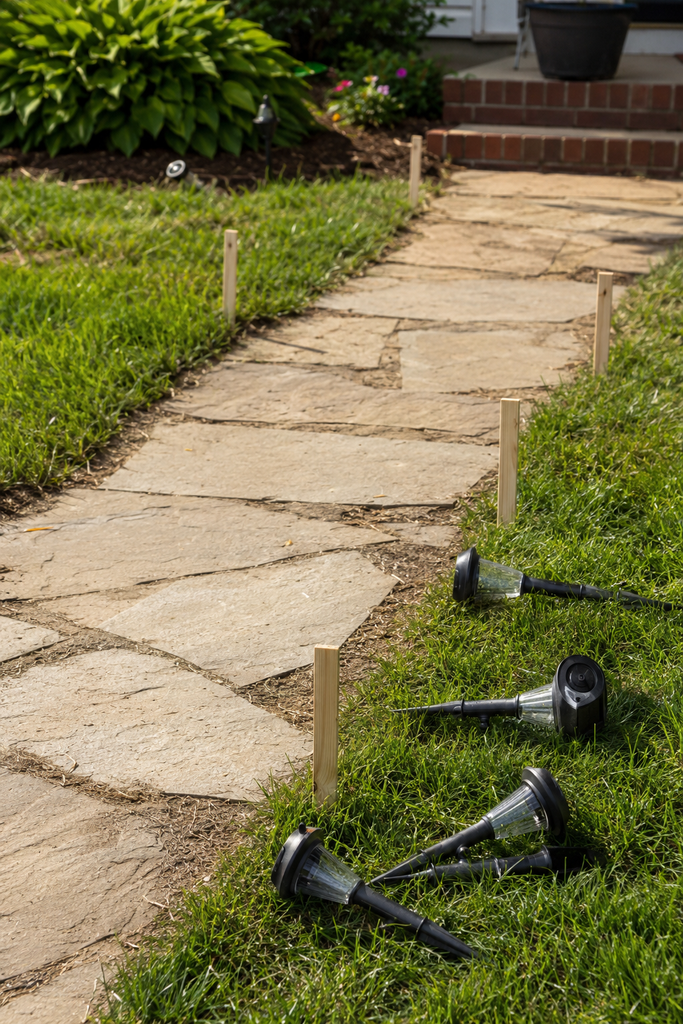
Use small garden markers, sticks, or another temporary marker to identify each position.
Then stand back and look at the entire path during daylight.
Make sure lights aren’t blocking lawn-mowing routes, sitting directly against plants, or creating obvious tripping hazards.
Step 2: Prepare Hard or Dry Soil
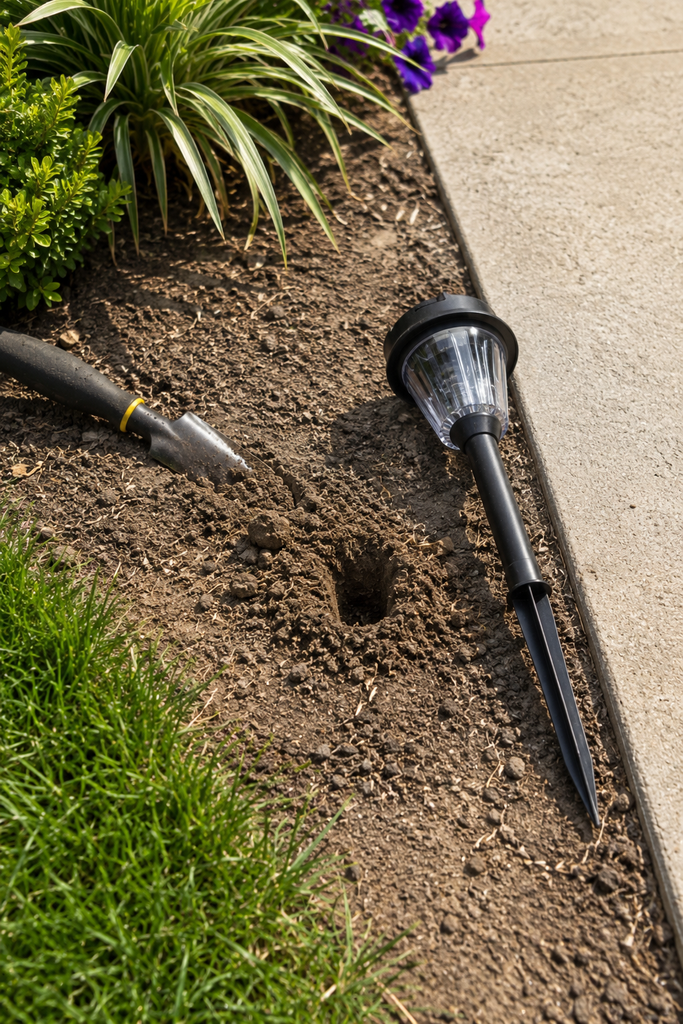
Don’t force a plastic solar light stake into rock-hard ground.
This is one of the easiest ways to snap the stake.
If the soil is compacted, slightly loosen the area first with an appropriate garden tool. Create a narrow pilot hole if necessary, following the fixture manufacturer’s installation guidance.
The stake should feel secure once installed rather than wobbling around in an oversized hole.
Step 3: Insert the Stake Straight
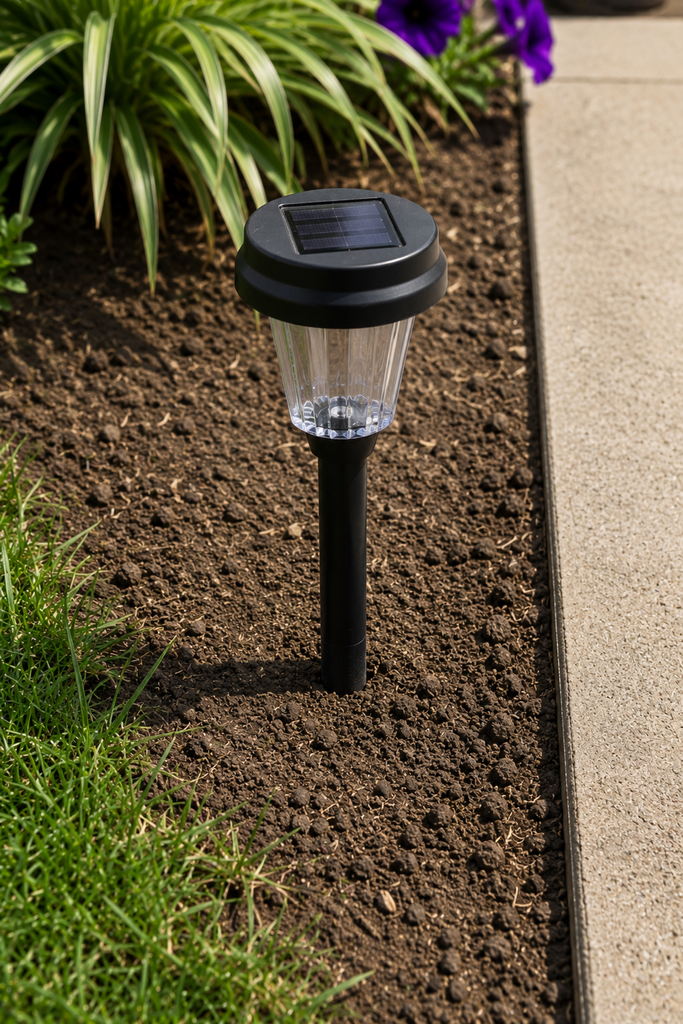
Press the ground stake into the prepared soil before attaching delicate upper components when the fixture design allows it.
Keep the stake vertical unless the product specifically uses an angled design.
Then attach the lamp housing and make sure the solar panel has clear exposure to the sky and sunlight.
Step 4: Activate and Charge the Lights
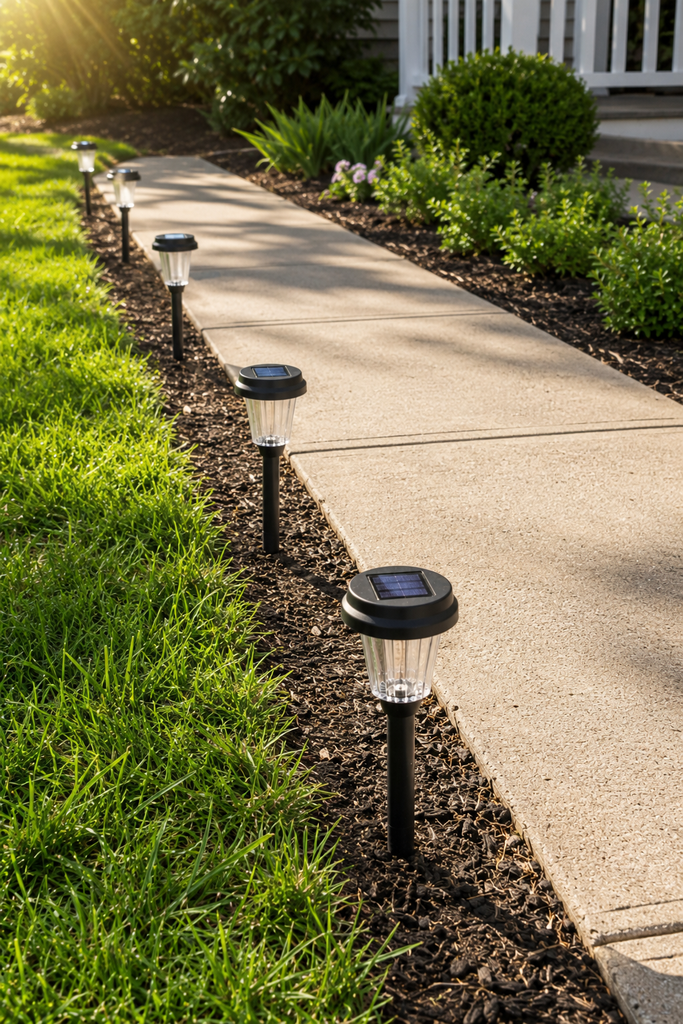
Some solar lights have an on/off switch or battery tab that needs to be activated before use.
Check the instructions.
Give new lights the recommended initial charging time before judging their nighttime brightness. Testing them immediately after unpacking can give you a misleading impression of their performance.
Common Solar Path Lighting Mistakes to Avoid
The biggest mistake is installing lights based entirely on how the yard looks during the daytime.
Outdoor lighting should be designed for nighttime.
Another common problem is placing fixtures too close to the walkway. Lawn equipment, shoes, pets, and kids can easily knock them over.
Also avoid hiding the solar panels beneath shrubs just because the fixture looks attractive there. As plants grow, they can gradually block both sunlight reaching the panel and light reaching the path.
And please resist the temptation to create perfectly straight, tightly spaced rows unless your landscape genuinely calls for that look. In most residential yards, slightly more relaxed placement feels much more natural.
Make Solar Path Lighting Look More Expensive
You don’t necessarily need expensive fixtures. Placement does most of the visual work.
Instead of illuminating every inch of pavement, think in layers.
Use path lights to guide movement, then let your porch lighting, landscape lighting, or patio fixtures provide additional ambient light where available.
Also pay attention to light color. Warm white illumination generally creates a softer residential atmosphere than extremely cool, blue-looking light.
Fixture style matters too. Simple finishes such as black, bronze, or understated metal tones tend to blend into landscaping instead of demanding attention during the day.
The goal isn’t to notice every individual solar fixture. The goal is to notice how comfortable the yard feels after dark.
Maintain Your Solar Lights So They Keep Working
Solar lighting isn’t completely maintenance-free.
Dust, pollen, leaves, bird droppings, and outdoor grime can gradually cover the solar panels and reduce charging performance.
Periodically wipe the panels clean according to the manufacturer’s care instructions.
Keep surrounding plants trimmed as well. A small shrub can grow enough during one season to shade a panel that previously received plenty of sunlight.
If one fixture becomes noticeably dimmer than the others, clean the panel first. Then check whether its location has become shaded before assuming the entire light has failed. Depending on the model, rechargeable batteries may eventually need replacement.
Final Thoughts
A successful DIY solar path lighting installation really comes down to three things: sunlight, thoughtful placement, and testing after dark.
Don’t rush straight from the package to the ground. Walk the path first, identify the places where lighting actually helps, check sun exposure, and experiment with spacing before committing to your final layout.
What actually works is surprisingly simple: fewer well-positioned lights usually look better than dozens of fixtures trying to illuminate every square foot.