
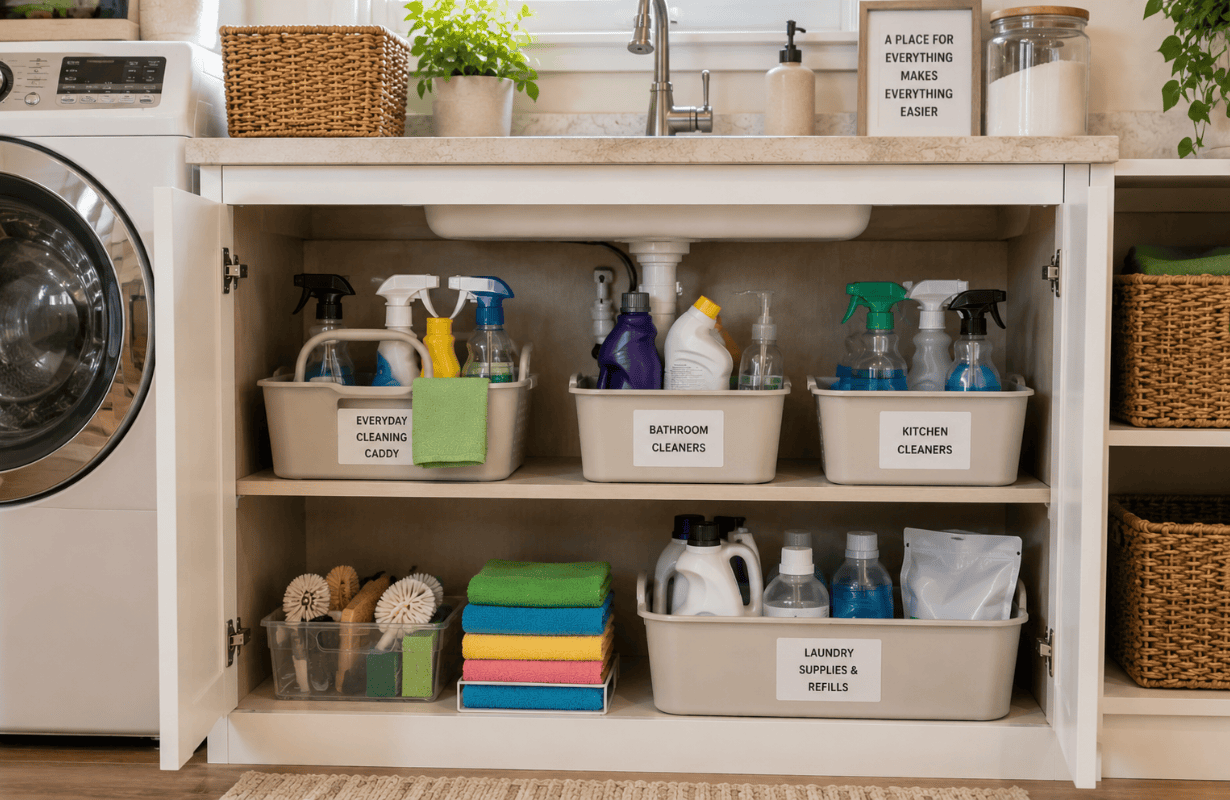
Cleaning supplies have a weird way of taking over whatever cabinet you give them.
You start with a bottle of all-purpose cleaner and some sponges. A few months later, there are half-empty sprays shoved behind paper towels, three products that basically do the same thing, loose scrub brushes, mystery refills, and a bottle you forgot you owned.
And when you actually need something? Of course it’s at the back.
But clutter isn’t the only issue. Cleaning products can leak, spill, damage nearby items, and become a serious problem when they’re stored where children or pets can reach them.
Learning how to organize cleaning supplies safely and efficiently isn’t really about creating a Pinterest-perfect cabinet full of matching bins. It’s about knowing what you own, putting products where they make sense, and creating a storage system that’s easy enough to maintain on a normal Tuesday.
Here’s the thing: the best cleaning-supply organization usually looks surprisingly simple.
Why Cleaning Supply Storage Gets Messy So Quickly
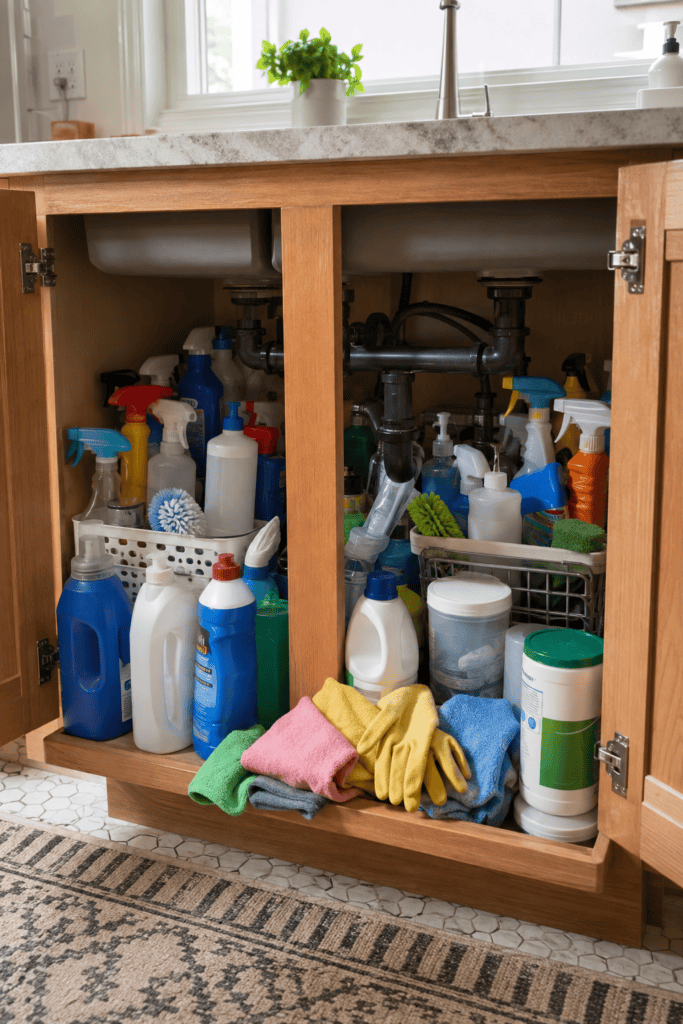
Most cleaning cabinets aren’t designed around how cleaning actually happens.
They’re simply the leftover cabinet under the kitchen sink, a shelf in the laundry room, or a random section of the garage where bottles gradually accumulate.
Too Many Products Doing the Same Job
Most people get this wrong because they organize first and declutter second.
You don’t need a sophisticated storage system for 18 bottles of cleaner. You probably need fewer bottles.
Take everything out and look for duplicates. You might discover separate cleaners for counters, appliances, sinks, everyday messes, and other surfaces when one appropriate multipurpose product could handle several of those jobs.
That doesn’t mean throwing away specialized products you genuinely use. Oven cleaner, stainless-steel cleaner, glass cleaner, and disinfectants may all have a purpose.
The goal is simply to stop storing products that don’t have one.
Products Get Stored Wherever There’s Space
Another common problem is treating all cleaning supplies as one category.
A toilet bowl cleaner doesn’t necessarily need to live beside your kitchen cleaning spray. And the carpet spot treatment you use twice a year doesn’t deserve prime real estate beside something you grab every day.
Storage should follow where and how often you use something, not just where you can squeeze another bottle.
Start With Safety Before You Think About Organization
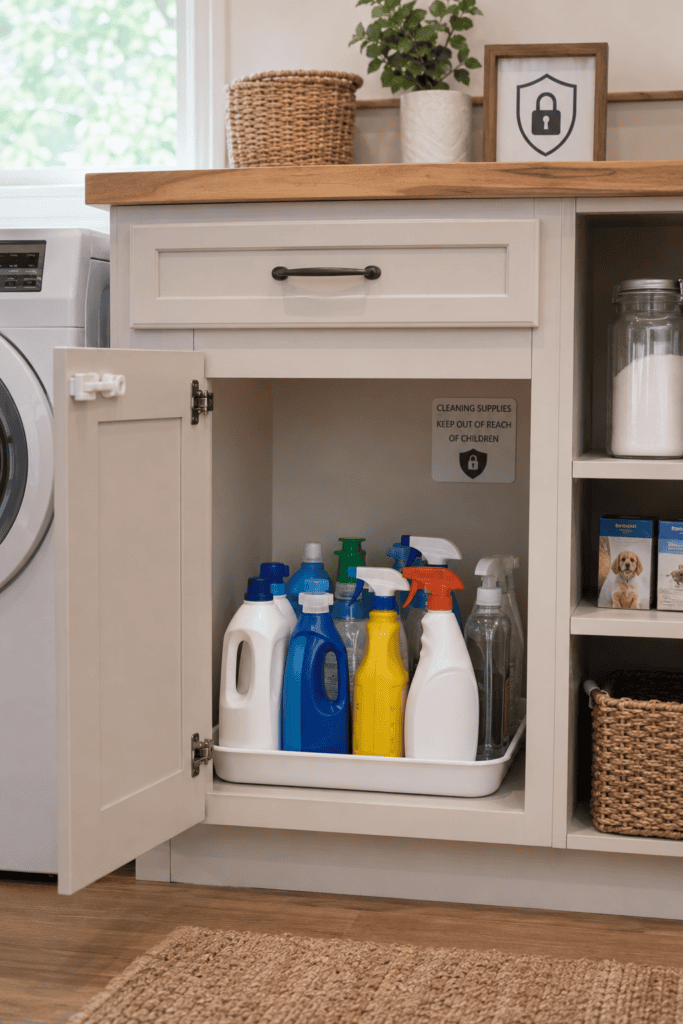
A beautifully organized cabinet isn’t useful if it’s unsafe.
This is one area where I’d choose boring and secure over aesthetically pleasing every time.
Keep Cleaning Products Away From Children and Pets
If children or pets can access your storage area, prioritize a secure location. Depending on your household, that could mean a high cabinet or a cabinet fitted with an appropriate child-resistant lock or latch.
Don’t assume that pushing dangerous products toward the back of an under-sink cabinet makes them inaccessible.
It doesn’t.
Pay particular attention to concentrated cleaners, disinfectants, bleach products, dishwasher detergents, drain products, and anything else that could cause harm if swallowed, spilled, or handled incorrectly.
Keep Products in Their Original Containers
Decanting laundry products and cleaners into matching bottles can look attractive, but I generally wouldn’t do it.
Original packaging provides the product identity, directions, warnings, ingredients, and other important safety information. It also reduces the chance that someone mistakes a chemical product for something else.
What actually works is organizing the original bottles neatly instead of trying to make every container match.
Don’t Combine Cleaning Chemicals
Never mix cleaning products unless the product directions specifically say it’s safe to do so. Certain combinations can produce dangerous fumes or reactions.
Keep lids and caps properly closed, follow the manufacturer’s storage directions, and avoid storing leaking or damaged containers.
Organization should reduce risk, not create new opportunities for chemicals to interact.
How to Organize Cleaning Supplies Safely and Efficiently
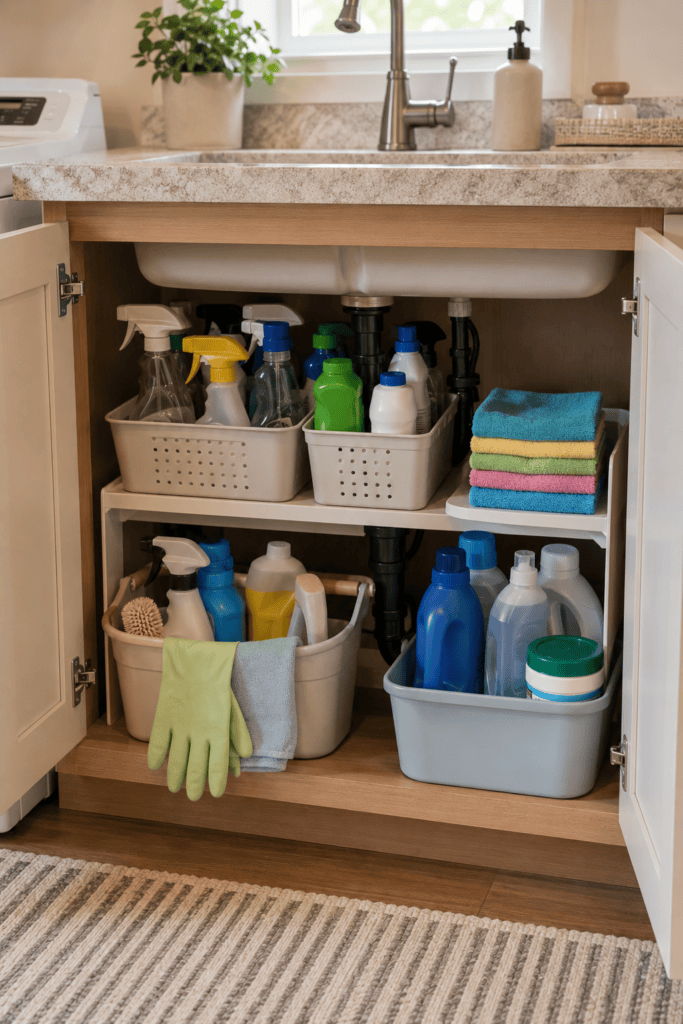
Once you’ve removed unnecessary products and chosen a safe storage location, you can build the actual system.
And you don’t need to buy an entire collection of organizers to do it.
Step 1: Empty the Storage Area Completely
Don’t try to reorganize around existing clutter.
Remove everything.
Check bottles for damage or leaks and look at labels for disposal or storage instructions. If you find old products you no longer want, follow the label and your local household hazardous-waste guidance rather than automatically pouring chemicals down a drain or combining leftovers.
Then wipe down the cabinet or shelf before putting anything back.
Starting empty makes it much easier to see how much usable space you actually have.
Step 2: Sort Supplies by Function
Create simple groups such as:
- Everyday surface cleaning
- Bathroom cleaning
- Kitchen-specific products
- Floor and carpet care
- Laundry products
- Brushes, sponges, and cloths
- Refills and backup supplies
- Occasional or specialty cleaners
Don’t create twelve tiny categories just because you can.
If your system requires you to remember whether something belongs in “surface care,” “kitchen maintenance,” or “daily cleaning,” it’s too complicated.
Broad categories are easier to maintain.
Step 3: Separate Everyday Products From Backups
This one change can make a surprisingly big difference.
Let’s say you have one active bottle of glass cleaner and two refills. You don’t need all three sitting at the front of your cabinet.
Keep the active bottle accessible and move unopened backups to a secondary storage zone, provided that location is safe and suitable for the product.
This prevents duplicate purchases because you can quickly see what you’re currently using while still knowing where your extras are.
Step 4: Create a Grab-and-Go Cleaning Kit
For frequently used, compatible everyday supplies, a handled caddy can be genuinely useful.
You might keep your regular surface cleaner, glass cleaner, gloves, a scrub brush, and a few cleaning cloths together.
Then when you’re cleaning several rooms, you aren’t walking back and forth looking for supplies.
Just don’t treat the caddy as an excuse to carry every chemical in the house. Keep it small, stable, and stored securely when you’re finished.
Step 5: Use Cabinet Height, Not Just Floor Space
Under-sink cabinets are notorious for wasting vertical space.
The plumbing takes up the center, bottles crowd the bottom, and everything above them becomes empty air.
A small shelf, appropriately installed door storage, or a narrow organizer can help use that space more efficiently without blocking pipes or valves.
But don’t cram every available inch.
Leaving some breathing room lets you remove one product without knocking over five others.
Organize Supplies Based on Where You Actually Clean
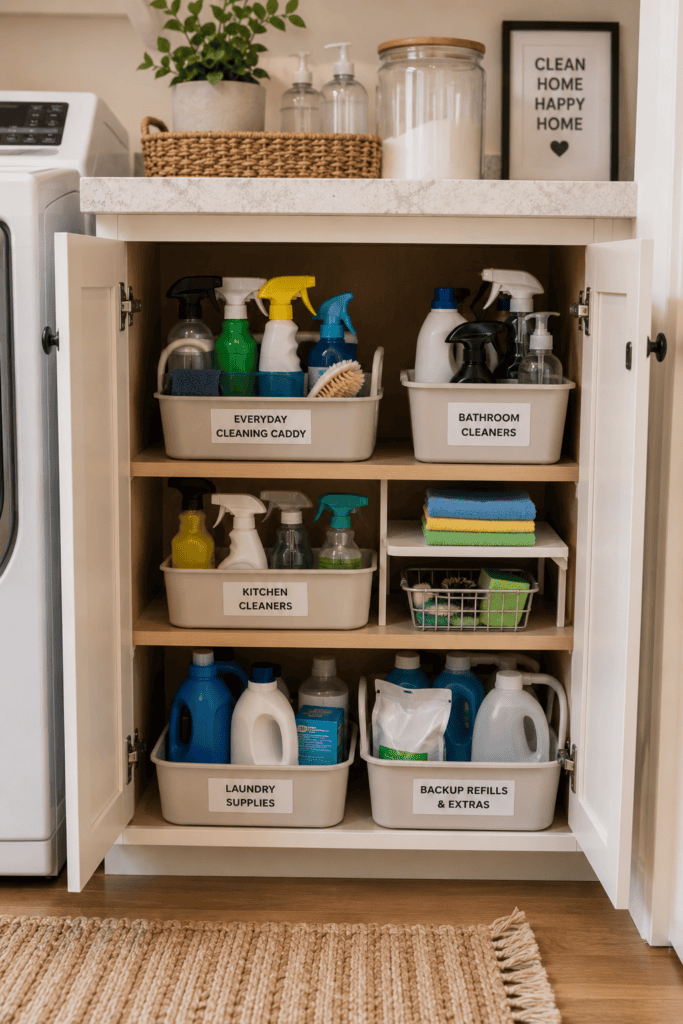
Centralized storage isn’t automatically the most efficient solution.
Sometimes dividing supplies into small, logical cleaning zones works better.
Bathroom Supplies
If you have secure bathroom storage that’s inaccessible to children and pets, keeping frequently used bathroom-specific products near the bathroom can save time.
That might include toilet cleaner, a dedicated bathroom spray, and cleaning cloths.
You shouldn’t have to walk across the house every time the bathroom sink needs a quick wipe.
Kitchen Cleaning Supplies
Keep products used frequently in the kitchen close enough to be convenient, but only in a safe storage location.
Daily-use items should be easiest to reach. Specialty cleaners that come out once a month can sit farther back or elsewhere.
That hierarchy matters more than having perfectly matching containers.
Laundry and Utility Supplies
The laundry room is often a good location for bulk refills and less frequently used household cleaning tools if the area provides appropriate, secure storage.
Think of it as your secondary supply zone rather than turning every room into its own miniature cleaning warehouse.
Make Small Cleaning Tools Easier to Control
Bottles usually aren’t the biggest organization problem.
It’s all the little stuff.
Sponges, gloves, microfiber cloths, brushes, dusting attachments, replacement scrubbers, and miscellaneous tools quickly become one tangled pile.
Give Loose Items Boundaries
Use one or two simple bins or containers for small tools.
For example, one bin might hold fresh sponges and scrubbers while another contains gloves and brushes.
The container creates a physical limit. When it becomes difficult to close or starts overflowing, you know you’ve accumulated too much.
That’s far more useful than continually buying bigger organizers.
Store Cleaning Cloths Separately
Clean microfiber cloths should have their own dry storage area rather than being shoved underneath bottles that might leak.
Fold or loosely stack them in a small basket, drawer, or shelf.
Also make sure used damp cloths dry properly before going into a laundry hamper or storage container. Tossing wet cleaning cloths into a closed bin is basically an invitation for unpleasant smells.
Avoid These Cleaning Supply Organization Mistakes
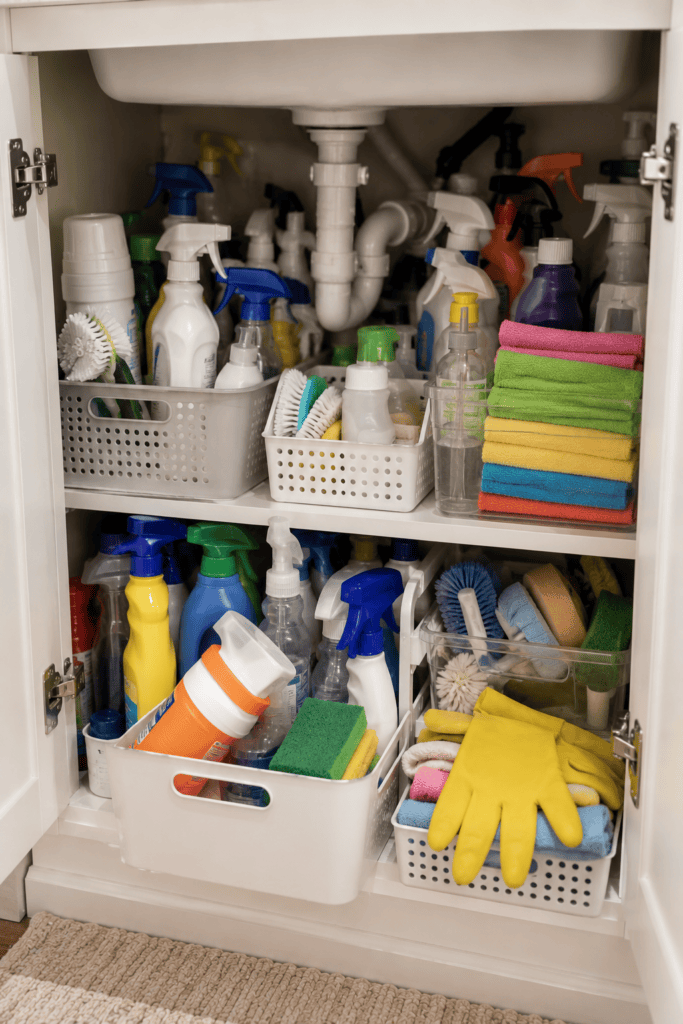
One of the biggest mistakes is buying organizers before deciding what you’re keeping.
You end up designing storage around clutter.
Another is making the cabinet too full. A tightly packed cabinet may look efficient, but it becomes frustrating the moment you need something from the back.
I’d rather have a cabinet that’s 75% full and easy to use than one that’s technically maximizing every square inch.
Also avoid storing unrelated household products alongside cleaning chemicals when there’s a realistic risk of spills or confusion. Food, medications, pet supplies, and similar items deserve their own appropriate storage areas.
And finally, don’t ignore leaks. A bottle with cleaner crusted around the cap isn’t something to organize neatly and forget about. Check the packaging and label, clean up spills appropriately, and deal with damaged containers according to the manufacturer’s directions.
Build a System You Can Reset in Five Minutes
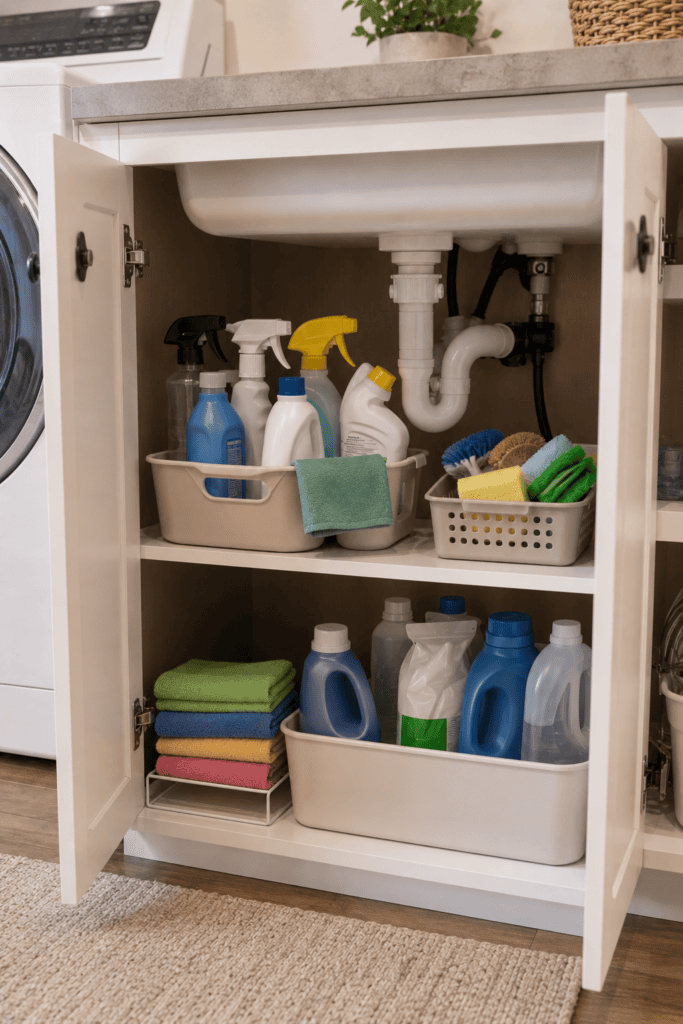
This is the part that makes organization stick.
Your cleaning cabinet shouldn’t require a Saturday afternoon makeover every three months.
Once you’ve created clear categories, the reset should be simple: return bottles to their zones, put tools back, move unopened refills to backup storage, remove empty packaging, and check for leaks.
That’s about it.
You can also make a habit of checking your existing supplies before shopping. Seeing exactly what you have is one of the easiest ways to stop buying your fourth bottle of something because you couldn’t find the first three.
The best organization system doesn’t just make your cabinet look cleaner.
It changes how you use the space.
Conclusion
Figuring out how to organize cleaning supplies safely and efficiently isn’t about turning your utility cabinet into a showroom. It’s about making everyday cleaning easier while storing potentially hazardous products responsibly.
Start by reducing duplicates. Keep products in their original containers, follow label storage instructions, and make sure hazardous supplies aren’t accessible to children or pets. Then organize what’s left according to frequency and location of use.
After that, keep the system simple.
A few clear categories, one practical cleaning caddy, dedicated space for small tools, and a separate backup zone will usually accomplish more than a cabinet packed with complicated organizers.